- A case study of King’s Health Partners Centre at Guy’s Hospital
- A case study of Park House
- BIM for Small Practices: Implement and Collaborate
- Take up BIM now, or regret tomorrow
- BIM from manufacture to design to contracting
- BIM ‘How to Guide’
This is one of the most exciting new addins to appear for visualizing your Revit model. It is simple to use, powerful and intuitive, and I recommend you try it out.
Go ahead and click here to Download it now
Use coupon code whatrevitwants to receive 30% off
EDIT added video by Greg Demchak:
Follow these steps after clicking the above link:
1) Scroll down to ColorByNumber trial and add to cart

2) Checkout
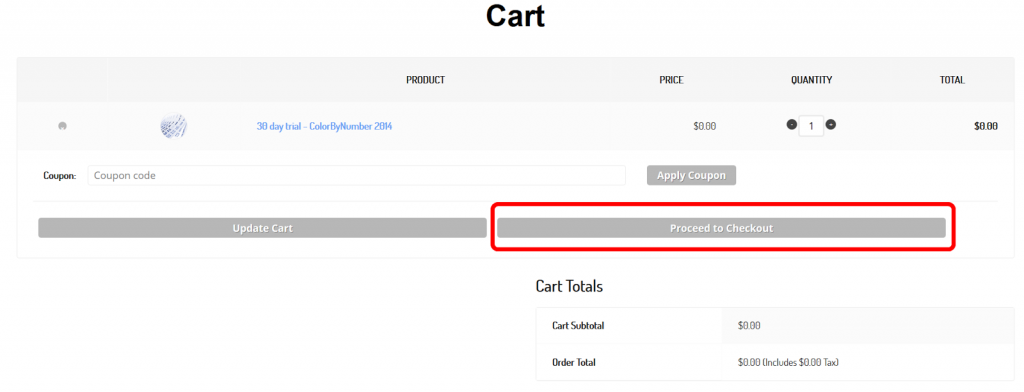
3) Place Order

4) Download file
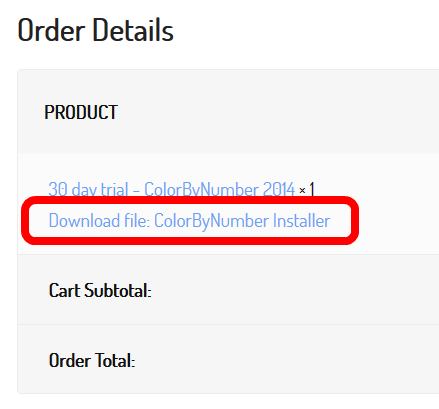
5) Install the file and open Revit
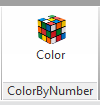
6) Click on the Color button on the Addins ribbon
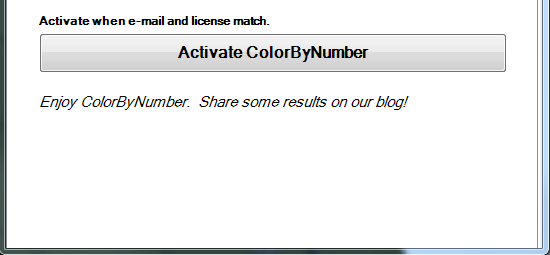
7) Put in your email and the license key that you were emailed during checkout process
Here is a quick how-to on using it:
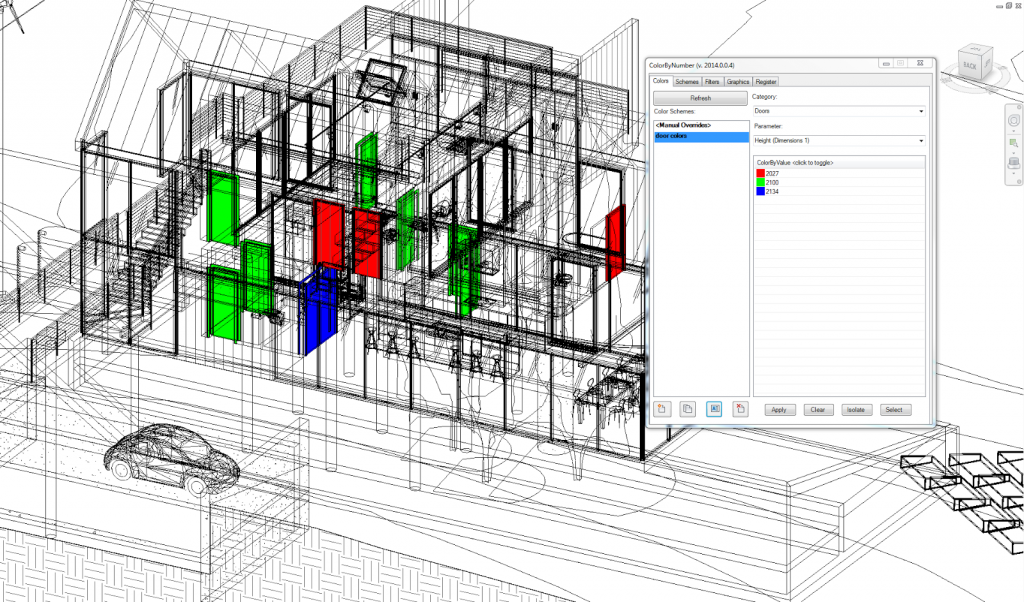
- Open a 3D View and open ColorByNumber
- Switch to the Colors tab and click on the New icon. This will make a new Colour Scheme.
- Give the new scheme a name.
- Select a Category and a Parameter
- A list of all available values in the project will appear, with some preset colours
- Click Apply
These colours are now applied to your view. The colours will be visible in all display modes in 2014: Wireframe, Hidden Line, Shaded, Consistent Colors, Realistic and even Raytrace. Its easy, functional and overall very impressive…
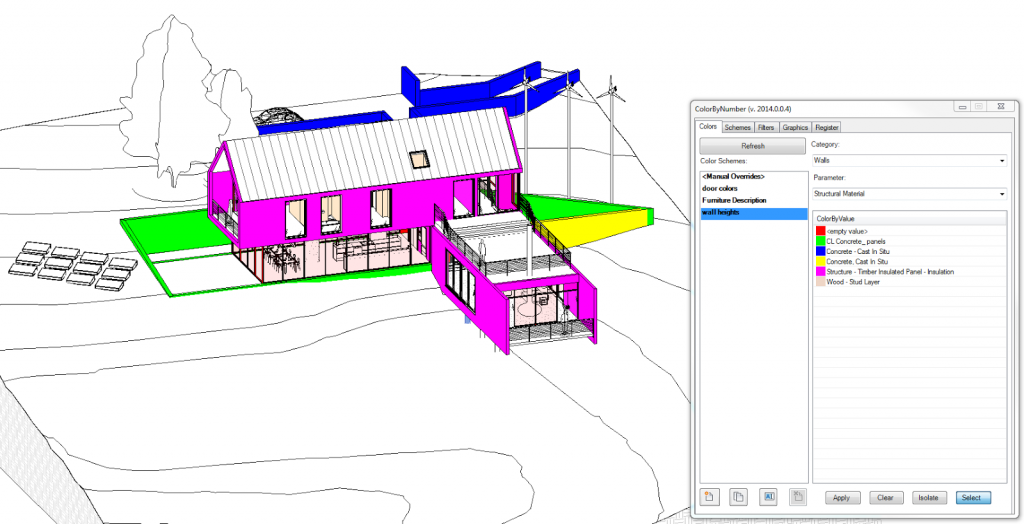
Switching to the Schemes tab will now show this new scheme as an option. If we switch to a completely different Revit project, we can instantly re-use this scheme in the other project. We don’t have to transfer the scheme or anything.
Just when you were thinking how great this all is, there is a humble little button at the bottom of the main ColorByNumber dialog – Isolate. This will isolate the coloured objects, making it very easy to navigation and view your Revit model based on Category, Parameters and values.
Let’s try another example: colour all Walls by their Structural Material. In about 8 clicks, it is done.
So, who is Greg Demchak, you may be wondering? Well, he was this guy:

so you can see why he knows a thing or two about Revit and UI design 🙂
Some dot points:
- A schedule is a good tabular view of the model data… With ColorByNumber, we make accessing information easy and visual, which can lead you to new insights on your model
- quickly select and isolate elements by their parameter values–something you can’t do with Revit out of the box.
- user research found that ColorByNumber is on the order of 100 times faster than using built-in Revit tools that accomplish similar results.
Some other links:
How to Use ColorByNumber with Revit | BIMrayBIMray
ColorByNumber “free 30 day trial” version now supports multiple users. | BIMrayBIMray
Helping search: this post is about Color By Number, otherwise known as ColorByNumber
Interesting reading at:
Keeping it Real | LinkedIn
Some big players weigh in, including David Conant, Greg Demchak and David Baldacchino.
Associated blog post:
practical BIM: BIM is not so Real after all

- You can access and join the tech preview here
- Login with your Autodesk account
- Accept terms and conditions (notice that Fusion is mentioned here…)
- Go to your email and click on the confirmation link
- You will also get an email with a myhub link
- Create a Project
- Click Upload
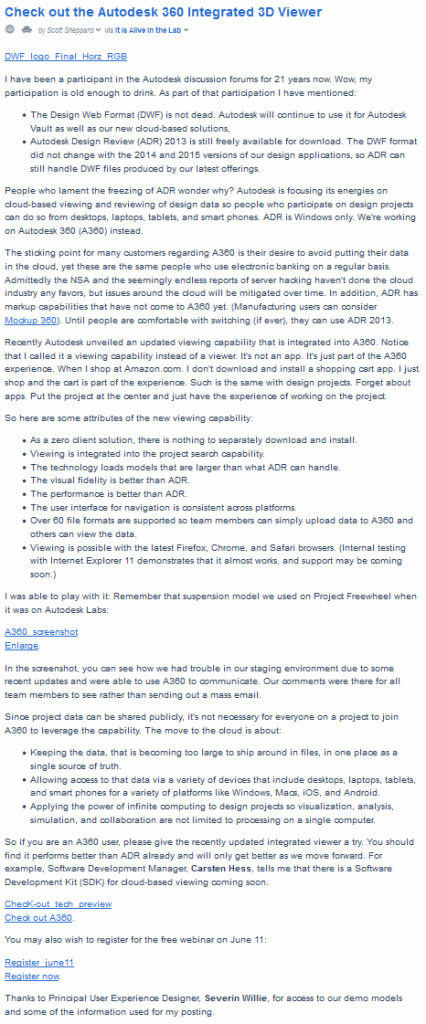
- If the file is something that Autodesk 360 Viewer can handle, just go to Data and then click on the uploaded files thumbnail – the viewer should load
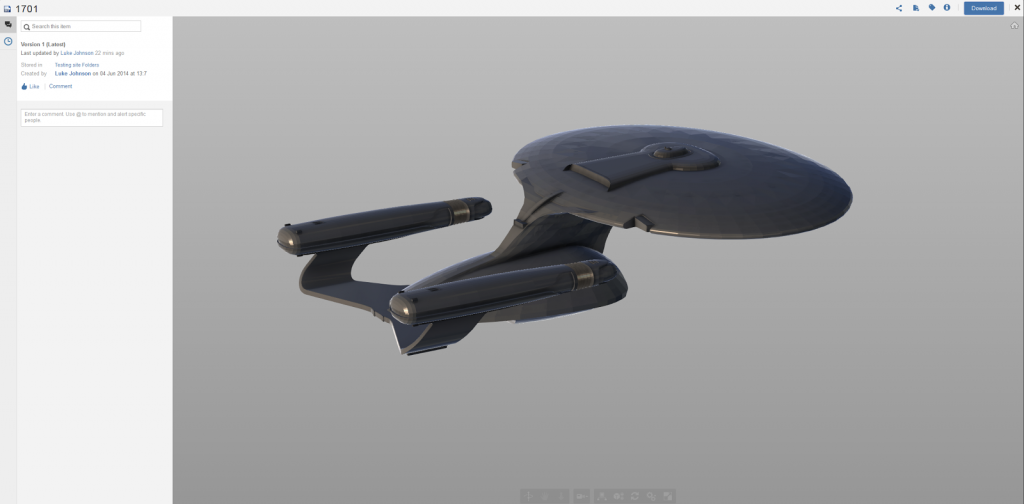
I tried uploading a Revit file and it was very smooth to navigate. You can click on the toolbar at the bottom and show model structure (3 squares in a tree view), or click on the gears and turn on the ViewCube.

Just for the fun of it, I uploaded and viewed this model:
With features for team communication and wiki, it is obvious that Autodesk 360 intends to be more than just a file sharing and viewing tool.
Scott’s post (with lots of insight on DWF and Design Review):
Upload video:
Revit 2015 has brilliant IFC Link capability – it is fast and accurate, and it even brings in colours for most IFC elements. We can leverage this to quickly create RVT files from IFCs, and then downgrade to other Revit versions if necessary. Here’s how:
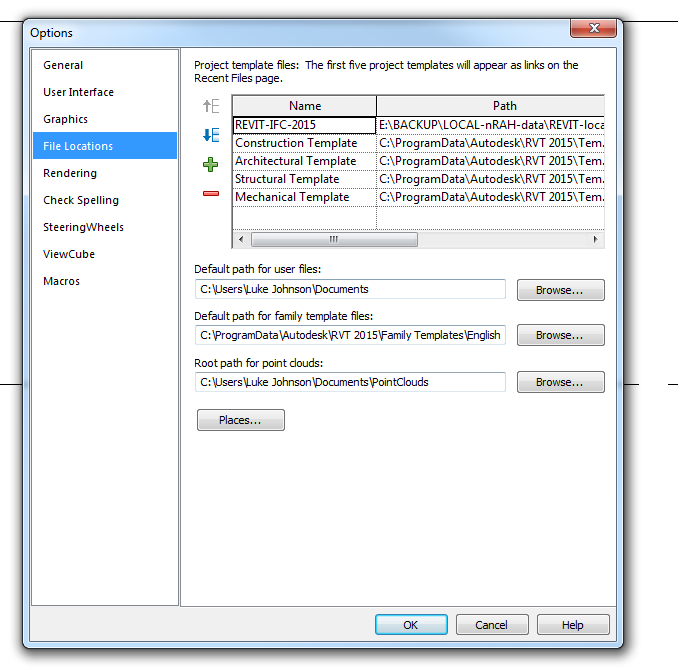
- Select or create an appropriate Revit IFC template (RTE file) that is clean and has only two phases
- Set it at the top of the Template list in Revit 2015 Options – this is the template that will be used when Linking an IFC file. Interestingly, Revit will ignore the IFC Import template dialog setting when Linking.
- Link an IFC file into an open project.
- Locate the cache version RVT file that Revit created in the same folder as the linked IFC
- Copy that RVT somewhere else so you can modify it freely
- Open the RVT that Revit created while linking the IFC
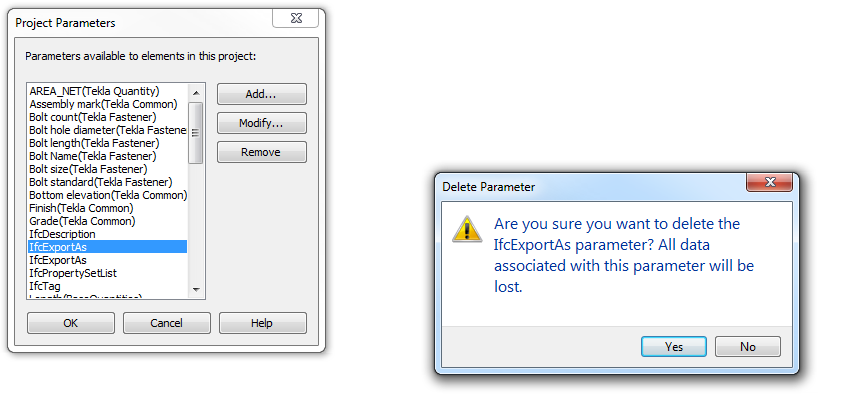
- Important: Delete the IfcExportAs Project Parameters (there might be more than one). If you don’t, it can cause headaches when exporting.
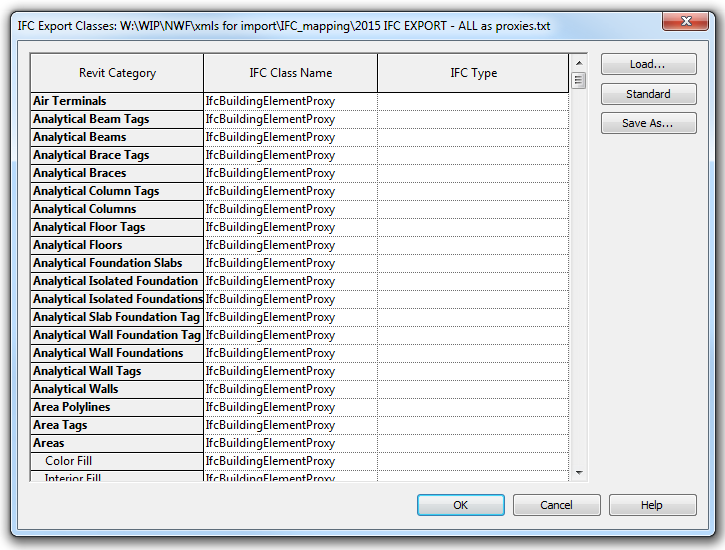
- Use this IFC Export Classes text file for Revit 2015 which pushes everything into IfcBuildingElementProxy. The reason for this is that we want 100% geometry fidelity, but we are not concerned with editability.
- When exporting from Revit 2015, choose IFC 2×3 Coordination View 2.0
- Import back into a previous version of Revit (keep in mind points above about IFC import templates). The resulting elements will all be in-place Generic Models, with an Import Symbol inside. The file size will likely be pretty big, like 6 times the size of the original IFC.
This method should result in 100% item count fidelity. For my test IFC file:
Tekla BIMsight
2772 model items
Revit 2015
2772 model items
Navisworks 2015
2772 model items
Revit 2013
2772 model items
It is obviously not the way to go if you want maximum editability. But if you want maximum fidelity of geometry and reasonable import of IFC colours, this could be an option.
Update:
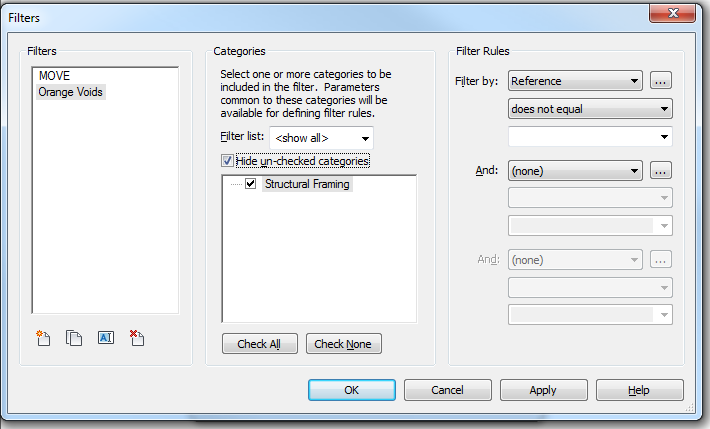
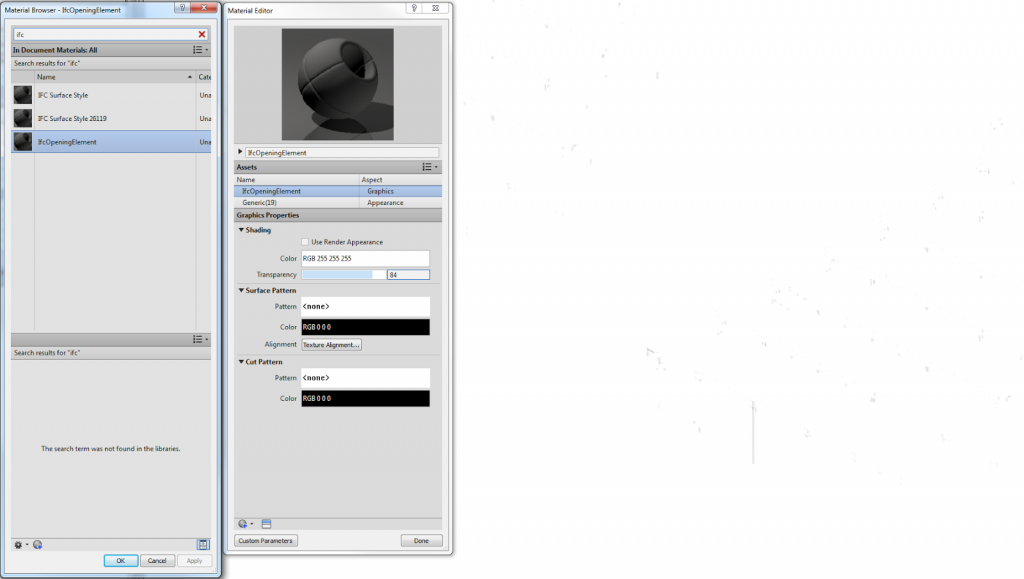
Use this IFC import mapping to get most objects onto Structural Framing category when importing to Revit 2013. Also, when trying to delete orange voids in Revit 2013, you can use a View Filter based on the Reference parameter to hide everything that is not a void. Additionally, the IfcOpeningElement material transparency can be modified to “check” that no other objects are going to be deleted that are actual real model geometry. Screenshots below:
Update 2:
Be very wary of purging. It seems in later updates of Revit 2015 that purging these IFC cache files can be destructive and result in deleted geometry – something that purge should never really do. Here is a demonstration of the issue:

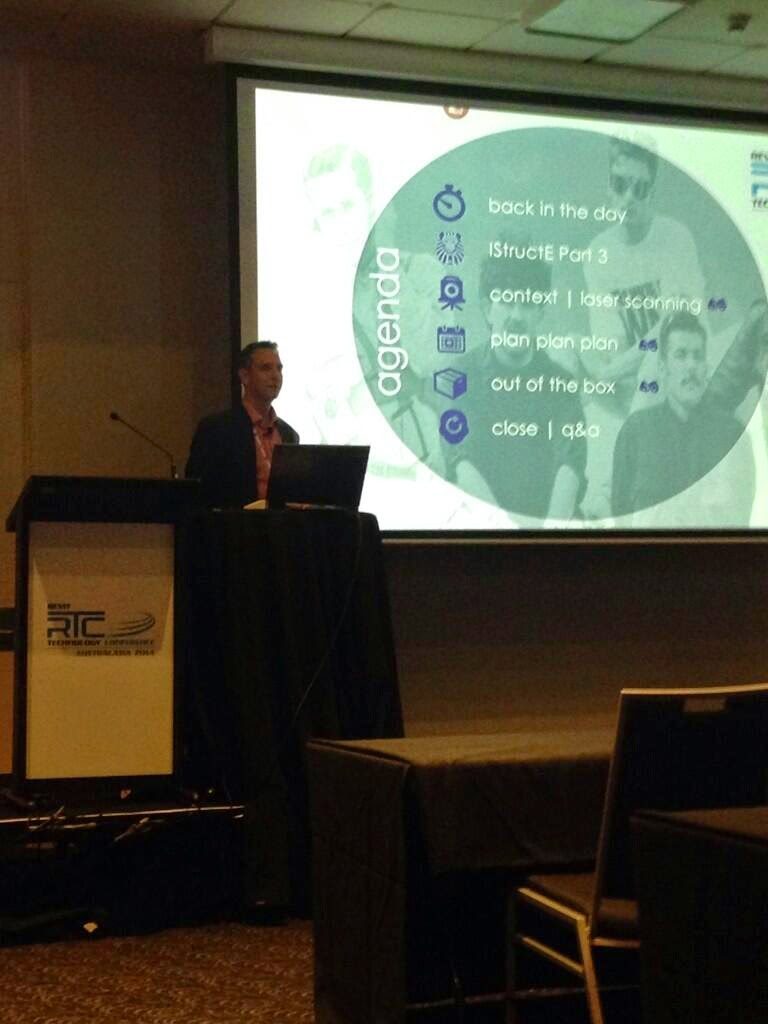
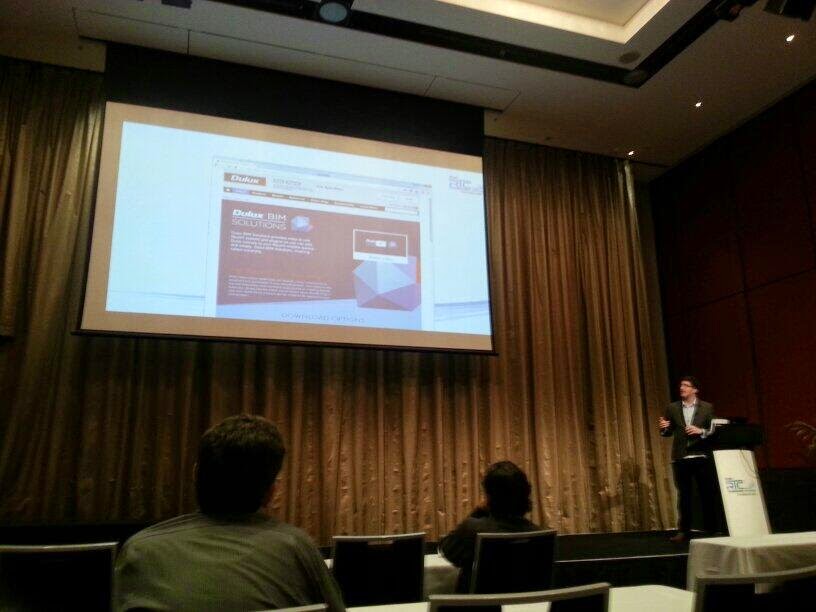
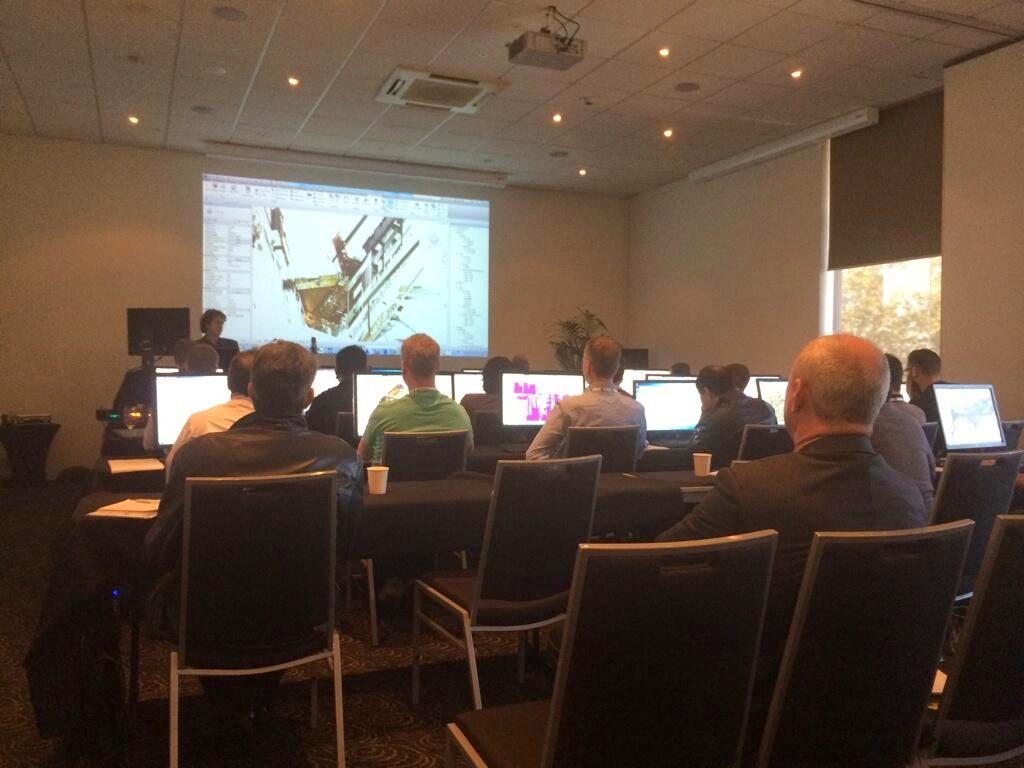
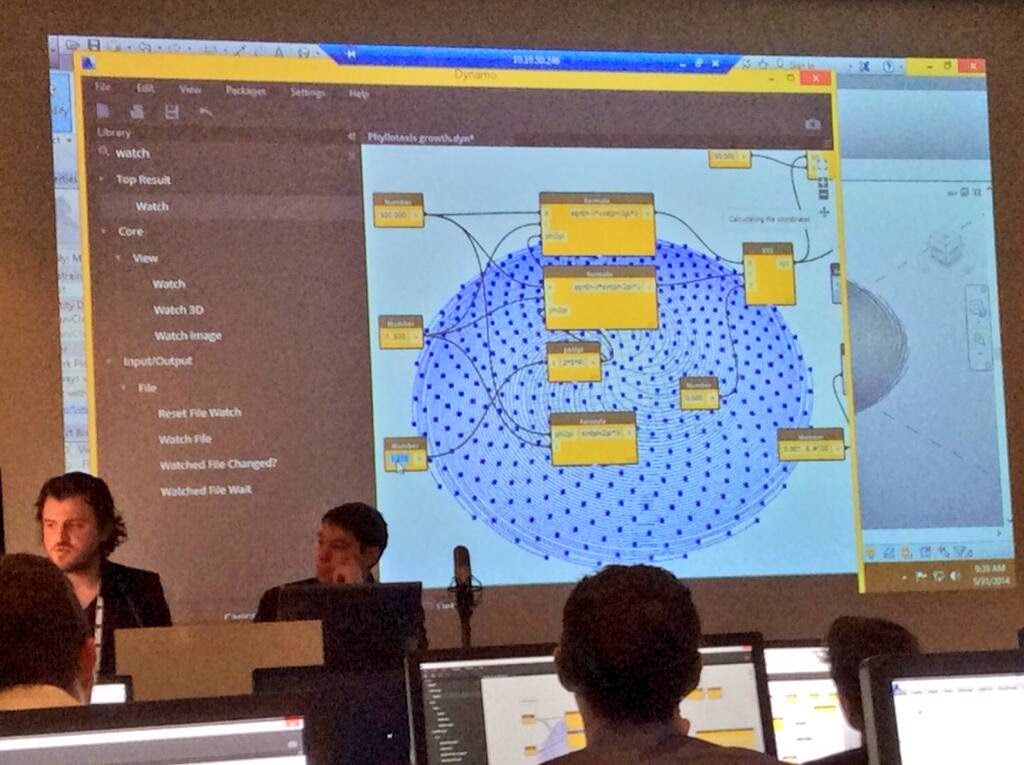
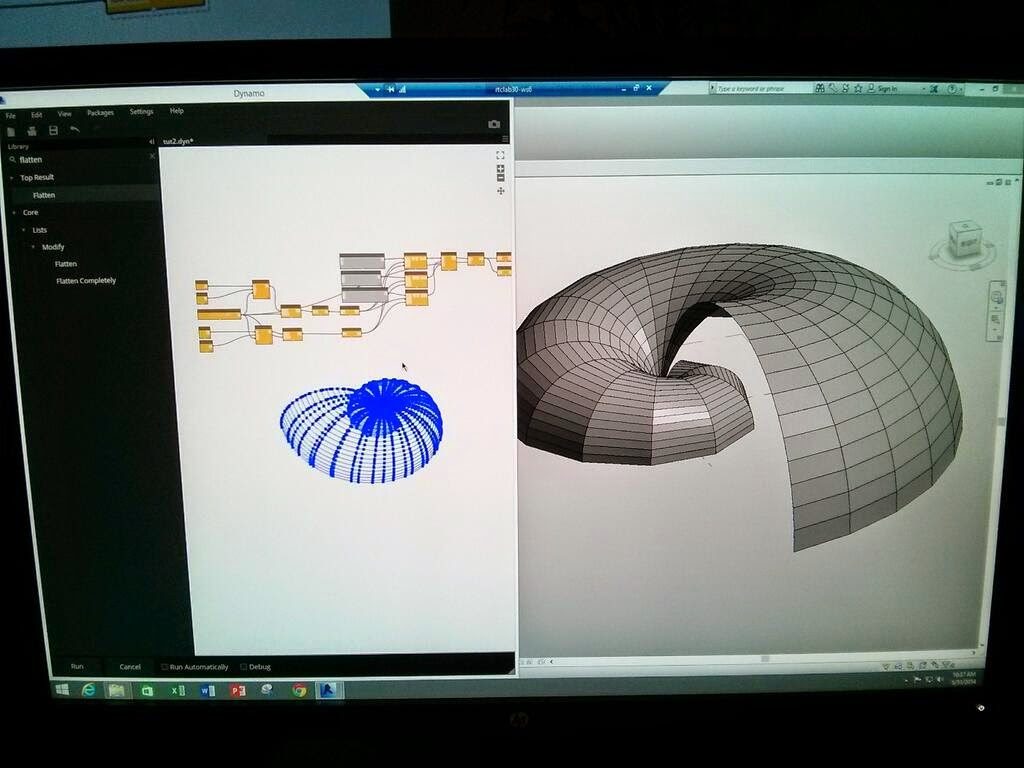
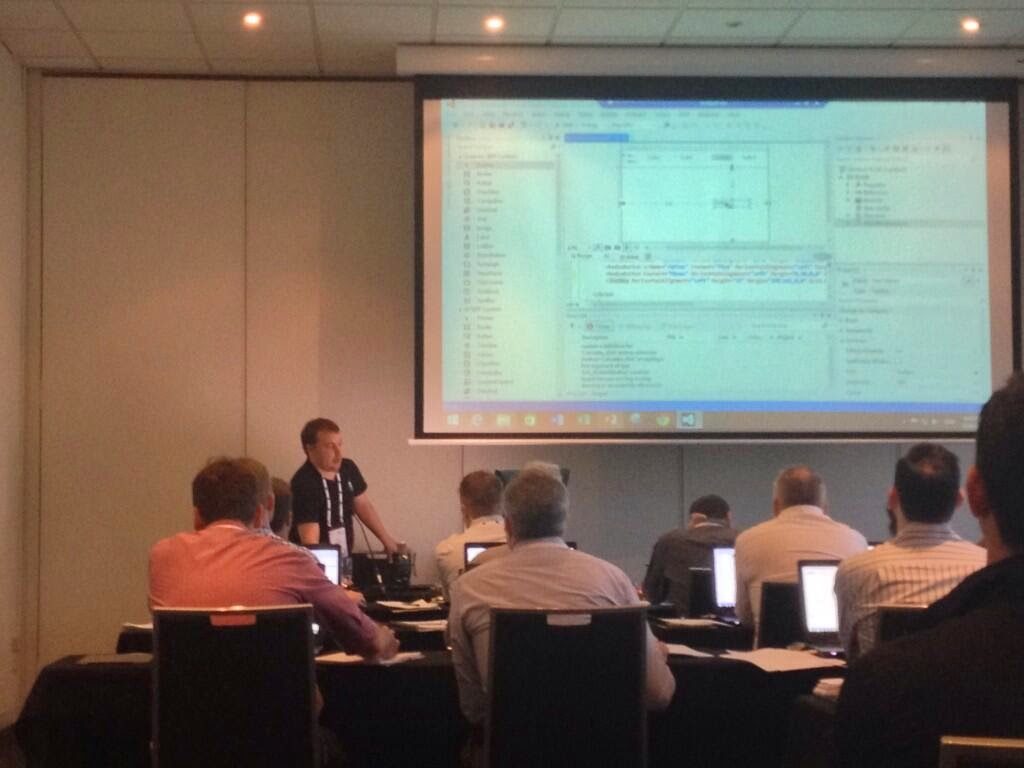
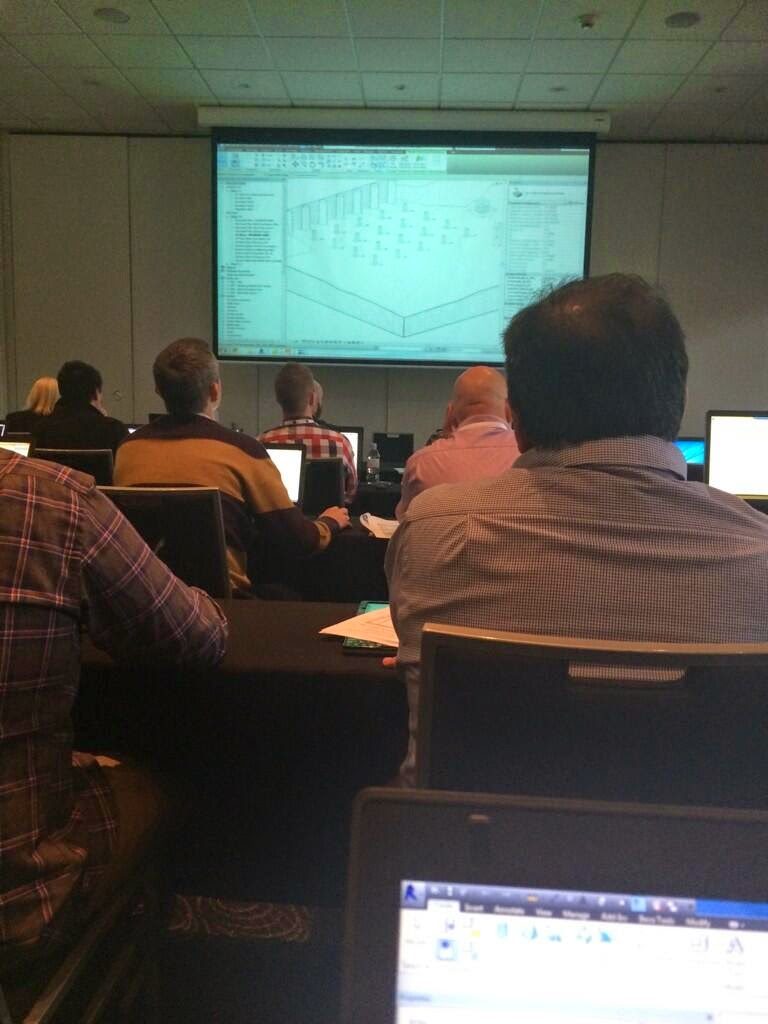
I have been following the RTCAUS hashtag on Twitter and collecting photos of interest. Here they are, in no particular order:


flood is a dataflow-style visual programming language based on Scheme that runs on JavaScript. It is based on the Dynamo visual programming language. flood runs in a browser and as a standalone application on all platforms via node-webkit.

via case newsletter
Topic’s covered:
- The Wider Context of BIM
- Architype’s journey into BIM
- Using BIM for Passivhaus Design
via LinkedIn