Many of us use Tekla BIMsight or Solibri for IFC viewing, but there is another free option: FZK Viewer. It is just a 10mb download, unzip and go.
It has a Walk tool like Navisworks for easy navigation, and it can even export to a number of formats, including:
DXF (cool! quick IFC to DXF conversion anyone?)
VRML 2
STEP
Collada
Google Earth
CityGML
Additionally, it can open gbXML and GML files. All in all, a handy piece of software to have if you are dealing with IFCs on a daily basis.
Oh, did I mention it can Merge .xyz point cloud files to the scene?
Build 771 direct link:
http://iai-typo3.iai.fzk.de/www-extern-kit/fileadmin/download/download-vrsys/FZKViewer/FZKViewer-4.2-Build-771.zip
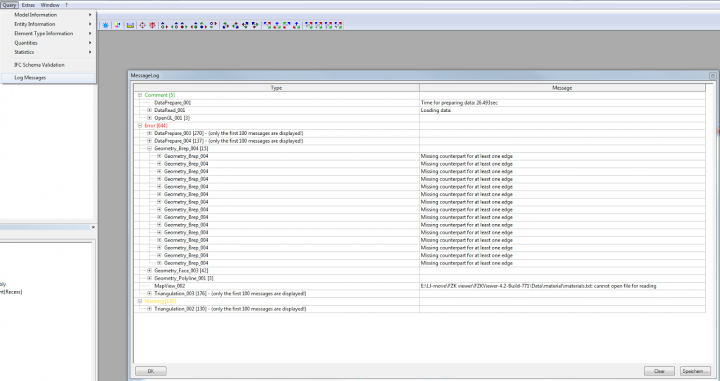
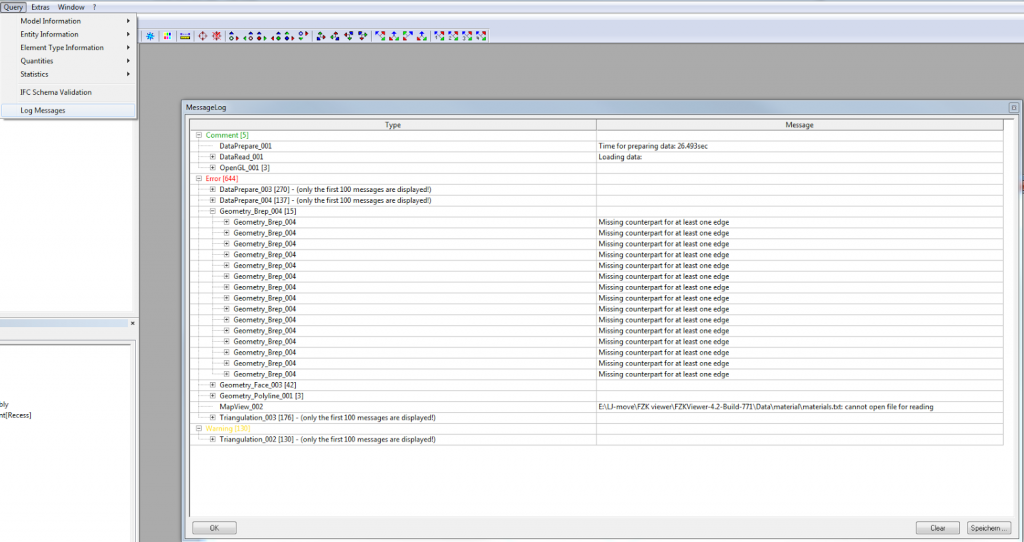
On opening an IFC, it produces a log file that can quickly locate geometry problems:
Download page:
http://iai-typo3.iai.fzk.de/www-extern/index.php?id=2315&L=1
Main page:
FZKViewer