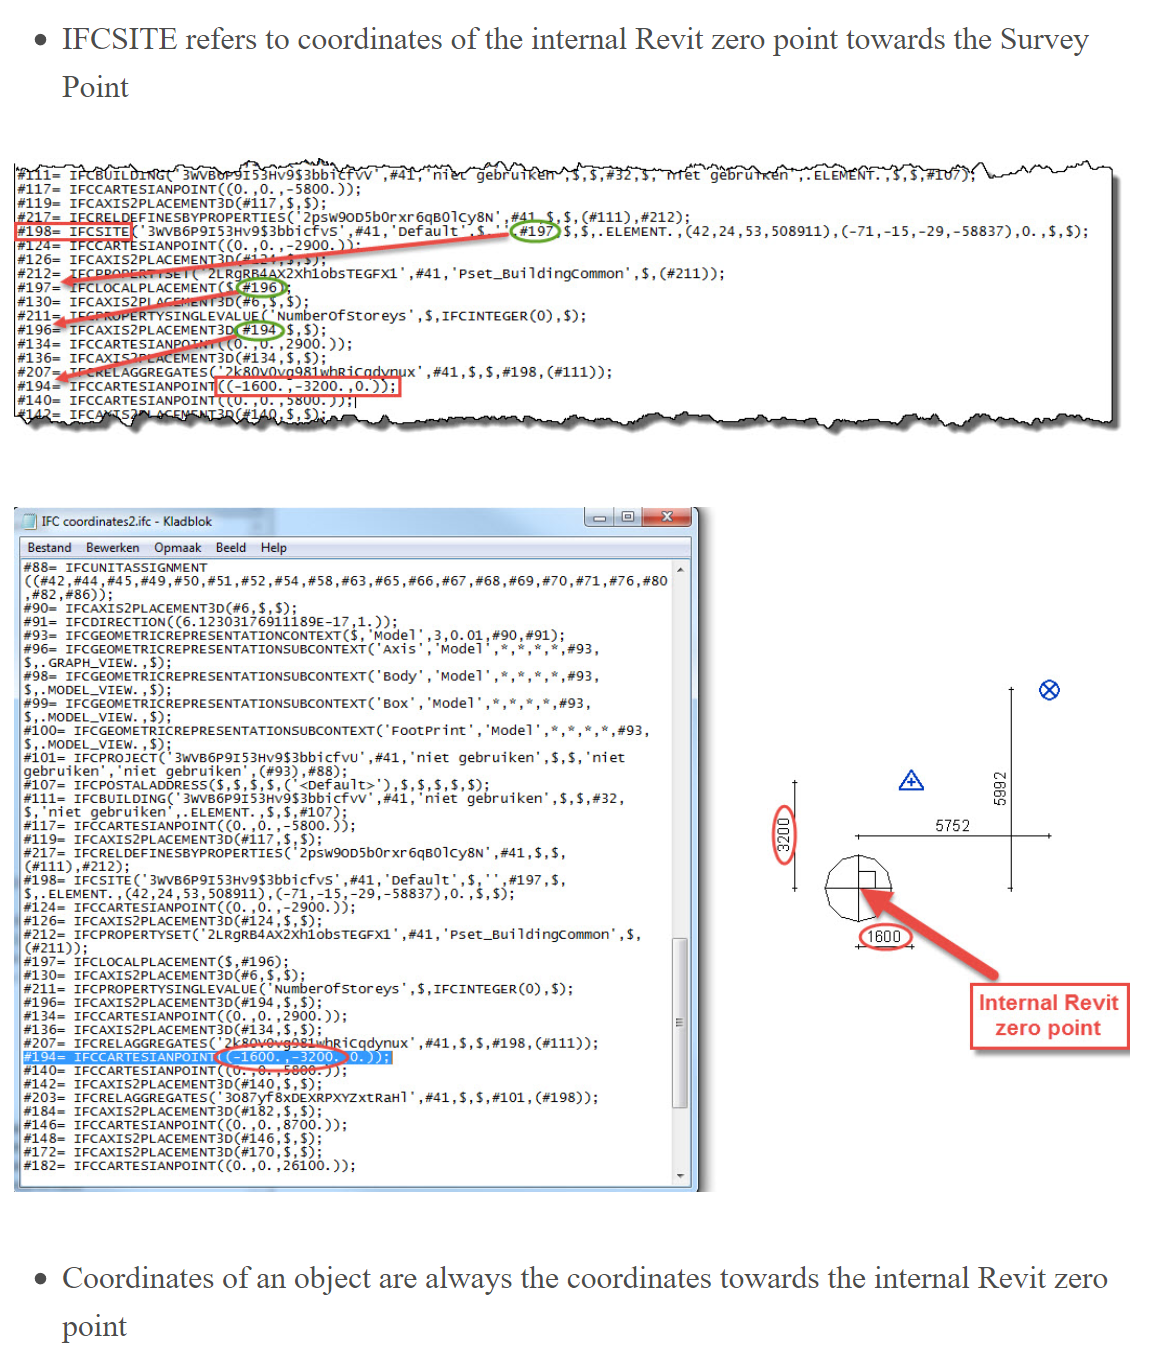
This latest update for Revit 2018 has the usual bug fixes and stability improvements, but also enables IFC linking to Revit when using cloud hosted IFC files and Collaboration for Revit.
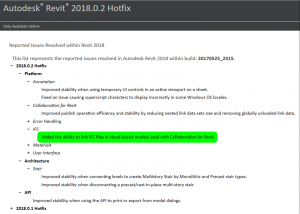
Process Explorer is a free and very powerful task manager that let’s you really see what is going on with your system… One of those things every IT person should have in their toolkit. You can get it here:
Go to Find > Find Handle or DLL. In the “Handle or DLL substring:” text box, type the path to the file (e.g. “C:\path\to\file.txt”) and click “Search”. All processes which have an open handle to that file should be listed.
Good Revit Content management does not come immediately or without forethought. Unifi are giving you another chance to review some best-practice content management principles at an upcoming webinar. It should be very interesting to hear about some of the productivity and functionality improvements that are becoming available to allow you to manage your BIM content more effectively.
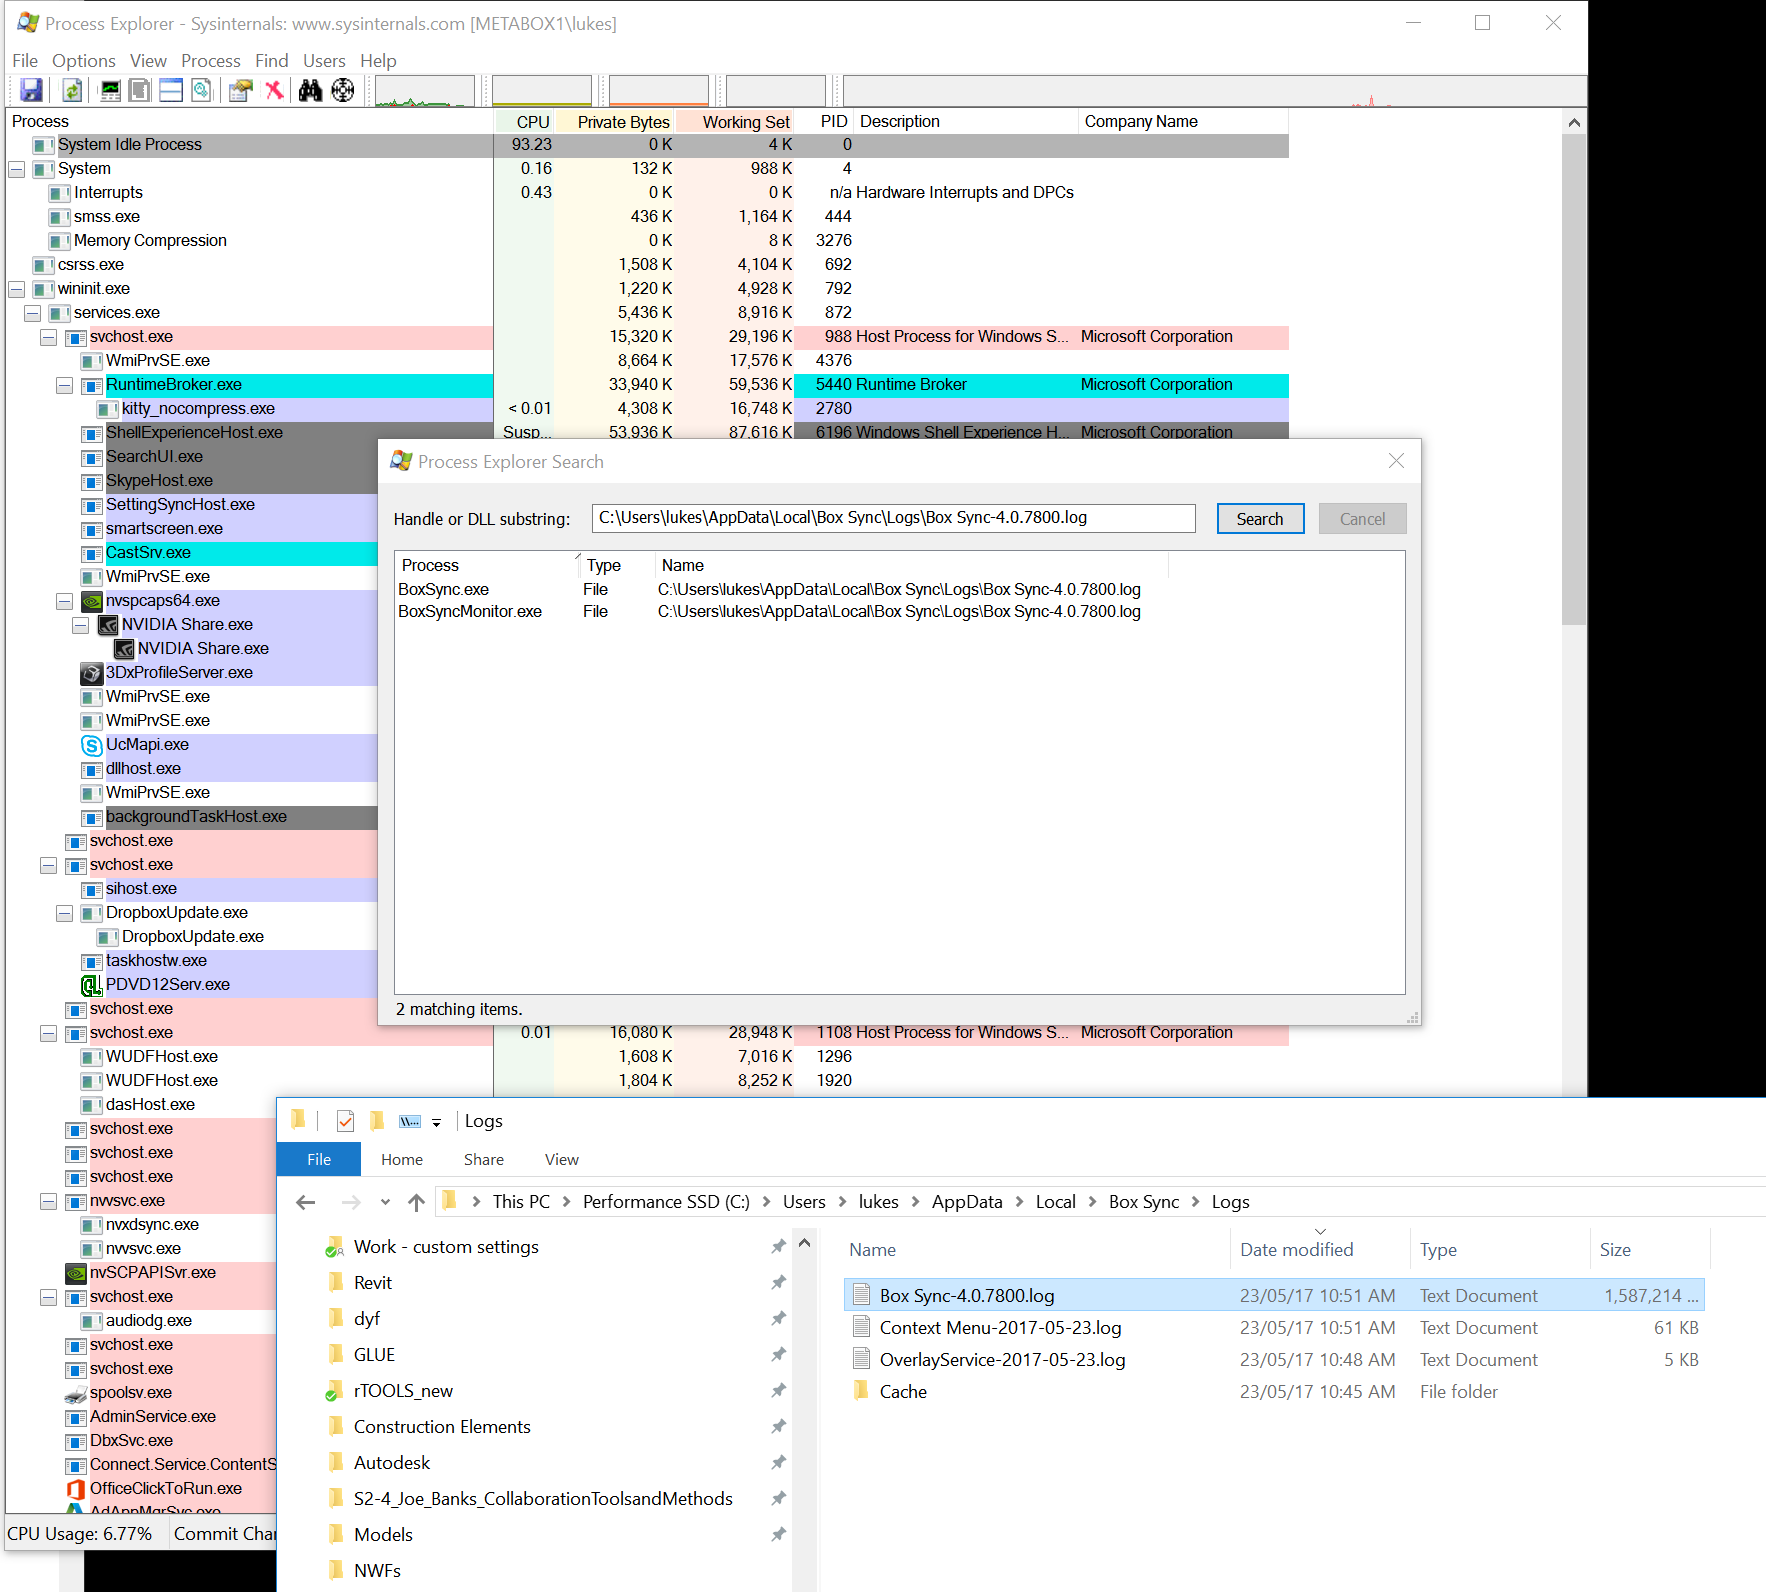
The form creation engine in Revit does not really know about flat vertical zero thickness surfaces. However, with DirectShape, we can make almost any type of mesh geometry. One interesting idea coming out of the RTC ANZ event this year was creating these flat surfaces to display grids in 3D. This lets us do things like dimension easily in Navisworks or Revizto. I wanted to use them to add some flat datum lines to a construction setout point family.
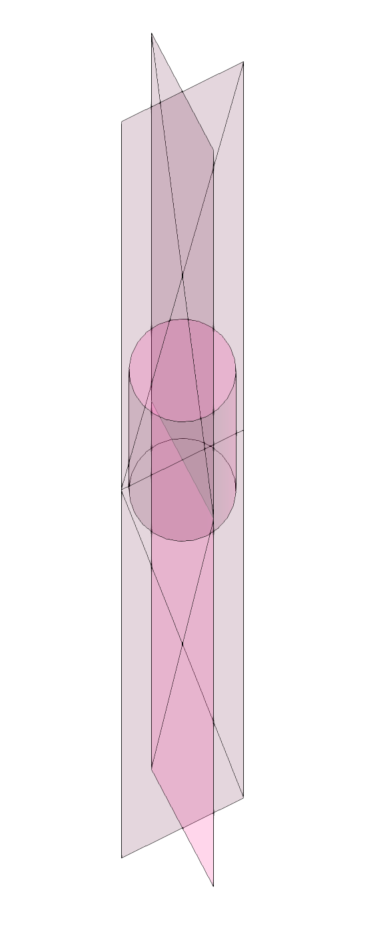
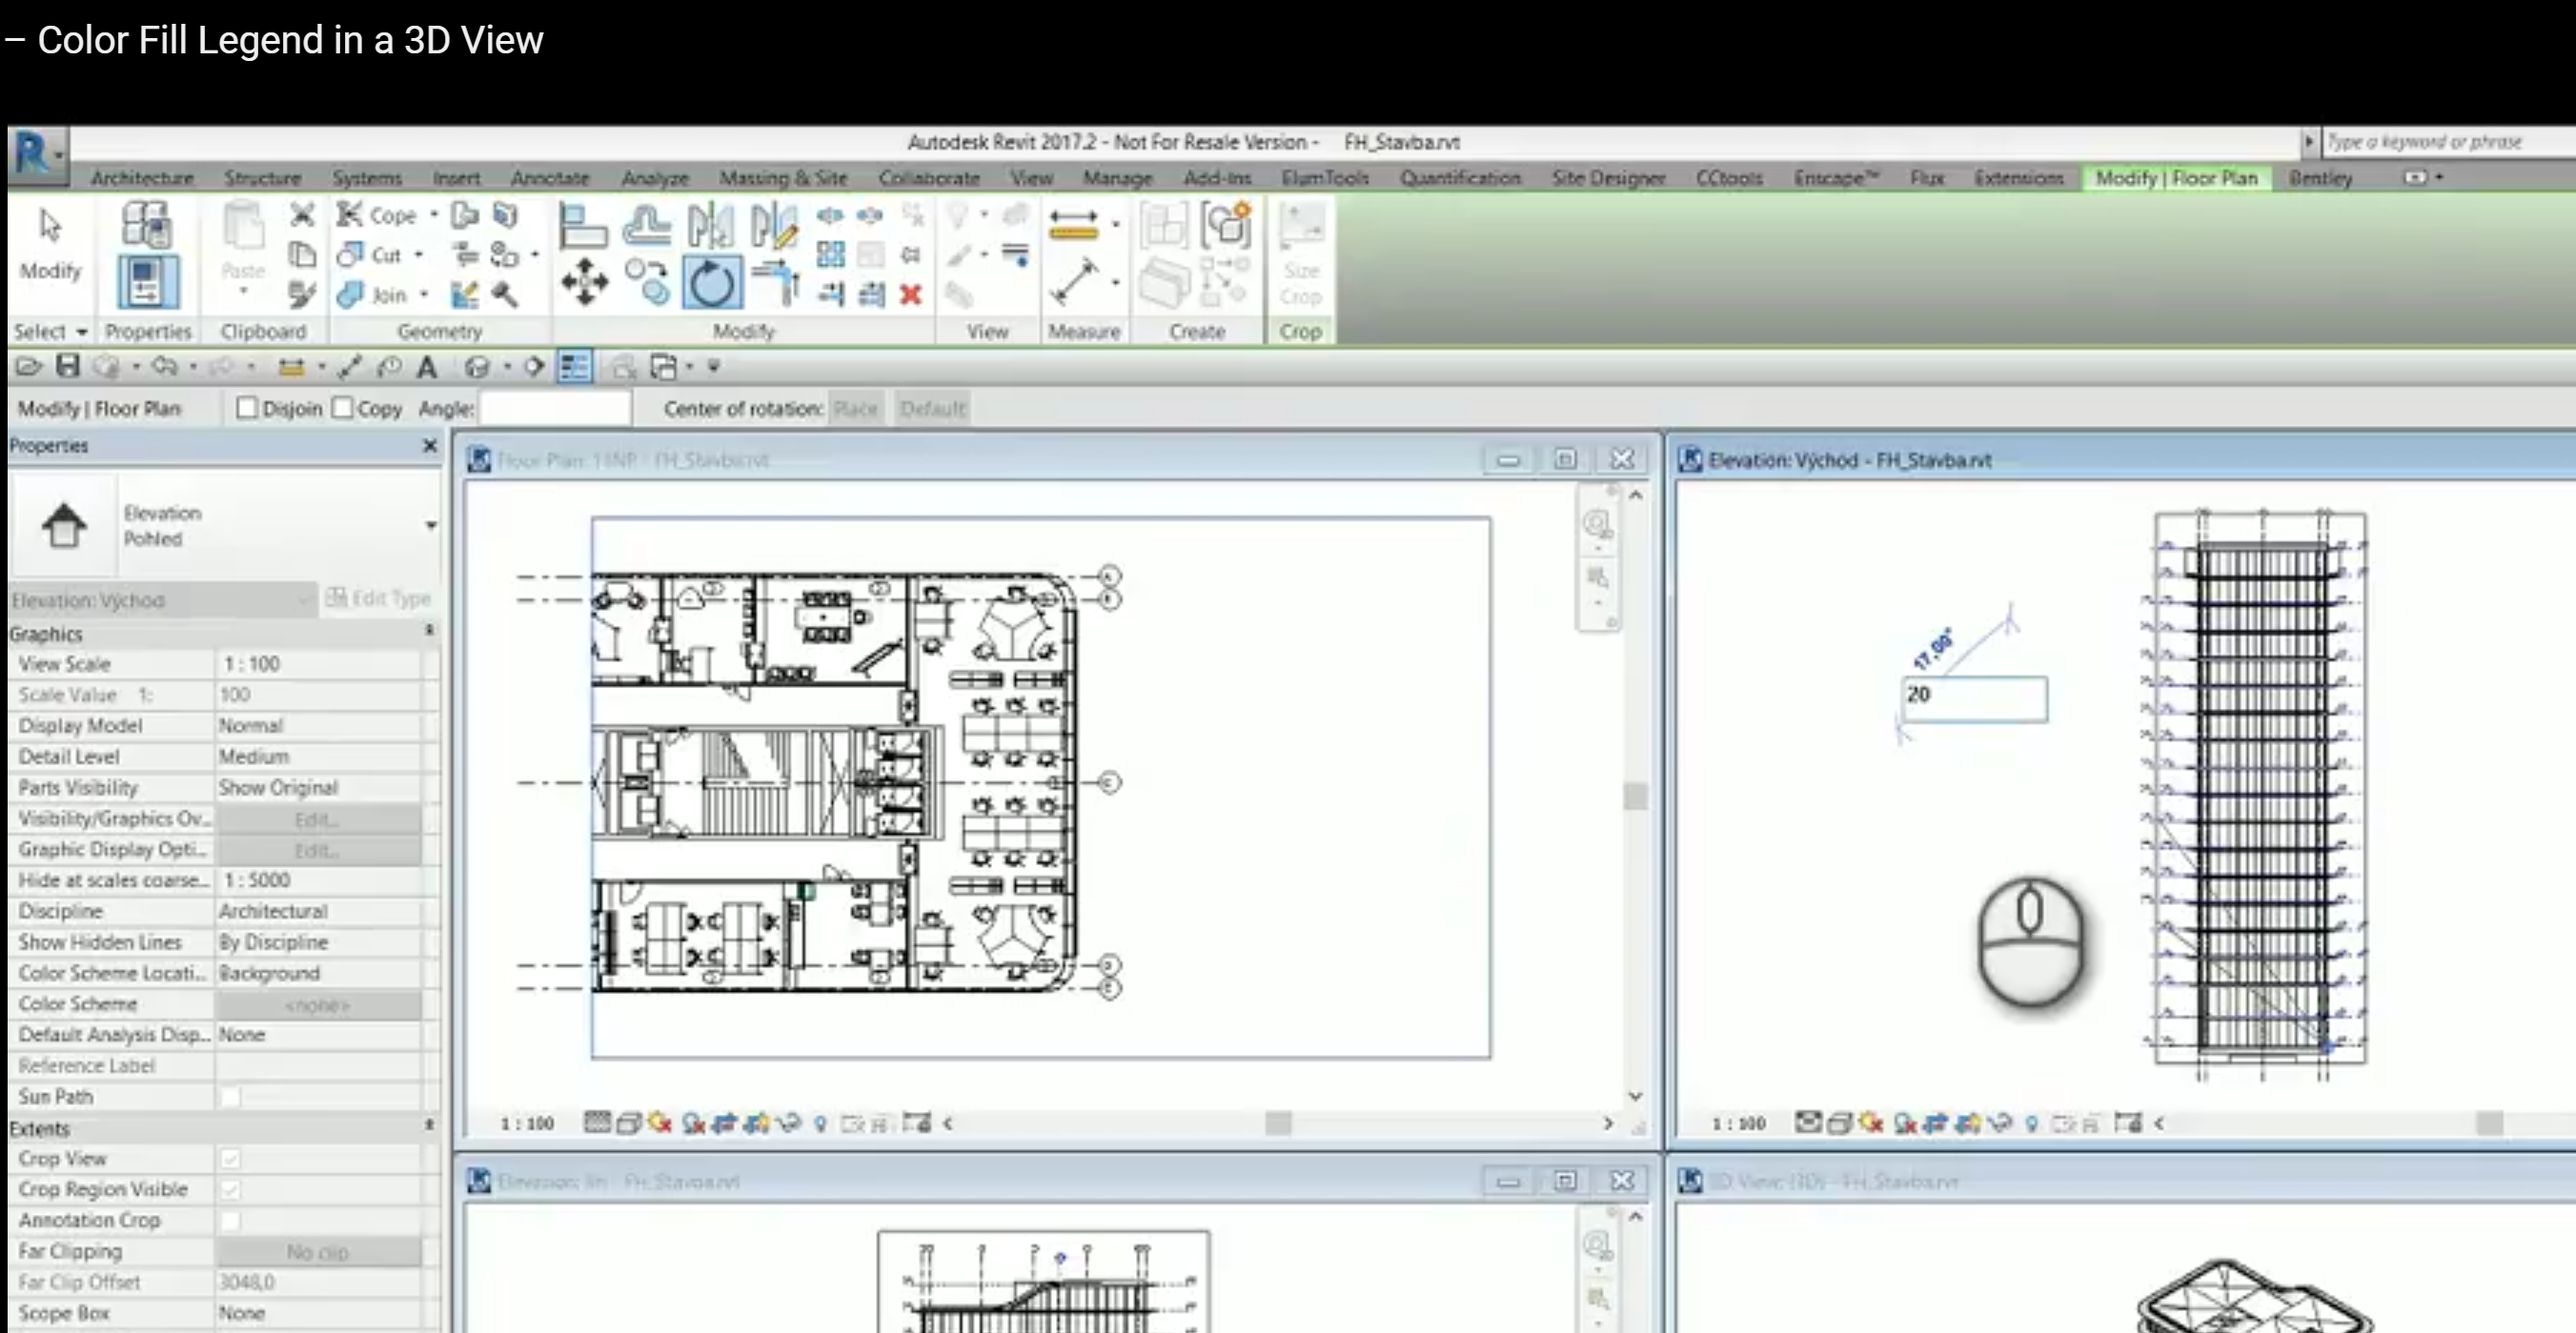
This is one of the best workarounds I have seen for years in Revit! Did you know that you can rotate a Revit Floor Plan view in 3 dimensions?
Try it now:
Go to a Floor Plan view and make sure the Crop Region is turned on
Now open a Section or Elevation View
Tile the windows in Revit so you can see both views
Select the Crop Region in the Floor Plan view
Switch to the Section or Elevation view (the Crop Region is still selected)
Start the Rotate command in the Section or Elevation view
Rotate the Floor Plan away from the horizontal plane. Try 20 degrees.
Experiment with the above process until you have created a sort of forced orthographic view… but Revit thinks it is a Floor Plan! You may have to switch between some sections running perpendicular to each other and keep rotating the Floor Plan crop region until you capture the view you want.
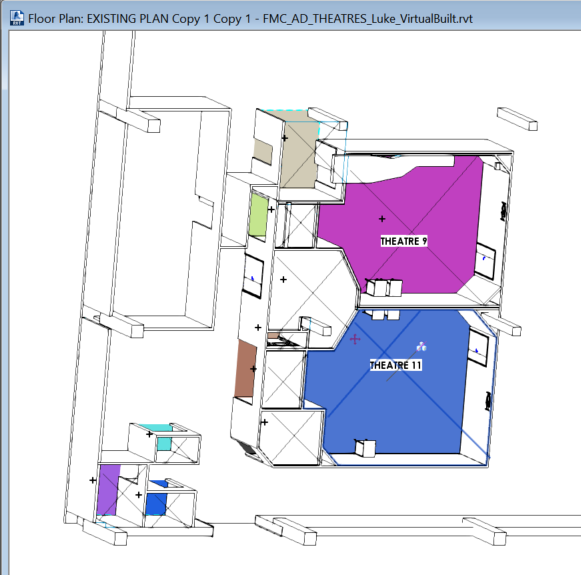
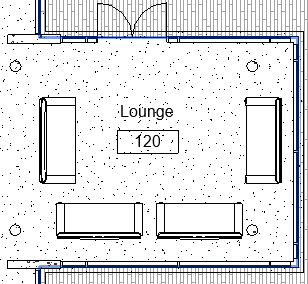
This means you can have Rooms showing. Which means you can have a Room Color Scheme showing up in a ‘kind of’ 3D view in Revit. This is awesome!
It is also a nice way to see how View Range works. As you experiment with the View Range of this special Floor Plan, you will see more or less of the elements (a bit like a 3D section box).
Not sure of the limitations or problems yet, but I had to share 🙂
Thanks to pepar for sharing on slack, and cadconsulting for making the video.
If you have used Copy / Monitor to copy some elements from a Revit Link file, and those elements change, you will get a “Instance of link needs Coordination Review” message. How do you adopt or ignore those changes?
In the example below, grids were copied from a Revit control file. The control file has been updated, and one grid has moved. Revit detects this change, and using the process below, you can update your elements to match the changed element. Here is how…
Upon opening your Revit file you will get this message:
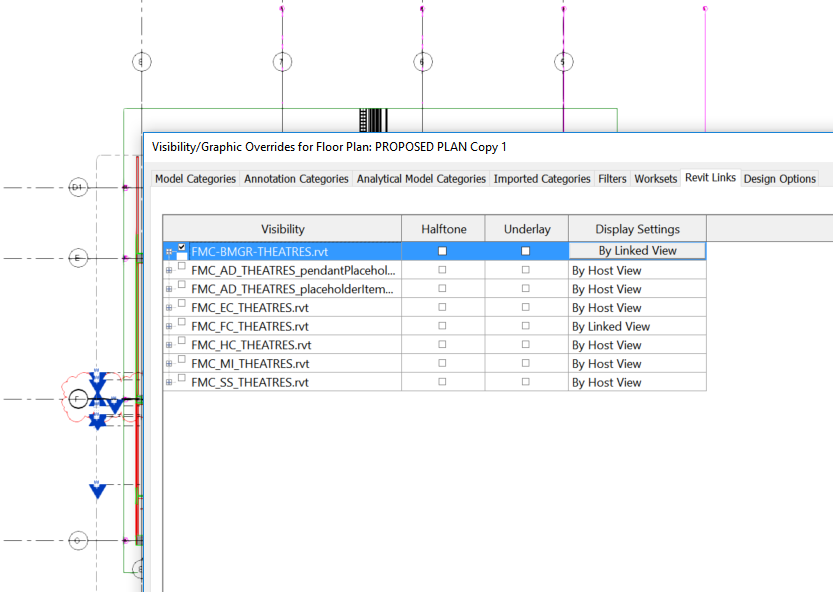
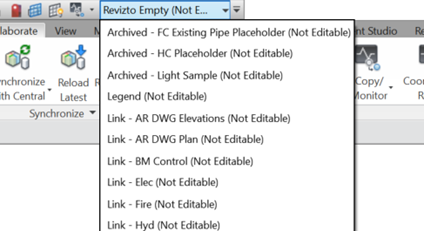
Go to a view where you can see the Link that needs to be reviewed:
Then, start the Coordination Review process:
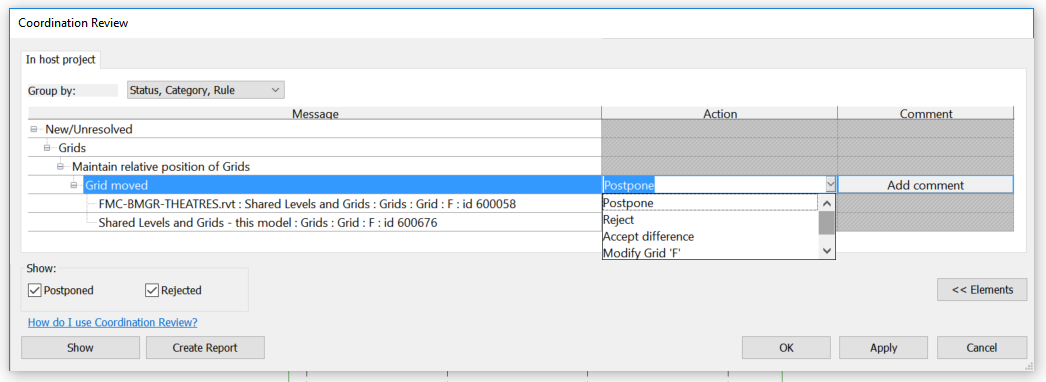
After picking the link, you will get a list of items and the potential actions:
Choose Modify if you want the element in your model to be modified to match the Link. Then press Apply.
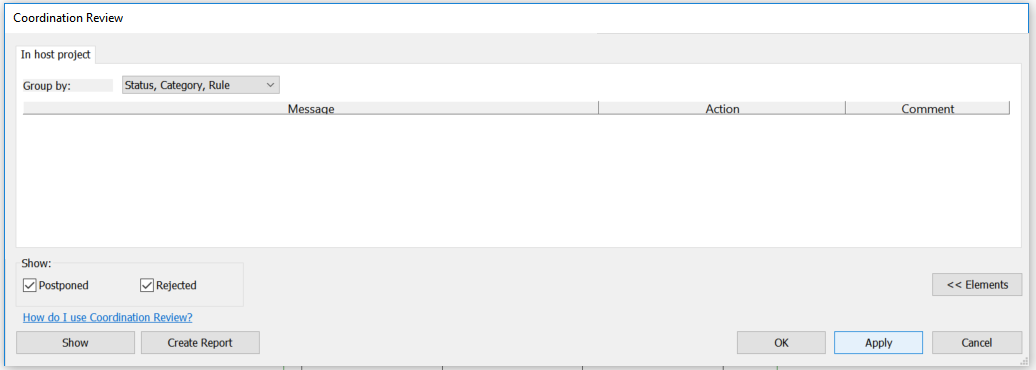
You should now see a clear dialog box. Your Coordination Review is complete:
There is a big difference between a Revit user, and someone who has really mastered the software. The more you learn, the faster you get, the more you can learn! In this blog series, we will cover topics like:
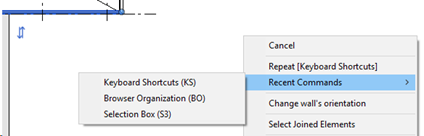
Productivity Improvement through User interface tips and Keyboard shortcuts
View filters and View templates
Free addins
Some Dynamo
And More…
There are plenty of ways to do things in Revit… but we are looking for the fastest and best way. We want to maximise productivity and quality.
Targeting ‘Expert’ users so we will move quickly in general.
A lot of productivity gains come from user interface and shortcuts. Save 2 seconds every time, it all adds up quickly.
Try to take a few things away with you from this series that will save you time each and every day.
We will separate our tips and workflows into these major categories:
Productivity – faster ways of doing things
Workflows – better or alternative ways of doing things
Management – ways to better manage the Revit model
These tips were put together for a recent lab session using Revit 2018, and they are basically in note form along with steps to take in Revit.
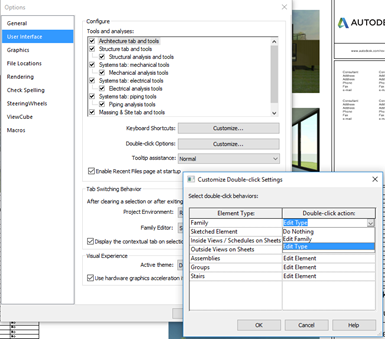
The first post in this series is focused on setting up the Revit UI.
Setting Up Revit UI for Maximum Productivity
Note:
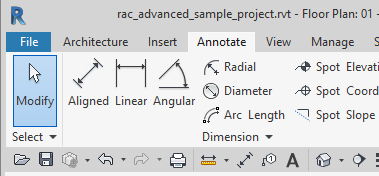
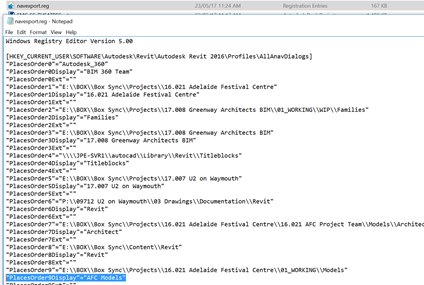
Please open Revit, and open the rac_advanced_sample_project.rvt
Please download and import the supplied KeyboardShortcuts.xml
Sometimes you will want to duplicate a Revizto project, perhaps for archive or testing purposes, or to re-share it with a new team. This post shows you how to do it quickly and properly.
Here’s how:
Start Revizto
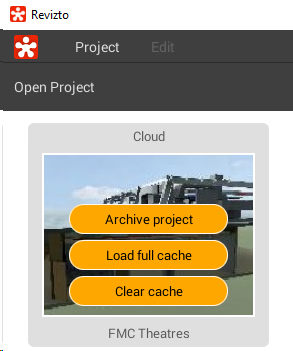
Load Full Cache by clicking Edit, then the yellow hamburger:
Double-click to Open the Project
Click Project and Save As
Give it a new name
If you want it to be a cloud project, you now need to Sync it to the cloud now. Currently it is just stored on your machine and the issue ids will not have populated. Just press Share, and then hit the Upload button at the bottom of that screen
That’s it, you now have a full copy of all 2D, 3D and issue information from the original Revizto project. You will have to invite new users to this project if you want them to be able to collaborate. Your existing project and users will be unaffected.
Way back in 2008, I was super excited about all things Revit and started What Revit Wants. I’m still super excited about Revit and BIM, and this is just a quick note to say thank you for all of your recent and ongoing support (like your replies here and here). What Revit Wants is not going away! We have had an interesting couple of weeks but we are back with more features than ever on a new web hosting platform.
Over on the previous host, What Revit Wants had received over 6.7 million page views! I’m really motivated to continue sharing with such a huge audience. I look forward to engaging with you on social media and via your comments too.
A little bit of housekeeping…
The main URL for What Revit Wants is now https://wrw.is/ If you have your own blog or site and you have linked to What Revit Wants, please update those links to the new site. Thank you so much!
While the Feedburner feed is currently still alive, if you do use RSS I recommend that you update your subscription to the official feed at https://wrw.is/feed/