Every now and then, you come across a software product that makes complete and absolute sense. As a Revit professional, I have spent a lot of time learning how to use Revit: how to play by the rules, and also when to bend them. With all my Revit experience, I recognise that there are some things that just don’t quite work perfectly in Revit. One of these is the rendering and material management process.
Over the years, I have seen rendering in Revit come a long way. You may remember the complete re-tooling of the Material management system a few years back? But even in 2016 and 2017, it is still a time-consuming process that requires a lot of tweaking. Having to wait each time for the result, then tweak settings, then wait again… well, we just don’t have time for that in today’s world, right?
That is why we have seen a huge increase in the amount of ‘real-time’ rendering tools and engines for Revit and BIM. But the one real-time rendering tool that really makes complete sense for Revit, is Enscape.
If you haven’t heard of it before, here is a quick overview of what it is and how it works…
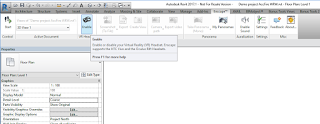
| Enscape Ribbon |
Overview
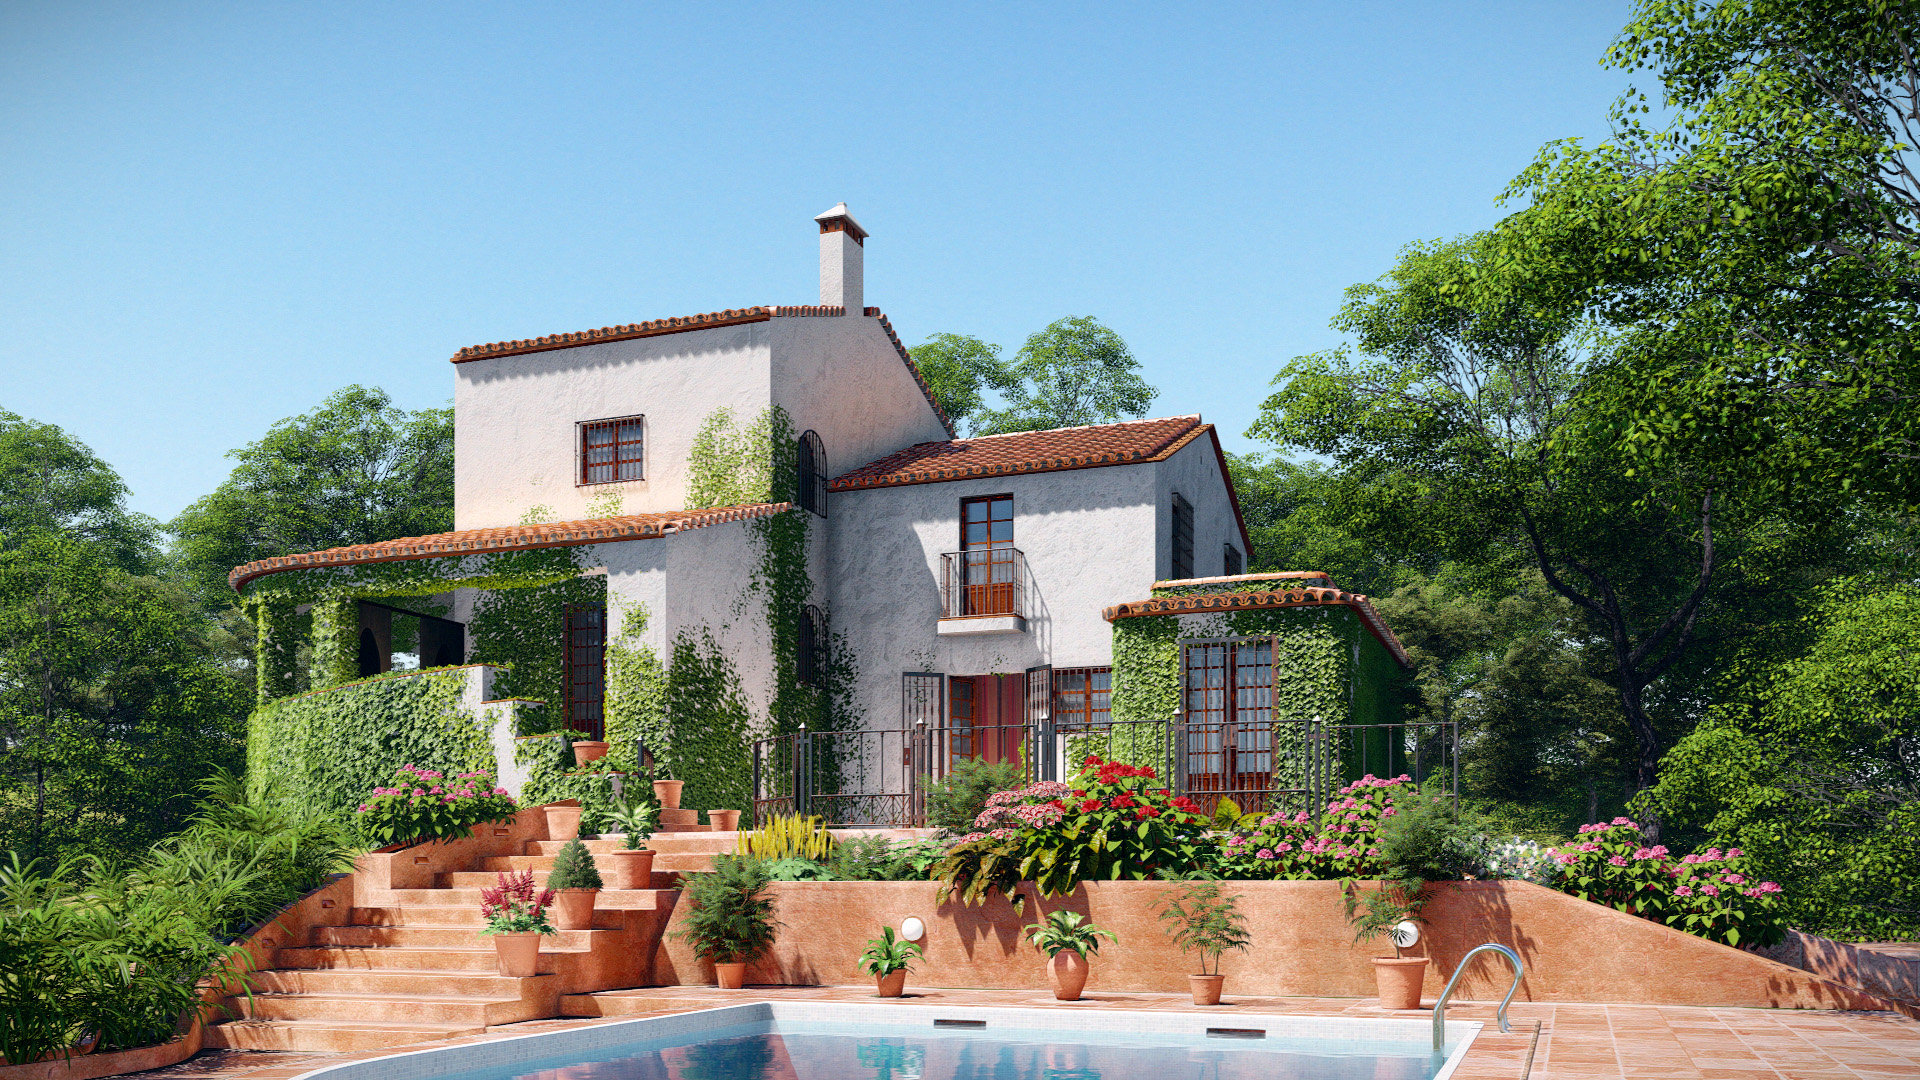
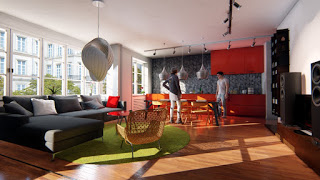
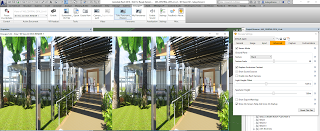
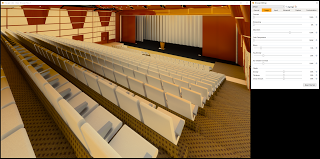
Basically, Enscape is a real-time rendering engine for Revit. It understands lighting and materials, and enables a plethora of visual effects. To use it, you simply open your Revit model, and literally just press the Enscape Start button. It will rapidly export the selected 3D scene view to a new Enscape window, and you will be able to walk around in a rendered environment using the default settings.
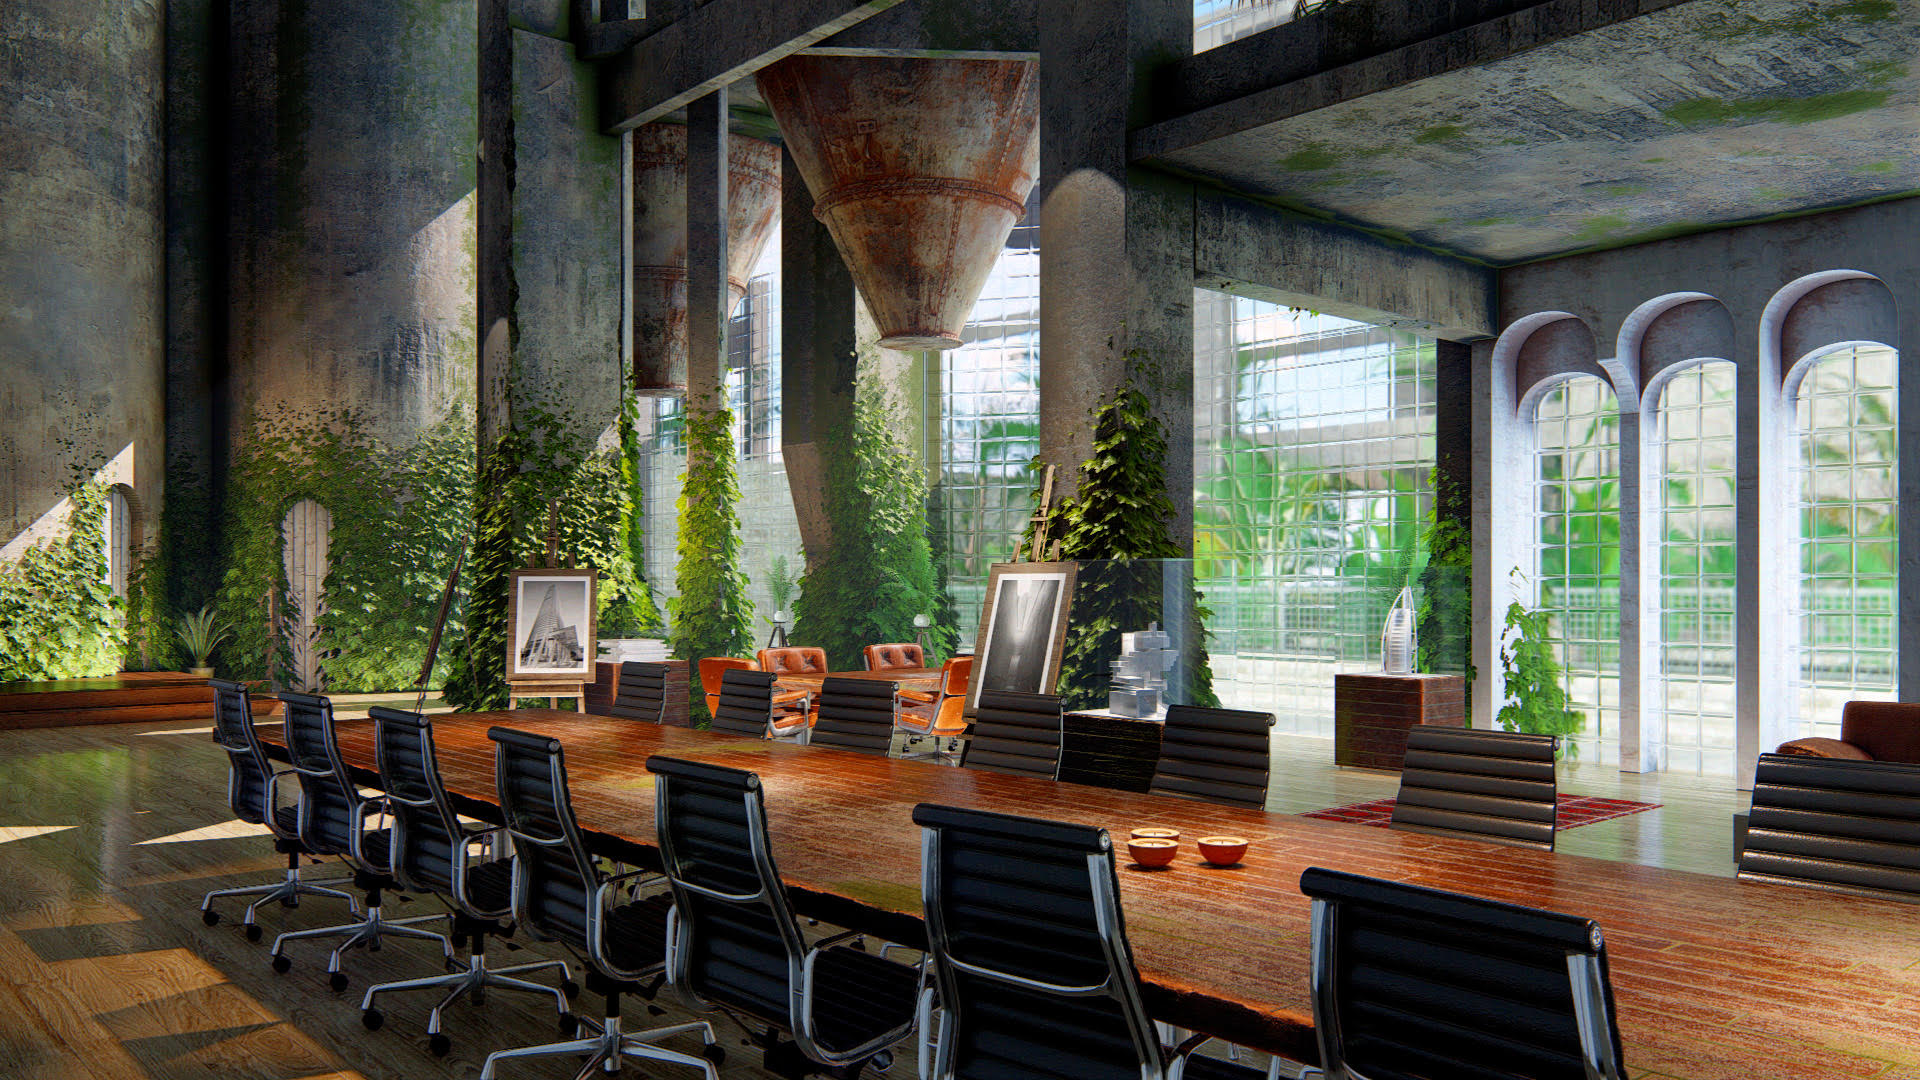
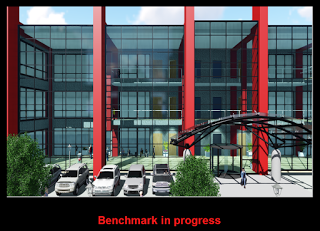
The first moment you see it in action is really jaw-dropping. Just how fast and smooth it is to go from a drab Revit coordination and documentation environment, to this bright and colourful, photorealistic world – it is something you really need to see with your own eyes. But, the ‘wow’ moment is really just the beginning…

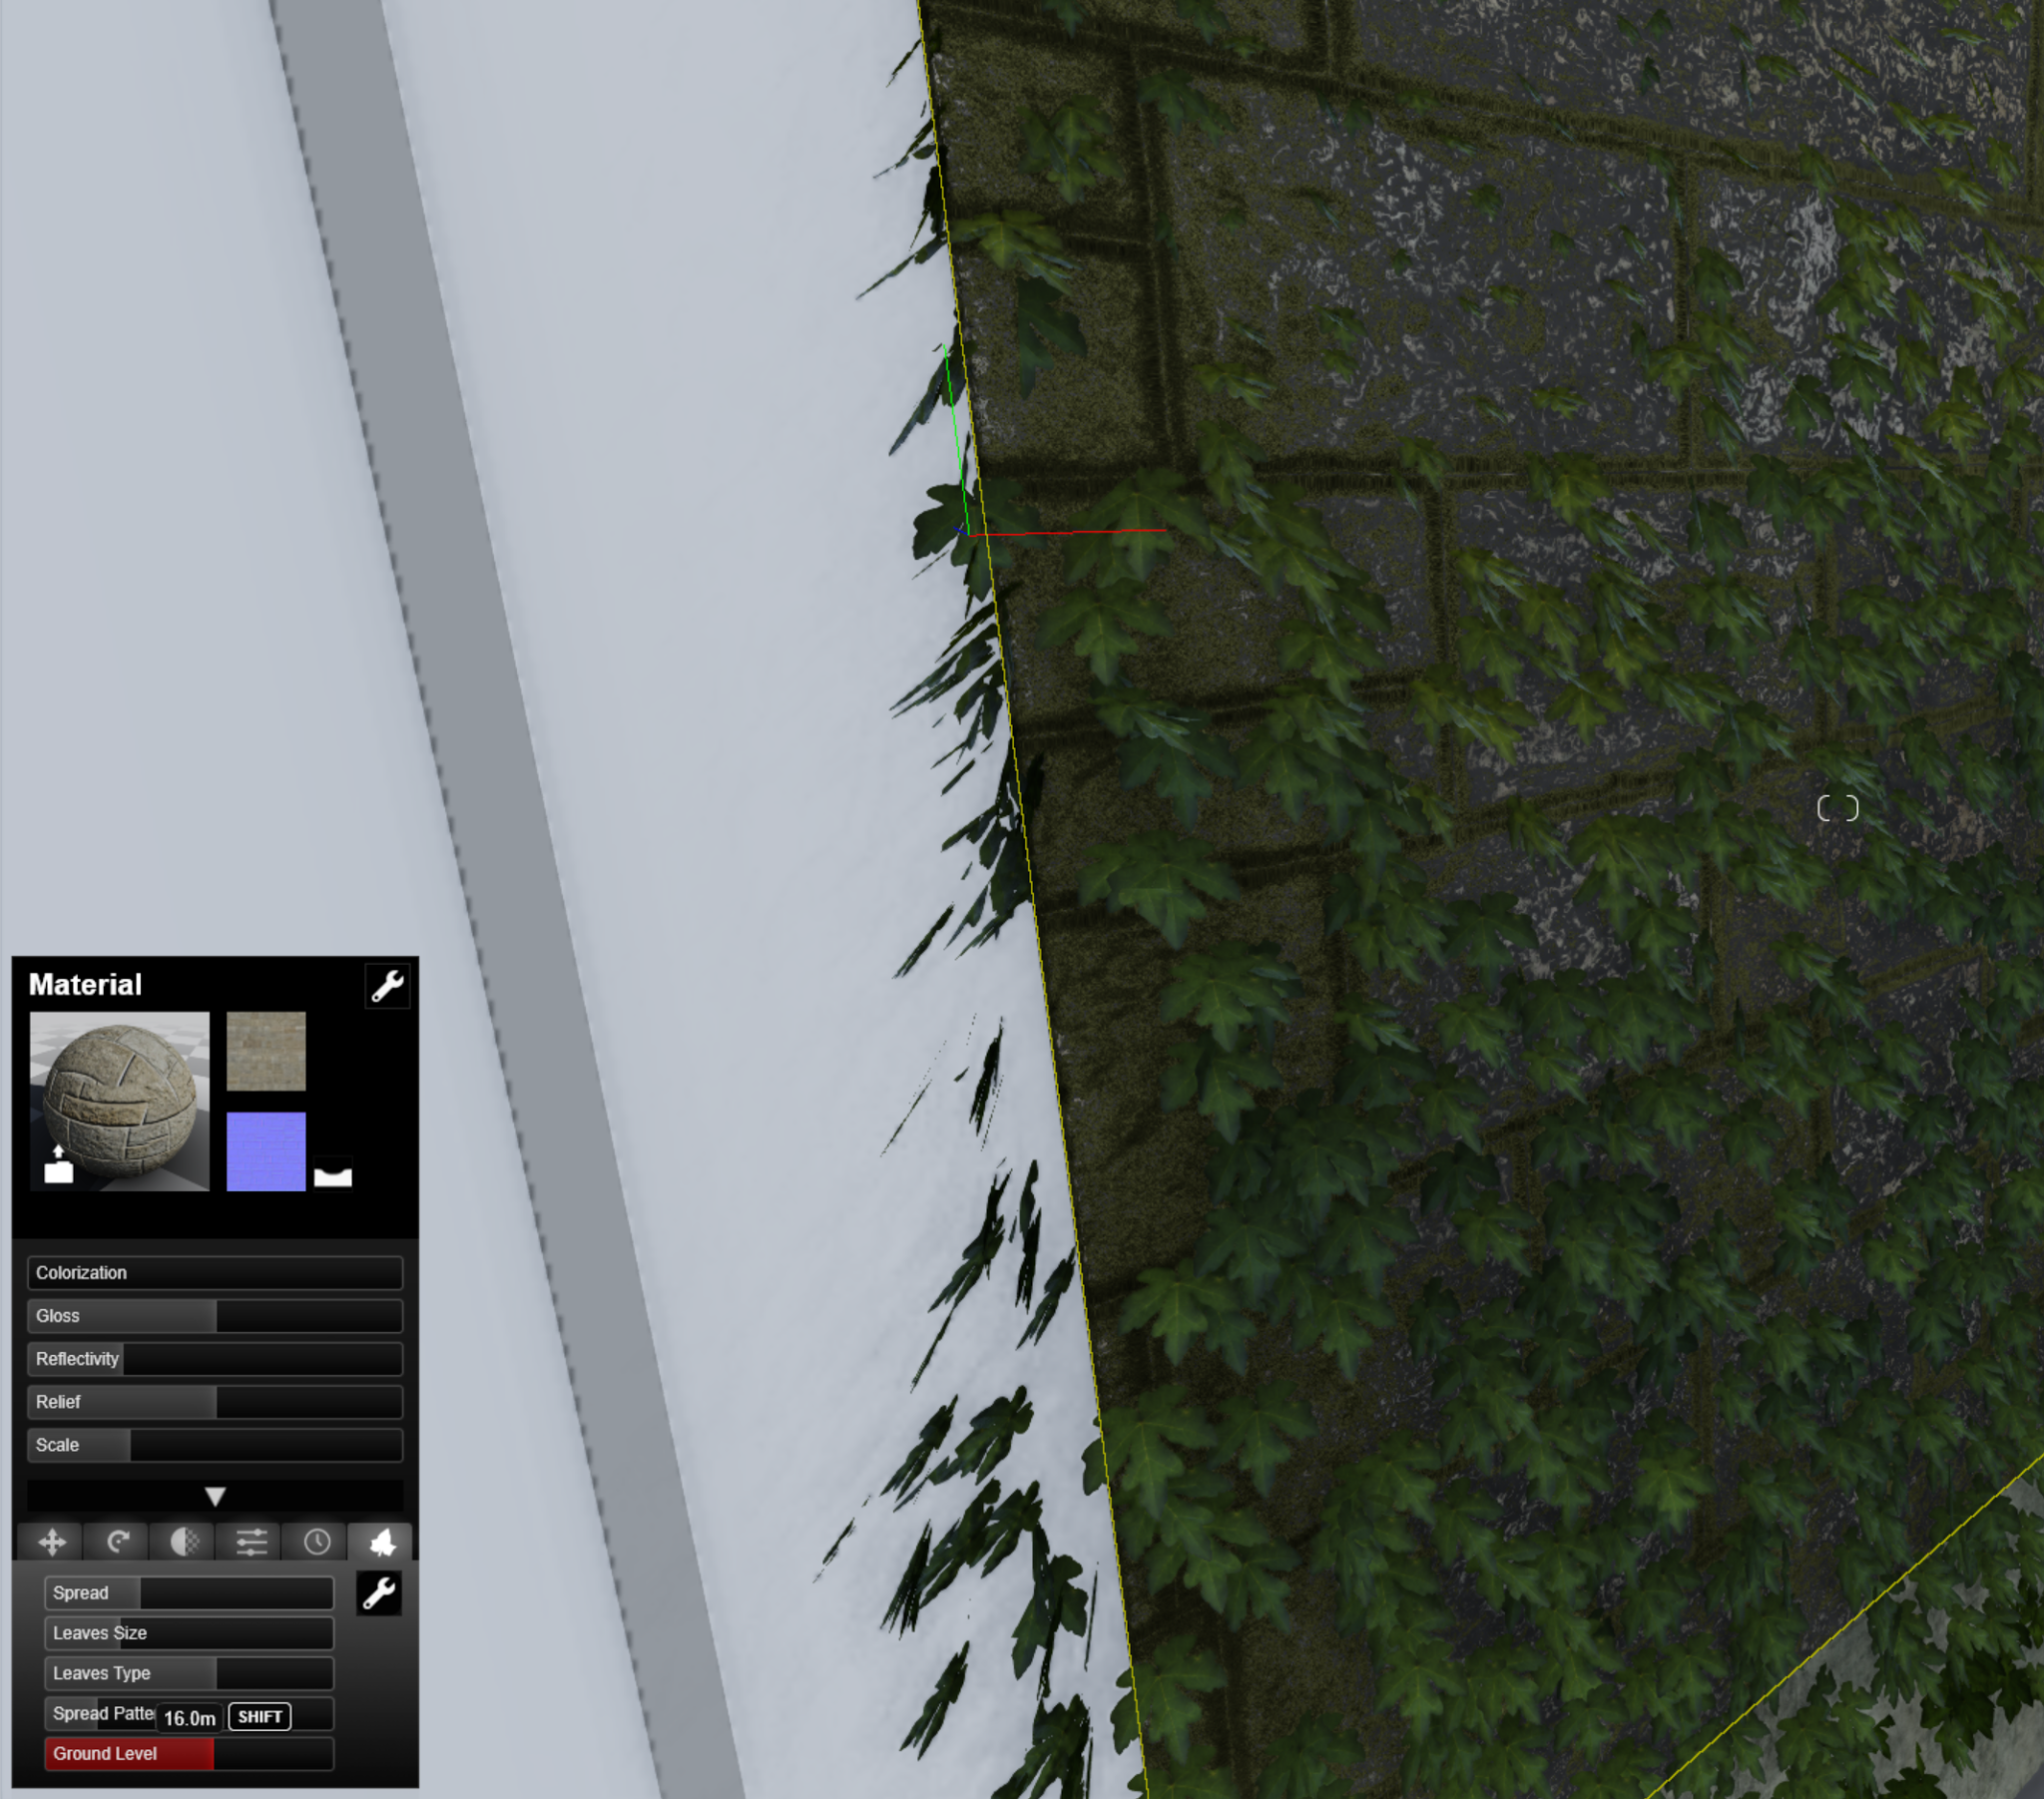
You see, Enscape maintains a live link to the current Revit session. So whatever changes you make in Revit, are then quickly visible in Enscape. Want to change the color of the walls? Just modify the material (Appearance Asset) in Revit, and watch as the color changes in the rendered view. Are you working on an interior furniture layout? Well, open a plan view in Revit and start nudging the furniture around with the arrow keys… then observe the furniture move in the rendered Enscape window! As I said, for rapid material and modelling iterations, Enscape simply makes complete sense.
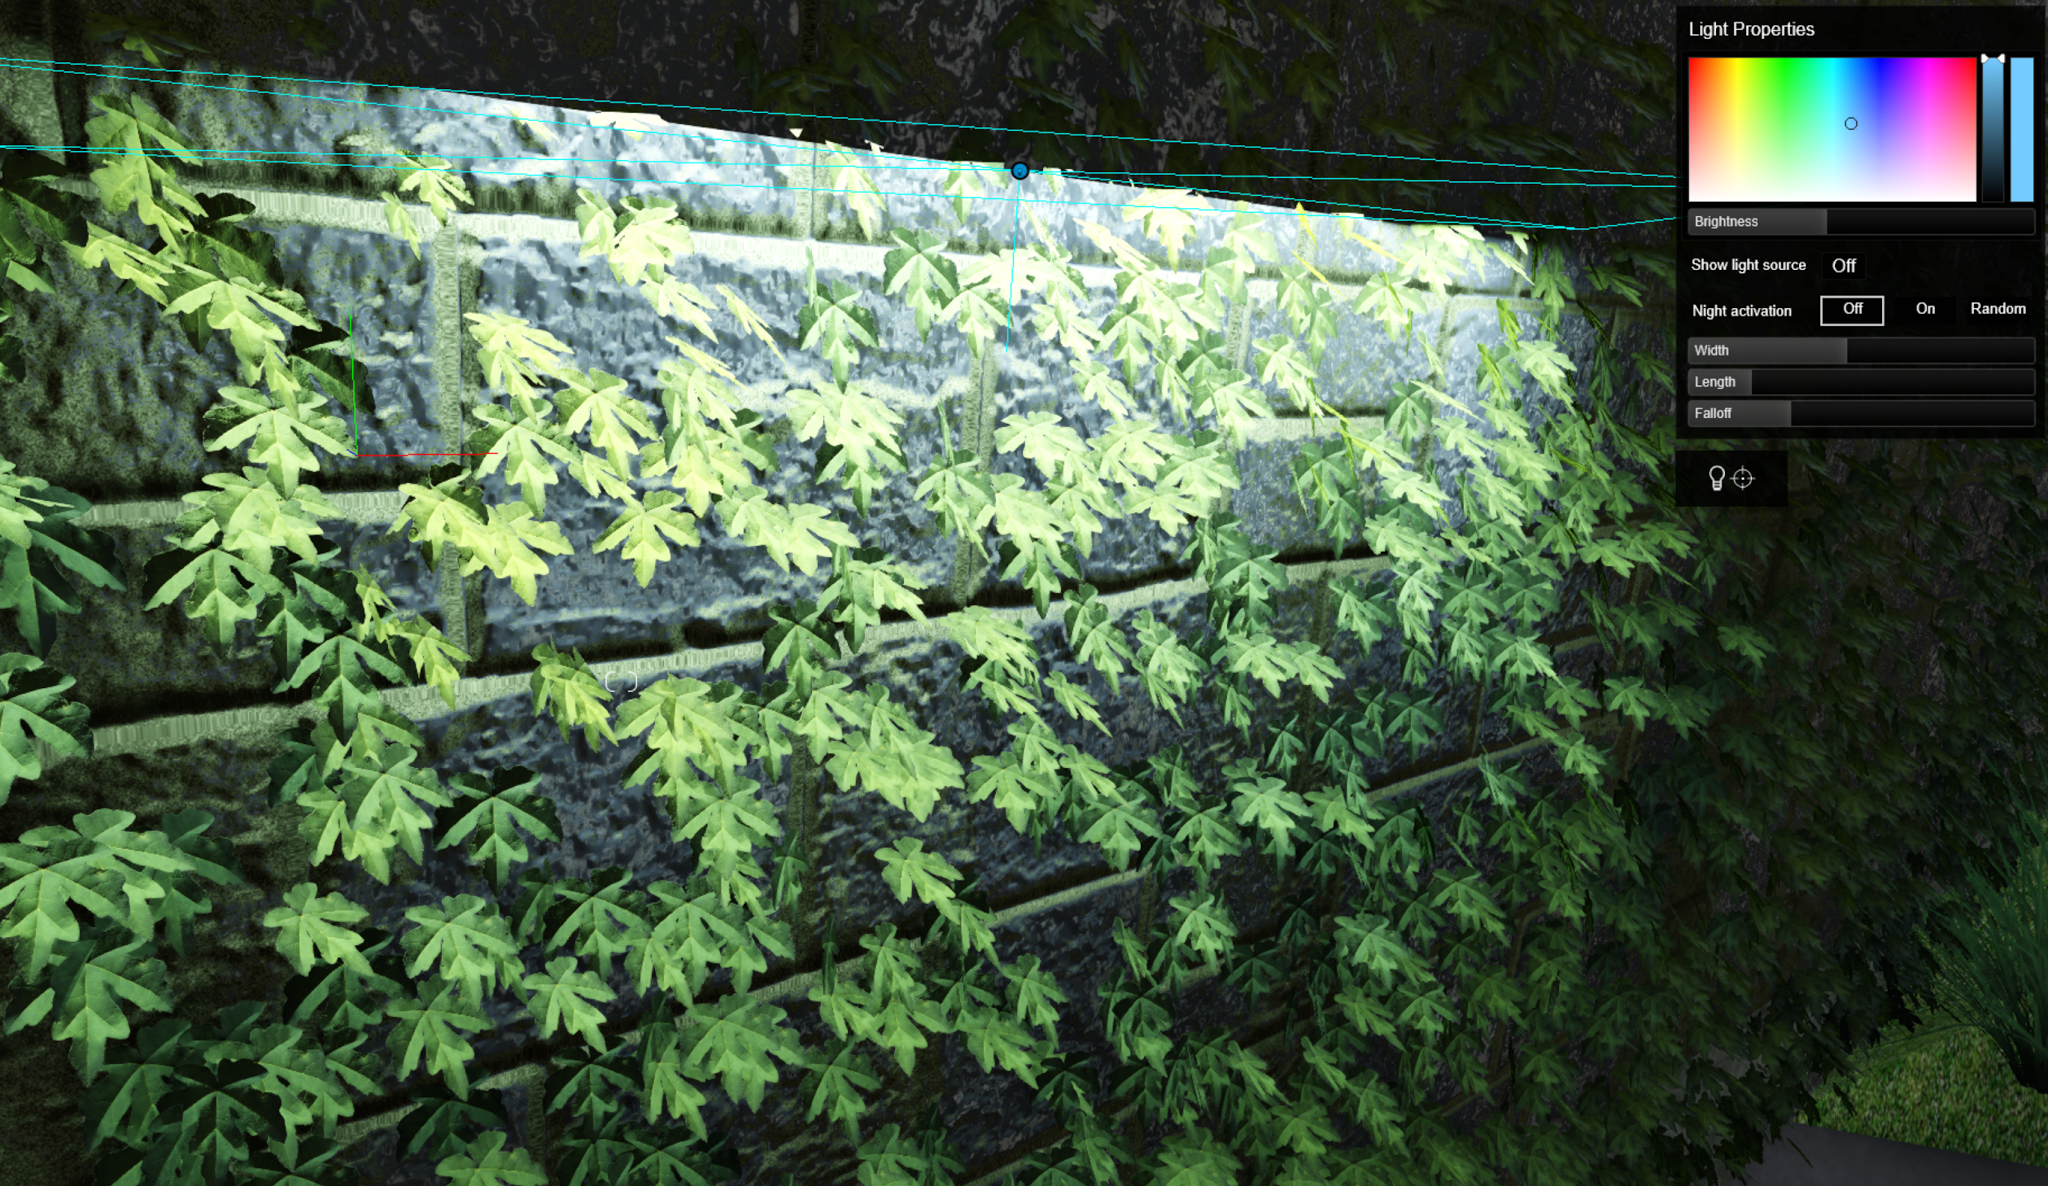
Also, any changes you make to the Enscape Settings are applied immediately to the live Enscape window. You can apply and remove visual effects, modify the lighting, colour, bloom effects, depth of field, clouds and so on without ever really having to wait for a lengthy render process. Once you have the desired settings, you can save that as a profile for use on any future projects.
Of course, if you are ever involved with briefing clients and communicating design intent, you are probably already starting to perceive the potential of Enscape. When you start to look around at its overall capability in more detail, you will understand the new power that Enscape puts into your dusty Revit hands.
Getting Started
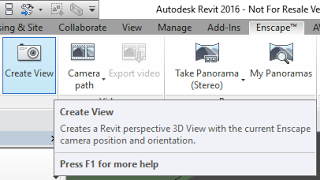
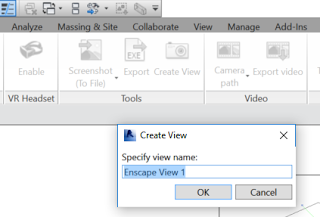
To launch Enscape, you can’t have a Perspective view as the current view in Revit. This is a Revit API limitation. So, you should go to a Drafting View or a Floor Plan view, and then select the desired ‘launch’ 3D view from the drop-down list on the Enscape ribbon. Then, press Start…
You should review the HUD (heads up display), which shows you the basic WASD navigation method (very familiar if you are a PC gamer). Left mouse button and drag changes view direction, right mouse button and drag changes the time of day…
Tip: hold down Shift to walk faster

Now, let’s see what Enscape can do!
1) Virtual Reality
I put this item first partly because of the current hype around VR, and also because at Virtual Built it was one of the main reasons we started using Enscape on real projects. We experimented with a lot of tools that allowed varying types and degrees of virtual reality experience, and we also looked at the whole pipeline – the process of taking Revit data, exporting it to some other platform, playing with lights, materials, content and so on, and finally generating or simulating the model in virtual reality.
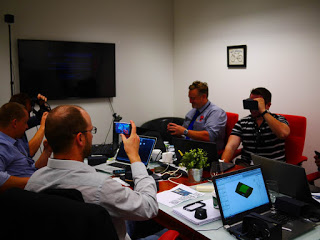
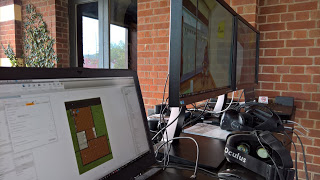
In the end, we found a lot of the alternatives left something to be desired. Primarily, we wanted something that required minimal re-work outside of Revit, and also that created real-time virtual reality (not static panoramas). And we were really pleased with the workflow and experience of using Enscape. The image below is taken from a real client presentation that we delivered during an important function for one of the top building companies in our state:
|
|
| The Virtual Built Enscape VR Kit |
Live VR Mode
The VR experience in Enscape is started in the same way as the normal windowed mode, you just need to press the Enable on the VR Headset pane. Oculus Rift and HTC Vive are now both supported, and at Virtual Built we have had good results with both devices.
With the Oculus Rift and gamepad navigation, the experience is very ‘easy’, for want of a better word. You can quickly explain the basic mechanics to a new users, and then allow them to navigate the rendered VR model. Depending how you want to implement this, you may also then need someone to drive the Revit session at the same time. You can have the Revit user modifying materials and furniture layouts, while the Client is experiencing all of these changes in a human-scale, immersive environment. Trust me, it is pretty revolutionary… It was this experience which partly led to the title of this review.
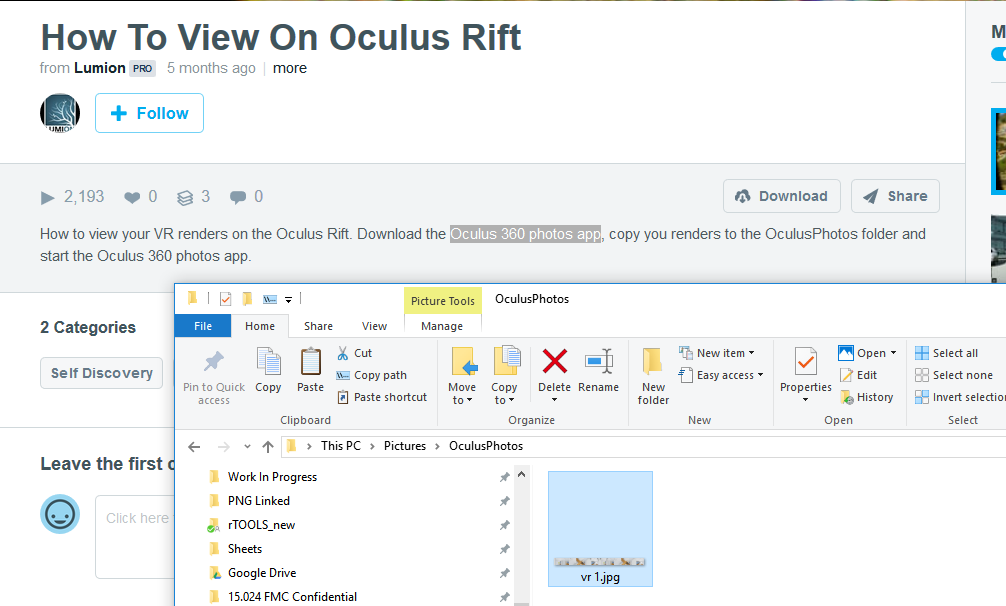
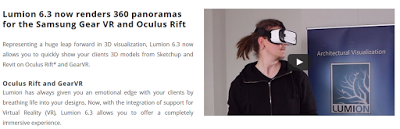
Here are a few other ways to integrate Enscape into a VR workflow, such as with Google Cardboard devices and easy sharing to mobile phones…
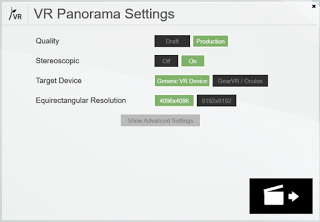
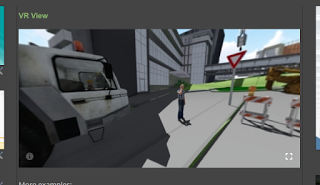
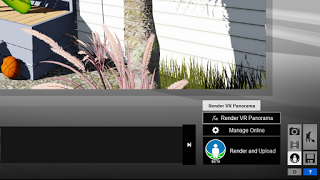
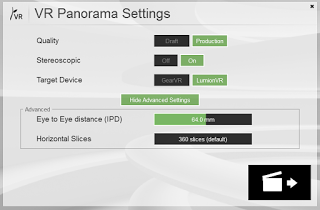
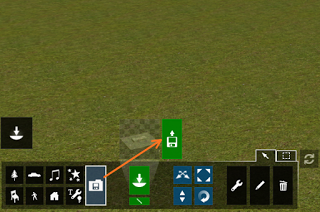
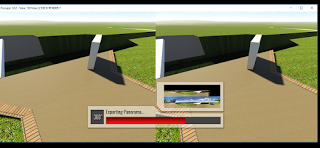
1a) Exporting and Uploading a Stereoscopic Panorama from Enscape (VR View)
- Start Enscape and set your viewpoint at the desired panorama location
- On the Revit Enscape Ribbon, use the “Take Panorama (Stereo)” option

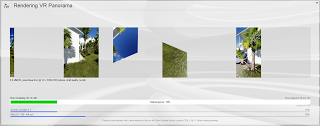
- Wait for the Export to finish

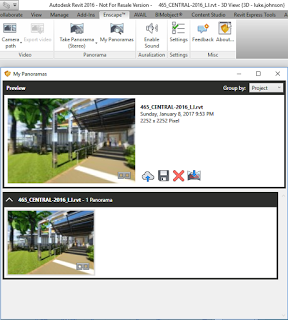
- Then use the My Panoramas button to see the completed Render
- Click on the cloud to upload the panorama
- Then click to view the panorama online

- You can share using the QR code

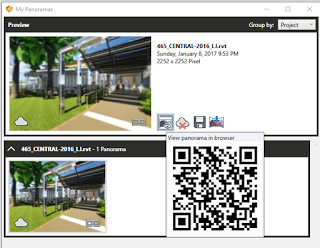
Here is an example panorama:
http://panorama.enscape3d.com/view/lcdszxzq/
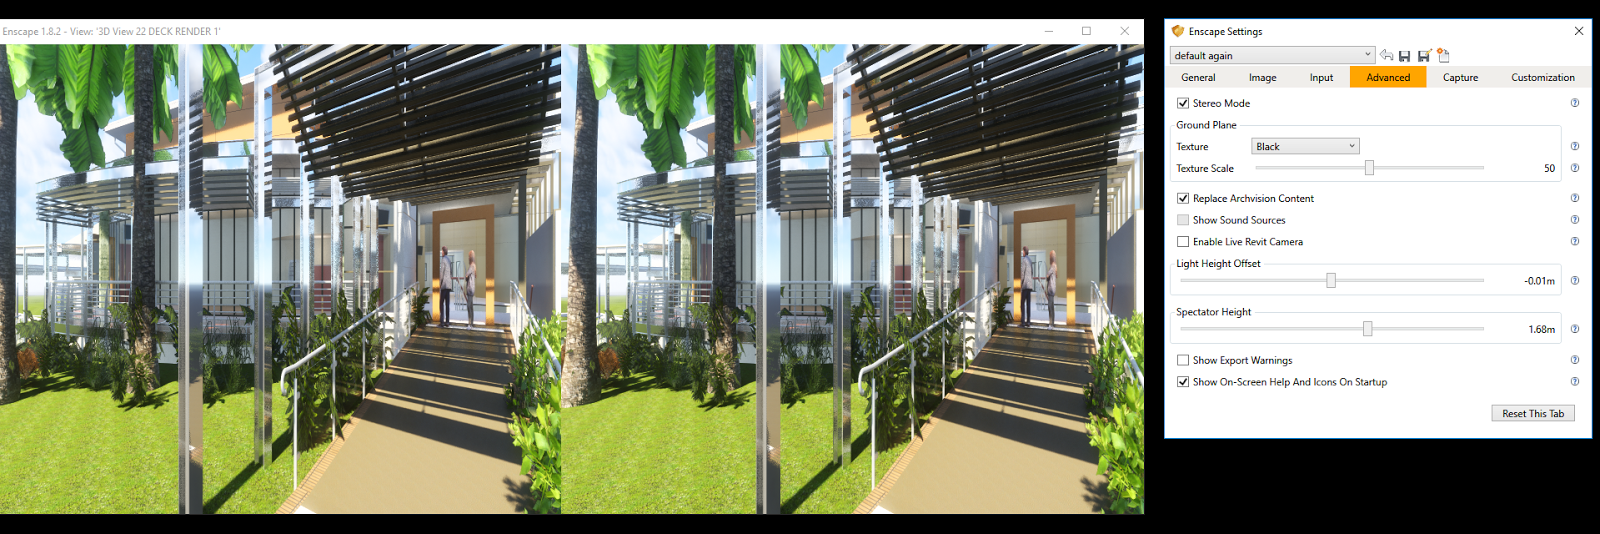
1b) Viewing a Live Stereo Render
Just tick the Stereo setting…
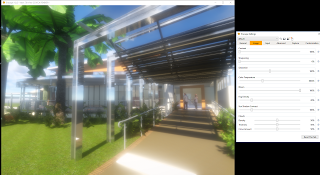
2) Effects Settings in Enscape
Enscape includes a range of effects that are useful for architectural presentations, including PaperModel (think sketch pen style) and a true Architectural ‘Two Point Perspective’, where vertical edges are always vertical.
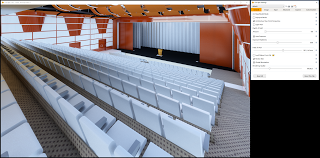
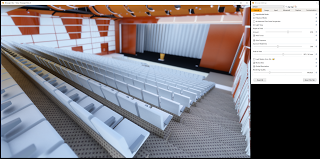
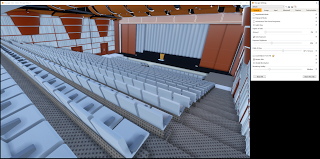
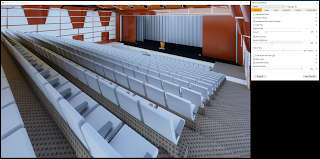
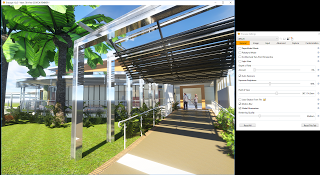
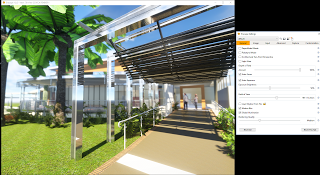
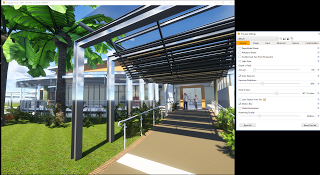
The effects in Enscape are mainly controlled on the General and Image tabs of the Enscape settings dialog. Below I show an example of each of the main effects.
|
|
| Default |

|
|
| Paper Model |
|
|
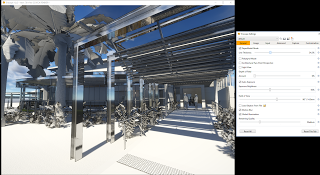
| Polystyrol |
|
|
| Two Point Perspective |
|
|
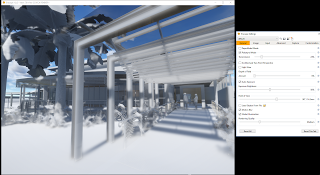
| Depth of Field |
|
|
| Global Illumination OFF |
|
|
| Ultra Quality |
|
|
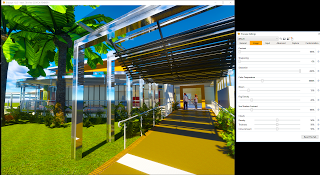
| Saturation 150% |

|
|
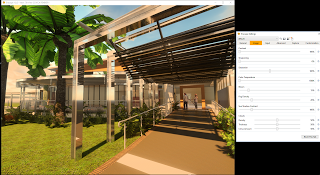
| Color Temperature – warmest |
|
|
| Bloom effect |

|
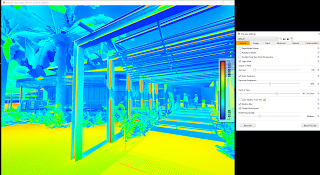
|
| Light (intensity) View |
|
|
| Sun vs Shadow Contrast – maximum |
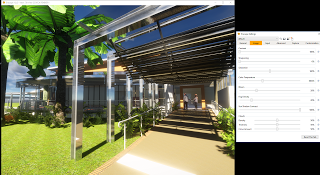
As you can see, while the Default settings look good, there is a lot of flexibility and room for experimentation. Because the changes are seen in real-time, you can do small tweaks and see the results immediately, meaning you can more quickly achieve the specific look-and-feel you want for your current design.
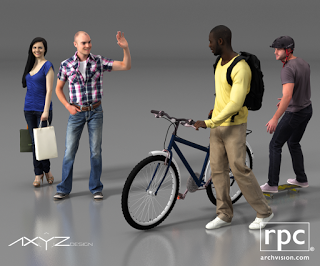
3) RPC
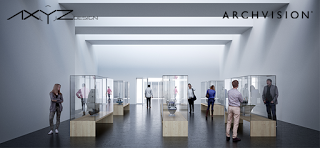
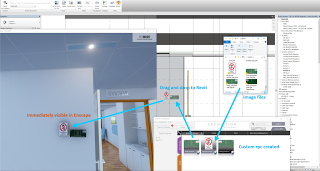
Enscape now supports rich photo realistic content (RPC), including custom content built using Archvision tools. This essentially opens up a lot of potential for rapid creation of RPC for use in your Revit and Enscape scenes.
Tip: keep in mind that 2D RPC will tend to look a little strange in Enscape when you move up close and pass by on one side of it…
Here is a quick overview on getting the RPC into your Revit and Enscape scene:
Read my previous post about it here:
Turn Any Photo Into Enscape Content In a Matter of Minutes
Tip: Make an Enscape View Template to quickly share your 3D view settings to different viewpoints in Revit
4) Output Options
There are a host of new ways to export your presentations once you begin to adopt Enscape into your workflow. Above we have already discussed:
- simple navigation (view still images, and move around your model in real time)
- Virtual Reality panorama image export and upload, and the
- Live VR experience.
There are many others, such as:
- Export still image (default hotkey is Shift+F11) as file, or to a Revit Rendering view in the Revit file
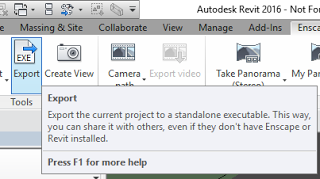
- Export to EXE – a standalone viewer for the current project that you can share with clients

- Save Perspective viewpoint to Revit session

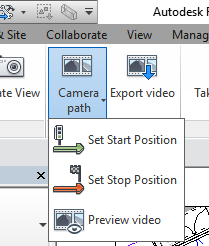
- Export video (set Start and End frames, then Export to video file)

Setup video
Personally, I suggest you start with the basic desktop Enscape interface, and get comfortable navigating around and showing your Revit model to others around you. Then, you can naturally grow in your Enscape knowledge and explore more of the settings and output options. It really can give you a clear edge over some of your competitors, particularly in design- and presentation-focused fields such as Architecture studies or high end Design Competitions.
5) Updating Enscape
Enscape has an auto-update feature that will open a dialog when you first start Revit, and then prompt you to download the update through the browser.
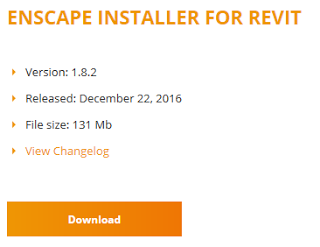
You can also manually check for updates from the About dialog box:

Note: this review was prepared using Enscape 1.8.2.
Final Thoughts
At Virtual Built, we have started to explore the use of Enscape on a variety of projects. It is a great tool for real-time immersive VR presentations, and it maintains a very strong link to the Revit environment. For that reason it is not a disconnected endpoint, but an extension of the familiar Revit BIM environment… that gives you new and impressive ways to present and share your designs.
Due to its speed and ease of use, you will be able to test it out quickly on a few projects and experience that initial ‘wow’ factor. From there, I hope you will start to see how it really can revolutionize your Revit presentation capability, taking you to the next level of beautiful Revit artistry.
I hope you enjoy trying out Enscape, and feel free to reply here with your thoughts 🙂
How To Get It
Go to this link to get access to a 14 day Enscape trial
————————————————–
Other Links
Check out some of the LinkedIn posts about Enscape from Phil Read, like this one:
https://www.linkedin.com/pulse/enscape-update-youre-using-revit-only-makes-sense-use-phil-read
How to Make Custom RPC with Archvision:
RAAS Cloud Rendering
More example images
Below I show some more examples of each of the main effects.
|
|
| Default Settings |
|
|
| Paper Model |
|
|
| Polystyrol |
|
|
| Two Point Perspective |

|
|
| Light (intensity) View |
|
|
| Depth of Field (far objects out of focus) |
|
|
| Global Illumination OFF |
|
|
| Ultra Quality |

|
|
| Saturation 200% |
|
|
| Color Temperature – warmest |
|
|
| Bloom effect |
|
|
| Sun vs Shadow Contrast – maximum |