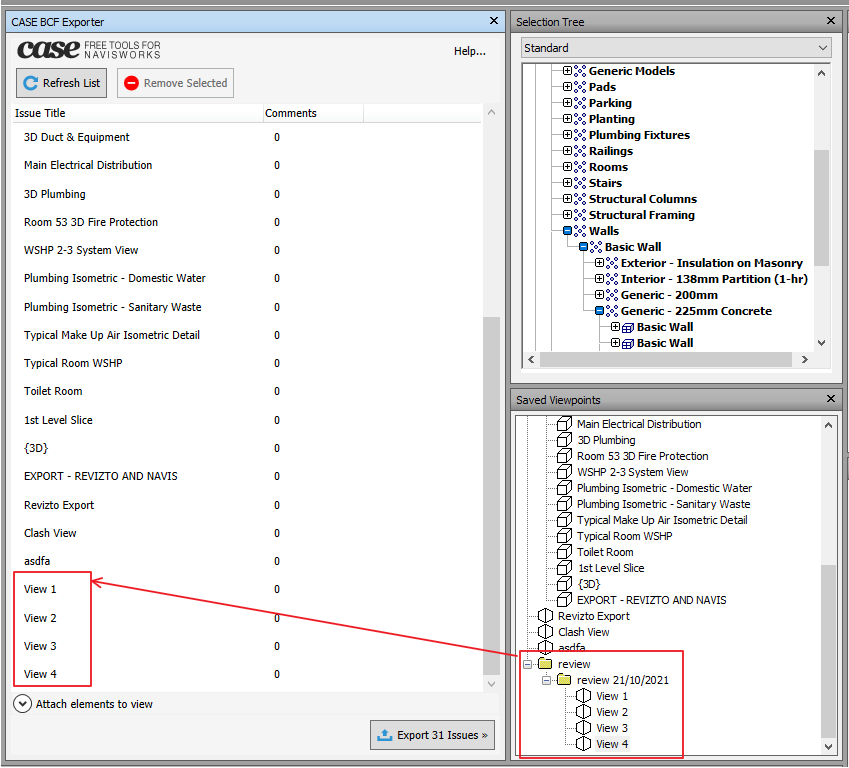
As you know, Revizto is the best Integrated Collaboration Platform on the market today, especially if we are talking about AEC and BIM Coordination and Management. However, some people and companies still do things ‘the old way’. For example, some companies still create Viewpoints in Navisworks, share those Viewpoints as actions, and call that ‘coordination’ or ‘collaboration’ (which it really isn’t). Instead, with the Revizto ribbon in Navisworks, you can simply click Create Issue, Apply a Stamp, and immediately start collaborating with your team in the cloud.

But, we generally still have to sometimes work with people who do things ‘the old way’. So, if we still want to mainly work in Revizto, but we are receiving Navisworks Saved Viewpoints as a kind of action list, what then?

Years ago, there was a cool BIM and Technology company called CASE that got bought out by WeWork. CASE built and released some really nice free software, including addins and plugins for Revit and Navisworks. Those plugins were ultimately released as open source in dead link here, and partly maintained in a fork here.

Revizto allows us to import BCF files. So all we need is a Navisworks addin that converts Saved Viewpoints to BCF files … and CASE built one of those back in the day! I previously posted about the CASE BCF Exporter here.

I spent some time over the last day or so downloading the repos, setting references, and fixing the Build problems. I have now built the Case BCF Exporter ( CASE.Navis2BCF ) for Navisworks 2018 and Navisworks 2021 (update – I have also compiled and test for Navisworks 2020 as well):

you can download compiled 64-bit BCF Exporter plugins from here

How do we use this?

  1. Install the plugins. In the downloaded package, there is a ReadMe file. Depending on version, it says:
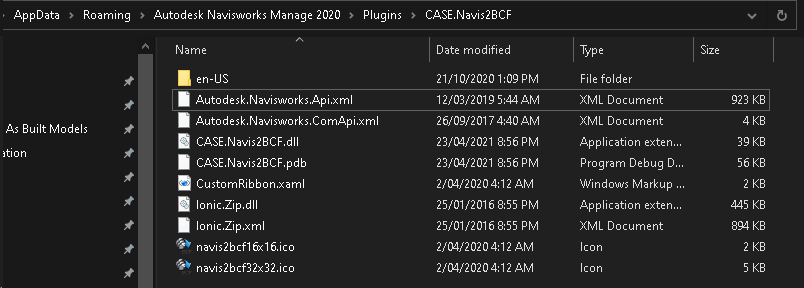
    Copy CASE.Navis2BCF folder into:
    %APPDATA%Autodesk Navisworks Manage 2021Plugins
    
    Restart Navisworks
    
    Open View - Windows and enable "Case BCF Exporter"
    
    
  2. Open your Navisworks model that includes Saved Viewpoints. Sometimes you may be sent a Viewpoint XML file and you need to import it to Navisworks.
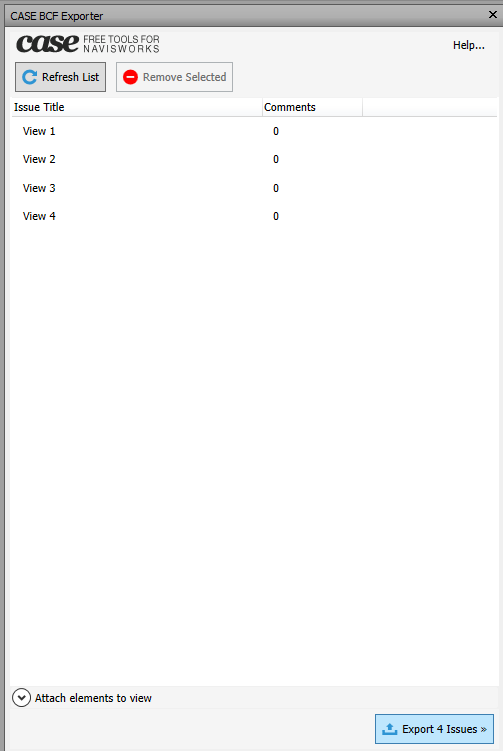
  3. Now, with the BCF Exporter panel open, click “Refresh List”. You should see clearly the Viewpoints that you want to Export as BCF. You may need use Shift+select to select and Remove any Viewpoints from the BCF Exporter list that you DON’T want in the BCF.

  4. With your shorter list showing, click Export Issues

  5. Save the .bcfzip file when prompted. A descriptive name will be useful later, as the issues will be tagged with the filename.

  6. Open Revizto Viewer and open the Issue Tracker
  7. Click down arrow to Import issues from BCF

  8. Select the BCFzip file you saved, then click Open
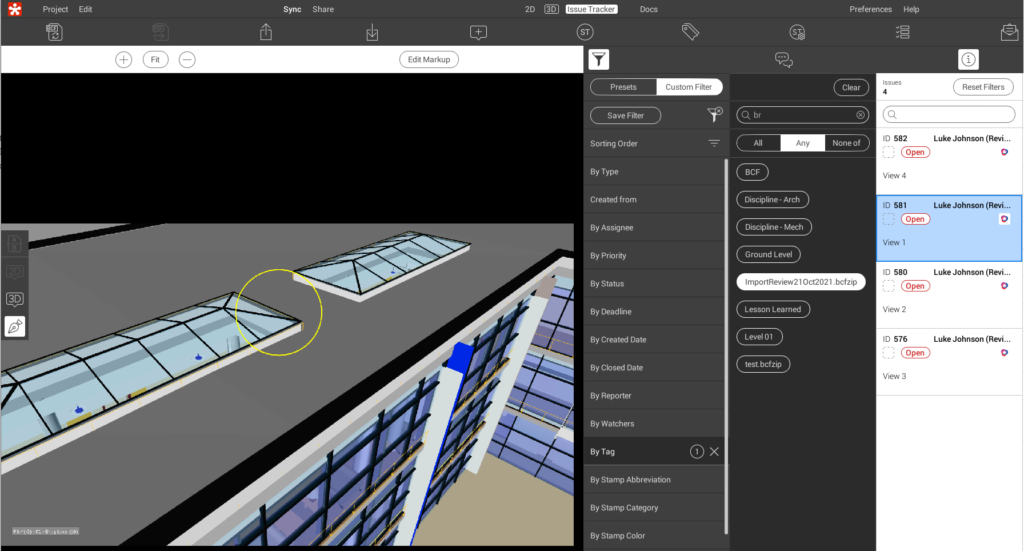
  9. Now, the issues (including Camera location and Markup image) are all imported to Revizto from Navisworks Saved Viewpoints!
  10. To quickly view these, open the Filters, Custom Filter, go to Tags, and choose the relevant BCF filename from here:

I would love to go ahead and build the plugin for Navisworks 2019 and 2020, so I will update the post here when that is done.

Hope this helps some of you to keep using Revizto to maximum efficiency, even if some people around you are still doing things ‘the old way’ 🙂


UPDATE:

I have now compiled for Navisworks 2020 and tested it.

Installation location looks like this:
nameinline-794820919-4582504

Fixes

  • When loading merged models from BIM 360 Glue, selection sets and clash tests that
    were created with Navisworks 2018 or earlier now show and maintain the correct
    individual model or file selections (NW-54655).
  • Changing a Timeliner appearance using the Configure tab no longer causes a crash
    when .NET Framework 4.8 is installed (NW-54941).
  • Navisworks will no longer run out of memory and crash when saving an NWF file larger
    than 2GB to an NWD format (NW-55133).
  • Patched a potential security vulnerability in the licensing code (NW-55168).


Known Issues

Release Notes

Direct Download

Navisworks Freedom 2019 Update 4 Direct Download Link Here

This post includes download links and release notes for Navisworks 2019 Update 3.

Navisworks Manage 2019 Update 3 Direct Download Link

Release notes

File name: NW_NAVMAN_2019_Update3.exe

Enhancements

  • Levels are now hidden when reading IFC files using the Revit IFC loader (NW-54146).
  • Revit and IFC files now default to Shaded render mode when loaded using the Revit and Revit IFC loaders (NW-54945).

Fixes

PDMS attribute files

  • PDMS attribute files (e.g. ATT, TXT files) can now contain lines longer than 500 characters (NW-54885).
  • PDMS attribute files containing attributes with the prefix ‘END’ in their name are now processed correctly (NW-54887).

Revit files

  • Geometries are now displayed correctly when loading Revit files using File > Export > NWC (NW-54912).

IFC loader

  • When reading IFC files using the Revit IFC loader, all geometry elements are now converted and displayed correctly (NW-54940).


Navisworks Freedom 2019 Update 3 Direct Download Link

Navisworks Simulate 2019 Update 3 Direct Download Link


Having recently installed some more storage hardware, and previously posted about moving folders with symbolic links, I then decided to move my BIM 360 Glue cache folder and Navisworks Cache folder to a secondary hard drive. I did this using symbolic links.

You need to:

  • start a Command Prompt as Administrator
  • use the commands shown below

Moving BIM 360 Glue cache storage location:

if exist "%localappdata%\Autodesk\Bim360Glue 2016\LocalCache" rename "%localappdata%\Autodesk\Bim360Glue 2016\LocalCache" bim360glue2016.old
mklink /d "%localappdata%\Autodesk\Bim360Glue 2016\LocalCache" R:\BIM360Glue2016
if not exist R:\BIM360Glue2016 MD R:\BIM360Glue2016
robocopy /mir "%localappdata%\Autodesk\Bim360Glue 2016\bim360glue2016.old" R:\BIM360Glue2016\

Moving Navisworks cache storage location:

if exist "%localappdata%\Autodesk\Navisworks 2019\LocalCache" rename "%localappdata%\Autodesk\Navisworks 2019\LocalCache" Navisworks2019Cache.old
mklink /d "%localappdata%\Autodesk\Navisworks 2019\LocalCache" R:\Navisworks2019Cache
if not exist R:\Navisworks2019Cache MD R:\Navisworks2019Cache
robocopy /mir "%localappdata%\Autodesk\Navisworks 2019\Navisworks2019Cache.old" R:\Navisworks2019Cache\

After you have run the scripts above, you can delete the old folders with the .old suffix (Navisworks example shown below).

Experienced Navisworks Coordinators typically have a very solid workflow in place for grouping clashes into clash groups. Some prefer to do that part manually (with selection and filters), so they can observe and determine which items should be grouped together. Others will use an auto-grouping tool, like bim42 Group Clashes, or iConstruct.

If you are using iConstruct and you wish to use the Navisworks clash group data downstream, you may wish to preserve existing clash groups at each subsequent clash run, and only group the ‘new ungrouped’ clashes. The bim42 Group Clashes tool has a tickbox for this, and iConstruct 2019 provides a filter. If you are using iConstruct 2018 or older, you may be wondering how to preserve existing clash groups and only “push” the grouping rules for clashes that are currently not grouped.


Here’s how:

  1. Run the Clash Manager from iConstruct
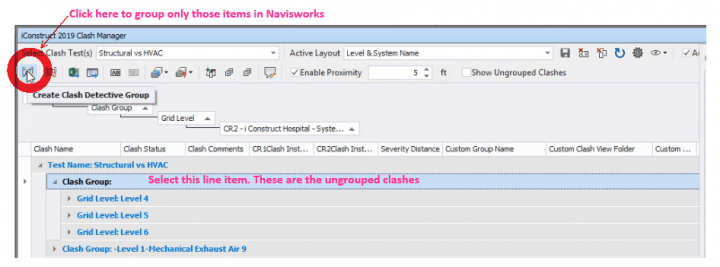
  2. Find the list entry without a name
  3. Versions:
    • iConstruct 2019 has a filter for “Show Ungrouped Clashes”
    • iConstruct 2018 – select only the ‘unnamed’ Clash Group: ,
  4. Then click “Create Clash Detective Group”
  5. iConstruct will immediately create the relevant groups from only the ungrouped clashes
  6. You can then go ahead and Sync to Revizto, or use the data downstream in some other workflow


Here’s a video from Robert Gadbaw that clearly demonstrates this workflow:

This workflow will allow you to use iConstruct to group your clashes, and preserve those groups when Syncing with Revizto. Revizto has a very solid and customisable connection to Navisworks that includes the ability to sync the clash results with Revizto Issues in both directions.

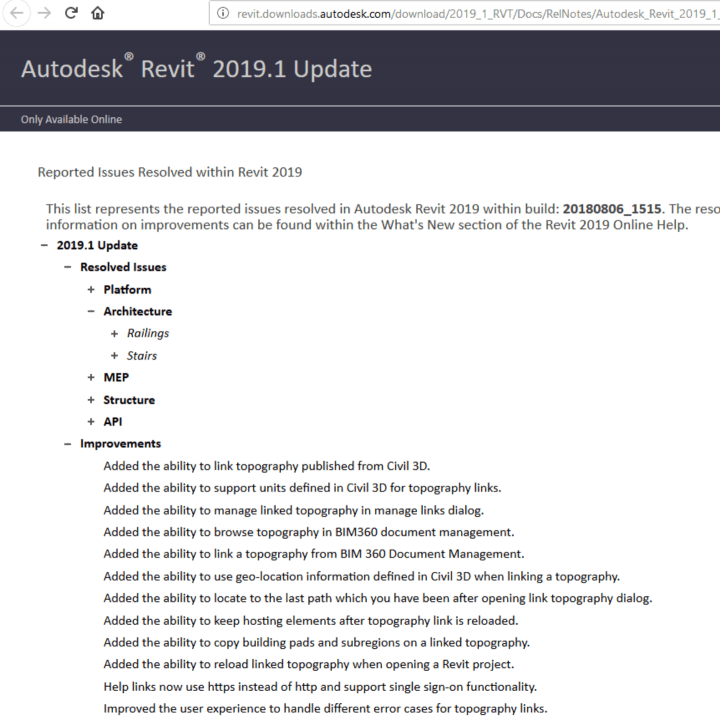
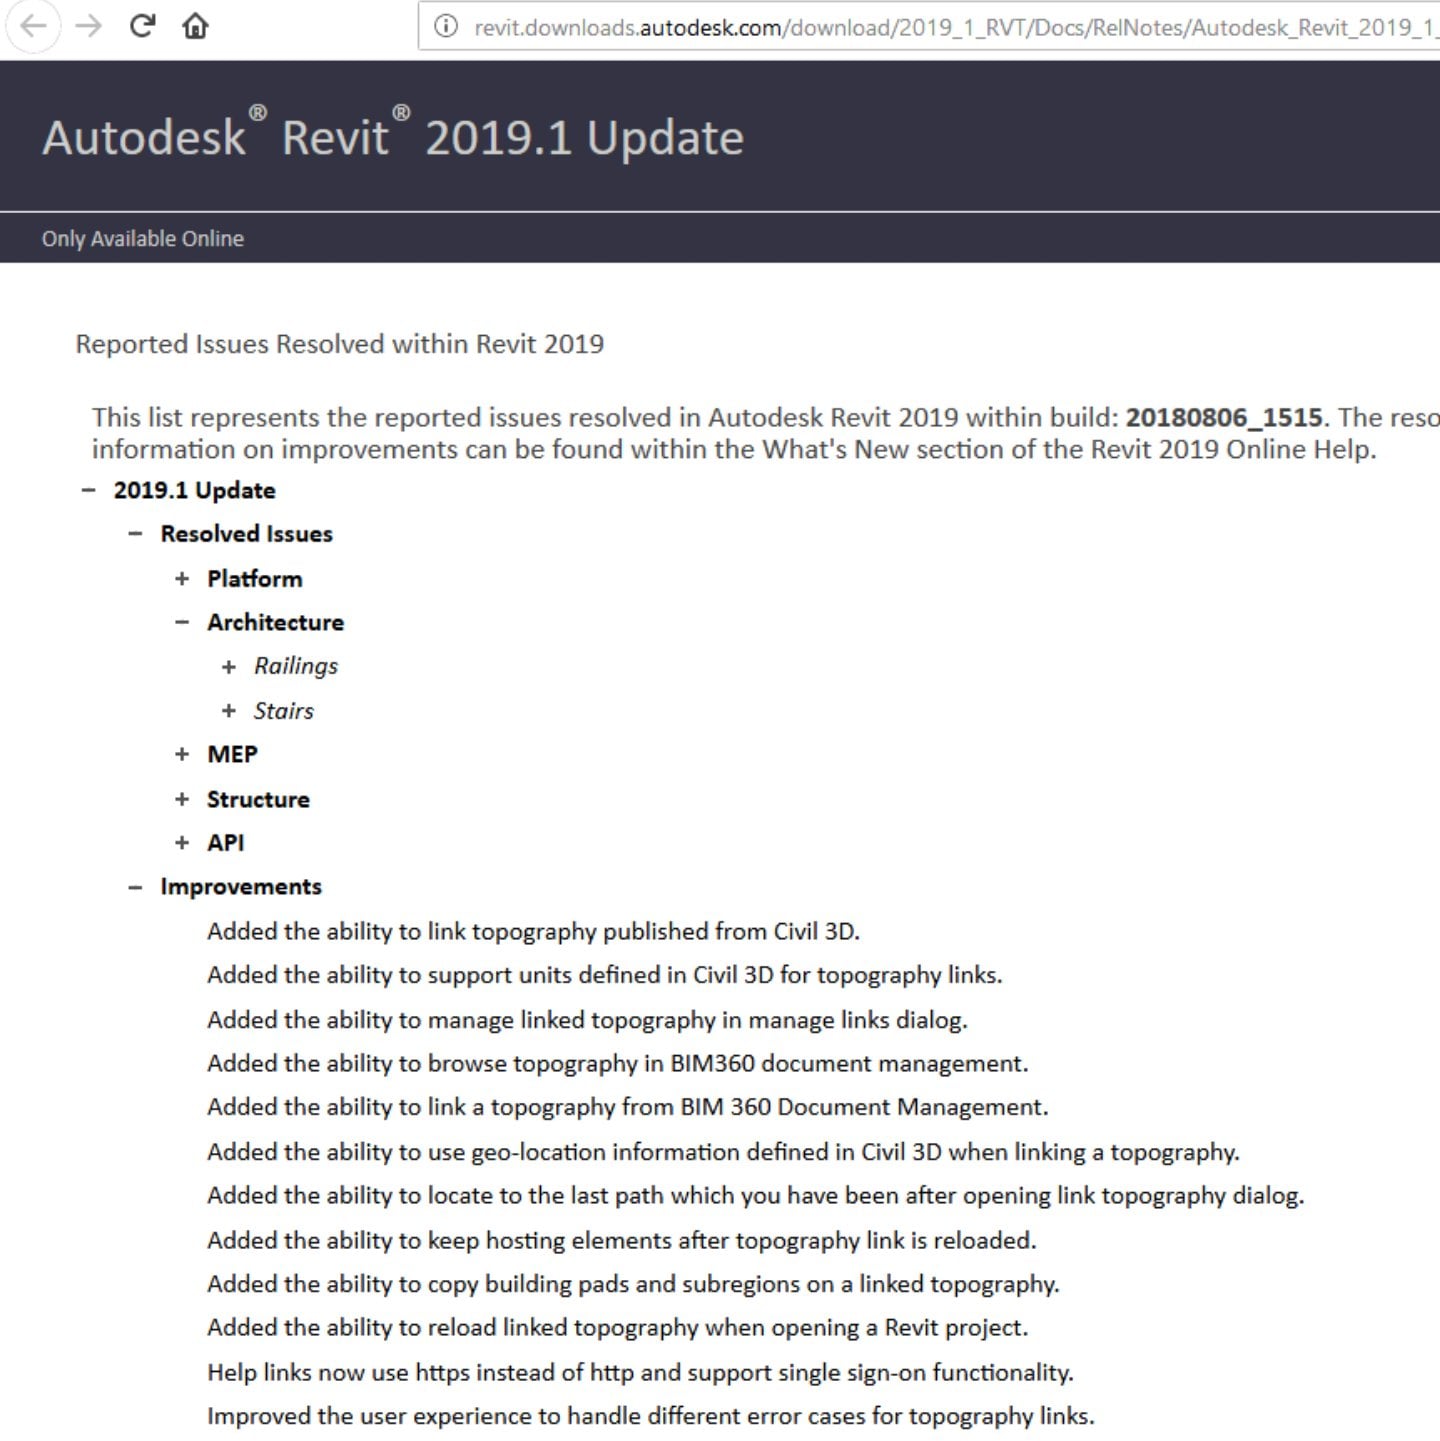
The first point release of Revit 2019 is now available… Let the deployments begin. Your projects are now running out of excuses as to why they shouldn’t upgrade 🙂

Here are some direct links to the Revit and Navisworks update files.

Revit 2019.1 Update (Revit 2019 Update 1)

Direct download link

Readme

Release notes

Update: From Purvi Irwin on Twitter:

In the new homepage for #Revit 2019.1 when you hover over a recent project, you get the path of the central, your local, and the file size! If it’s not workshared, then you get the filepath and size. Pretty sweet.


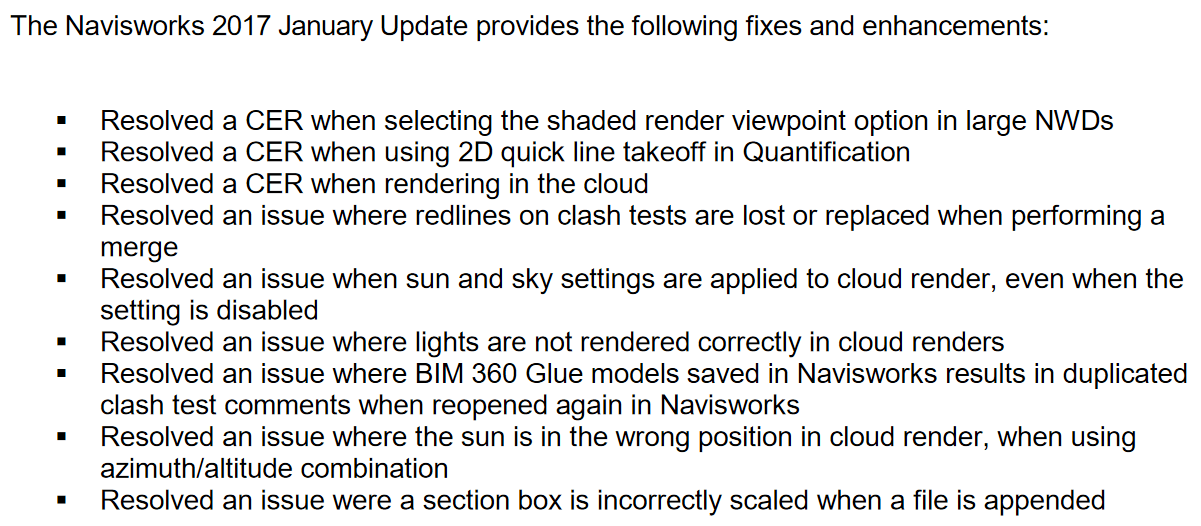
Navisworks 2019.1 Update (Navisworks 2019 Update 1)

Direct Download Link

Readme PDF

interesting:

Interesting little release by Dimitar Venkov on Github a few months ago. It is essentially a Python shell for Navisworks 2016. You install by unzipping as per instructions below. You may have heard about RevitPythonShell, but obviously this one is for Navis.

To install, simply extract the zip archive in the below folder:

%APPDATA%\Autodesk Navisworks Manage 2016\Plugins

Downloads

You can read more about the features at the main page here.

  • interactive IronPython interpreter for exploring the API
    • with syntax highlighting and autocompletion (in the console only)
    • based on the IronLab project
  • batteries included! (Python standard library is bundled as a resource in the RpsRuntime.dll)
  • full access to the .NET framework and the Navis API
  • configurable “environment” variables that can be used in your scripts
  • save “external scripts” for reuse and start collecting your awesome hacks!
  • run scripts at Navisworks startup

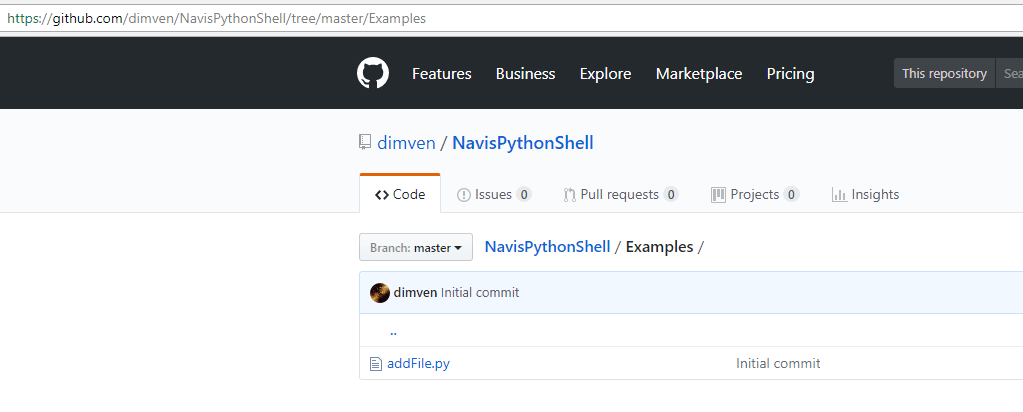
And some example/s are in a GitHub folder: