At Virtual Built, we typically create a federated Revit model for every project we work on. This allows us to run a host of automated processes on the links, right from the federated file.
Recently we received a dataset for a high rise building. The Architect had used 5 typical linked ‘module’ files, copied throughout a master file.
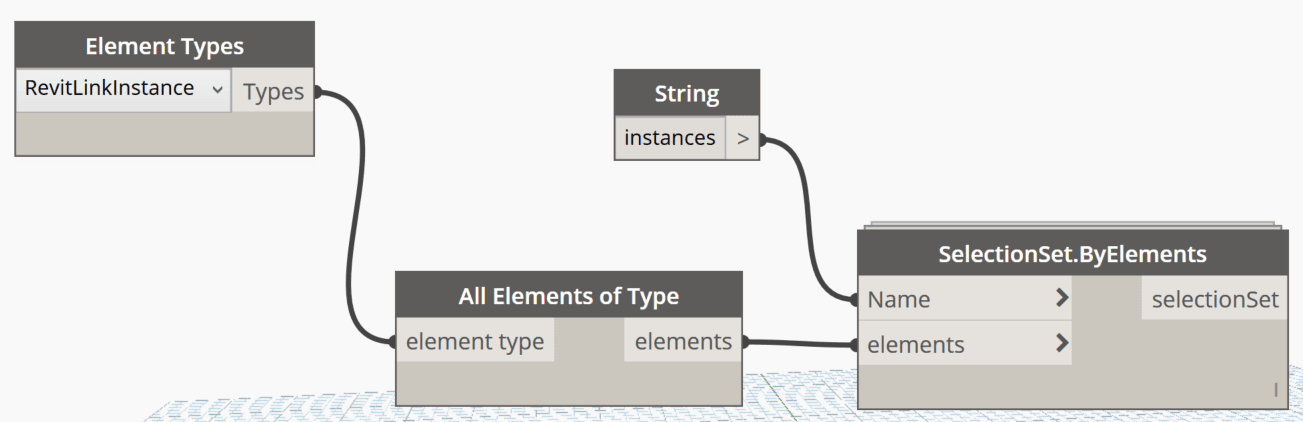
Initially, I used a Dynamo script to collect all the link instances into a saved selection set. I could then copy / paste aligned the link instances into our federated Revit model:
Link Instances to Selection Set
The Problem
This works fine, but in this models there were also nested consultant links inside the Architectural linked modules. So we have:
Federated Central file -> Everything else (no nested links)
Next challenge: how can we quickly promote those nested links into our federated model? Well, we currently have the module files populated, so how can we leverage those positions to promote the nested links?
Promoting Nested Links
It is a bit hacky, but here is how I went about it. For each module file:
Create an empty proxy file (New Revit project, no template)
Open the Module file and resolve all link paths (so they are loaded)
Set links to Attachment
Copy / paste the link Instances from the module file (Level 0 or Base Level) into the empty file (Level 1, default level). You can use Dynamo graph above.
Save the new proxy file as ‘ModuleContainer’ or similar. We know have a file that only has link instances in it.
Open a detached copy of the Federated Central file (you can save as temporary copy if you like)
Manage Links
Select the current Module file,
Reload From,
replace with the ModuleContainer you created. Once you have done all the modules, you are ready for binding as described below.
After populating the detached Federated Central file, we just need to Bind and then Copy / Paste the free instances:
After load, Bind the ModuleContainer files to the detached Federated Central model
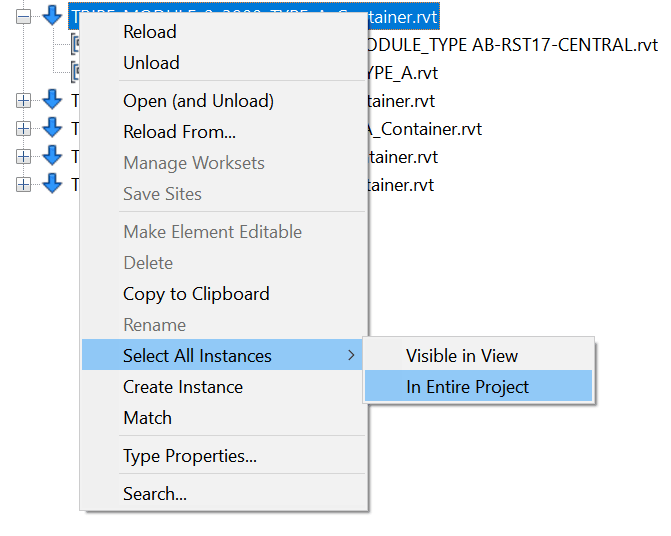
To do this, right-click on the file in Revit Links in Project Browser
Select All Instances – In Entire Project
In the Ribbon, click Bind Link
Untick Attached Details, Levels, Grids
Click Remove Link when prompted
Your nested links are now promoted!
Optional: Ungroup all of those bound free instances (select all from Project Browser, Ungroup in Ribbon)
Open the real Federated Central file
Copy / paste the populated free instances from the detached Federated Model to the real Federated Model. Use the Dynamo script to collect them.
Tip: Paste into a closed workset for better performance.
Close the detached one, and sync the real one
The only thing we technically ‘broke’ or lost in this process is the module link->nested link relationship. So if someone decides to move one of the nested links in the module link, obviously that won’t replicate into the Federated Central file.
Hope this helps some of you out there building or dealing with large federated models.
I’m looking into ways to batch initialize Revit models onto the new BIM 360 Docs (Document Management) platform. It is a work in progress at the moment – in Revit 2018, I think that there is limited ability to use newer API features for creating a Cloud ModelPath for batch processing. But more on that later…
For now, I wanted to replicate a folder structure from a local network onto the BIM 360 Docs platform. To do this, you just need the Desktop Connector + Preview installed, and then you copy and paste the data.
Here are the steps:
Clear Pending Actions on Desktop Connector for BIM 360 (recommended, use with care)
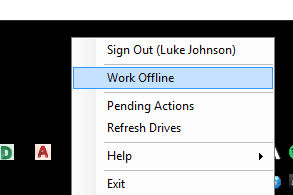
Work Offline(recommended). Folders will appear blue in Windows Explorer.
Set the folder path in the and create a CMD script using code below. It populates each subdirectory with a text file indicating the contents of the directory.
@echo off
chcp 65001 >nul
for /r "C:\Your\Folder\Path\Here" %%d in (.) do dir /a:-d "%%~fd" > "%%~dpnd\DirectoryFilePlaceholder.txt"
Run the script on your target directory (the local directory that you want to mirror into BIM 360 Document Management platform)
Run a FreeFileSync task with filters to include only the ‘DirectoryFilePlaceholder.txt‘ as a mechanism of building the file structure. This task copies those txt documents to the BIM 360 using the local Desktop Connector path, as shown here:
Then, disable ‘Work Offline’, so the sync to cloud should begin.
Wait for ‘Processing’ to complete
To force the sync you may have to toggle the ‘Offline’ status in the tray.
You can review sync state with the ‘Pending Actions’ link from the system tray:
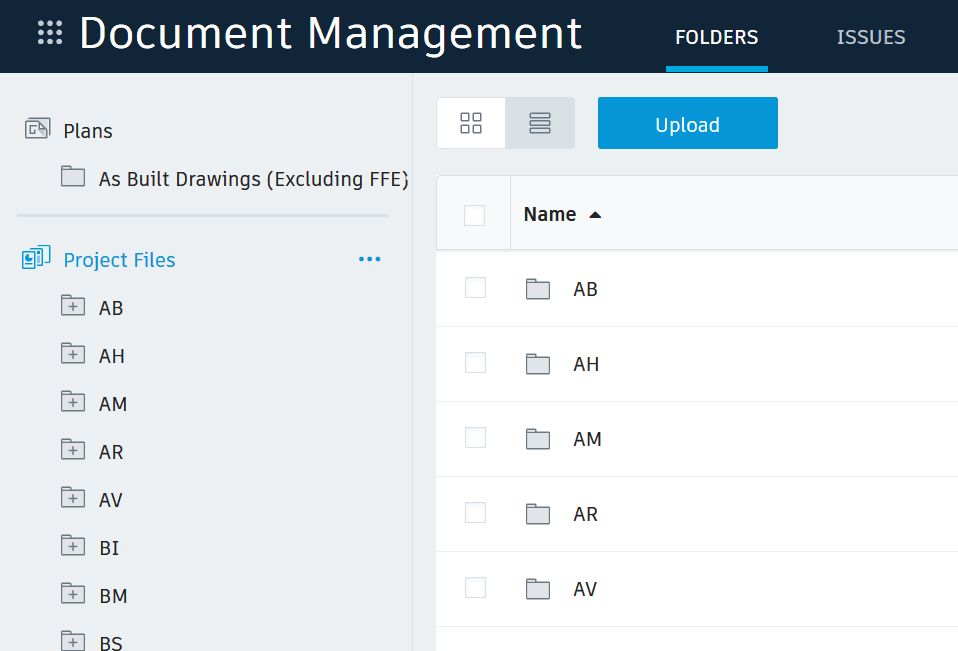
After the file structure is copied and synced, you will be able to see it in BIM360 Docs.
You can then proceed with adding Permissions or uploading other files.
New versions of Firefox removed some support for extensions that allowed multiple tab rows.
Update:
make sure that the toolkit.legacyUserProfileCustomizations.stylesheets pref in the about:config is still set to true
use this for newer versions of Firefox https://github.com/MrOtherGuy/firefox-csshacks/blob/master/chrome/multi-row_tabs.css
Here is how you can enable it:
Type about:support in url field of firefox, hit enter.
On the ‘Profile Folder’ setting (about 8th from the top) click the ‘Open Folder’ button.
Create a ‘chrome’ subfolder, if you don’t already have one.
Inside that folder create a file called ‘userChrome.css’ (right click > new > text document – make sure to name the file userChrome.css and not userChrome.css.txt or something)
This hotfix corrects an issue with non-English languages where the PnID Modeler functionality did not load correctly after appling Revit 2018.3 Update.
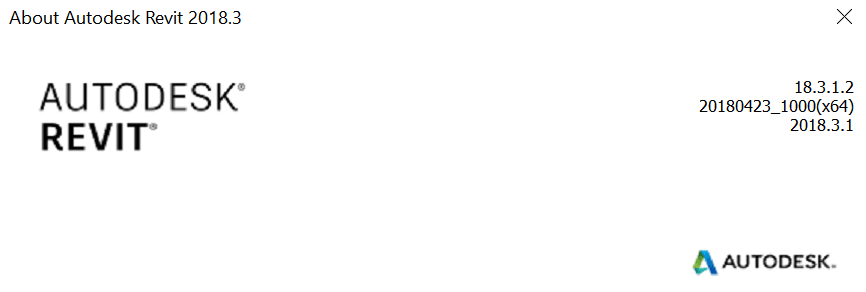
Collaboration for Revit 2018.3.1 Update, Dynamo Core 1.3.2.2480 and Dynamo Revit 1.3.2.2480
With this install the following will be updated: Revit 2018, Collaboration for Revit 2018, and Dynamo. The updated version of the Dynamo Revit add-in does not include a desktop shortcut and can be accessed from the Visual Programming panel found on the Manage ribbon tab. If multiple versions of the Dynamo Revit add-in are installed, a dialog will prompt you to select which version to launch.
After this update is applied, there will be two versions of Dynamo Core installed, 1.2.2.373 and 1.3.2.2480.
Known Issues with applying the update.
During the installation of the hotfix you may be prompted to exit revit.exe. If you do not have a visible session open of Revit, please open Windows Task Manger, switch to the Processes tab, click “revit.exe” and the option “End Process”.
For BIM 360 Design (formerly Collaboration for Revit), if the Modified date for the revit.exe.config file is newer than the Created date, the patch installer will fail to update it and Revit may not launch correctly. Consult Collaboration for Revit: Synchronize process starts failing for C4R.
Autodesk Uninstall Tool
After this update is applied, attempts to uninstall Revit 2018 using the Autodesk Uninstall Tool may become unresponsive during the Dynamo Revit uninstall process. To avoid this problem, uninstall Dynamo Revit first and then continue with the uninstall of Revit 2018.
After a new version of Revit comes out, we all take some time to catch up. Revit API developers often have to get up and running really quickly so they can upgrade their apps for Revit 2019 compatibility. The first few things you will need are: the Revit 2019 SDK and help file, RevitLookup installed, and an understanding of What’s New in the Revit 2019 API.
To install RevitLookup for Revit 2019, head over to this page and grab the latest version, currently 2019.0.0.1. Put RevitLookup.addin and RevitLookup.dll into one of your Revit Addins folders, like:
%appdata%\Roaming\Autodesk\Revit\Addins\2019\
To install the Revit SDK, follow these steps:
Install Revit 2019 (or access the install media)
Look in the installation folder
In the Utilities subfolder, you will find the Revit 2019 SDK installer – RevitSDK.exe
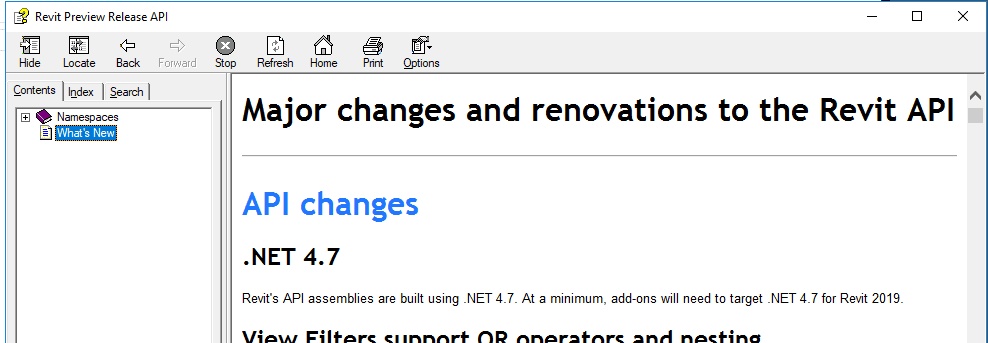
This will basically unzip a whole heap of Revit API samples and goodness into a folder of your choosing. The key thing I look for initially is the RevitAPI.chm help file. I put this somewhere I can get to it easily (like OneDrive).
Until http://www.revitapidocs.com/ is updated for Revit 2019, the help files is the best way to access information about the Revit 2019 API.
Useful links, mostly from Jeremy over at The Builder Coder:
Building site export removed from API and Revit 2019
Project browser organisation for schedules added
Can now read the Phase Map parameter for the link. The phase map is a correspondence between phases in the host document and phases in the linked document…