At Virtual Built, we typically create a federated Revit model for every project we work on. This allows us to run a host of automated processes on the links, right from the federated file.

Recently we received a dataset for a high rise building. The Architect had used 5 typical linked ‘module’ files, copied throughout a master file.

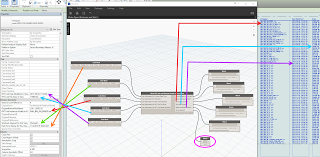
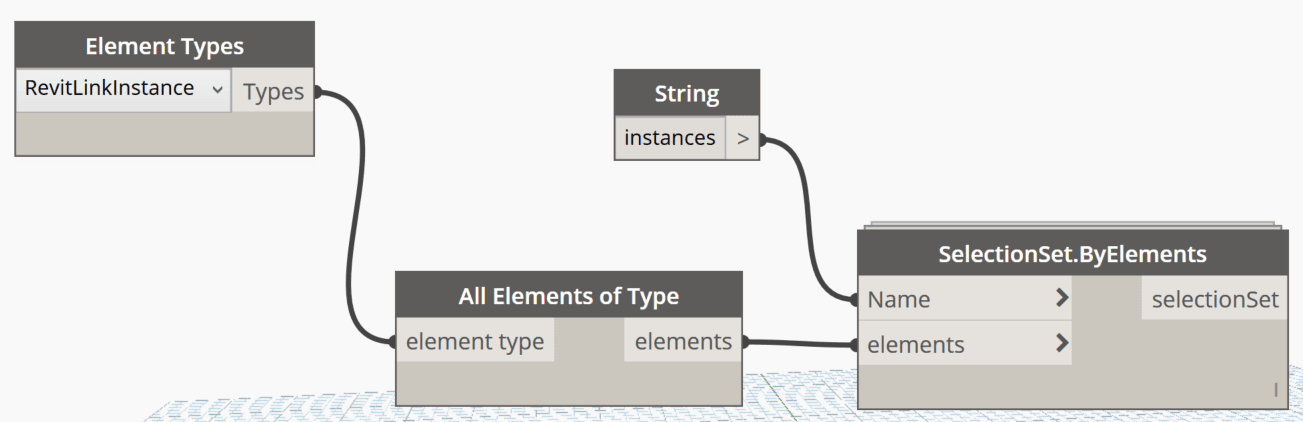
Initially, I used a Dynamo script to collect all the link instances into a saved selection set. I could then copy / paste aligned the link instances into our federated Revit model:

Link Instances to Selection Set


The Problem

This works fine, but in this models there were also nested consultant links inside the Architectural linked modules. So we have:

Architectural container file -> Architectural module files -> Consultant nested links


We want:

Federated Central file -> Everything else (no nested links)


Next challenge: how can we quickly promote those nested links into our federated model? Well, we currently have the module files populated, so how can we leverage those positions to promote the nested links?


Promoting Nested Links

It is a bit hacky, but here is how I went about it. For each module file:

  1. Create an empty proxy file (New Revit project, no template)
  2. Open the Module file and resolve all link paths (so they are loaded)
  3. Set links to Attachment
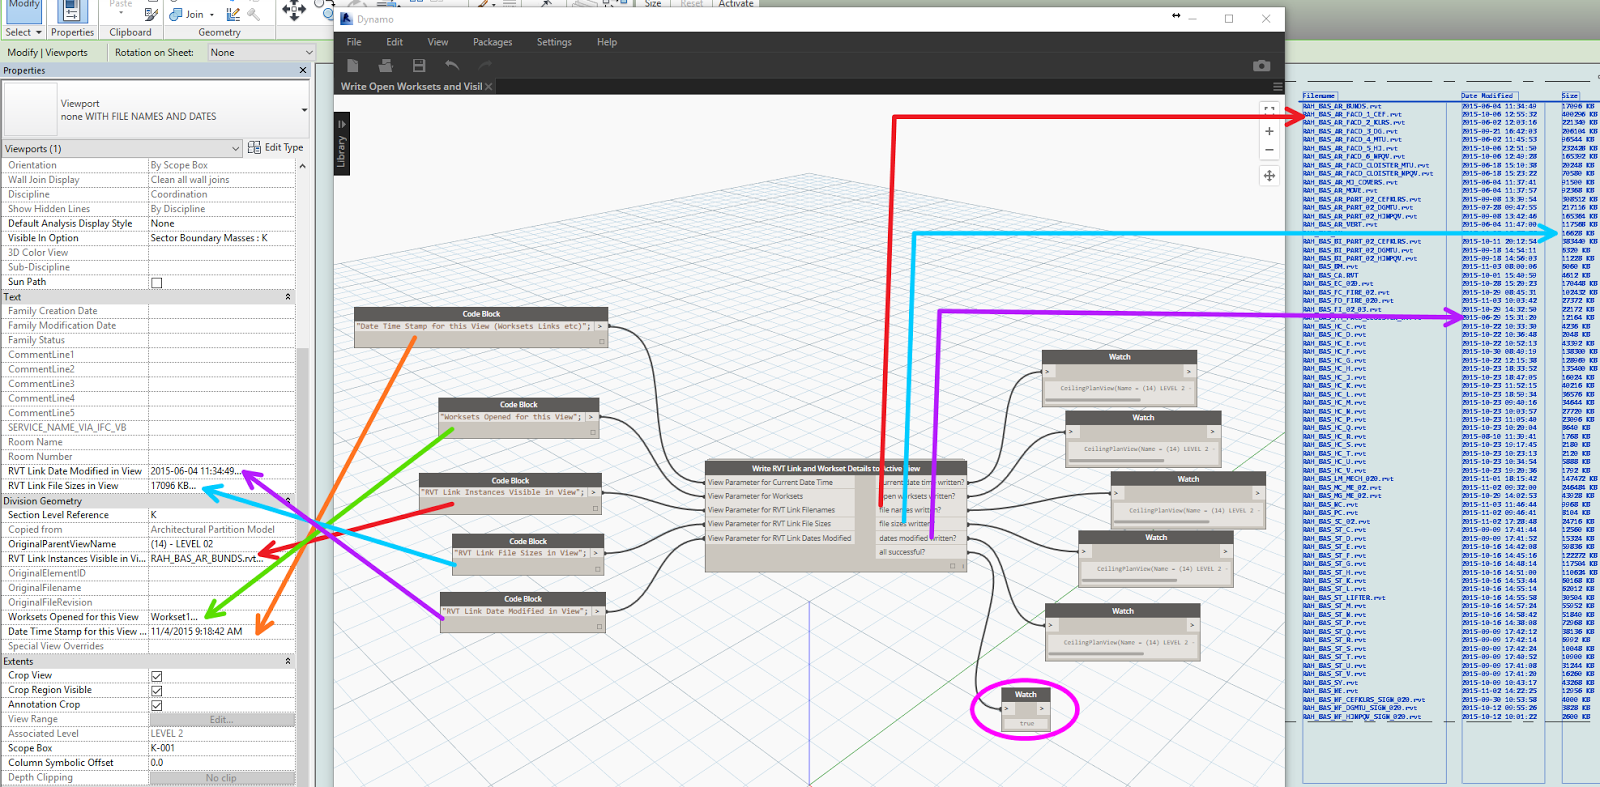
  4. Copy / paste the link Instances from the module file (Level 0 or Base Level) into the empty file (Level 1, default level). You can use Dynamo graph above.
  5. Save the new proxy file as ‘ModuleContainer’ or similar. We know have a file that only has link instances in it.
  6. Open a detached copy of the Federated Central file (you can save as temporary copy if you like)
  7. Manage Links
    • Select the current Module file,
    • Reload From,
    • replace with the ModuleContainer you created. Once you have done all the modules, you are ready for binding as described below.

After populating the detached Federated Central file, we just need to Bind and then Copy / Paste the free instances:

  1. After load, Bind the ModuleContainer files to the detached Federated Central model
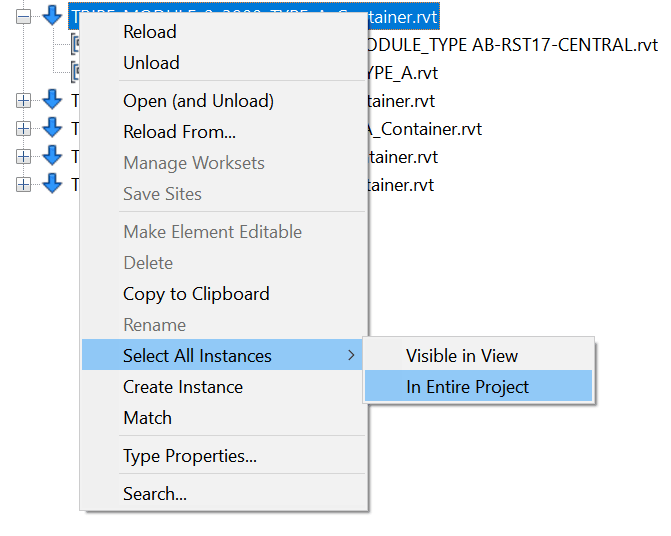
    1. To do this, right-click on the file in Revit Links in Project Browser

    2. Select All Instances – In Entire Project
    3. In the Ribbon, click Bind Link
    4. Untick Attached Details, Levels, Grids
    5. Click Remove Link when prompted
    6. Your nested links are now promoted!
  2. Optional: Ungroup all of those bound free instances (select all from Project Browser, Ungroup in Ribbon)
  3. Open the real Federated Central file
  4. Copy / paste the populated free instances from the detached Federated Model to the real Federated Model. Use the Dynamo script to collect them.
    Tip: Paste into a closed workset for better performance.
  5. Close the detached one, and sync the real one

The only thing we technically ‘broke’ or lost in this process is the module link->nested link relationship. So if someone decides to move one of the nested links in the module link, obviously that won’t replicate into the Federated Central file.

Hope this helps some of you out there building or dealing with large federated models.


A federated Revit model is a model containing many Revit links, and they can be quite slow to work with. There are a few steps you can take to speed things up, and one of them is creating a set of fast view types and a related view template.

Here’s how:

  1. Make a View Template called “No Model” and untick all the Model categories in that Template
  2. Make a set of View Types called “Fast Plan“, “Fast Section” and so on
  3. Set the View Template for those Types to the “No Model” template you created

Now, when cutting sections or making new floor plans using these ‘fast’ view types, the view will generate quickly without any model elements. Then, you can decide if you want to switch view templates / types to something more useful for coordination or documentation.

It can be pretty hard to track what is visible in a big federated model, and even harder to figure out when something has been changed or updated. Until now…

Check this little node out:

This gets five pieces of information and writes each of them to a View instance parameter. Currently, it works in the context of the currently active view in Revit. The information acquired is as follows:

  • current date / time
  • worksets currently opened
  • RVT links that are visible in the view
  • the file sizes of those links
  • the date modified for those links

The ‘list items’ are converted to a string with line breaks. Then when it is referenced in a Label in a View Title family (on the far right of image above), it basically shows up as a list.

Future applications of this can easily include reading the link status from the view parameter (by converting the string back to a list), comparing it to current link status, and then immediately showing what models have been updated and need to be reloaded…

There is no immediately easy way to override the colour of an entire Revit Link. Of course, you can set up a View Template and override all of the individual subcategories, but that can get time consuming when working with many links…

Worksharing Display Mode gives us a quick way of visualising Worksets. What if we put each Revit Link on its own Workset? Then if we set Worksharing Display Mode to Worksets, these Links are overridden with the Workset colours selected in the dialog:

Unfortunately, the Worksharing Display Mode setting is a temporary override (notice the border around the view?), and it will be switched off when we close and open the file. However, the colour choices will be retained. Is there a way we can quickly ‘turn on’ the Worksharing Display Mode for all views in the document? Perhaps this could be done just prior to printing, or at the start of an editing session?

Enter… you guessed it… Dynamo.

I made a node to Enumerate Worksharing Display Modes available, and another one to Set Worksharing Display Mode for View. Finally, I adapted the archi-lab Get All Views node into a List All Views node. Now, we can set them in one click:

And a Screencast:

Each time you print, you will be prompted to “Leave the mode on and print…“, but the colour override will print fine 🙂

Update:
Colours will transfer using Transfer Project Standards, as per:
Transfer Project Standards

If you populate a project with the desired worksets, usernames, and colors you can automatically transfer most of this data over to another project.  Under Manage > Transfer Project Standards, there is a new option for Worksharing Display Settings.

Keep in mind this will not transfer over workset names from one project to another. 

It will however transfer over workset colors, should the same name workset appear in both projects.

Each category has a Show Color column with a checkbox; these are project specific and do not transfer.
Revit 2012 Worksharing Display Modes and Transfer Project Standards – The Revit Clinic

My idea from 4 months ago:

So, maybe its not Glue… with the benefit of current knowledge, maybe its Project Skyscraper, or some combination of these. But the External Reference possibility starts to make some of these things truly achievable. Watch this space!

The post from The Building Coder, 1 July 2014:
The Building Coder: Referenced Files as a Service

My tweet: