I have recently developed a few Material and Object Procurement and Tracking solutions, primarily using Deep Space and Revizto together. These workflows also involved IFCs converted into Revit, so we could automatically set tracking parameters from Deep Space data back into Revit, and colourise the models. When converting Revit to IFC, I usually use IFC Link functionality, primarily for speed and geometric integrity.


However, some DirectShape objects created by IFC Link cannot be overridden in Revit using traditional methods. Even after setting Revit parameters from Deep Space, and using Visibility/Graphics Filters, the elements simply will not allow their colours to be overridden using a Shaded Surface pattern. So, we have to find another way…


It turns out that Phase Filters are really the only way to solve this problem, as they override the elements at the Material level. There are a few pieces to the puzzle:

  1. Set up the necessary Phase Filter, with each item set to Overridden (this allows for basically 4 status overrides in total)
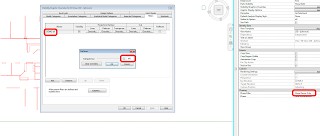
  2. Set Graphic Overrides – Material definitions to have the colours you want (by changing Phase – Exist material etc to the desired colour / material)
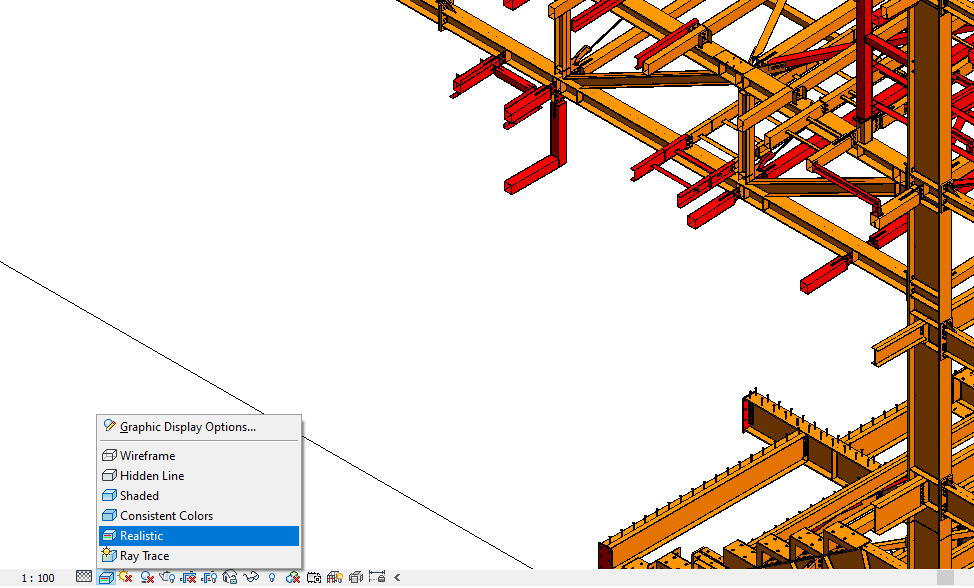
  3. Set the Revit view to the correct Phase and Phase Filter, and Realistic view mode

Here are some screenshots of the above steps:

1 - Create Phase filter for visual Overrides
1 – Create Phase filter for visual Overrides

Next…

2 - Edit Revit Material to match desired visual Overrides
2 – Edit Revit Material to match desired visual Overrides

Then…

3 - Set the View Settings
3 – Set the View Settings


Also…

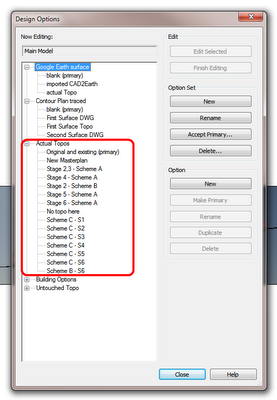
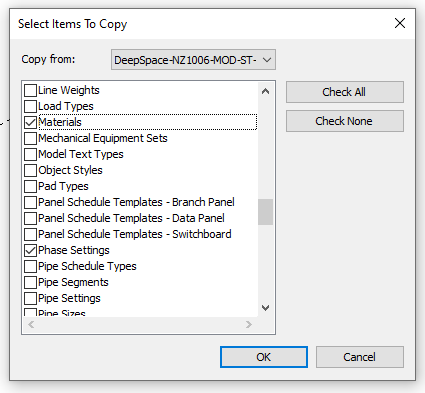
Keep in mind if you are using Container Files you will need to Transfer Project Settings and bring across your


Finally…

Make sure your View is set to Realistic in Revit, if you truly want to see the Material Phase override in the Revit view.

It can be difficult to stop Demolished items from occluding New items in Revit.  There is no easy way to say “make everything Demolished wireframe, but leave other elements as-is” in a Hidden Line view.

However, you can use a normal Filter to “override” the Phase Filter.  This works because normal VG Filters operate at a higher level than Phase Filters.  Just create a Saved Selection Set, add it to a View or applicable View Template as a Filter, and set the Transparency for that Filter to be 100%.

You could do this by making a Filter that operates on a Shared Parameter that is added to all Categories likely to include Demolished items – meaning you would have to set this property manually.  However, it may be easier to manage if you just graphically create the Saved Selection Set and use that instead:

  1. Make a new Phase Filter that shows only Demolished items (all the rest “Not Shown”)
  2. Go to a 3D view, enable this Phase Filter, select all the Demo items and Save them as a New Selection Set (Manage tab — Selection)
  3. Add the filter to a View or applicable View Template as Filter, and set the Transparency for that Filter to be 100%.

If you need to add or remove items to the Demo set:
You can use the Edit option under Selection on the Manage tab to enter a Selection Edit mode, where new items can easily be added.  Or you can just select the whole lot again, use the same Selection Set name, and you will be prompted to overwrite the existing DEMO set.

Basically, if you have one site toposurface, and you cut it with pads in different phases, then an ‘outline’ around every single pad appears in the creation phase of the toposurface (they affect the topo backwards in time).  It looks ugly …  Additionally, there will be ‘holes’ cut in the toposurface for the pads.

I recently handled this by making a Design Option Set for Topography, then for each Stage / Building Option combination, I added the entire site Toposurface.  From here, I could use model groups to transfer pads between the different options / phases, while still retaining their size and position and editability.  It was a pain to set up, but once configured properly (with views etc), it seems to work ok.

The most ‘logical’ way to configure it would be:

  1. Make a Design Option Set
  2. Make an Option called ‘Existing’.  Add your original / untouched site topography here.
  3. Duplicate the Option, call it Stage 1.
  4. Make all the Stage 1 pads, then group them.
  5. Duplicate Stage 1 topography option, call it stage 2 (the grouped pads will come through).  Add additional pads in Stage 2 option, then group Stage 2 pads and the Stage 1 pad group (forming a nested group.)
  6. Rinse and repeat

I never said being a Revit pro would be easy.

You can read about the problem at:
Re: Building pads don’t seem to respect phases. – Autodesk Discussion Groups

From IMAGINiT Technologies Support Blog:
We can add a modifier to the export dialog box for the items we want to adjust, make sure that you also do this to the sub-categories of the element also, and select the Phase Created modifier and add it to the list, in the separator space, add the separator type you want to use…this will give us
something similar to the following in the cad file:  A-DOOR-Existing

Read more at:
Revit Export: How to Export Phases to the Correct Layer – IMAGINiT Technologies Support Blog