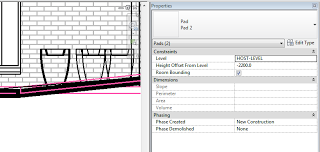
Basically, if you have one site toposurface, and you cut it with pads in different phases, then an ‘outline’ around every single pad appears in the creation phase of the toposurface (they affect the topo backwards in time). It looks ugly … Additionally, there will be ‘holes’ cut in the toposurface for the pads.
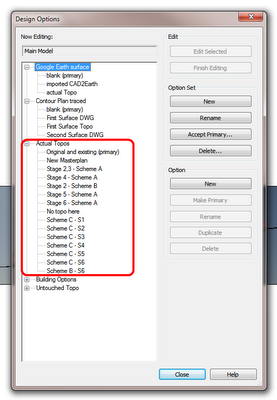
I recently handled this by making a Design Option Set for Topography, then for each Stage / Building Option combination, I added the entire site Toposurface. From here, I could use model groups to transfer pads between the different options / phases, while still retaining their size and position and editability. It was a pain to set up, but once configured properly (with views etc), it seems to work ok.
The most ‘logical’ way to configure it would be:
- Make a Design Option Set
- Make an Option called ‘Existing’. Add your original / untouched site topography here.
- Duplicate the Option, call it Stage 1.
- Make all the Stage 1 pads, then group them.
- Duplicate Stage 1 topography option, call it stage 2 (the grouped pads will come through). Add additional pads in Stage 2 option, then group Stage 2 pads and the Stage 1 pad group (forming a nested group.)
- Rinse and repeat
I never said being a Revit pro would be easy.
You can read about the problem at:
Re: Building pads don’t seem to respect phases. – Autodesk Discussion Groups


