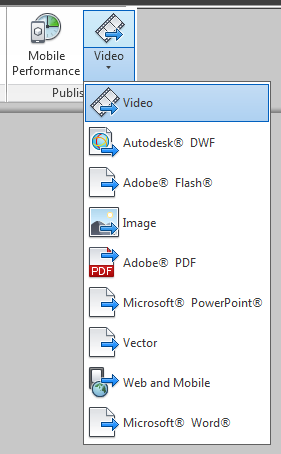
PDF is ubiquitous. As great as DWF is, it just will never have the market saturation that PDF does. That is why there is definitely a market for a good tool to make 3D PDFs from Revit. As Revit users, we already have access to a nice looking 3D model with BIM data, but how do we transmit it or show it to key stakeholders (who may not be tech savvy)? Sure, we can easily make a DWF, but then we have to educate people about using new viewing tools etc. Let’s just make a 3D PDF and email it across for review 🙂
I have previously posted at least 4 ways to make a 3D PDF for free from Revit:
- Using the i-model plugin (also using Navisworks FBX to i-model)
- Converting a DWF
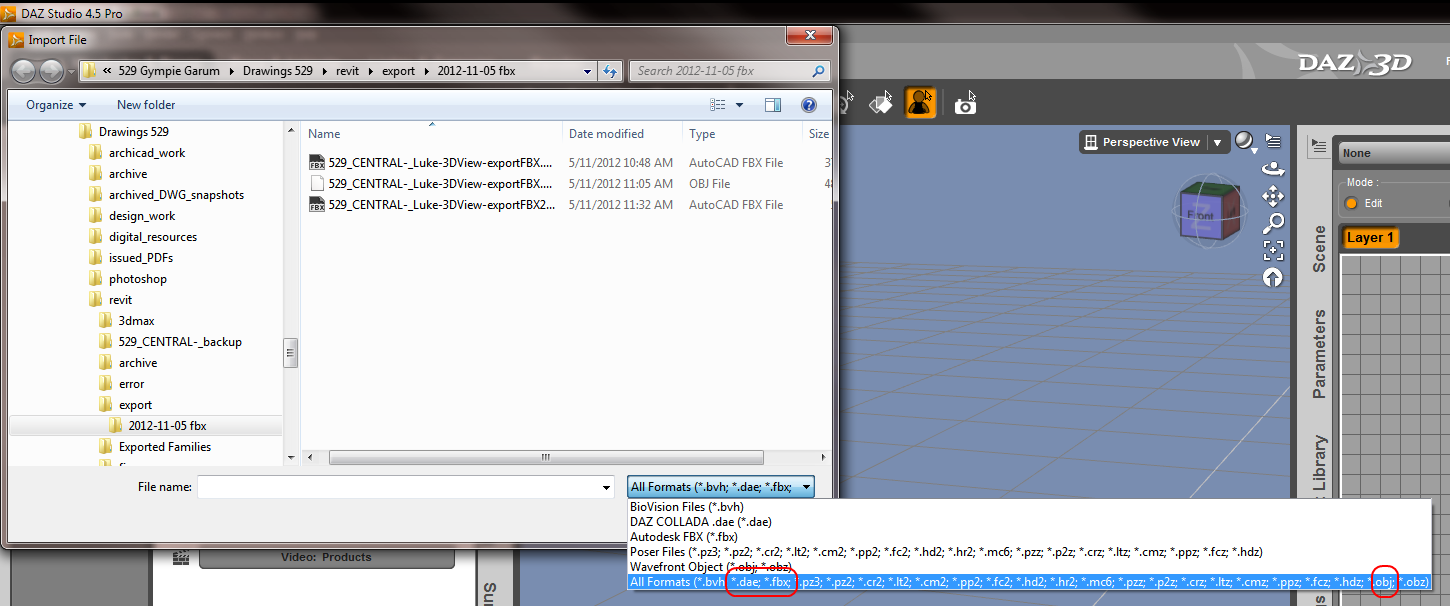
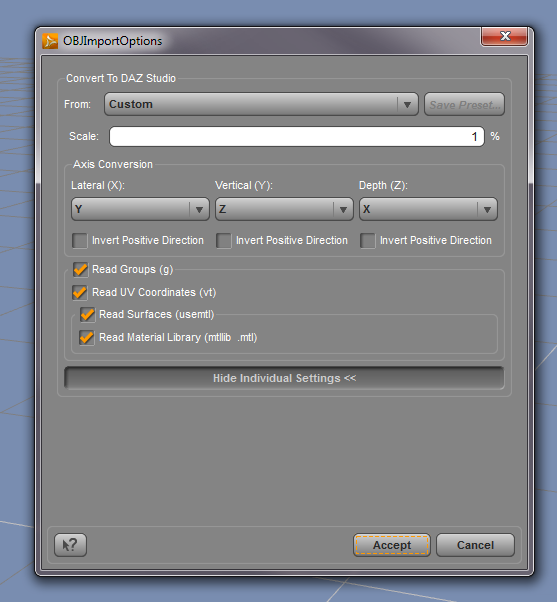
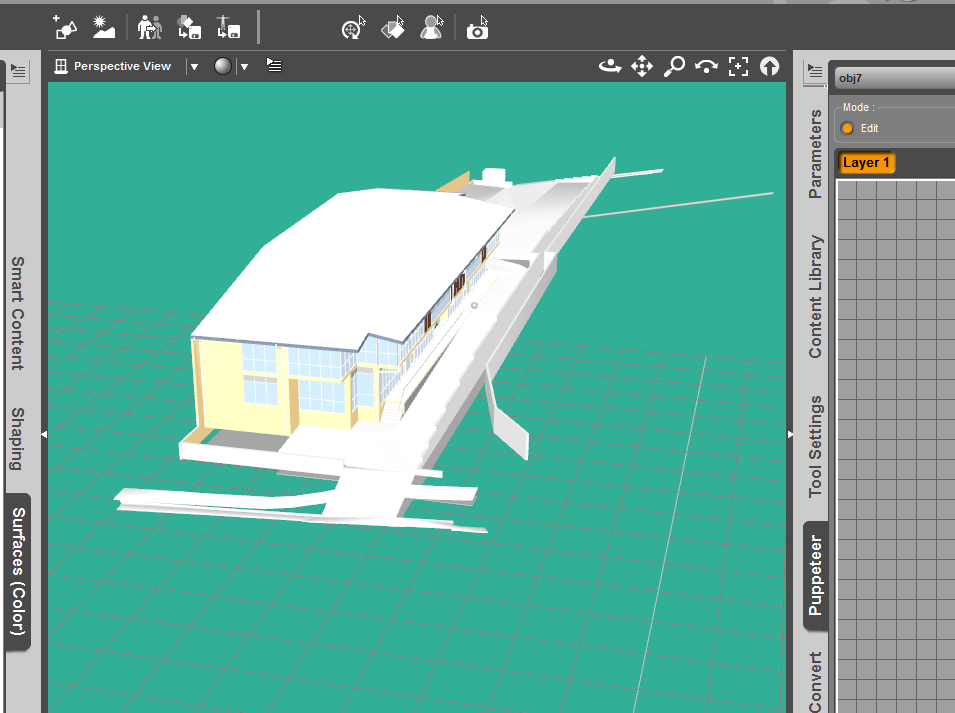
- Revit to OBJ to DAZ Studio to U3D to Adobe 3D PDF
- 3D PDF from Revit STL using Meshlab, MiKTeX and U3D-2-PDF
So here is the point of this post (in the words of 3DA Systems rep):
we’re hoping you can review 3D PDF Converter, particularly from the point of view of seeing how it exceeds the free options out there.
That is the question – does this paid tool exceed the free methods? And if so, in what ways?
I’ll be the first to admit that the four free methods I have shown have various disadvantages, such as:
- they require the use of a plethora of middle man tools
- they may not include real BIM data from the model
- in most cases, you don’t get realistic representation of materiality (perhaps just an approximation)
- topography export is a bit unpredictable
In other words, they can be a pain to create, and don’t produce a great result.
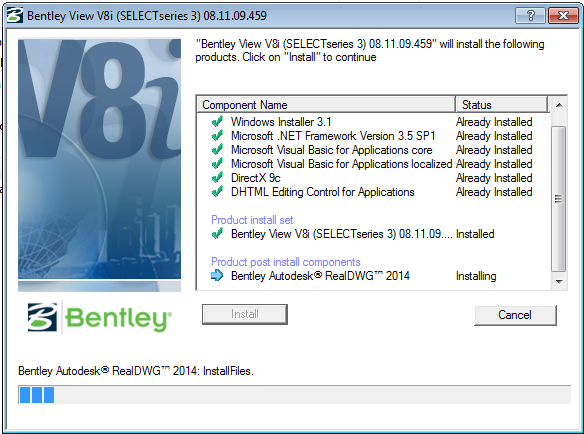
Installation
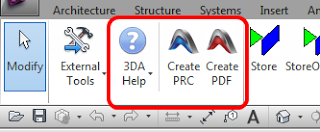
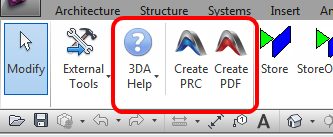
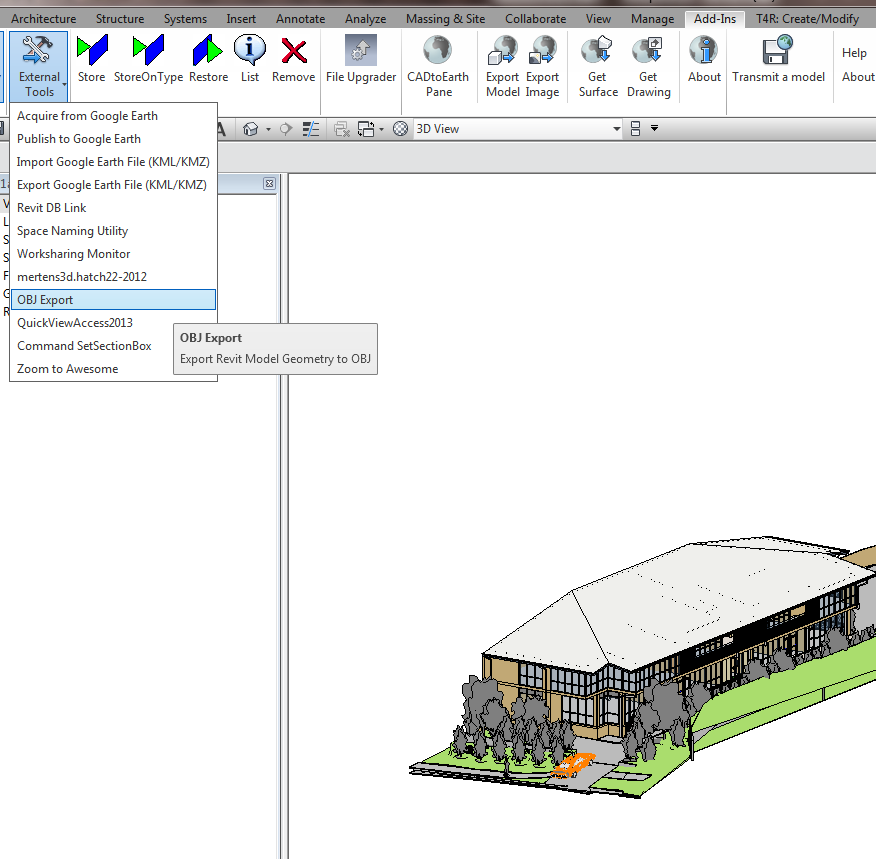
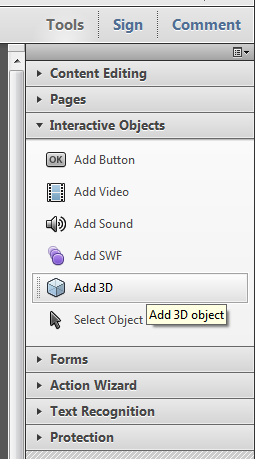
After installation, I opened a project in Revit 2013. Switching to the Add-ins Ribbon, I could see the following new commands:
Usage
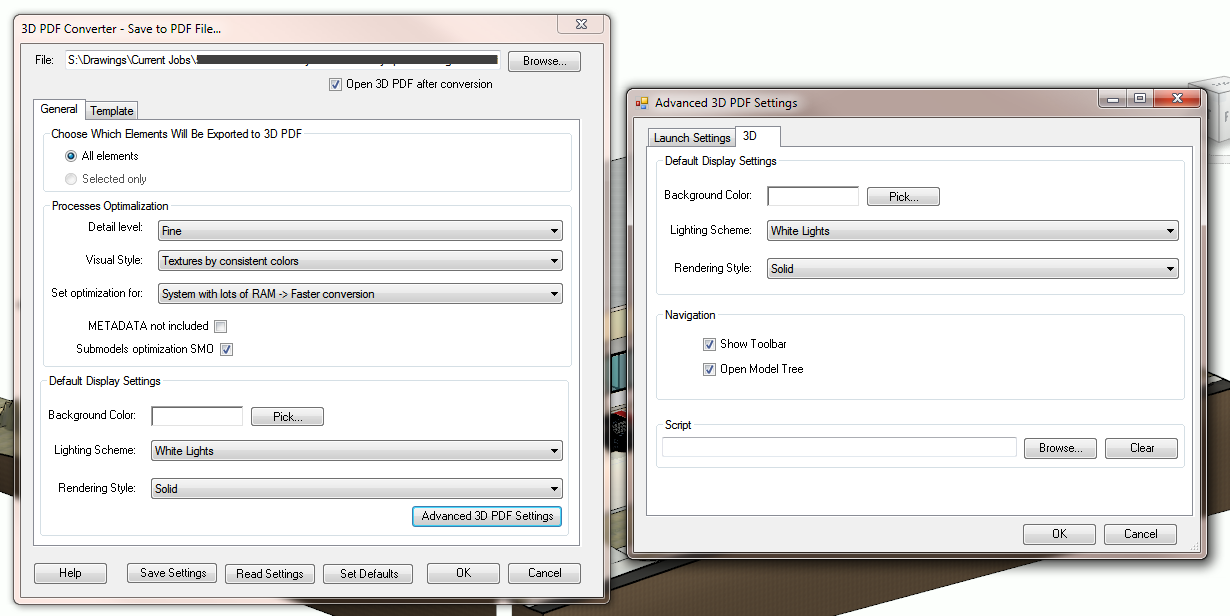
I then switched to a perspective view, but guess what? You can’t export from a perspective view. This makes sense, because all my add-ins were greyed out in the Perspective view. As I wanted to take all the view settings from that particular view (which was a render scene), I created a View Template from it and applied it to a orthogonal (Default) 3D View. I also applied a Section Box. Finally, I picked Create PDF…
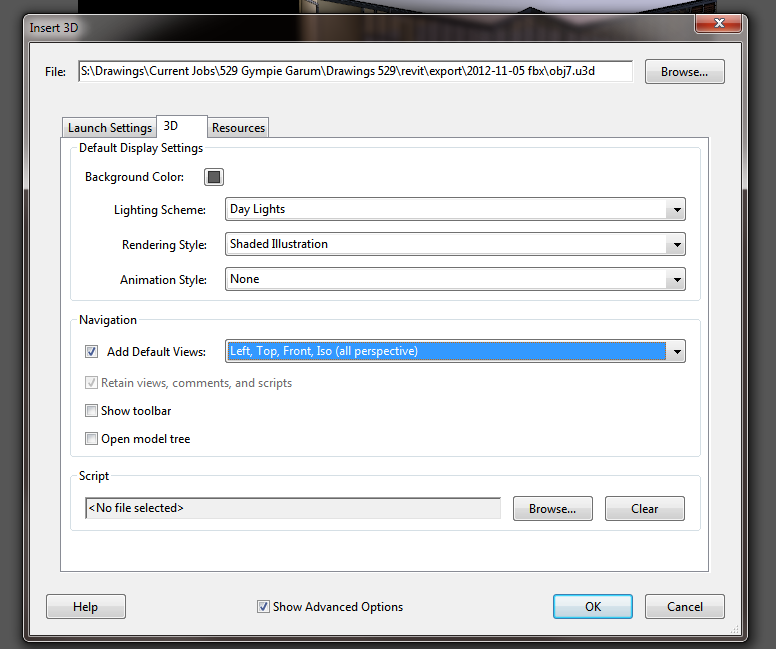
I was presented with dialog box that allows some very granular control of the resultant PDF. Here is what it looks like:
I selected Shaded Illustration as the Visual Style, and then clicked OK. Then – go and have a coffee… About 12 minutes later, I had my first 3D PDF. A few things:
- it did not respect the Section Box
- it did not respect the Visibility show / hide settings of the source view
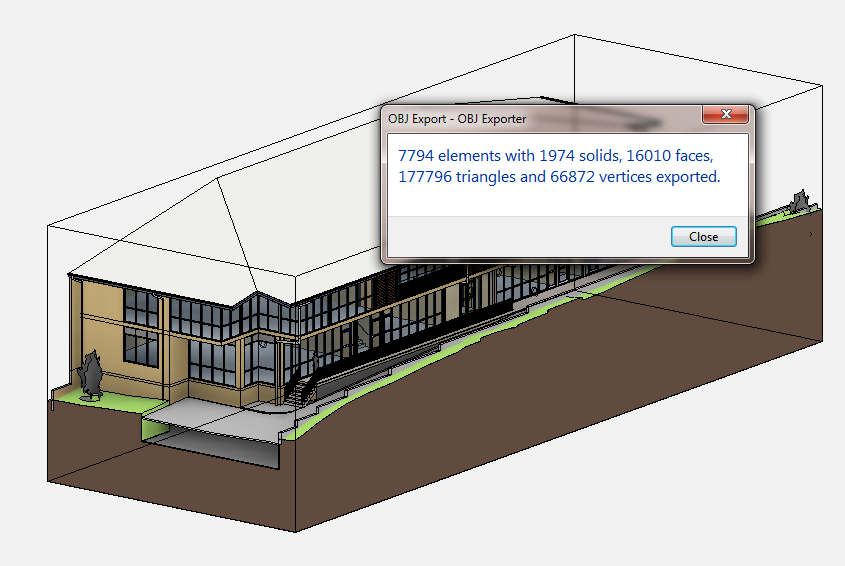
Basically, I had a 3D PDF (including BIM data) of “everything”. It was highly detailed, but not visually appealing. So, I figured I should try again – perhaps I missed something in the settings?
This time around, I noticed that I could export “selected” elements. So I selected everything I could see in my Section Boxed view and triggered Create PDF again. This time, I also tried CAD Optimized Lights.
The resulting file is lightweight and easily viewable. However, you don’t get textured materiality – because 3D PDF itself doesn’t support that.
In short, you get what you pay for. This is a mature, highly functional add-in that makes 3D PDF export simple and very easy to control. It certainly exceeds the free methods, both in terms of ease-of-use and ability to customize the output.
So, how do you get it? The download process is painless, just go to this link for a fully functional 30 day trial:
http://www.3dasystems.com/products/3d-pdf-converter-revit/3dpdf-access/
The main decision you will have to make is which version do you want to use? What is the difference?
For the most current versions (2012/13 and 14), the only difference is the version of Revit they work with.
The difference between the 2014 release and the release from last year is that 2014 does not require Acrobat in order to create 3D models – it’s totally standalone (although you will still need Acrobat to create 2D models).
For me, this difference is a big deal. I’m still happy to use CutePDF for 2D prints, so technically, I don’t need to purchase full Acrobat to use the 2014 version (that is, version 5).
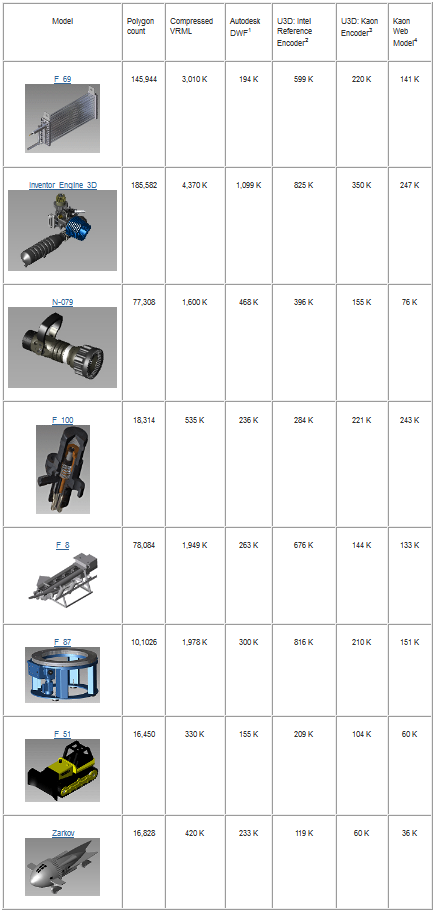
For a comparison between the compression methods of DWF and 3D PDF, check out:
Comparison of VRML, DWF, U3D (used in 3D PDF), and Kaon Compression – Kaon Knowledge Base