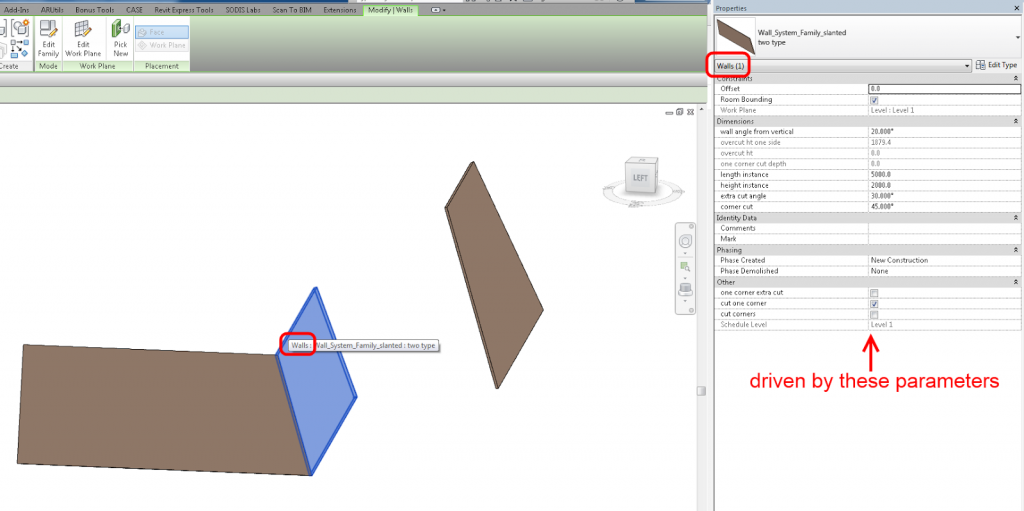
Konrad has posted a video along with Dynamo nodes to demonstrate the management of tags based on their host type. Fire rated walls receive a certain tag, while non-fire rated receive a different one.

This is just one example showing that Dynamo isn’t just good for form creation. It has a legitimate role among the Python / Ruby / vanilla macro / API addin realm of Revit modification and customization.

Downloads at:
Revit/Dynamo | archi-lab

Original post:
Managing Family Types with Dynamo | archi-lab
Very cool and advanced workaround by Jose Fandos over at Andekan:
We will route around this limitation by first inserting the annotation family into another face-based family, and using this intermediary face-based family to place the annotation the way we want into the final Lighting Fixture.
via
Symbols for Lighting Fixtures Showing in Plan – Andekan � Blog

He also demonstrates that some Lighting Fixtures will display the Maintain Annotation Orientation checkbox, but some will not, and how to work around this.

A few of the global Revit pros have had a crack at rationalizing an ellipse for use in Revit.  Zach Kron went conceptual, Phil Read trimmed his way around, and David Light played with circle-based segmentation.

What is my answer to this problem?  Simply don’t do it in Revit – do it in AutoCAD.  For some people, that solution may not be acceptable, and that’s ok.  I also realise that the AutoCAD haters will probably victimise me for it…oh well, do what works I say 🙂

Here is how I did it:
I make an ellipse in an AutoCAD file after setting the PELLIPSE variable to 1.  This means that AutoCAD creates the ellipse as a polyline, which means it contains arcs.  I then Import / Link this into Revit and simply ‘pick’ the arc segments to make a nice smooth elliptical form.

Here is a video:

My method is probably the easiest of the lot, but it is also probably the least ‘Revit-ee’ and the least parametric…

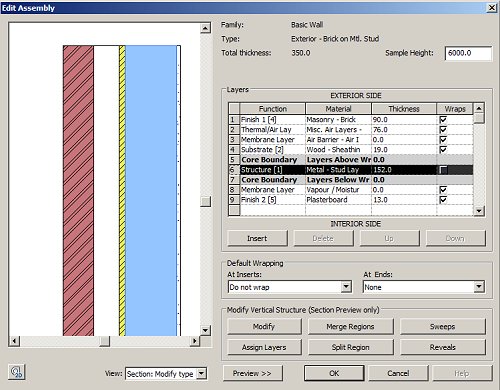
There are some basic rules of Priority, that all compound structures follow, when joining together.

1) The higher priority layers always take precedent. For example, a Priority 1 layer will barge it’s way through lower priority layers in order to join up to another Priority 1 layer.

2) Lower priority layers cannot cut through higher priority layers, during the “clean up process”- they are just stopped by them.

3) The exception to both of the above are layers that fall within the Core boundaries. A priority 2 layer “within the core boundaries” will override a priority 1 later” that is situated “outside of the core boundary”.

Tip via
Walls: Applying Functions to Compound Layers:

Image from Revit Zone