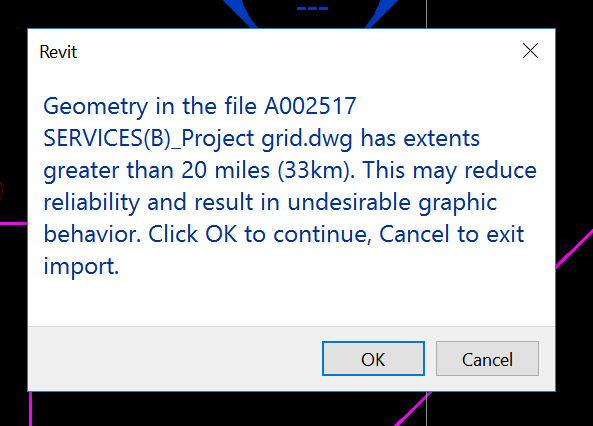
You may have seen the “extents greater than 20 miles (33km)” warning in Revit before:

Geometry in the file dwg has extents greater than 20 miles (33km). This may reduce reliability and result in undesirable graphic behavior. Click OK to continue, Cancel to exit import.
Extents greater than 20 miles (33km)

I have previously posted about ways to clean up DWG files, best and worst practice, and also how Revit deals with accuracy and precision of big models. The short list of steps to take in AutoCAD to clean up a survey DWG is:

  1. PURGE
  2. SCALE all objects to mm instead of metres
  3. WB – write block to a new file
  4. AUDIT
  5. EXPORTTOAUTOCAD (from a vertical product)

What if, even after all of the usual steps, you still have the ‘extents’ problem? And what if you can’t find the problem in a plan or top view in AutoCAD? That means that you have large Z extents. And you can even have large Z extents from some wayward Text objects with a Z value of like 35000 metres, which will trigger the same message in Revit.

How do we fix these? We need to directly edit the Text Alignment Z in AutoCAD. Here’s how:

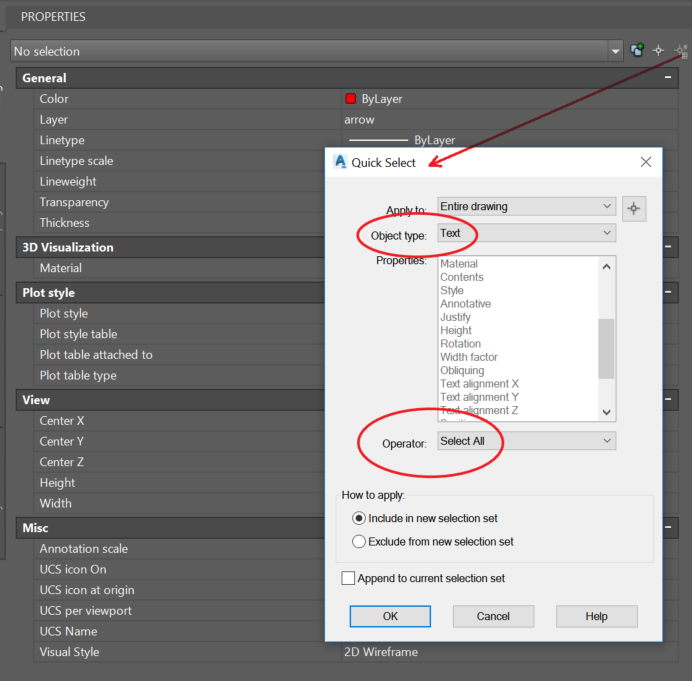
  1. Select All Text with Quick Select tool

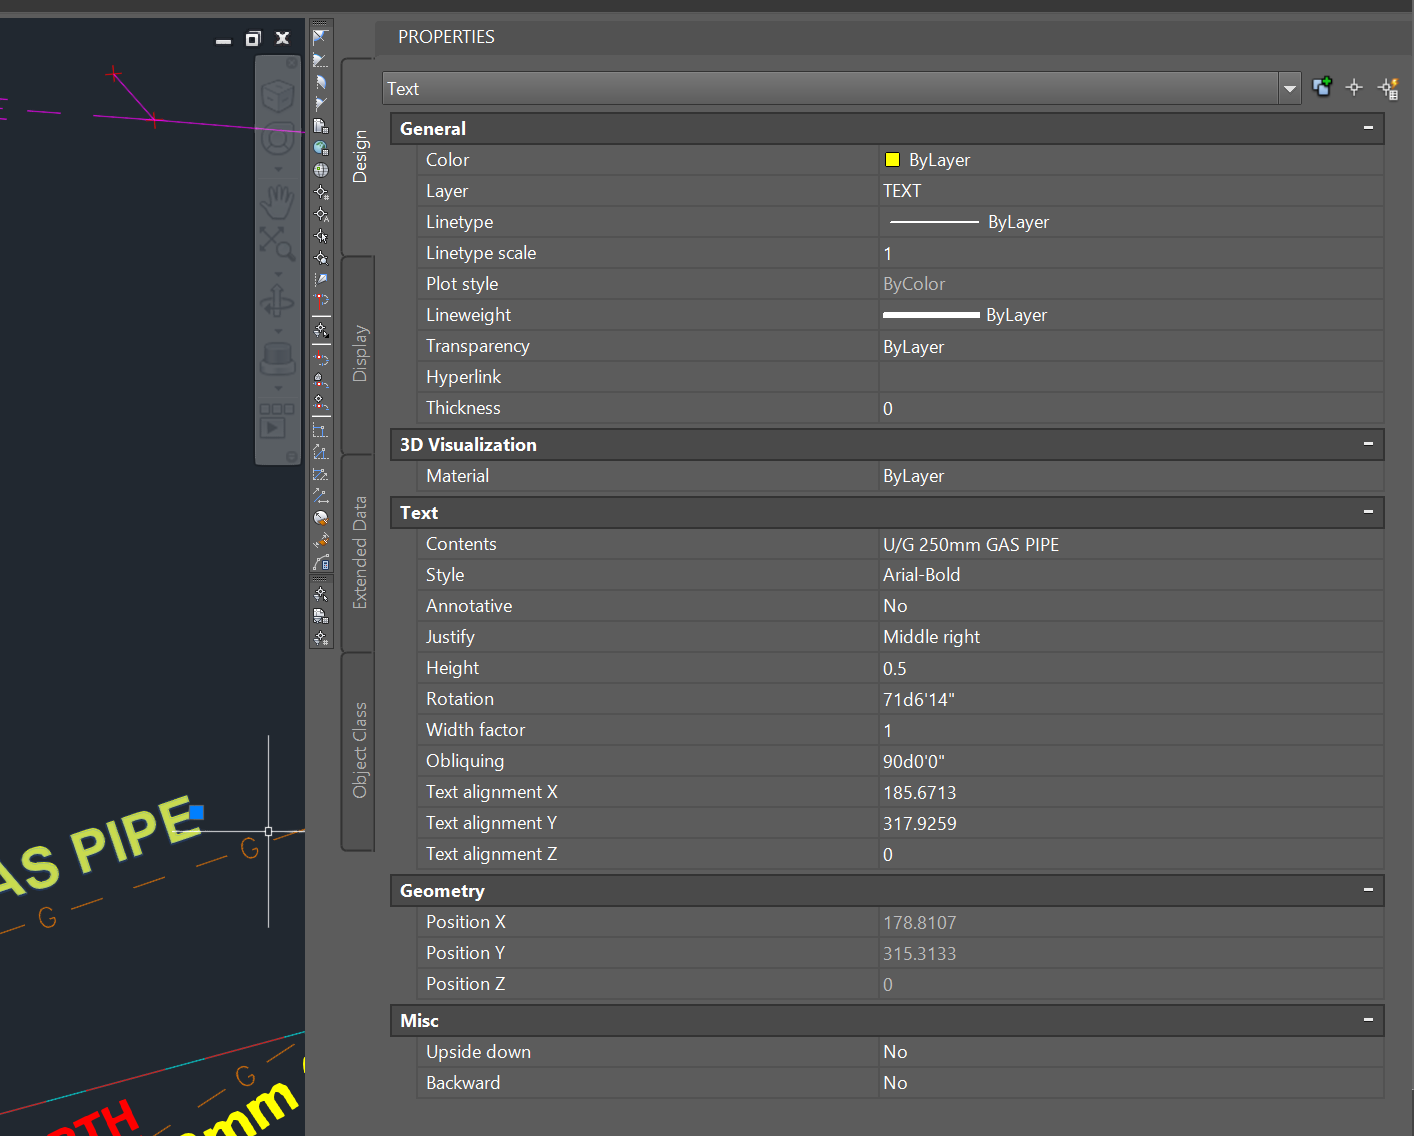
  2. Then change the ‘Text alignment Z’ value to 0. This also sets the Position Z to zero.

  3. Then either Save As or use the EXPORTTOAUTOCAD command to remove the proxy objects

Now the DWG should Link to Revit without error. Hope this helps some of you 🙂

If you want to Move Text to the Elevation corresponding with the text value, such as for a Civil elevation, you can use this command. With a Civil or other vertical product, start the special command:

  1. _AECCMOVETEXTTOELEVATION
  2. At the ‘Select text objects’ prompt, type All and hit Enter
  3. The text should have been moved automatically

Forum link

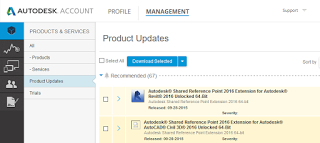
If you are on Subscription, you can login to your Updates page and download Autodesk Shared Reference Point extension to connect coordinates in Revit with Civil3D.

For Revit 2016

http://download.autodesk.com/SWDLDDLM/Updates/RVT/2016/RVT_2016_SHARED_REFERENCE_ENG_64.exe

For Civil3D 2016:

http://download.autodesk.com/SWDLDDLM/Updates/CIV3D/2016/C3D_2016_SHARED_REFERENCE_ENG_64.exe

Readme:
Autodesk� Shared Reference Point for Autodesk� Revit 2016

Autodesk® Shared Reference Point consists of the following features:

  • Two individual installations for AutoCAD Civil 3D and Revit
  • Export coordinates and elevation from AutoCAD Civil 3D to external .xml file
  • Import .xml into Revit based on same known positions and create a ‘Shared Coordinate System’

We often work with consultants using Tekla Structures, but we only recently came across the issue of trying to import point clouds into Tekla. The officially recommended workflow is:
Leica / Trimble scanner — Trimble Real Works — Landxml — Tekla Structures

But what if we don’t have Real Works? Basically, we want to create geometry from point cloud (which we can make into a massive list of XYZ values in a text file). Sounds like an easy job for Dynamo… and in a way, it is.

Here is what worked for me:

  1. Import the source point cloud to Recap, decimate to 100mm grids, and remove all values except X,Y,Z (screencast below). This took me from about 19 million points down to about half a million
  2. Export from Recap to PTS format.
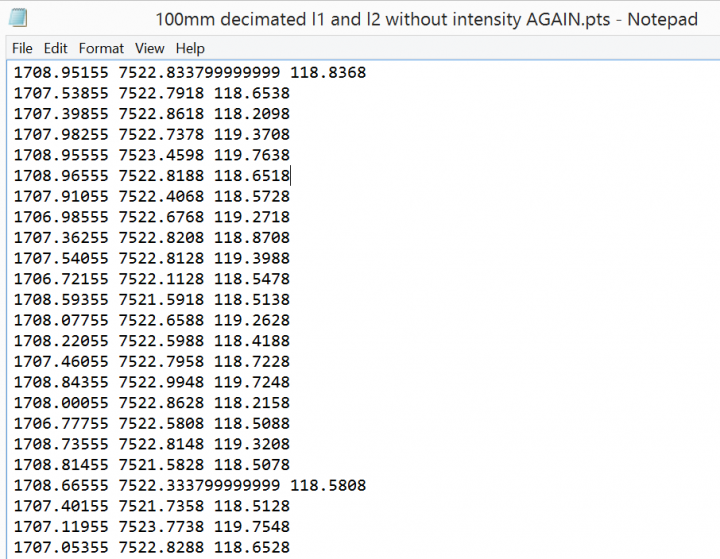
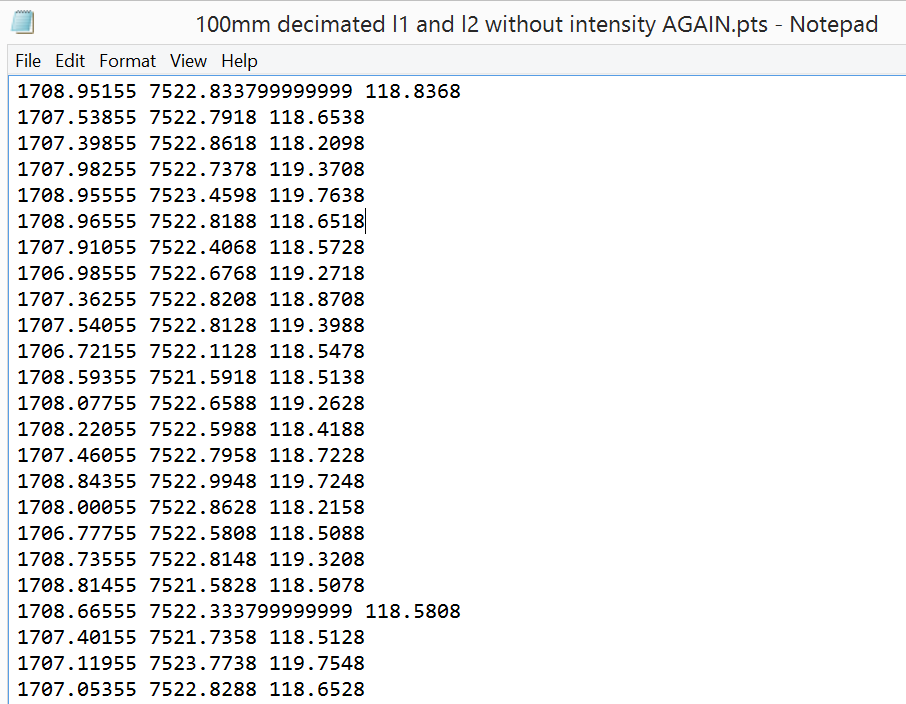
  3. Remove first line in the PTS file using Notepad++ (if necessary). The output should look something like this:

    Here is the Screencast:

    Note: steps 1 to 3 should essentially create a 3 field space delimited XYZ text file with no Intensity, RGB or Normals (sometimes called NEZ by survey people)

  4. Load some family called PointCloud.rfa with a Type called Point (can be adaptive or not)
  5. Use a Dynamo definition to place a given family at each location.
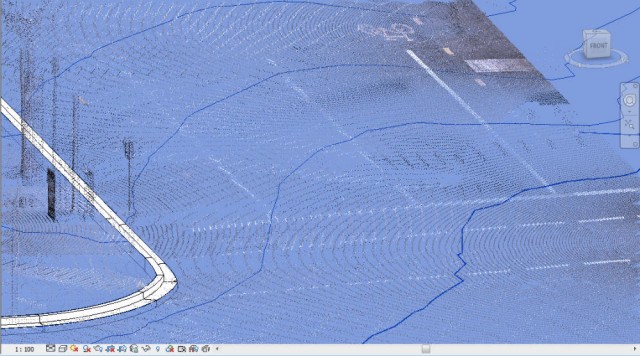
    One of my main concerns was scalability.. How many points / instances can Dynamo and Revit handle here? Initially, I used a method where the definition itself threw away a lot of points in a totally arbitrary manner, using a series of DropItemAtIndex nodes. This got me from about 500000 to about 120000 points, and this worked ok. I ended up modifying the node to allow for a number of ‘drops’ (from 0 to 4). Each drop throws away every second point… Finally, as I was getting all the points anyway, I thought it would be nice to have a Topography creation option. The published package can either create families at each point, make a topography, or both.
  6. Once you have generated the geometry you want from the point cloud, then Export to DWG or DXF
  7. Transmit to consultant

Here is a little readme:
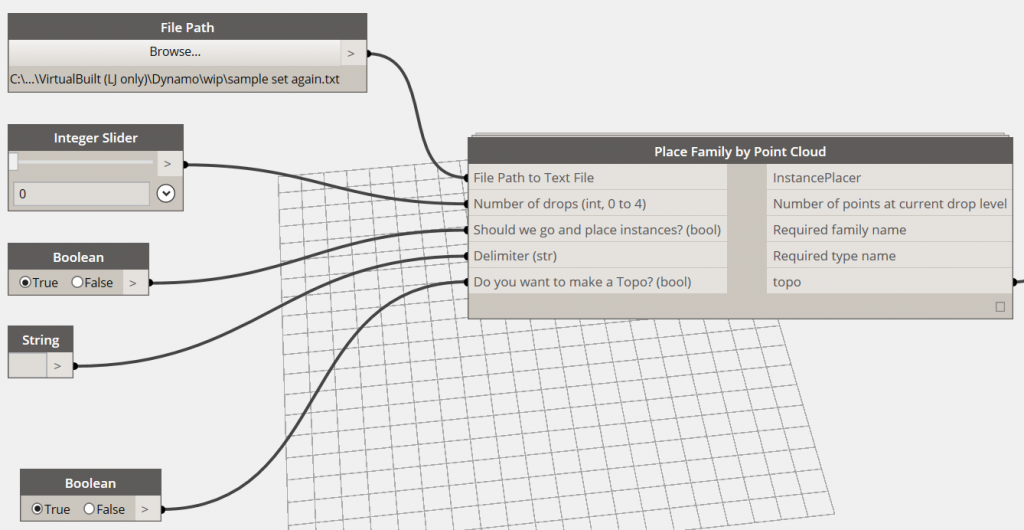
When you first load the package, you should set up the entry data types as per below:

If your text file is space-delimited (as mine was), make sure the delimiter string field actual has a Space in it.

Also, set the two booleans to False (meaning that no families or topos will be created) for the first Run, and set the drops to 4. The “Number of points” output node will give you an idea of how many points are in play at that particular drop level, like this:

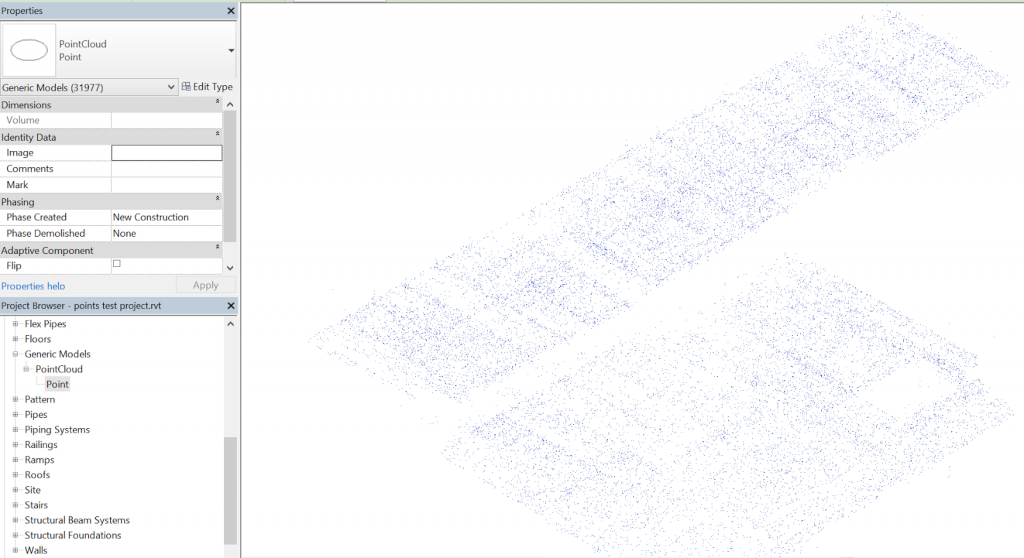
If you are running on ‘normal’ system hardware, you probably should keep it to around 50000 geometry creation points if possible. On my Surface Pro 3, it could work with the 30000 points no worries, and my workstation could handle 120000 ok. So, once you have a reasonable number in that output box, you can set the go and place instances and / or make a Topo options to True. I think Revit may struggle with huge points on a Topo, but I was able to place the family instances (with a small crosshair or 3D sphere at the origin) and then export to DWG.

Keep in mind this is a very arbitrary and lossy method – point clouds were never really meant to be wrestled into geometry like this. However, it may help you in certain situations. The Dynamo node has been published but it is very beta at the moment, so of course the usual disclaimer applies: “use at your own risk”.

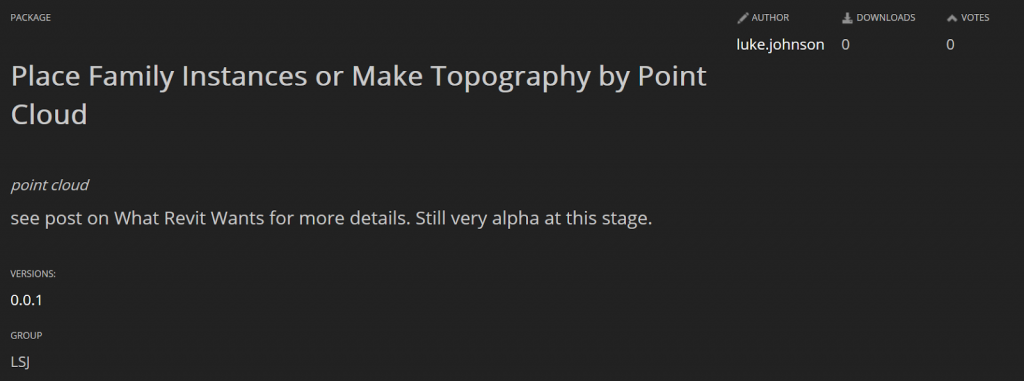
Package is called Place Family Instances or Make Topography by Point Cloud.

Sample point family for download
 
A note on coordinates and rounding:
This tool currently uses project coordinates. A future revision may offer shared coordinate translation. In the meantime, you could use some reference geometry at project base point and run this tool in an new empty, linked file, then move it into place in project. Related discussion:

Also, it appears that rounding is occurring to 3 decimal places, which is not ideal. Again, this may be fixed in future.

Endnote:
I tried lots of other methods, including POINTSIN and IMPORTXYZ lisp routines in AutoCAD, but oftentimes the dataset was too big, or the input data was not what the routine was expecting.
Some other methods I attempted are below, but they weren’t too successful…
Also tried:

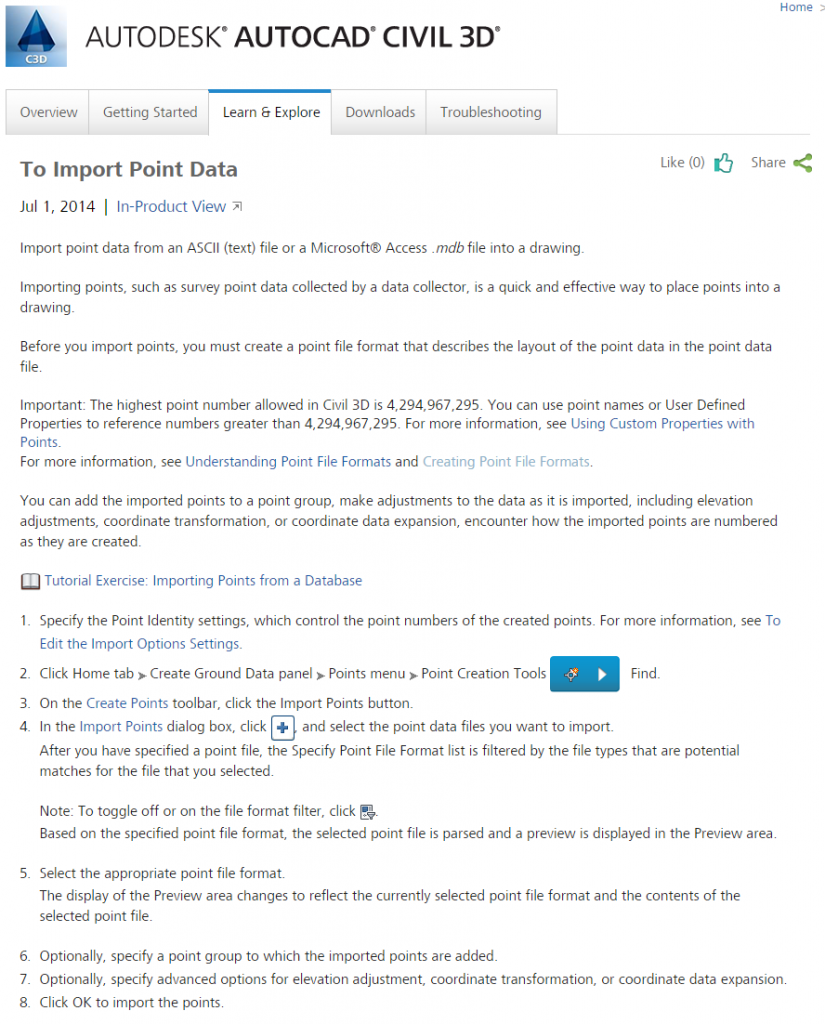
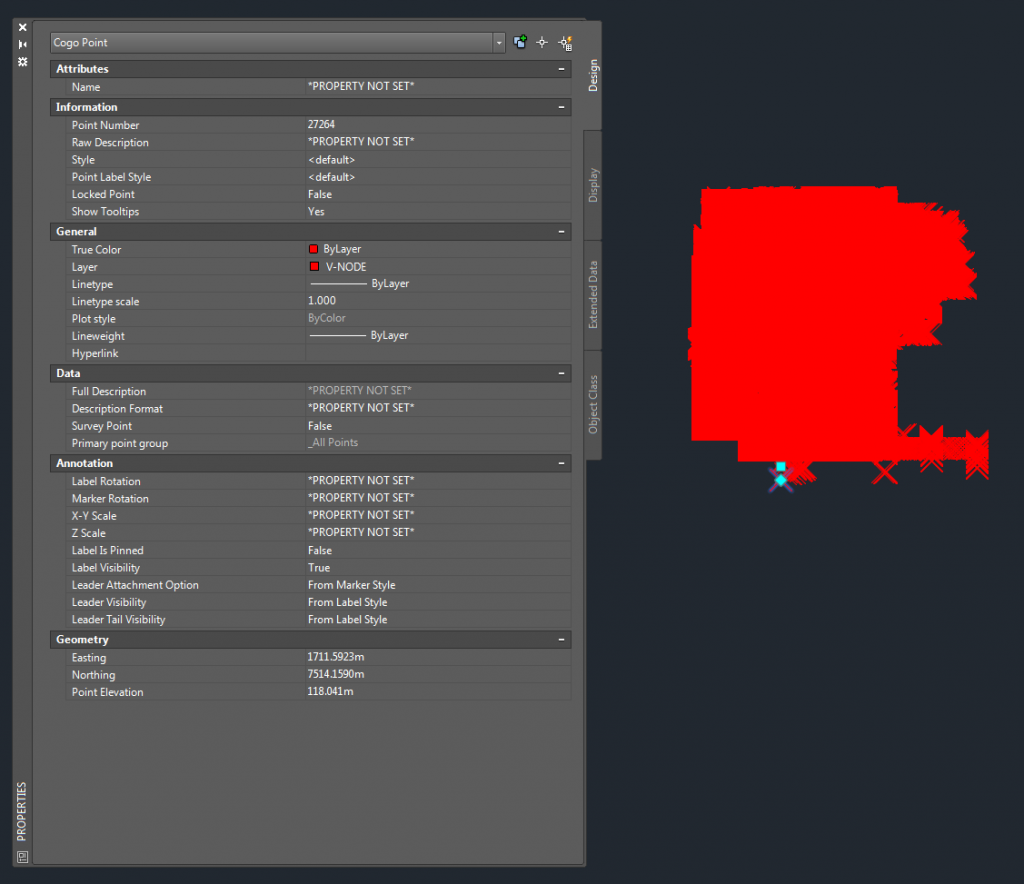
  1. Import points to Civil3D
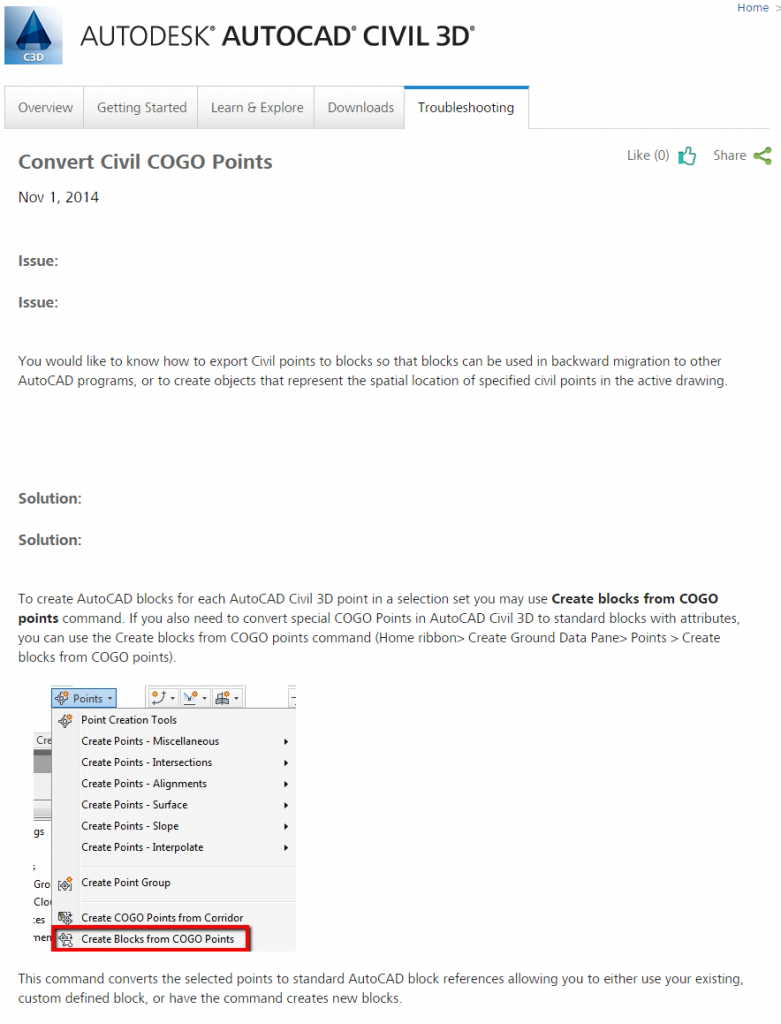
  2. Convert Civil COGO points to vanilla AutoCAD blocks
  3. Use blocks to generate geometry

Using Civil3D to Convert Points to LandXML for Import to Tekla Structures
Another possibility:

  1. Points into Civil3D (as Drawing Objects in a Surface)
  2. Export Surface to LandXML
Note: you will need to login to Subscription to download …
Autodesk® Shared Reference Point 2015 provides functionality to export known points and elevation from AutoCAD® Civil 3D software to an external file, in which Autodesk® Revit® software can import and setup a “Shared Coordinate System.” This enables the collaboration of exported RVT, DWG and NWC files back to AutoCAD Civil 3D and to coordinate models in Autodesk® Navisworks® software.

pdf-4580823
Readme – English (pdf – 422Kb)

Download
exe-2703266
For AutoCAD Civil 3D 2015 64-bit – English (exe – 3634Kb)

exe-2703266
For Autodesk Revit 2015 64-bit – English (exe – 3608Kb)

via
Autodesk Shared Reference Point 2015

Mark Cronin has put together a nice guide describing how to clean up point cloud data in Civil3D, make a surface and then import that into Revit for topography creation.  This is an alternative to using ScanToBIM for topography creation from point data, and if you already have Civil3D it might be the better route.

Read the detailed guide at:
Generate Revit Topography from Point Cloud Data | betterREVIT

My previous posts about Civil3D and Revit:
Using Civil3D to increase your Topography resolution in Revit

Simple methods to help with Civil 3D and Revit interoperability

I think Civil3D is a very powerful and useful tool.  I have even found some ways to make it work nicely with Revit, by using it to do graphical slope analysis, or using it to increase Topography resolution.

If you too are interested in using Civil3D in the BIM process, you should check out the recent article by Andrew Walther on AUGI:

Quote:
As can be seen, the concepts of BIM, which were initially founded in the building industry, can readily be applied to infrastructure and land development projects.  The key lies in understanding the processes and applying those concepts to the individual components of the process.  Whether it’s BIM or Model-Based Design, the concepts are the same and the technology allows designers to share and leverage data in certain areas.  With Civil 3D the true BIM components lie in: 1) moving data through the various phases of the infrastructure project procurement process; and 2) sharing data during individual project phases.

Read more:
BIM and Civil 3D – Fact or Fiction? | AUGI

You receive a DWG file from a surveyor, and you need to get it into Revit.  You go through all the usual cleanup steps.  You have purged, scaled, done a write-block, audited.  You link the DWG into Revit, create the topo – and it looks like rubbish.

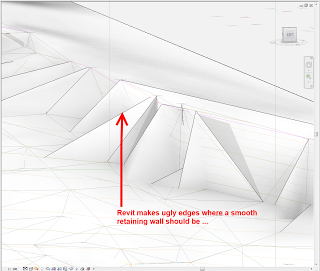
If your survey data has some severe gradient, perhaps relating to a steep retaining wall on the site, you may find that Revit does not model it ‘smoothly’.  Here is an example

The problem is likely related to Revit’s triangulation method for topo surfaces.  You get weird flat surfaces where things should look much smoother and more organic.

Here is a quick workflow that I have used to add some realism to a survey DWG without sacrificing accuracy (note – this method uses AutoCAD Civil3D, you can download a trial):

  1. Open the survey DWG in Civil3D
  2. Create a new Surface (Right click Surface in the Toolspace – Create Surface…)
  3. Add the objects to surface (can be easier to isolate the necessary layers first).  To do this, expand the Surface node, then the Definition node, then select the Drawing Objects entry.  Right-click and choose Add…  You may want to add Contours separately using the Contours node.
  4. Edit Surface Style
  5. Contours – Contour Interval.  Change contour interval to something very small – I find 10mm works well
  6. Turn on the Contour layers for the Surface in: Surface Style, Display.  Also, set a new Layer to be the ‘layer’ for the Surface Contours (major and minor)
  7. Extract the newly created contour objects (select the TIN Surface and click ‘Extract Objects’).  To make my site look better in Revit, I actually had to export the Triangles as well.
  8. Select the extracted Contours / Triangles and save them out to a new DWG file (you can use write-block or the inbuilt Export command in C3D). You will need to take some geometry from the source file (like boundaries) so that you can locate these new contours in your Revit model.  Or keep them in the same file with the new layers you made in step 6.
  9. Import this new ‘high resolution’ contour plan into Revit
  10. Use these contours to make your topography (select only the appropriate layers when using Import Instance while creating Revit toposurface).
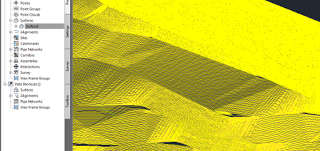
Lots of contours here – thanks Civil3D

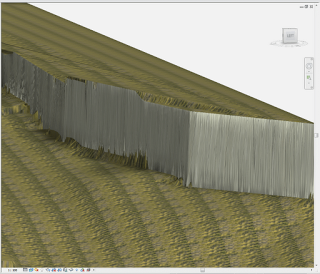
The result?  Something with a much more ‘organic’ appearance:

Better Revit surface (Realistic View, Edges off, Subregion applied)

Obviously, this method has a couple of caveats:

  • it will take a bit of processing power, both on the Civil3D side and on the Revit side
  • once you have your high resolution data in Revit, it will mean you are dealing with lots (thousands) of points in the topo – you have to decide if the nicer looking surface is ‘worth it’ to you 

Also, using my Quadro FX580, if there were too many points, my computer would basically just hard-crash to a BSOD – save often!  I ended up switching to software emulation (turning off Hardware Acceleration in Revit).

      Civil 3D is really good at some things.  I use it to perform graphic slope analysis on the site surface, which I then export and import into Revit as an image.  There are various ways to clean up and bring the Civil 3D surface data into Revit.   A simple workflow is described at:
      Bringing a Civil 3D Surface into Revit as a Toposurface

      There is a nice set of videos at:
      Transferring Site Data Between Revit Architecture and AutoCAD Civil 3D

      I previously posted about the recent Labs tool that may also assist:
      Better coordination between Revit and Civil 3D? Yes please!