This is a new Revit site that may prove very useful to you, whether you are a veteran or just starting out.  It includes Links, News, Resources and Tutorials.

The look and feel of the site is quite nice.  It is easy to navigate and looks slick.

From their webpage:
RevitLink is a source for all things related to Autodesk Revit Architecture. We offer the latest Revit news, free Revit tutorials, Revit resources, as well as useful links to other websites.

http://revitlink.com/

If you want to subscribe to their RSS, you can check out:
http://revitlink.com/feed

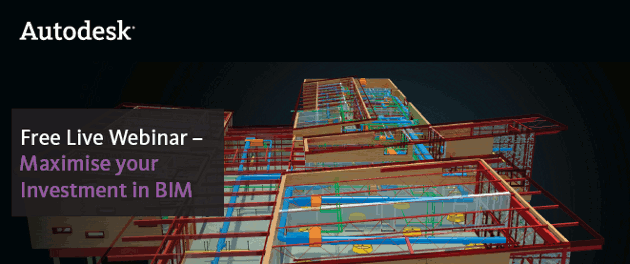
You are invited to join a complimentary Webinar, Maximise Your Investment in BIM Across the Project Lifecycle with Autodesk® Building Design Suite Premium. This informative presentation will show you how Revit® software enables cross-discipline project collaboration, helping to minimise design coordination errors.

You’ll also discover how to use a variety of analysis tools to leverage information that is inherent to your design model so you can optimise the potential of your building project. And you’ll see how to produce highly detailed construction documentation through a variety of products offered within Autodesk Building Design Suite Premium.

Link to register below:
Maximise your Investment in BIM Across the Project Lifecycle with Autodesk Building Design Suite Premium

text above quoted via Autodesk

invitebanner_20110720-7138306

New free tool available on Labs for Revit!  It basically allows you to bundle up a project for easy transmission to another party.

Here is the description from the Labs page:
eTransmit for Revit is a technology preview of an add-in application for Autodesk® Revit® Architecture 2012, Autodesk® Revit® Structure 2012, and Autodesk® Revit® MEP 2012 software.


For best results, installing Revit 2012 Web Update 1 is recommended. // more


With eTransmit for Revit, you can:


Copy and detach a Revit model and associated files to a single folder for internet transmission. This removes the typical error messages when you copy central files using the operating system.


Locate dependent files automatically and include them in the transmittal folder, reducing the possibility of error. All dependent files are automatically converted to use relative paths to ensure that the dependent files can be located by the model.


Choose to include related dependent files such as linked Revit models, CAD files, DWF markups, decal images, and external keynote files. You can transmit any Revit (.rvt) model that has been upgraded to Revit Release 2012.


Transmit models that are using file-based worksharing or server-based worksharing. eTransmit for Revit will also work with non-workshared Revit models.

Some of the new features in Revit 2012 start to fit into place now (such as the ability to Import Linked CAD files).

Here is the link again:
Autodesk Labs Utilities eTransmit for Revit

And here is some more info from the Labs page.

menu View the eTransmit dialog box.
Download the known issues document (PDF).

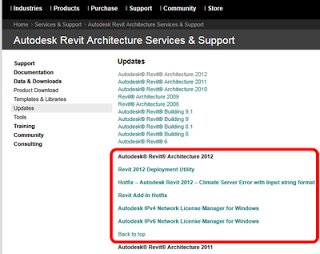
Revit Architecture 2012
http://updatesdl.autodesk.com/updates/files/autodesk_revit_architecture_2012-x64_update_1.exe

Revit MEP 2012
http://updatesdl.autodesk.com/updates/files/autodesk_revit_mep_2012-x64_update_1.exe

Revit Structure 2012
http://updatesdl.autodesk.com/updates/files/autodesk_revit_structure_2012-x64_update_1.exe

These links seem to be for 64-bit versions.

via this post at
REvit 2012 Service Pack 1 out? – Page 3:

There is a GetSatisfaction page for Autodesk Seek at this link.  What is GetSatisfaction?  it “is a simple way to build online communities that enable productive conversations between companies and their customers.”

There is a specific page for Seek related Revit topics here.

From the main GetSatisfaction page, you can search for products or companies that have related support pages.

Community-powered support for Autodesk Seek

Here is slightly nasty, anti-BIM trick: 

If you are trying to override a dimension in Revit with a different dimension, it can be a pain.  Yes, you can mess with the ’rounding’ to try and get it right, or you can override with a decimal point, but what if you just want to show something that is totally different to the actual dimension without having a little dot floating around?

  1. Open up the ‘Character Map’ (Start – Accessories – System Tools – Character Map).  
  2. Scroll down until you see a bunch of blank boxes
  3. Copy one of the blank characters using the buttons at the bottom of the dialog.

  4. Go to Revit.
  5. Double click on the dimension you want to change.
  6. Paste the white space character into the ‘Replace with text’ box.
  7. Type the dimension you want in the ‘Above:’ part
  8. Drag the dimension into the correct location.

Like I said, this isn’t really ‘Best Practice’.  Use this workaround with care!