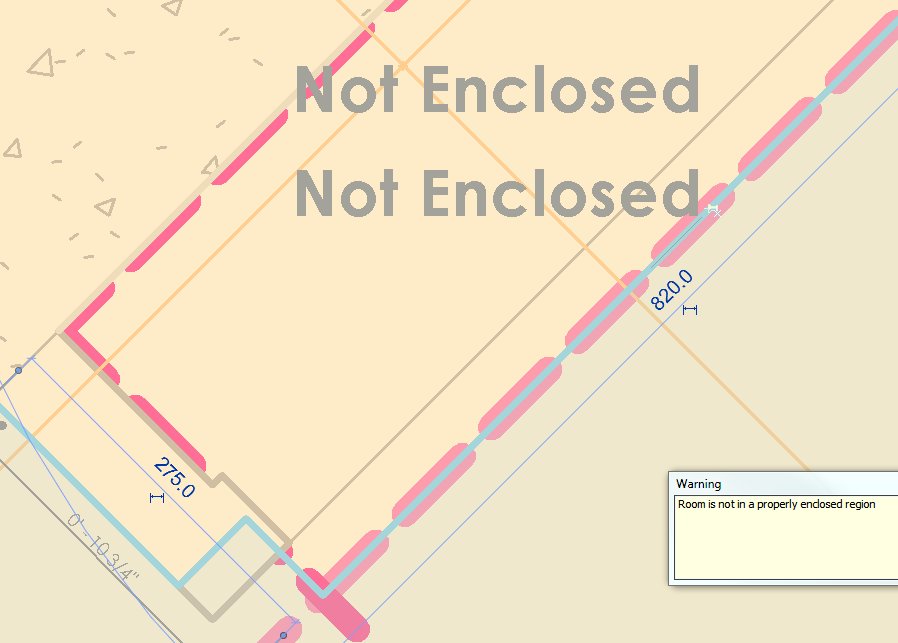
Revit deals in realities.  The reality is, many Rooms are not rectangular.  So we can forgive vanilla Revit for not having a built in tool or method that could only really ‘guess’ at X and Y room dimensions for irregularly shaped rooms.

There are two workarounds that I think can be useful:

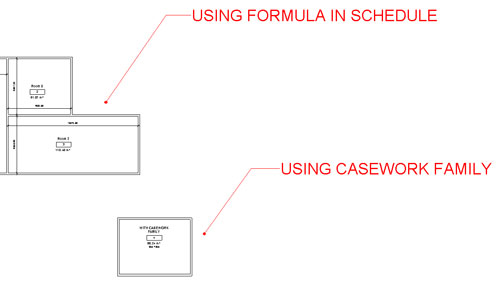
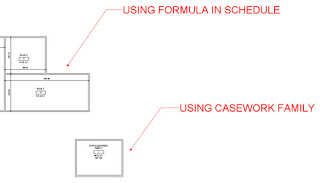
  1. A Room Schedule that calculates X and Y dimensions for rectangular rooms only
  2. A Model Family with built in nested annotation labels that needs to be manually stretched and updated to the assumed X / Y dimensions of the Room.  Just place the family and then adjust the grips.

I can’t take credit for the Calculation method.  This uses a formula based on Perimeter and Area to establish calculated values for X and Y room dimensions in a Schedule.  I downloaded an RVT back in 2008 that demonstrated this method — from … somewhere.

Similarly, I can’t really take credit for the Model Family with Annotation Labels idea for the family either.  Daryl Gregoire posted it years ago in a series of videos, and it was mentioned in this post as well.

Download this file to see both methods in action.  Be sure to review both the Floor Plan and the Schedules to see how it all works together.

I chose Casework because it has built in X, Y and Z parameters – meaning I did not have to use Shared Parameters.  I control visibility by placing these Casework families on a secondary Design Option.  You could actually use a standard Casework Tag instead of the built in annotation if you prefer.  The Casework Schedule is filtered by Type Comments, and the other good thing about Casework is that we can Schedule the Room that the Model family lives in.

Feel free to comment, even if you think both methods are a bad BIM idea 😉

Revit does not allow rooms to become smaller than certain dimensions – it simply switches to Not Enclosed when one dimension goes below about 276 mm (when using room separation lines on a rectangular room).  However, this dimension may be slightly different depending on the surrounding wall thicknesses.

The following videos demonstrate the limitation:

There is a forum thread at
2011 Minimum room size? – AUGI

On the forum, Dimitri Harvalias makes the following observations.
When using room separation lines the minimum size seems to be limited to about 1sf. When using walls it appears to have some relationship to the wall thickness used.
See the attached image.
If walls are 150 wide then the minimum dimension of the room is 150. If some of the walls are 300 and some are 150 then it bottoms out about 85mm. If all the surrounding walls are 300 then I can get it down to virtually nothing.


I can’t believe I had not come across this change until today. In Revit 2012, the Room Computation Height is no longer a Type Property of the Level – it is now an Instance Property.

Some of the impacts of this when upgrading are described in the Revitez post below:

This eliminates the need to create a kind of different level for adjusting the heights of the different calculation levels.

When your old projects, where you took the trouble to create these types of additional levels, your types still exist, but they no longer control the height and therefore not used to anything if their purpose was the control of this value.

The value is copied into the parameter of occurrence. All is well, just be careful if you need to change height calculation, there is no need to change the type as you did in the 2011 version, this will have absolutely no effect.

via
Google Translate of Revitez post