Credit to Doug Bowers:
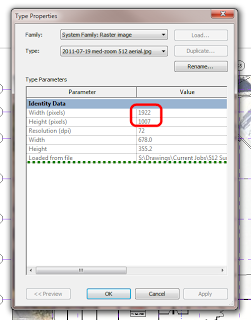
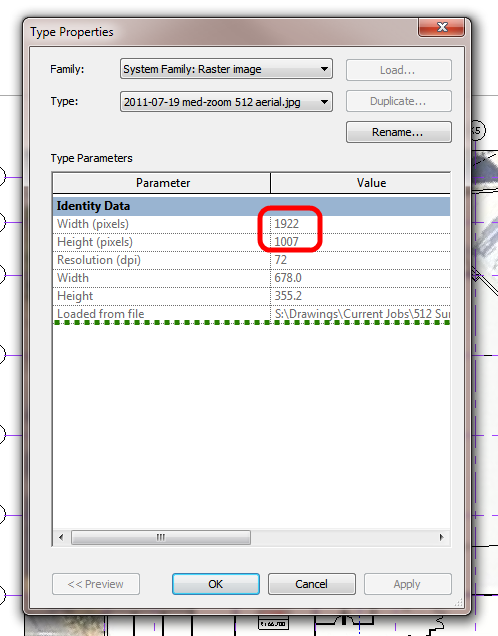
In the Project Browser, expand the Families category, then expand the Profiles portion.  Locate the desired profile and expand it.  When you see the types displayed under that profile, right click on the desired type name and select “Type Properties…” from the menu.

This process is different for profile families from other families in that with other families you can simply highlight the nested family and pick on the Type Properties button in the Properties palette to access the parameters.  That process does not work with Profile families.

Read more
Passing Revit Parameters to Nested Profile Family | Applying Technology to Architecture

In a future post – swapping Profiles completely in Adaptive scenarios…

Once you have imported an image into Revit and then warped it (by unticking the Lock Proportions box and resizing it), then it is not immediately evident how you can reset it to 1:1 (its default X:Y state).  Even if you toggle the tick box, it doesn’t reset the scale to be un-warped.

Here is how you can do it:

  1. Select image and Edit Type
  2. Take note of the pixel sizes
  3. Directly set the image size using these values in the instance properties
  4. Tick the Lock Proportions box

Also, did you notice that Revit records where the image was originally loaded from?  Even though there is no ‘link’ as such, this does allow you to find and edit the source image easily.

    One of our staff found a bug for Schedule editing in Revit 2010 64 bit. If modifying a Schedule (in our case a Door Schedule) and you change a ‘Type Property’ and then go straight to the ‘Close’ button in the Schedule (without changing cells or tabbing or anything), Revit will tell you “this will change all instances of this xxx type” and then if you click ‘OK’, Revit will crash.

    Here are the steps to reproduce this issue (keep in mind that we are running Revit 64 bit on Vista 64 bit):

    1. Create a schedule that includes Type Properties that you can directly modify.
    2. Open the schedule.
    3. Modify the Type Property.
    4. Using your mouse, click the ‘x’ or Close button in the top right corner of the schedule window.
    5. Revit will provide you with a dialog box – Click ‘OK’.
    6. Revit crashes.

    See if you can reproduce this.It would be wise to Save your project before trying!