Aaron Maller, aka twiceroadsfool, has been sharing his Revit door family package on RevitForum for the past few years. If you haven’t seen it yet, you can check out his post in the thread here:
http://www.revitforum.org/architecture-family-creation/1242-doors-download-nested-panels-nested-frames.html

In the thread, he gives instructions on how the door families work, and a link to download the 179mb zip package:
First important part. The way they work is you only place the ones that say DOOR at the beginning of their name, obviously.

Download Link for the v4 Doors, a sample file with the doors in them, and the Door Schedule accompanying them, is here:
 https://www.dropbox.com/s/lcr5gobpuv…015v4.zip?dl=0

Thanks for sharing Aaron!

Older posts:
Doors for download, Nested Panels and Nested Frames..

Heads-up via http://notanotherrevit.blogspot.com.au/
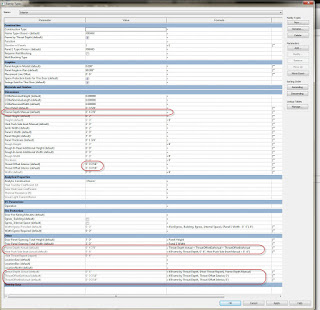
Ever wanted to get a Tag to pick up the hardcoded Elevation value given to a nested Family?  Then check out this great little thread and cool answer by Julien!

Answer:
You need to set a SP in the nested family.
Make the plate geometry attached to ref planes that are not the 2 from the template. Assign a SP to the distance between the RP at center of geometry and the RP that defines origin. SP will be by instance. Beware of directions for correct behavior when loaded in the host.
In the host family, add the same SP, select the plate, and in properties palette, look for the tiny button on the left. Click and choose the SP you’ve added. The insert point of the plate must be set to the ref level of the host.
Now you have the elevation of the plate driven by a SP in the host. Create a tag for this SP. You’re done. 

By Julien Benoit at
How can I get this parameter into a tag?

Remember Julien Benoit’s adaptive component tutorial from a year ago (link here)?  Well, Julien has made something pretty cool and posted it on RFO.  It is basically a 4 point adaptive component that calculates the area of the resulting surface using Bretschneider’s formula.

Julien’s solution (using an intense formula):
File Type: rfa AreaTool#2013_AC_CP_4P.rfa 208.0 KB

This is the formula, if you are interested (!)
sqrt((P – A) * (P – B) * (P – C) * (P – D) – ((A * B * C * D) * cos((BB + CC) / 2) ^ 2))

Alfredo’s more volumetric solution:
File Type: rvt Project_panel_areas.rvt 960.0 KB

Note: you will have to login to RFO to download from these links.

Read the whole thread:
AC curtain panel as measurement tool

From Jeffrey McGrew on RevitForum (I’ve underlined key parts):
“While I respectfully disagree that rendering in Revit is a waste of time, for there are still times we do so, I totally agree with what you’re saying here. If you want to produce renderings from Revit models using anything but the built-in Mental Ray (and it’s vast limitations) then your best bet really is to link the Revit file into Max.

The new model linking in Max 2013 works very well, so we simply link our models, continue to do the ‘real work’ in Revit while we simply swap materials / plants / lights in Max and then use Octane Render to produce the images.

We’ve tried just exporting OBJs out of Revit or Max & bringing those into Octane Render, and the lack of control over UVs, instancing, entourage, etc. drove us back to using Max.

Just to be clear, I HATE Max. The UI drives me crazy, and it’s so crash-tastic that it’s a wonder we get work done sometimes. I’d much rather work with another program, but the Revit linking works so well, and the Octane Render plugin works so well, that well, I just suck it up. 😉

I’ve tried several rendering plugins for Revit, and run into the same problems. Even if there were a Octane Render plugin for Revit, I don’t know if we’d use it, unless it was as well integrated as the Mental Ray one is…

Jeffrey McGrew
Architect

via
2012: Maxwell for Revit