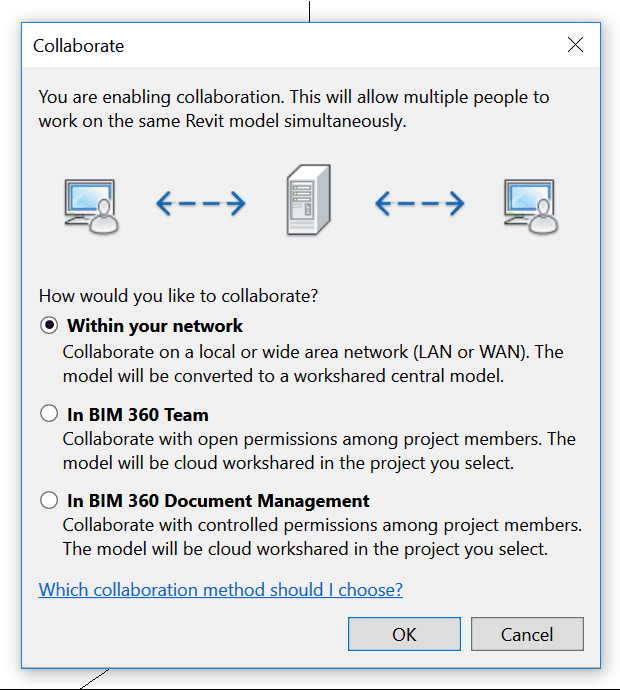
I’m looking into ways to batch initialize Revit models onto the new BIM 360 Docs (Document Management) platform. It is a work in progress at the moment – in Revit 2018, I think that there is limited ability to use newer API features for creating a Cloud ModelPath for batch processing. But more on that later…

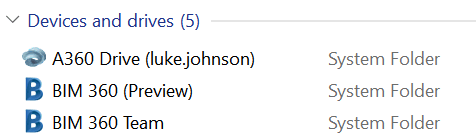
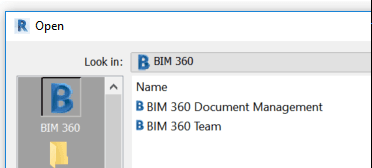
For now, I wanted to replicate a folder structure from a local network onto the BIM 360 Docs platform. To do this, you just need the Desktop Connector + Preview installed, and then you copy and paste the data.

Here are the steps:

  1. Clear Pending Actions on Desktop Connector for BIM 360 (recommended, use with care)
  2. Work Offline (recommended). Folders will appear blue in Windows Explorer.

  3. Set the folder path in the and create a CMD script using code below. It populates each subdirectory with a text file indicating the contents of the directory.
    @echo off
    chcp 65001 >nul
    for /r "C:\Your\Folder\Path\Here" %%d in (.) do dir /a:-d "%%~fd" > "%%~dpnd\DirectoryFilePlaceholder.txt"
  4. Run the script on your target directory (the local directory that you want to mirror into BIM 360 Document Management platform)
  5. Run a FreeFileSync task with filters to include only the ‘DirectoryFilePlaceholder.txt‘ as a mechanism of building the file structure. This task copies those txt documents to the BIM 360 using the local Desktop Connector path, as shown here:
  6. Then, disable ‘Work Offline’, so the sync to cloud should begin.
  7. Wait for ‘Processing’ to complete

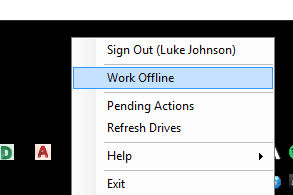
To force the sync you may have to toggle the ‘Offline’ status in the tray.

You can review sync state with the ‘Pending Actions’ link from the system tray:

After the file structure is copied and synced, you will be able to see it in BIM360 Docs.

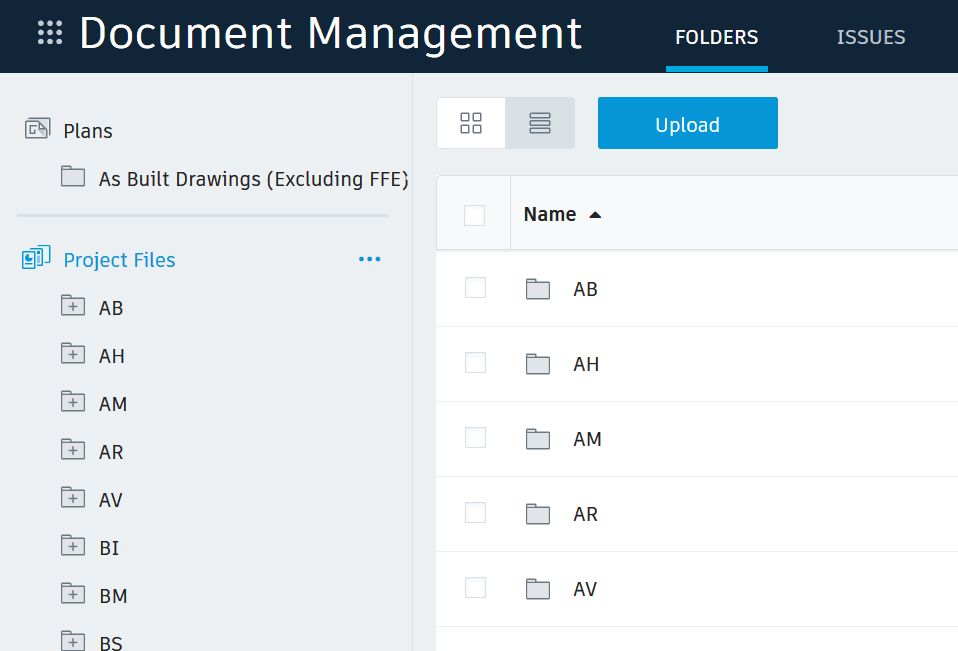
You can then proceed with adding Permissions or uploading other files.

Previously the Desktop Connector was built for BIM 360 Team projects running C4R. With the shift to B3D (BIM 360 Docs) platform, you need to:

From the help:

This plugin is a connector that establishes BIM 360 Docs as a recognized data source for the Desktop Connector – making it available in your desktop folder and file structure for easy file management.

As with Desktop Connector, this means your BIM 360 Docs files are replicated in a connected drive. You can manage files in BIM 360 Docs through the connected drive, just as you would any other folder on your machine. Changes made on the desktop are automatically uploaded to BIM 360 Docs.

How do you get it?

After install, you will see this in Windows Explorer:

If you are already a C4R user, for a while you can keep working as you are. But the entire platform is shifting from C4R to B3D (BIM 360 Docs), and you will eventually have to make the leap. In the long run, it will allow for more control, like folder-level permissions, so for big projects it is going to make a lot of sense. For now, there is some confusion out there (like in this Twitter thread), so here are some basic steps to activate a new BIM 360 Docs account, setup a Project, and then invite some collaborators into the project.

First, you can go to your account and use the special link to create a new BIM 360 Docs workspace. That is, if you are starting fresh in the new platform.

Here is the activation form notes (read carefully). Note: the links are different depending on how you activate it. For example, if you have an existing C4R account and you want to ‘transition’, you would use the relevant activation link for existing C4R customers :

New BIM 360 workspace


Transitioning from C4R


Once done, you should have a new BIM 360 account:

And you just have to click the activate link in your email:

After that, you should be able to login to your BIM 360 workspace and start setting up some company settings, like adding a Logo and Business Units:

Setup a Business Unit:

https://help.autodesk.com/view/BIM360D/ENU/?guid=GUID-6A8990E7-A640-4267-83AF-64003B015F98


Finally, you can go ahead and Setup a Project:

https://help.autodesk.com/view/BIM360D/ENU/?guid=GUID-9C991F4C-7012-4770-B8F7-A1D45F5D9197


Then,

  • add Companies to your Workspace
  • Add Users to Companies.
  • And invite these Users to specific Projects.

In Revit 2018.3, after clicking Collaborate, you should be able to choose from 3 options:

You should see this in your Open dialog (if you have both a Team and a Docs entitlement):

Finally, you should be able to access Document Management, add folders, apply Permissions, and generally start work: