Archvision has a great reputation for providing quality Entourage RPC content and extensions to Revit, historically to assist you in creating more impressive presentation images and renderings. More recently, they have branched out to focus more on being a BIM content leader, including the development and release of their DETAIL WAREHOUSE app and content. This has been improved with recent updates, including the provision of DWG versions of this detail library.
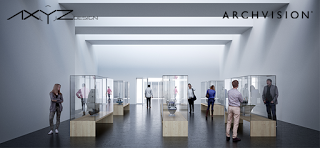
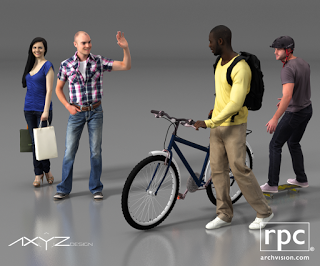
A couple of months ago, Archvision partnered with AXYZ Design to now provide more high quality 3D people as part of the RPCs available to Archvision users (but purchased under a separate license). The official name of this product is “AXYZ Design 3D Human Characters Collections”.
For more information on the AXYZ partnership, DETAIL WAREHOUSE App Store release, and DWG availability, please see links, images and embedded press releases below.
AXYZ Partnership
AXYZ Press release:
Detail Warehouse on App Store
Get it here:


Press release:
Detail Warehouse in DWG Format
Press release: