Box is great, and Box Sync is still the most robust file sync tool I have used for huge datasets. In BIM and VDC, our data is getting bigger, primarily due to the prevalence of point clouds. It is not uncommon to have 50gb of scan data for a single site scan. Moving that data to the cloud is challenging, and a lot of data processing and point cloud indexing work still happens on local machines. This means we have to upgrade our local storage devices (hard drives) to handle those tasks.
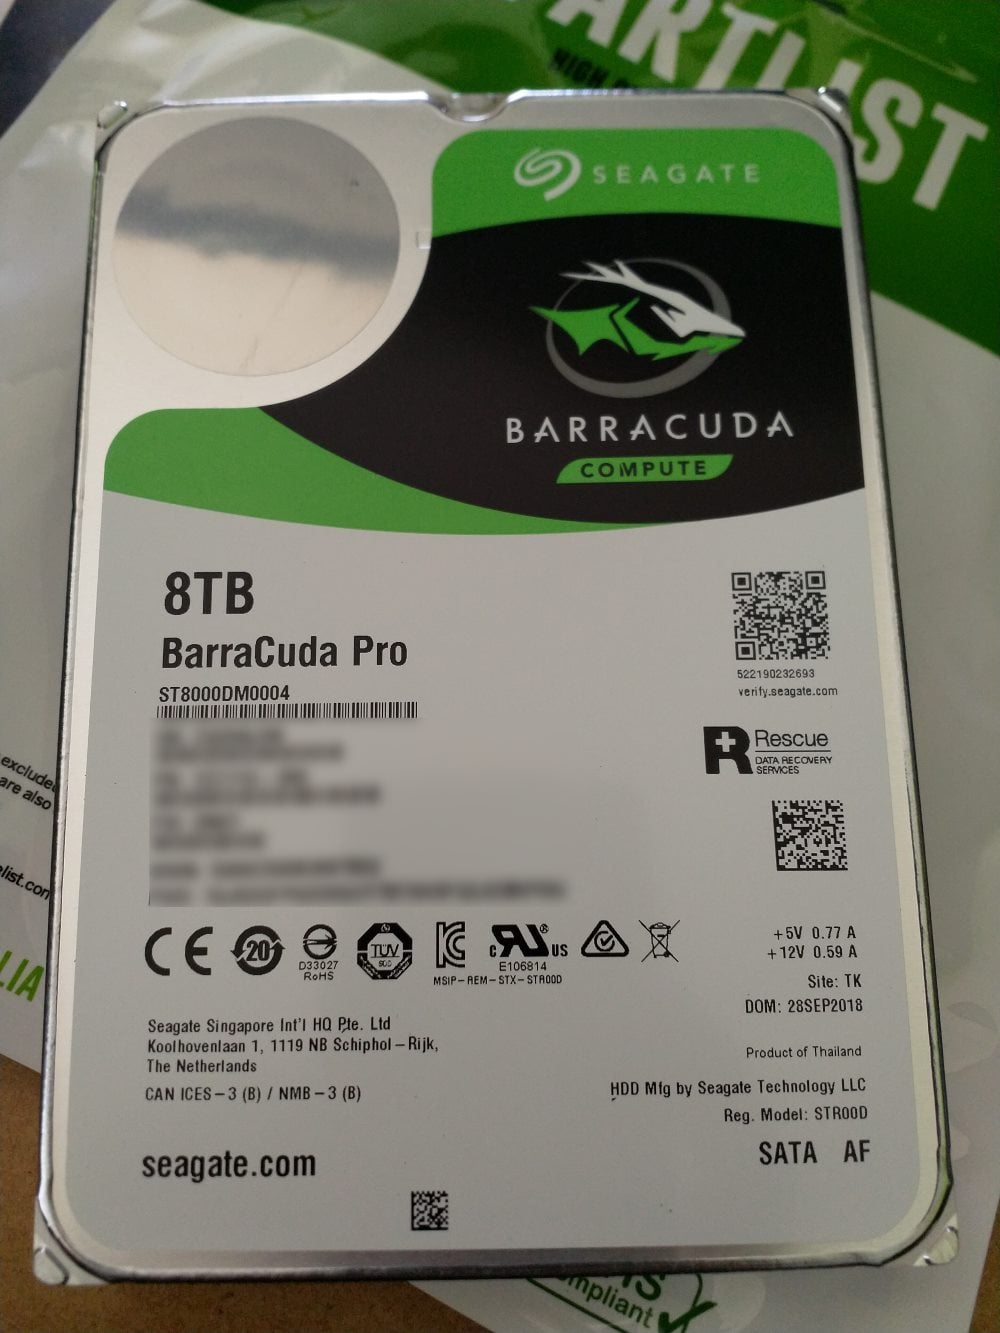
Recently I went about upgrading the storage on both my Workstation and my Laptop (a Metabox). I wanted a relatively huge platter drive in my workstation, and a relatively huge SSD in my laptop. I had a look online and after a bad experience with Umart, I ended up buying an 8tb Seagate Barracuda from MSY, and a 2tb Samsung 970 EVO from an eBay vendor. Both drives come with a 5 year warranty.
I’ll describe both of these upgrades in detail below
Upgrading the Box Sync Hard Drive on my Workstation
Box recently released ‘Box Drive’, but it has a local cache limit of 25GB, which is quite useless for BIM in my opinion. That means I still wanted to keep using the old faithful Box Sync. But…
Box Sync does not allow you to move or change the folder location of its data (actually you can, but you only get one chance when you first install it). After installing, you can’t move the Box Sync root folder without some kind of hacky tricks like pointers, and I didn’t want to go down that path. We have been syncing Box to a folder on our E drives (secondary hard drive), and now it was time to upgrade that 2tb secondary drive to something bigger.
Here’s how I kept all my Box Sync data and upgraded the hard drive:
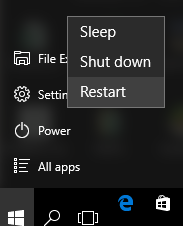
- Shut down computer
- Install the new hard drive (it was a simple SATA drive with data and power cables)
- Boot up the computer
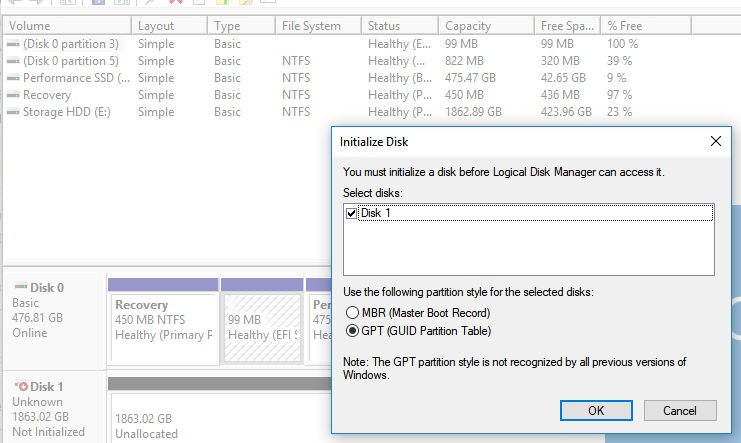
- Initialise the drive with GPT Partition Style

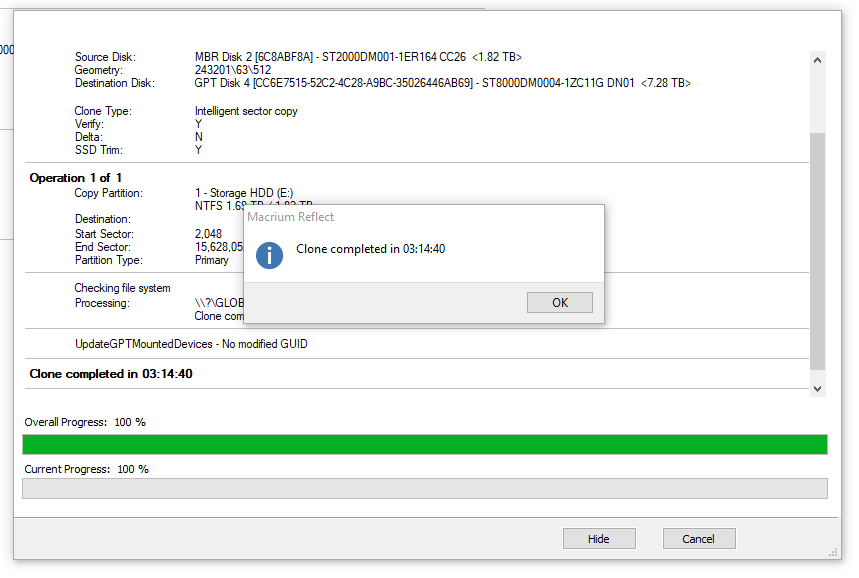
GPT Partition Style - Use Macrium Reflect to clone the partition from the old drive – including all Box data – to the new drive

Cloning with Macrium Reflect - Reboot into Safe Mode
- Use the video below to ‘swap the drive letters’. This step basically tricks Windows into using the new, larger hard drive (as the ‘E’ drive in my case). And Box Sync works perfectly, it just picks up where it left off.
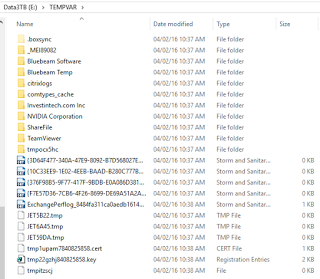
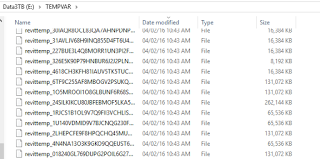
Now we have lots of room for Box Sync and more:
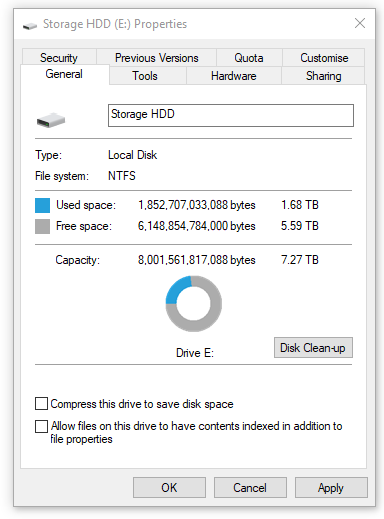
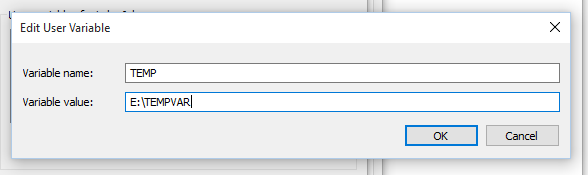
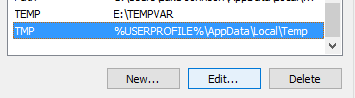
One final thing I had to do was “uncompress” the drive data. I had used NTFS compression with the previous drive but now I no longer needed the compression. Just go to the file or folder properties and untick “Compress this drive”.
Adding a New SSD into My Metabox Laptop
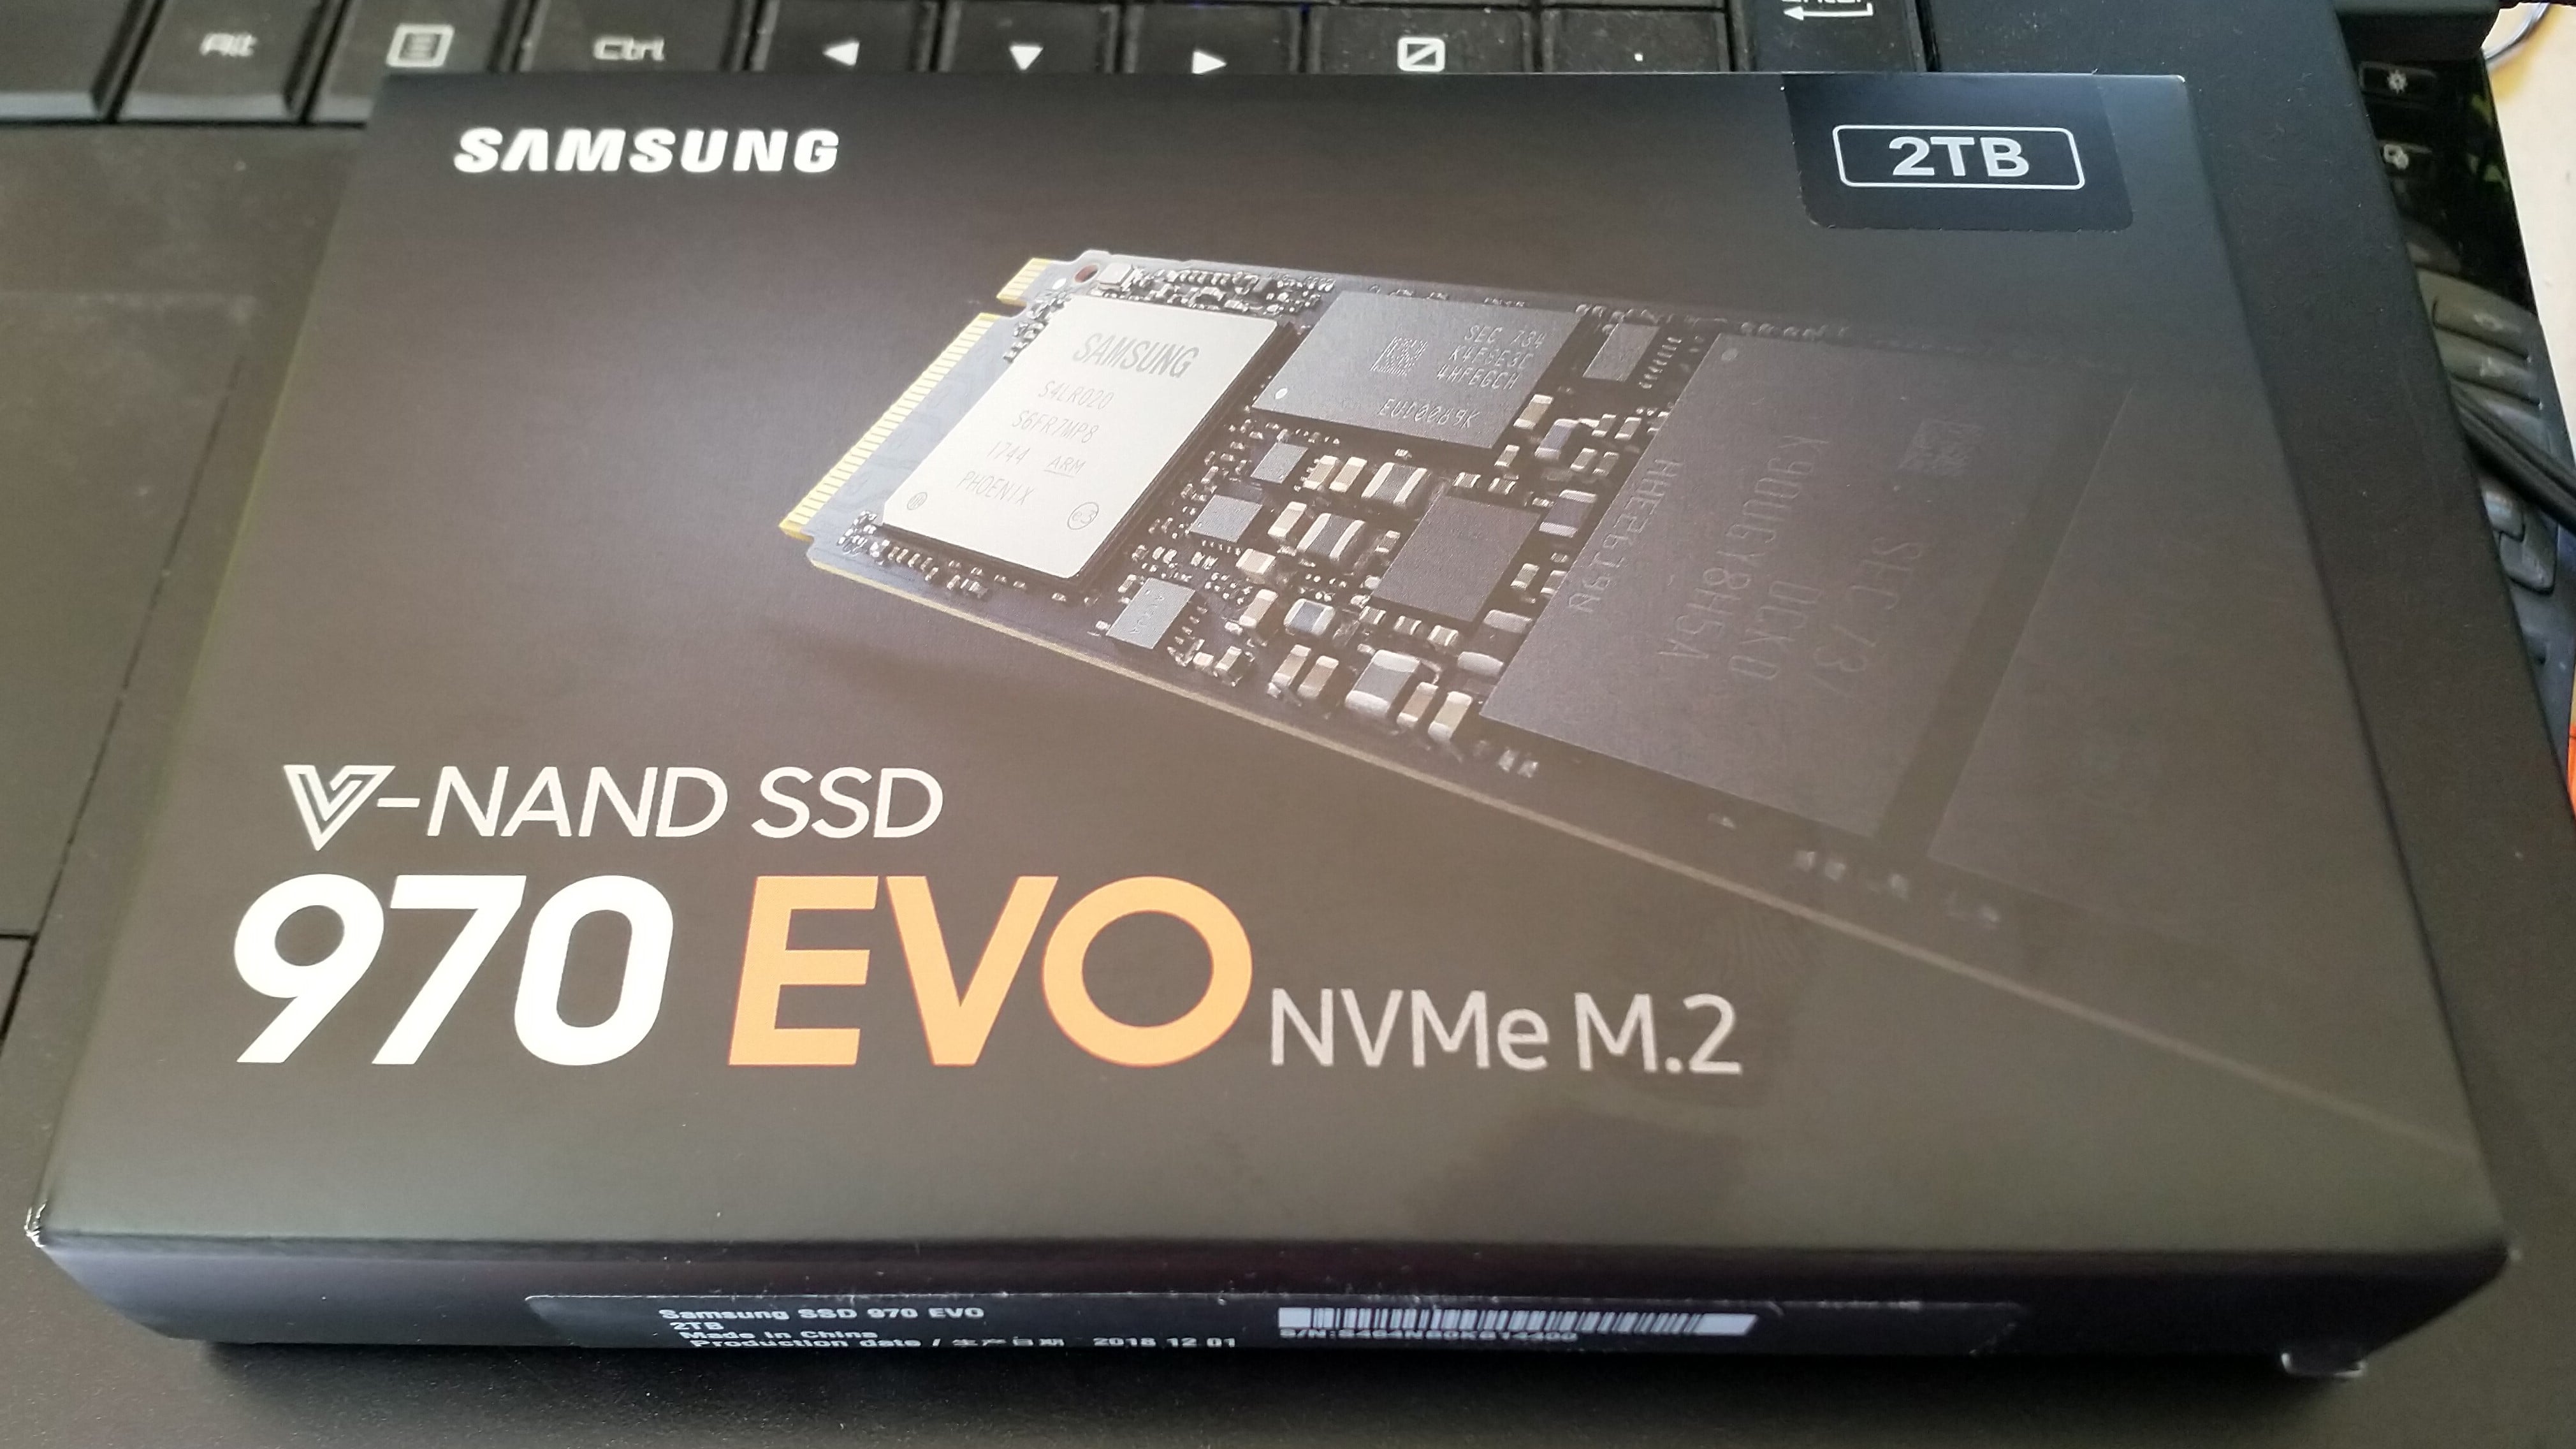
The next thing I did was add another SSD to my laptop. I looked up the manual and it said I had another M.2 2280 (22mm x 80mm) slot available. In the first slot I already had a Samsung 950 Pro 512gb as my primary drive. I did some research and decided to go with a Samsung EVO 970 2tb drive. After waiting patiently for my ebay order to arrive, I then cracked open the Metabox to install it.
Here is what I did:
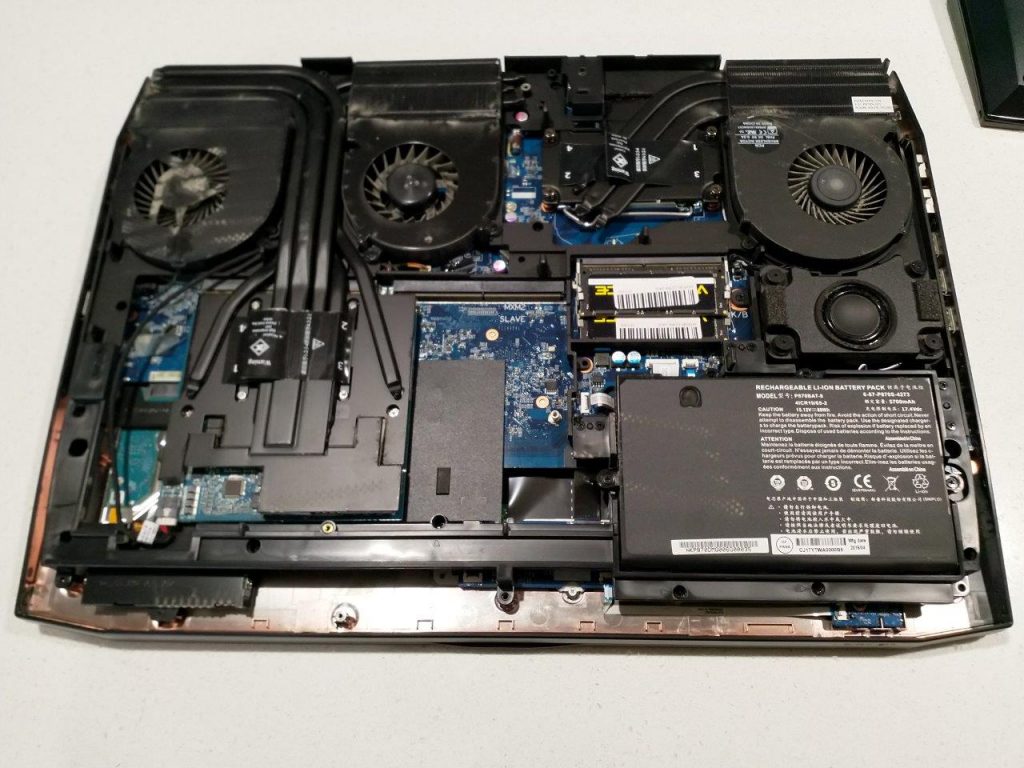
- Removed the back cover of the laptop

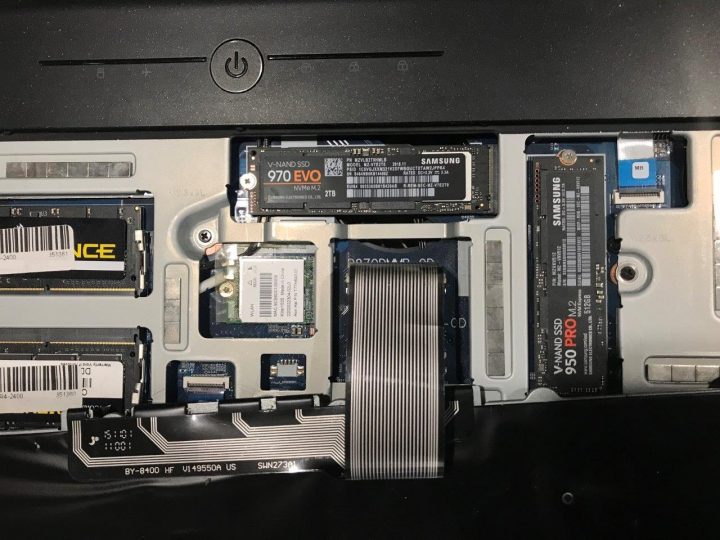
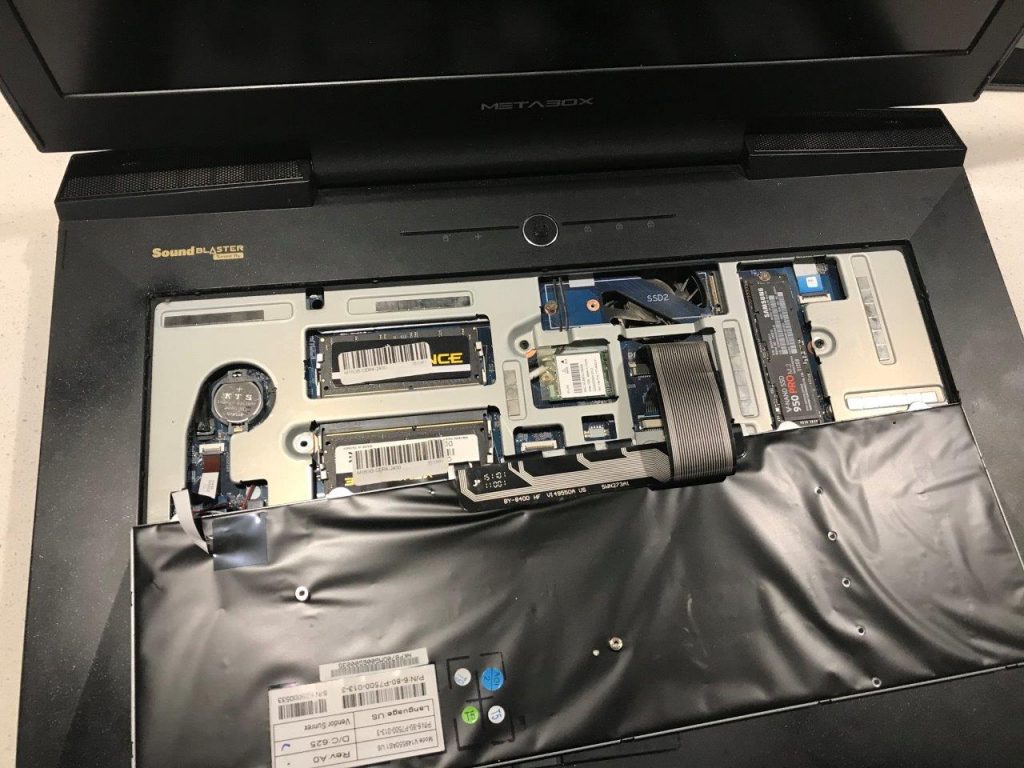
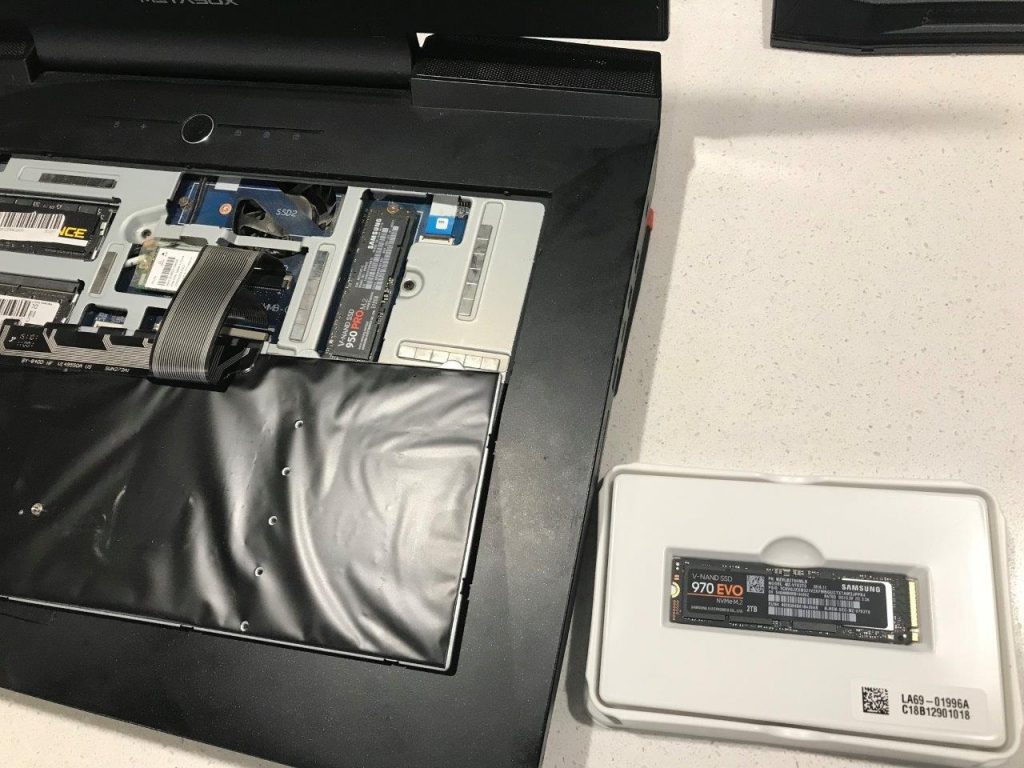
This is under the back cover of the Metabox - Looked around everywhere and couldn’t find the M.2 slot – in fact I couldn’t find my primary drive. After a moment of panic, and then a quick look on YouTube, I realised I had to remove my keyboard. So I removed the KB screw and carefully pried the keyboard off, then there it was – my spare M.2 slot!
Additional M.2 slot under the keyboard New drive ready to install - I carefully installed the 2tb SSD and then closed up the laptop
Installed - The system booted up fine, then I went into Disk Management and initialised the disk with a GPT record,
- Created a new partition with NTFS default sector size, and
- We are good to go!

Now that I had a much bigger SSD to work with, I immediately moved my Revizto Working Folder onto that new 2tb SSD. This will allow me to fully utilise a lot of the great new Revizto Point Cloud features and at the same time have full M.2 SSD performance.
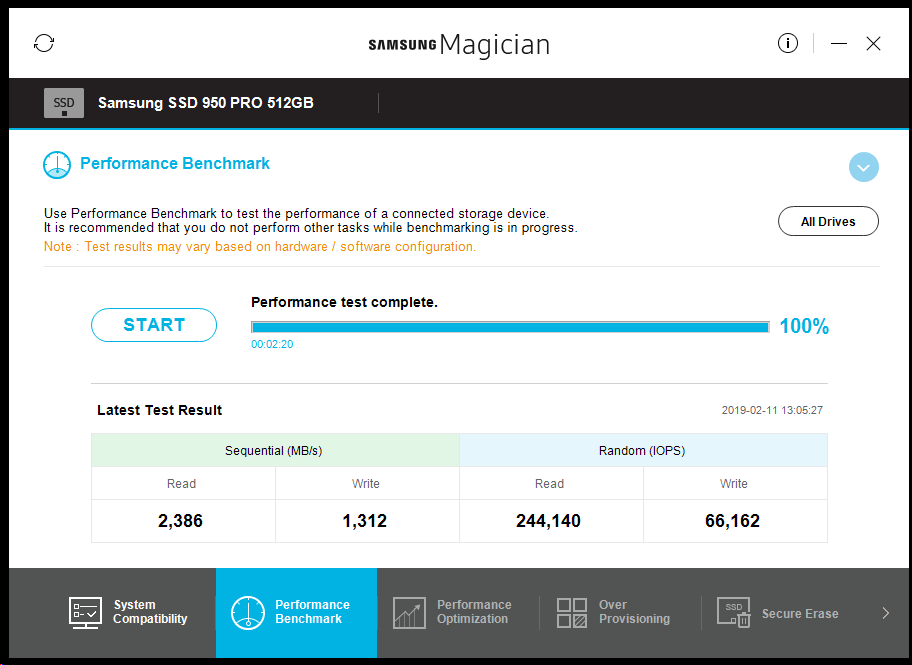
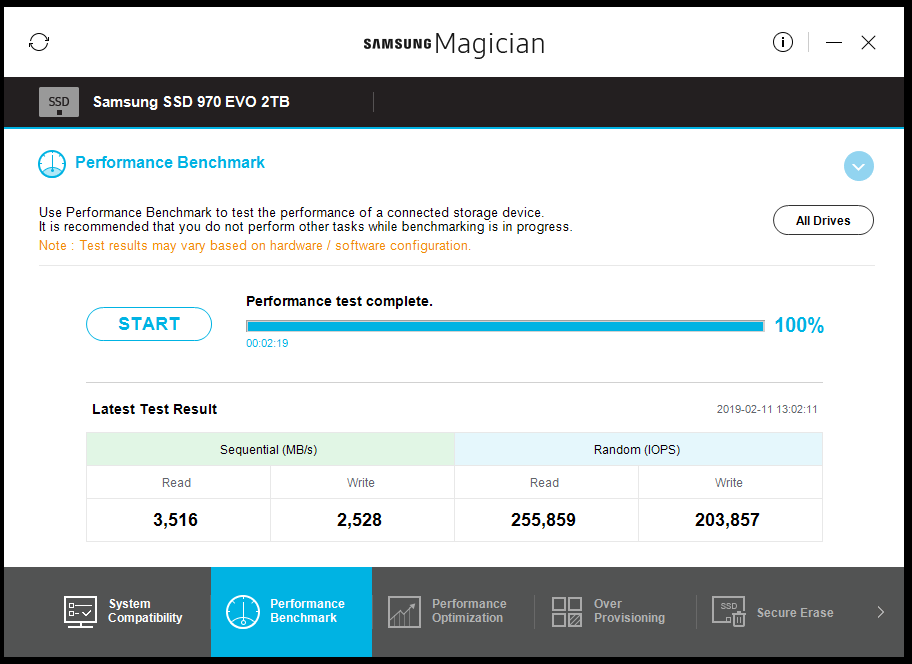
Update:
Out of interest, I have added the Samsung Magician performance scores for the Samsung SSD 950 PRO 512GB and Samsung SSD 970 EVO 2TB below: