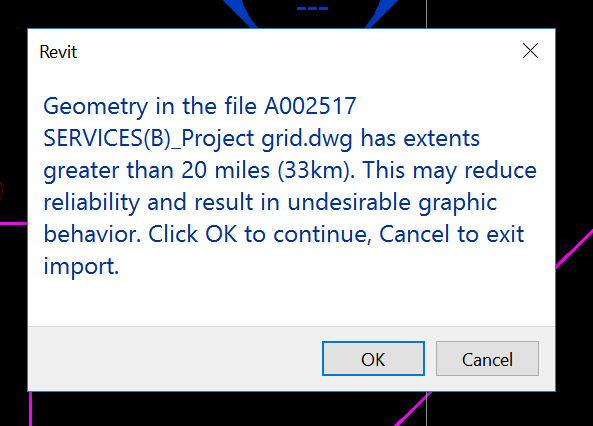
What if, even after all of the usual steps, you still have the ‘extents’ problem? And what if you can’t find the problem in a plan or top view in AutoCAD? That means that you have large Z extents. And you can even have large Z extents from some wayward Text objects with a Z value of like 35000 metres, which will trigger the same message in Revit.
How do we fix these? We need to directly edit the Text Alignment Z in AutoCAD. Here’s how:
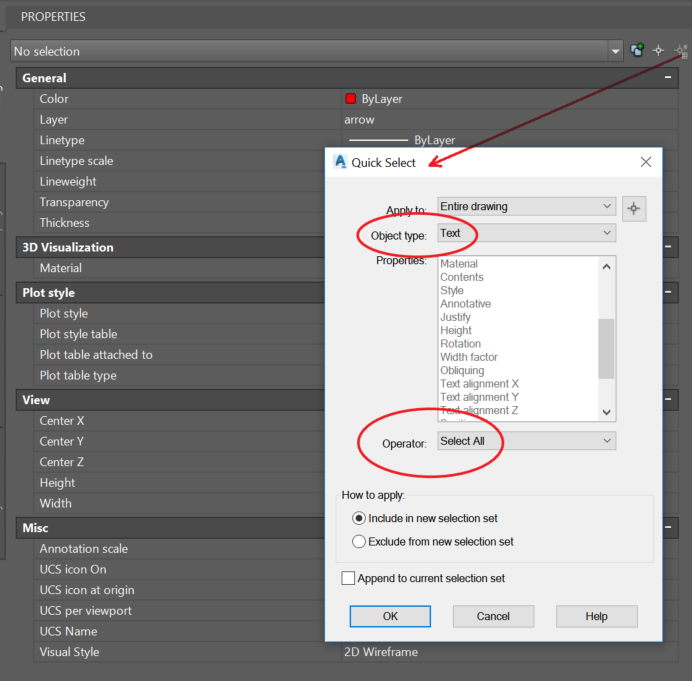
Select All Text with Quick Select tool
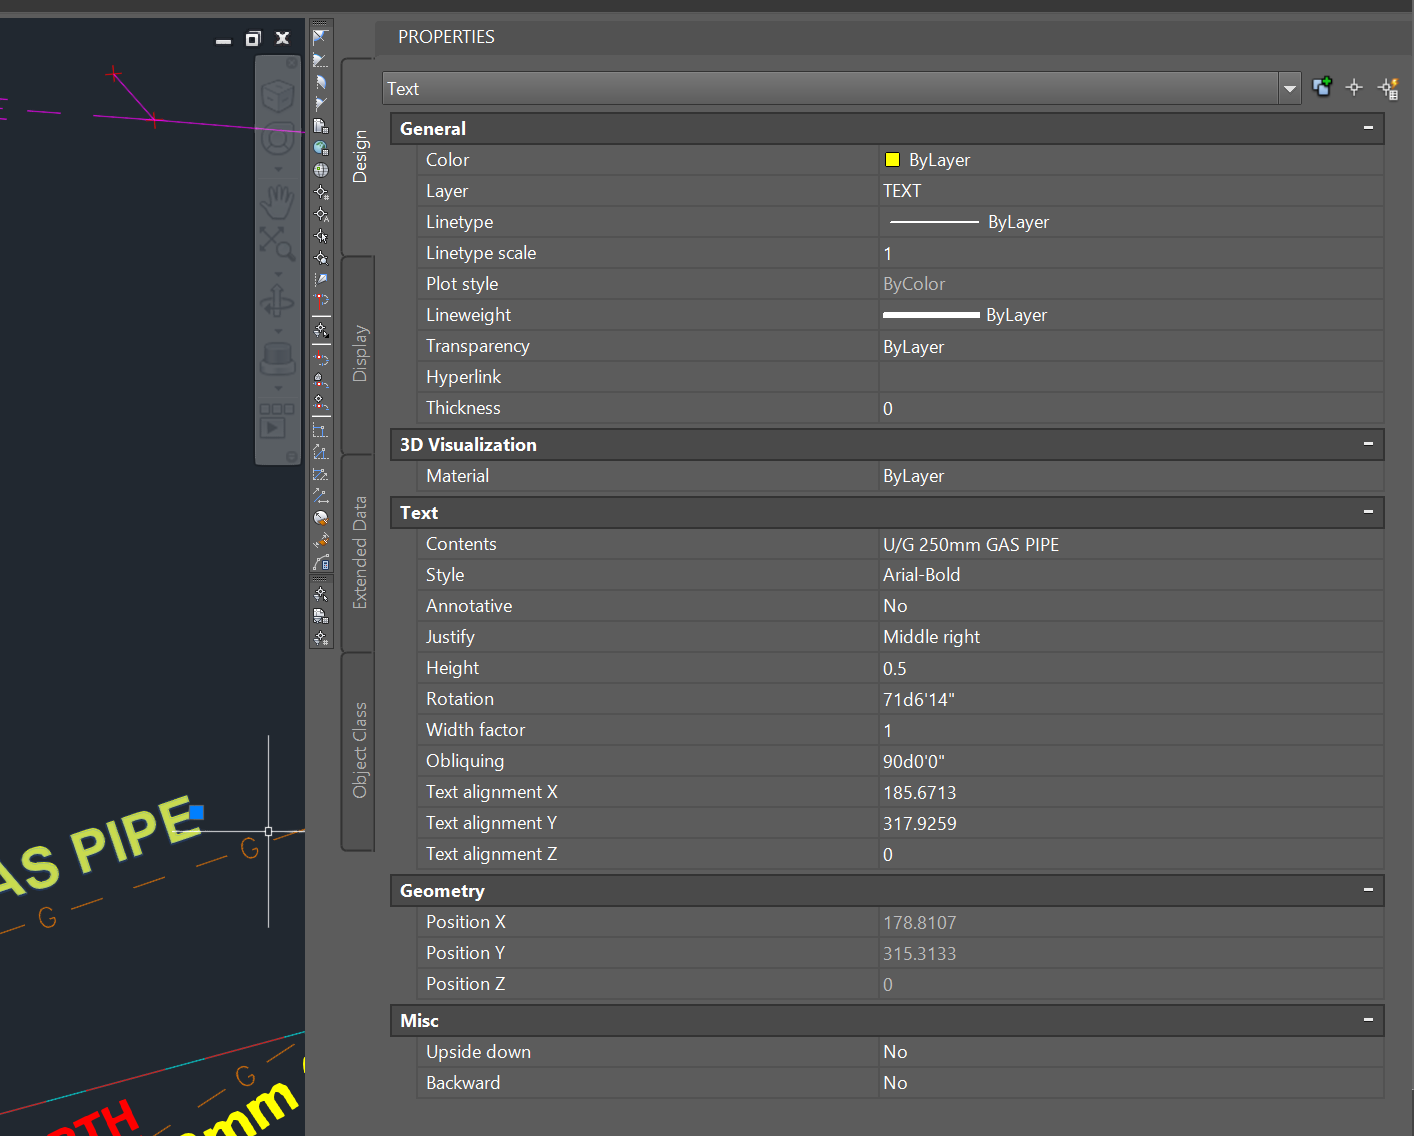
Then change the ‘Text alignment Z’ value to 0. This also sets the Position Z to zero.
Then either Save As or use the EXPORTTOAUTOCAD command to remove the proxy objects
Now the DWG should Link to Revit without error. Hope this helps some of you 🙂
If you want to Move Text to the Elevation corresponding with the text value, such as for a Civil elevation, you can use this command. With a Civil or other vertical product, start the special command:
_AECCMOVETEXTTOELEVATION
At the ‘Select text objects’ prompt, type All and hit Enter
An interesting but sometimes blunt process that happens in firms is ‘ranking’ their Revit users by proficiency. There are various reasons to do this, and some of them make sense. In an ideal world, all of your Revit users are simply awesome and you have no skills problems. But yeah, real life ain’t that way is it?
So how do you go about it? And do you use those ratings primarily?
Personally, I think the success of Revit in your firm is likely more affected by culture and attitude. Are people being forced to implement something they don’t like or understand? That could be an uphill battle…
Under-slab insulation (fitted or fixed below a concrete slab) is a legitimate coordination item. Typically it is installed first on site, so other trades and services must fit in around it.
This means it needs to be modelled by someone, which can be a headache in Revit. The slab soffit (underside of slab) often moves up and with concrete beams and pads. If you have access to editing the structural model, you may look for a way to incorporate slab insulation into the floor items themselves. However, this still does not work well for the vertical faces of a slab setdown.
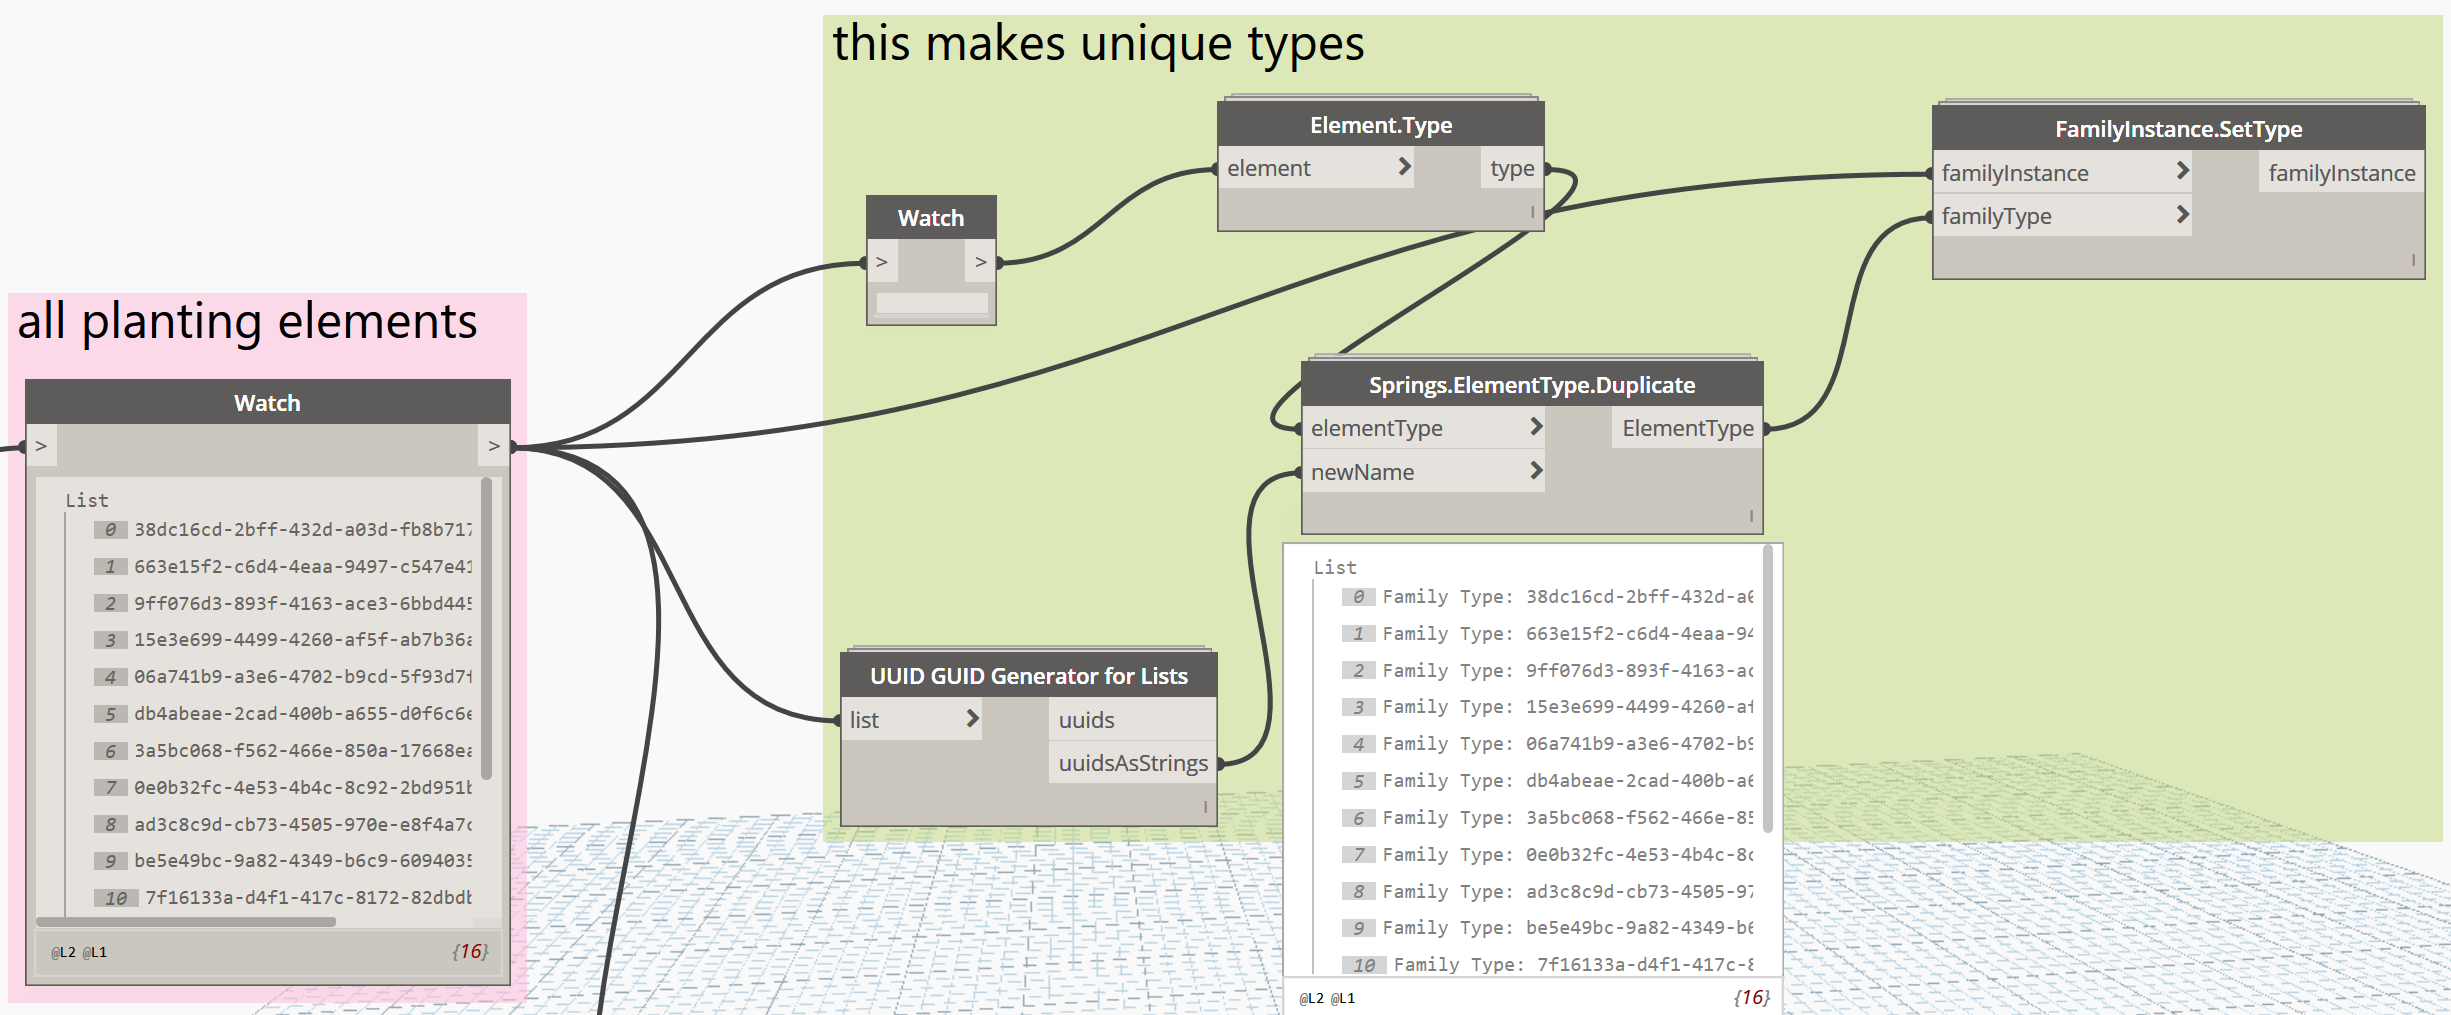
To solve these, I created two families:
A line-based, face-based Generic Model family that can be simply placed and stretched
A 4-point adaptive component for irregular shapes. After placement, the four corners can be selected and moved into place.
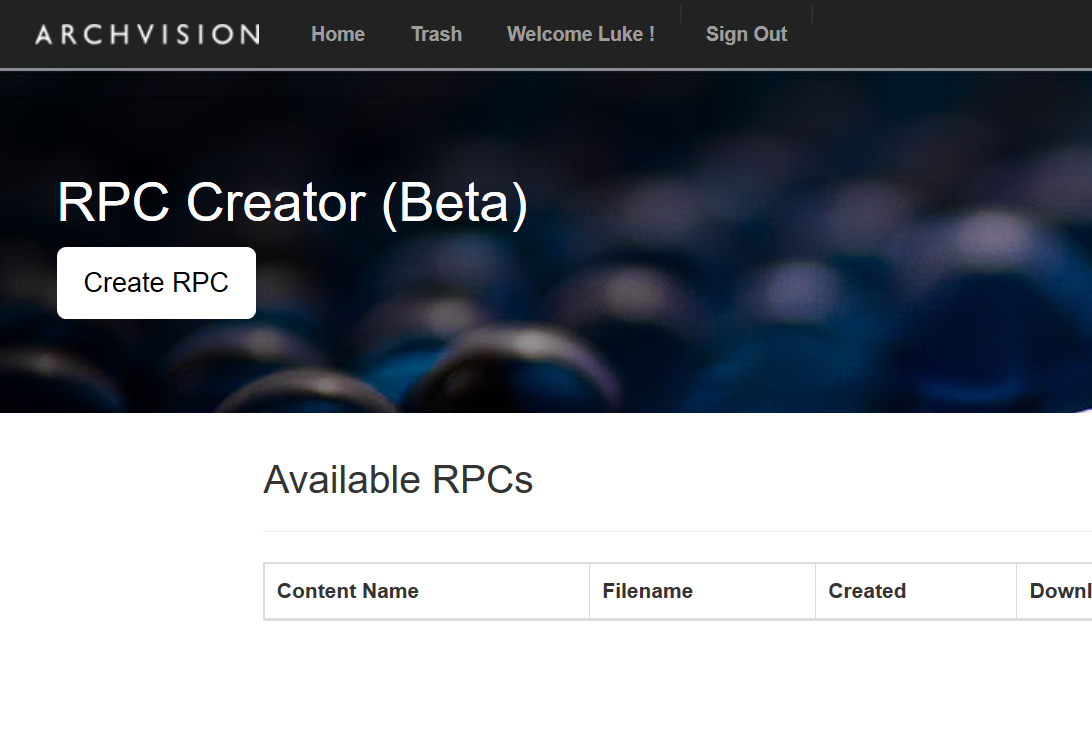
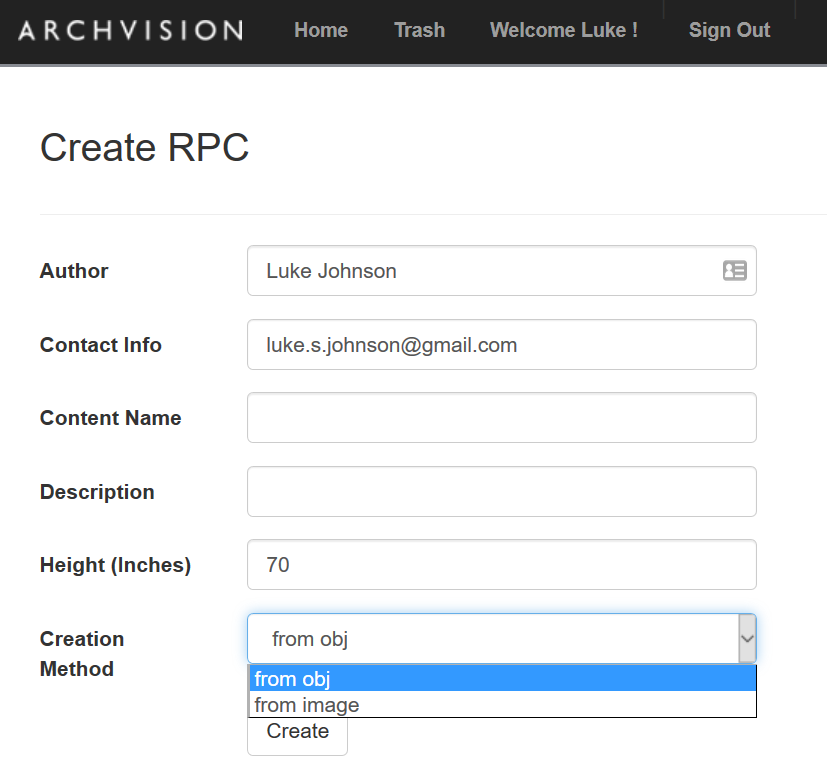
Archvision have a new beta 3D RPC creator service available. You can upload a 3D file and the service will generate a 3D RPC. Place this in the correct location, and you can use that RPC directly in Revit.
There are a few more steps from here, but I will refer you to this page that will give you more details.
Basically, you will need to consider the detail and quality of your content, as well as its purpose. Do I have highly detailed content that I want to render? The above will likely be quicker than modelling in vanilla Revit family geometry, and the result will be lightweight. However, aside from overall size it will be more difficult to handle any kind of parametric modification of the content.
BIM documents andfiles are often linked into each other, such as consultant links in a contractor Revit model, or plain NWCs appended to a master NWF Federated coordination file. In each case, the BIM application will try to find and open the linked files when opening the host model.
However, this only works if the pathing is predictable (ie. ‘the file is on C drive in folder MODELS’), and the typical situation is that you are running a corporate LAN that gives secure access to one or more mapped network drives (J drive or H drive or L drive). The problem is that your corporate LAN isn’t typically accessible via the cloud. A number of products exist to try and solve that problem, such as Citrix ShareFile.
But what about Box? It has a reliable, proven infrastructure and apps for all of your main devices. Its scalable and essentially secure. But… What about the mapped drive problem?
As part of our work at Virtual Built, we come across problems and provide solutions for this kind of issue all the time.
Here is how you can shareBIM via the Box cloud andretain file pathing:
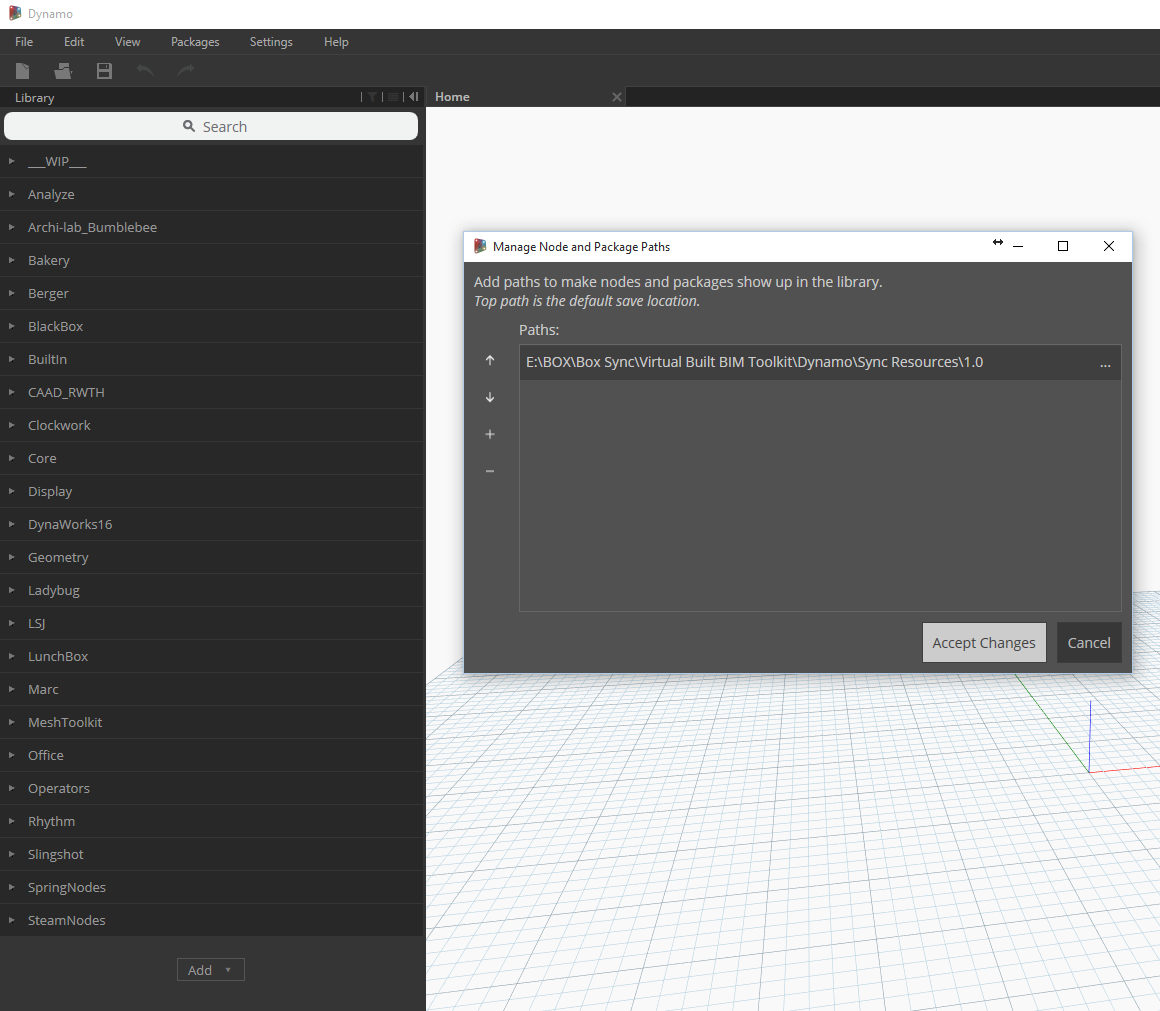
The first thing you will need is a common drive letter that can be applied to all of your computers and workstations. Sometimes, you may already have a secondary drive installed, perhaps with a drive letter of E. What we are going to do is point the BoxSync app at a subfolder of E drive, and then all the members of the team will use E:\BOX\BoxSync\ as the ‘root’ for all shared documents and models.
First problem: what if we don’t have an E drive (secondary hard drive or partition)? Well you can trick your system into thinking that you do…
On C drive, make a root folder called C:\E_DRIVE
Right click this folder in Windows Explorer and enable Sharing
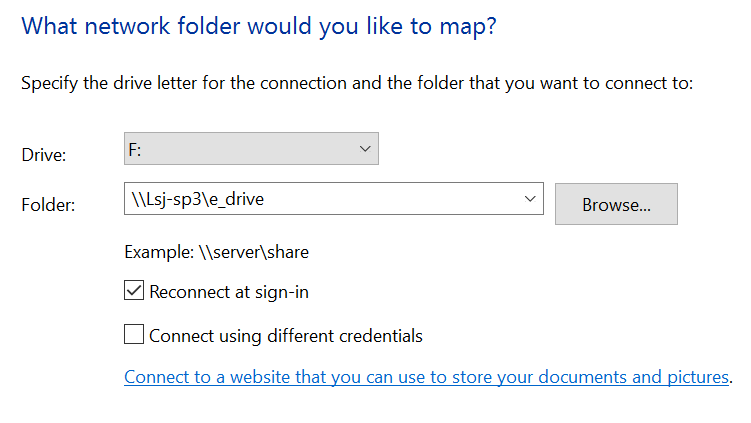
After sharing is enabled, you can ‘map’ the local folder as a drive. When mapping, use the local computer name with two backslashes, followed by the folder name.
Shared
Mapped drive to local folder
Now, we install BoxSync 4. After install, you will have one opportunity at first run to set the storage location. We choose to use E:\BOXas the folder…
That is basically it! Now, BoxSync will sync your models and projects from the cloud. When you set up your models inside that root folder (E:\BOX\BoxSync\), then the Revit linksand Navisworks NWCs will all be able to ‘resolve’ properly on each system that you set up in this way. Then, when you save changes in that location they will then be synced back up to the cloud and down to your team, all automatically.
Important Note! There are a few big things to consider:
This does not give simultaneous modification access, such as for a Revit central file. If you and someone else modify the same file, Box will probably save two versions with your username appended.
You may be essentially opening up Local PC Access to the data in your Box folder (because it is no longer in a Windows-controlled appdata location). So be aware of the implications of this…
Box tip: You may also want to check your Logs folder for some big files:
Originally publish Mar 02, 2016 at 19:37 by Luke Johnson
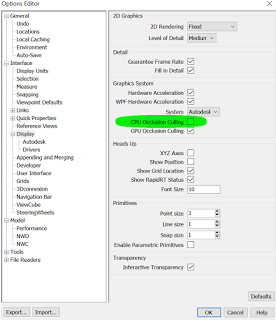
I’ve had a mixed experience using the Nvidia GTX 980 card in Navisworks and Revit, but I have one particular tip that helped in Navisworks 2017: Turn OFF CPU Occlusion Culling
My CPU is an i7-6700K that I generally OC to 4ghz. But obviously there is some slowdown when both of the Occlusion Culling boxes are ticked.
Aside from the usual tips of using ‘Guarantee Frame Rate’, Automatic Clipping Planes, and playing around with the File Options – Frame Rate, I found that turning off CPU Occlusion Culling and leaving GPU Occlusion Culling on made a real difference for the better.