Basically, you overlay a 3D view over an image placed on a Sheet to allow you to see the photo background while you match the view.

Step-by-step:

  1. Make a new 3D view from approximate eye location to approximate eye target (centre of photo)
  2. New Sheet
  3. Drop the photo (image file) be matched on the sheet and size it to suit
  4. Add the 3D view on the sheet on top of the photo – Turn off Background and Set to Hidden Line, Transparency 40%, Edges Off.
  5. Roughly scale 3D view using the view border Size Crop in the X dimension (Width) to match some known points in the middle photo
  6. Drag the crop edges of the view to match the photo (this accounts for some of the “warping” / perspective)
  7. Use Focal Length on the Steering Wheel to try to match vanishing lines, somewhere in the middle of the photo
  8. Zoom and Pan a bit – use Temporary Hide/Isolate to select a couple of objects and use these to do most of the View orientation adjustments
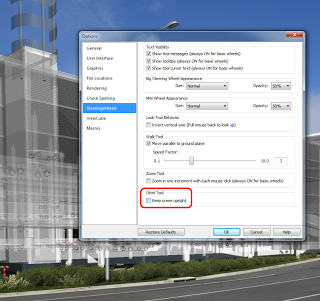
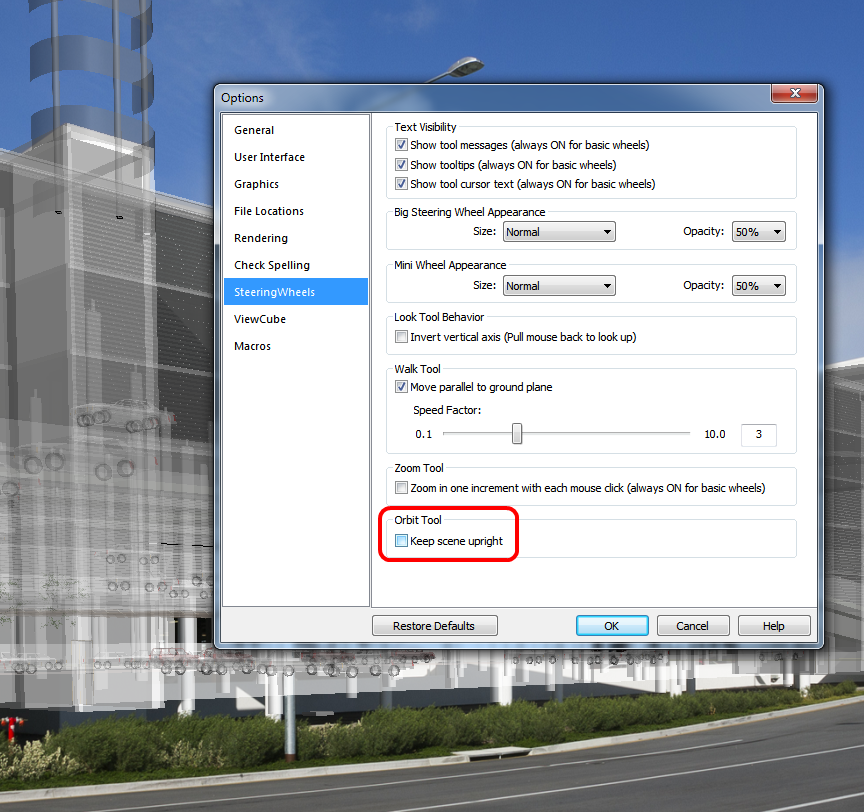
  9. Use Orbit for final fine tuning – you can drop the Centre point, then Rewind and it will remember that as the Orbit centroid.  Drop it on a known point and Orbit.  You can turn off Keep Scene Upright in Steering Wheel settings.  With a SpacePilot, just turn on all your axis and slowly and carefully match the view.

From here, you can use Render Settings and set the image as a background with “Stretch”.

Also, for each camera position you can have one 3D view set for “camera matching”, and one set up for rendering, and to align one to the other use ViewCube “Orient to View”.

Overall, it can still be a tricky process. The 3D mouse makes it much easier – you can basically just rotate, zoom, pan until it looks about right.  Remember to select a couple of “known” objects in the model, this will allow better control when using the 3D mouse…

There are other more geometric methods available for Camera Matching too:
What Revit Wants: How to match a Revit 3D view to a real life Camera Photo

Just hold down Ctrl button while scrolling with mouse wheel… I have tested this (non exhaustively) on Revit 2013 and Windows 7, and it works fine on the following dialogs:

  • the Properties Palette (wow!)
  • the data section of the Type Properties (Edit Type) dialog
  • Family Types
  • the Family Parameters part (lower section) of the Family Category and Parameters dialog
  • IFC Export and Import Options dialogs
  • Fill Patterns settings
  • Sheet Issues/Revisions

Thanks to this tweet for the heads-up:

In the right-click menu, select Orient to a View, Floor Plans, and then select the desired floor plan to orient to.

Image from Applied Software Blog

The view will automatically crop the view using the Section Box to match the View Range for the view that was selected. It will also rotate the view to view it from the Top direction. You can orbit the view any direction you want but the view is now cropped to match the floor plan’s View Range.

Image and content via this cool post:
Applied Software Blog: Setting Up 3D Views For Levels

Yesterday I tutored two twelfth grade classes at a local high school in how to create and export walkthroughs in Revit Architecture 2011.

They had already modelled buildings in Revit as part of their classwork, and it was quite enjoyable to assist them in presenting their work.

One interesting anomaly came up during these sessions – the students were using good quality Mac workstations, running Bootcamp and Revit Architecture 2011. When modifying a walkthrough I use the Steering Wheel extensively, so it was quite frustrating when Shift+W suddenly failed to show the Steering Wheel!

How did we overcome this problem? There are two different ways to solve it:

  • you can assign a keyboard shortcut to ‘Full Navigation Wheel’. This will work even if Shift + W does not, or
  • Skip forward a few key frames, and then skip backward again. Try Shift + W. It will probably work now (one of the students discovered this).

Here at Dimond Architects, we are exploring a number of ways to deliver Revit training, both to students and to industry professionals. Feel free to contact us if you are interested.