If you want to learn some more about the View Cube, check out:
Scott Chatterton: Revit View Cube Tips
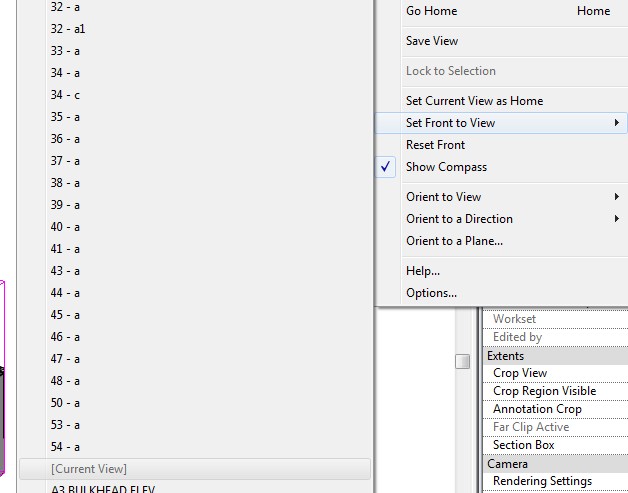
One thing that Scott doesn’t mention in this particular post is How to change the ‘Front View’ on the ViewCube in Revit.

What Revit Wants + Black Grid AI
AI Empowered Project Management
If you want to learn some more about the View Cube, check out:
Scott Chatterton: Revit View Cube Tips
One thing that Scott doesn’t mention in this particular post is How to change the ‘Front View’ on the ViewCube in Revit.
To lock to the current selection
via
Wikihelp
In the right-click menu, select Orient to a View, Floor Plans, and then select the desired floor plan to orient to.
 |
| Image from Applied Software Blog |
The view will automatically crop the view using the Section Box to match the View Range for the view that was selected. It will also rotate the view to view it from the Top direction. You can orbit the view any direction you want but the view is now cropped to match the floor plan’s View Range.
Image and content via this cool post:
Applied Software Blog: Setting Up 3D Views For Levels
To change which orientation that the Revit ViewCube thinks is the ‘Front’ for a specific view, check out the video below, or scroll down for the quick step-by-step.
My previous Blog post about Orient to a Plane
Nikhil Nayak shows how you can make good use of the Viewcube to visualize a single element from various perspectives.
Use Viewcube with selection – Power tool