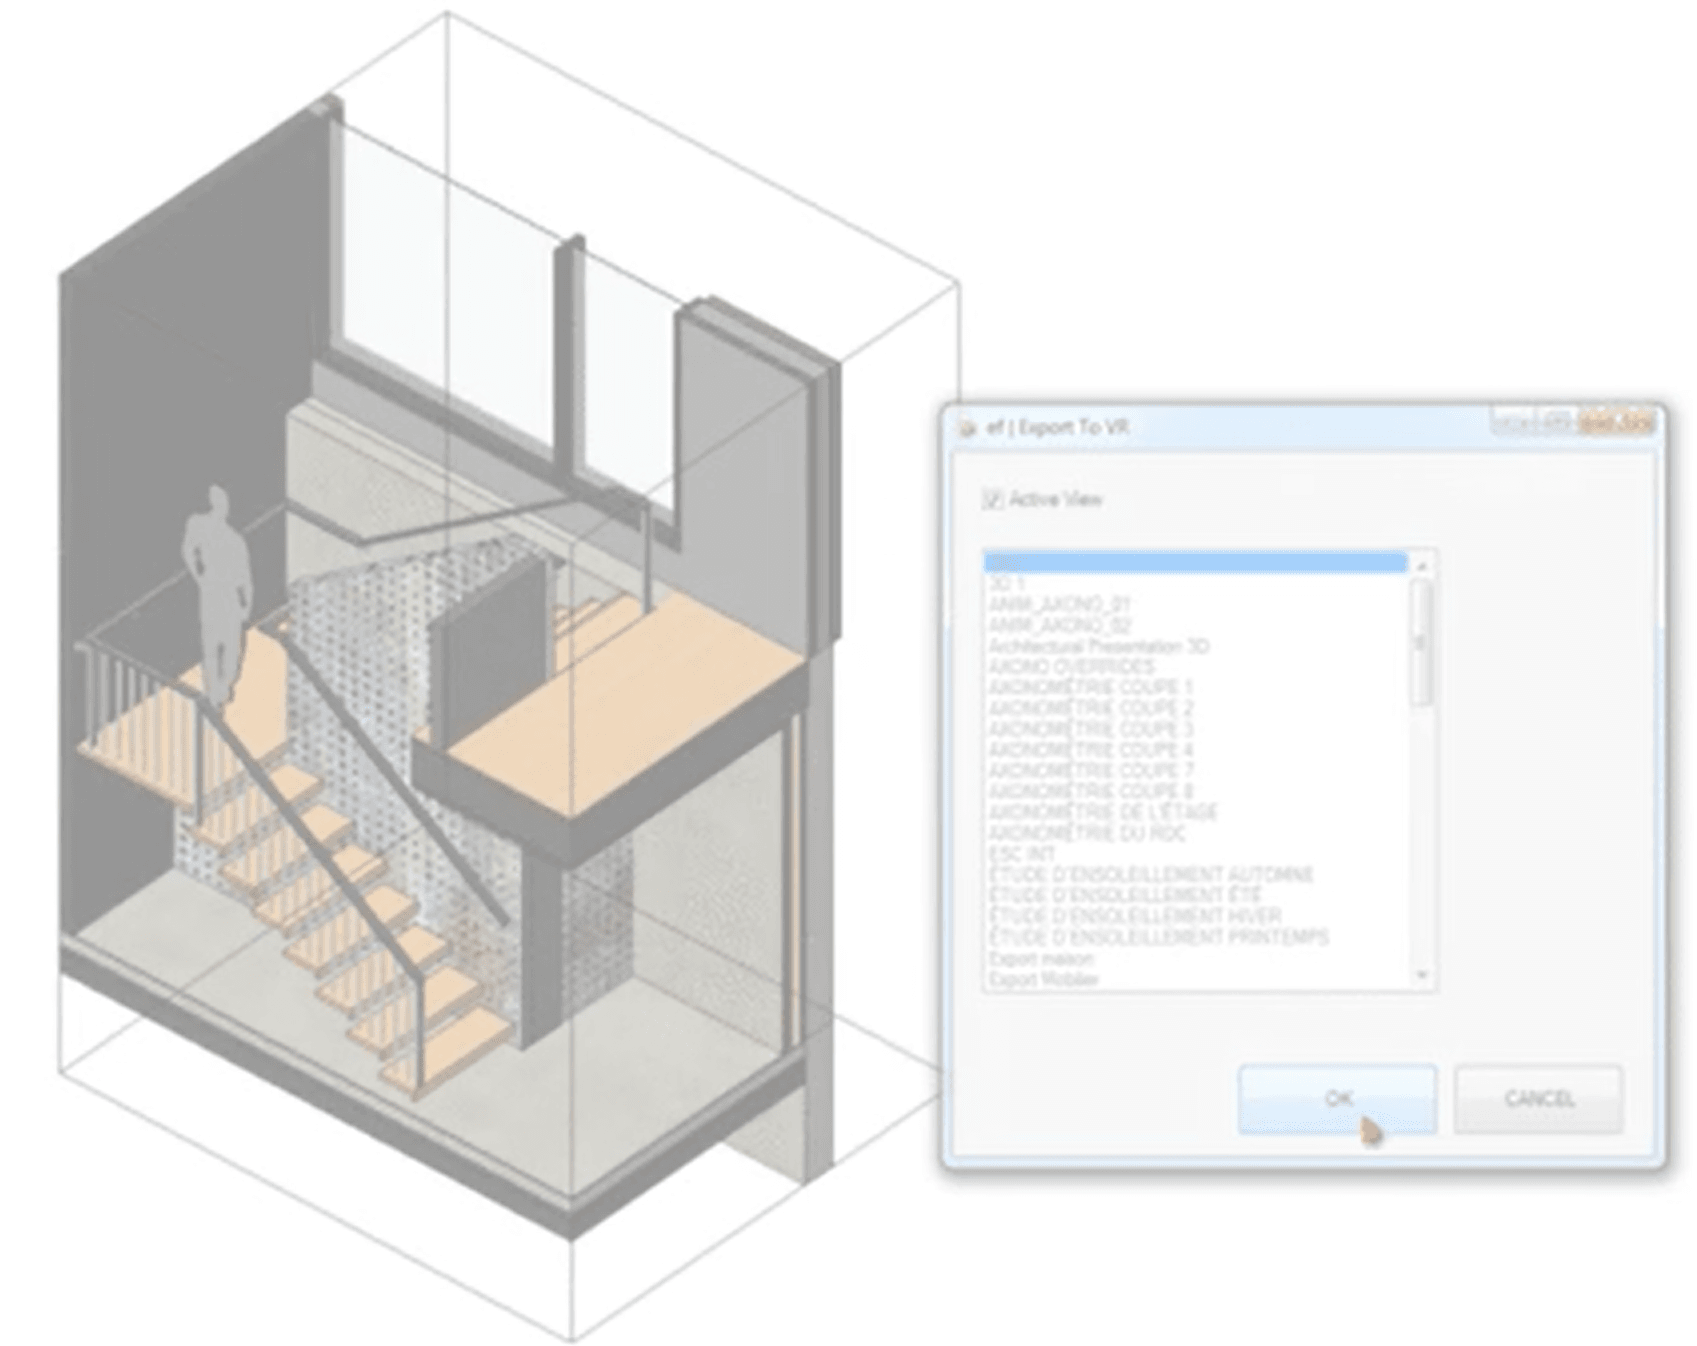
There is a nice little addin in the works from Emanuel Favreau … he is working on a Revit to Unity exporter that includes all materials and textures. You can open a sample model in WebGL here (probably should use Chrome).
There is obviously a lot of development in the industry at the moment to create the best experience in moving BIM models into gaming environments for various reasons, and there are a lot of solutions that are doing this in various ways. Typically, these offer real time rendering and visualization, and the side benefit of allowing models to be viewed in VR. Which method do you recommend?
The add-in supports export of 3D model geometry from Revit to Unity allowing users to have the first person 3D shooter game like experience while using Revit created model as the 3D environment.
The main features of the add-in includes:
Export of 3D model geometry with materials and textures from Revit to Walk-Through-3D.
Manipulation of the resulting 3D model in a similar fashion to a 3D first-person shooter game.
Support of textures along with an ability to apply weather effects.
Generation of a standalone executable package to view the exported Revit model in a three-dimensional representation that requires neither Autodesk Revit nor Unity installations.
Support of HTC® Vive virtual reality headset and controllers.
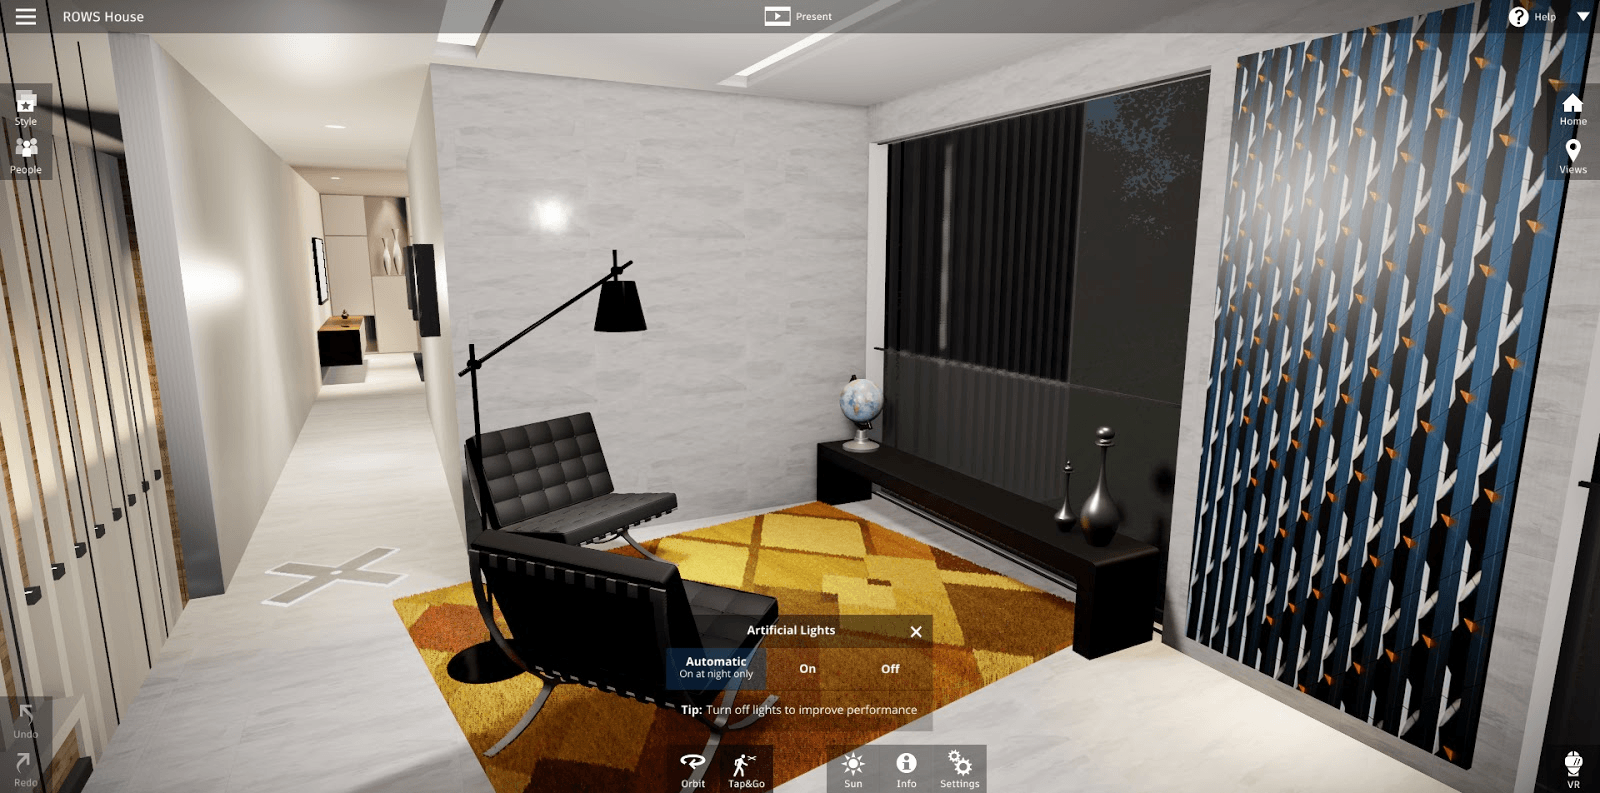
Autodesk’s answer to realtime rendering from Revit is continuing its steady development. Now known as Autodesk Revit Live (formerly Autodesk LIVE), the new features include being able to choose visual styles for RPC, and support for Revit LT.
Level of Details geometry generation and material instancing have been added to the LIVE Service to enhance performance when working with large models and/or virtual reality.
Virtual Reality
The handle used to move and rotate the Minimap has been replaced by using the Controller Grip buttons. This provides a more natural and instinctive way to move, rotate, and scale your Minimap model.
People Styles and Animation
You can choose between three visual styles for the RPC characters imported from Revit as part of your scene.
Characters have subtle animation that can be turned on or off.
Characters can be hidden or made visible.
Header
The view name is part of the default header.
The scene’s header is editable.
Textures
Texture orientation and offsets are consistent with what is set in Revit.
Customer texture files placed in C:\Program Files (x86)\Common Files\Autodesk Shared\Materials\Textures folder are used in LIVE service to generate the LIVE models.
Publishing
Presentations published from scenes prepared from the same Revit file but different 3D views no longer overwrite each other.
So what’s the deal with Stingray? Basically we are talking about a realtime rendering engine that talks to 3ds Max. As we know, Max talks to Revit. Autodesk is essentially providing (another) realtime rendering workflow from the BIM environment, and that is obviously a good thing…
Here’s a snippet from In the Fold: To understand the impact of this new capability within 3ds Max, let’s take a look at the state of a BIM workflow using Autodesk solutions before today’s announcement.
The Stingray engine allows designers, owners and stakeholders to access and visualize a building model in real-time to fully understand the scale, feel and experience of the building before construction starts.
Building designers using Autodesk Revit software have had the ability to easily import models into 3ds Max to create stunning, photo-real images and animations to communicate design intent. It’s a workflow that’s been widely accepted in the AEC industry and plays an integral part in the design process. Now, with the Stingray engine, Revit models can be brought into 3ds Max to be made visually stunning and then imported to the Stingray engine to be made fully interactive, allowing users to explore “what if” design changes in a compelling visual environment not unlike a first person walk-about in a physical building. The real advantage of this is that it allows designers, owners and stakeholders to access and visualize a building model in real-time to fully understand the scale, feel and experience of the building before construction starts.
In times past, I had this dream that Revit would be the sole answer to every single architectural and modelling question. Due to the proliferation of excellent addins and addons, I now realise that Revit is positioning itself as the operating system of the BIM environment. It has a solid parametric, data and intelligence engine, which can be extended in many ways through the expansive API. One area in which Revit has sometimes wavered is in pure visualization, particularly of the real-time and photorealistic variety. Using RPC and Realistic display modes within Revit can achieve a certain result, but here are some questions:
Is using an additional presentation package, like Lumion, worth it?
Will it result in a better visual result?
Will the performance be acceptable?
I received a review copy of Lumion 5.3, and tested it using Revit 2015 Update 7. As usual, I have reviewed the software, but at the same time I am sharing practical tips and guidance on how to get up and running with Revit and Lumion.
To start with, let’s consider whether Lumion can really add value to your current design and development pipeline. You may be thinking “I don’t have a clue how to make a fly-through animation“, but that is where Lumion lives. It makes it easy for you to take your BIM geometry, and put it into a real, living environment. In a sense, it is a ‘complete’ visual presentation package, as it includes things like environments, backgrounds, materials, weather effects, water, entourage, vehicles, people, trees, landscape, furniture, terrain modelling, and it is all in a package that allows you to modify, manipulate and tweak basically everything in real-time. It has a clean UI and extremely fast rendering capability. For output and deliverables, you can easily export still images or rendered videos of the scenes that you have composed.
You might be thinking “I don’t have time to learn yet another modelling tool“, but if you spend any time at all in post production software like Photoshop, 3ds Max, After Effects or something similar, then Lumion does not represent a steep learning curve. The interface is relatively unobtrusive and simple to understand. The Lumion addin allows for building models to be exported from Revit, but it also allows models to be updated and reloaded into the Lumion scene. As one person put it, “Use Lumion and Revit together and you will enjoy the synergy.”
You can check out a very concise ‘getting started’ style video here:
To put it simply, when you pair a powerful and parametric building design tool like Revit, with a free-flowing, smooth, flexible presentation software like Lumion, you have a very formidable design and presentation pipeline at your disposal. So, let’s learn a bit more about Lumion…
This remainder of the review has been divided into the following 5 sections:
Download, Installation and Deployment
Workflow (BIM friendliness)
Performance
Quality of Output
Real-world applications and Case Studies
Download, Installation and Deployment: Installing the Main application
You will receive an activation email, with a unique download link
Download and run the ‘download manager’
Copy the activation code from your email to the download
It will now automatically download Lumion, usually to your Downloads folder (about 4.94gb)
You should copy the installation .exe and .bin files to some safe location – these are what you will use to install Lumion on other PCs
The installer should run automatically – all you need to do is set the install path
Start Menu – Run Lumion 5.3
Agree to the Licence Agreement
Lumion will now run some benchmarks and initialize itself
Once the next screen appears, you will get a ‘system speed’ rating
Note: I was expecting to see a Revit addin automatically installed… but I have since realised that this is an additional step… see below.
Examples of cards with about 2,000 PassMark points: GeForce GTX 745, Quadro K4000M, GeForce GTX 570M or faster.
Harddrive: 20GB of disk space
Using Lumion and Lumion Pro via Remote Desktop or similar virtual desktop solutions is not supported.
Lumion and Lumion Pro require an internet connection.
Workflow (BIM friendliness)
There are a number of ways to move data from Revit to Lumion, such as using DAE format via Exporter, or FBX via built-in export. The dedicated DAE exporter addin from Revit is the recommended method.
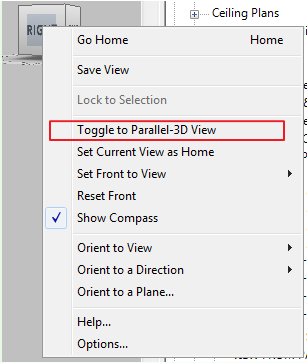
The Exporter addin (Revit to Lumion Bridge) works in orthographic 3D views and takes all visibility filters for the view into account. If you try to export from a Perspective view, the Lumion export addin will be disabled. However, in Revit 2015 R2 you can easily convert a Perspective 3D view into an orthographic or Parallel-3D View to allow export to proceed. Here’s how:
Ensure that a Crop Region is applied and Visible, and the view is “unlocked”.
Then, right-click on the View Cube and switch to Parallel-3D view, like this:
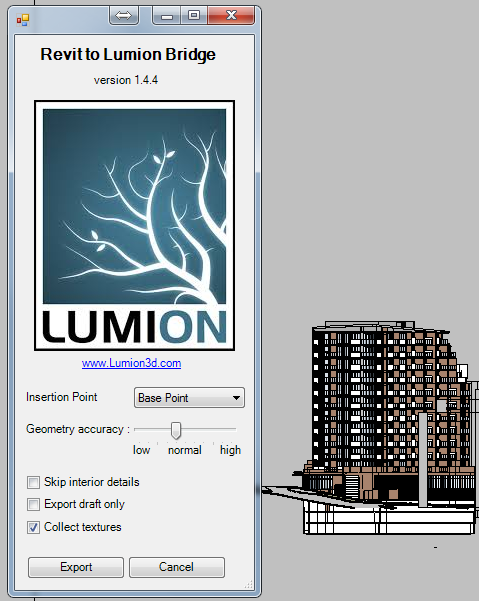
Then, run the exporter. The UI is relatively easy to follow:
I tested using ‘normal’ accuracy, and the file size result was like this:
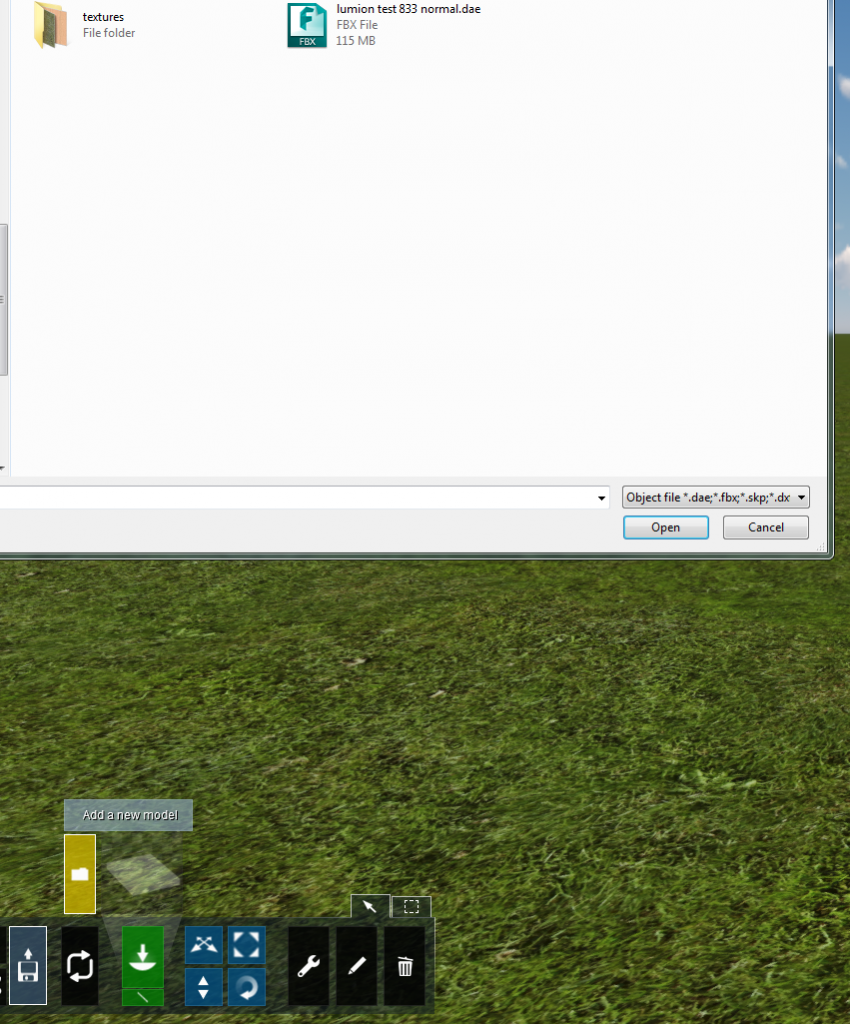
You can then easily open or create a scene in Lumion, and then import the model you just exported from Revit:
Navigation
Once in Lumion, you can use the WASD keys to walk around, and QE keys to move up and down. If you hold the right mouse button and drag, this will change your view direction. Holding Shift will speed up your movement. It is quite a fluid navigation system. F1/F2/F3/F4 turns shadows on and off and makes other quality vs performance changes.
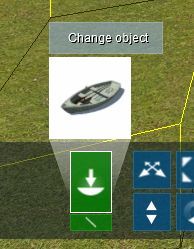
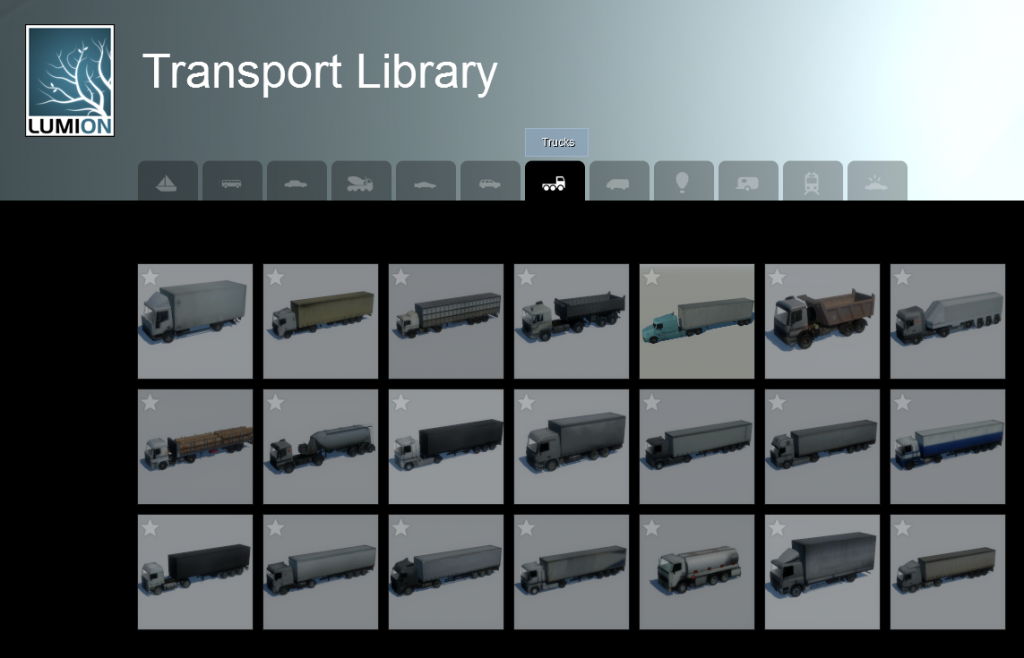
Click the category (people, transport, landscape etc)
Click Change Object to select desired model
Click to place in the scene
To bring in external models, like DAE or FBX exported from Revit, use the Import models option.
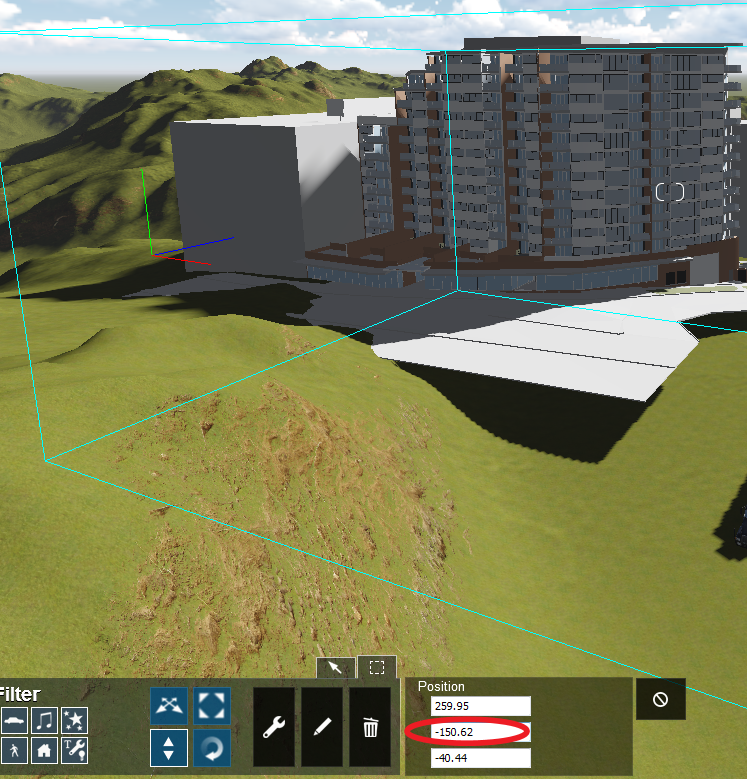
Depending on how your model heights were configured in Revit, you may need to move your model downwards in Lumion. In my case, I had to move the model downwards in the Y-axis by about 150m (yes, Lumion understands the vertical to be the Y axis, not the Z):
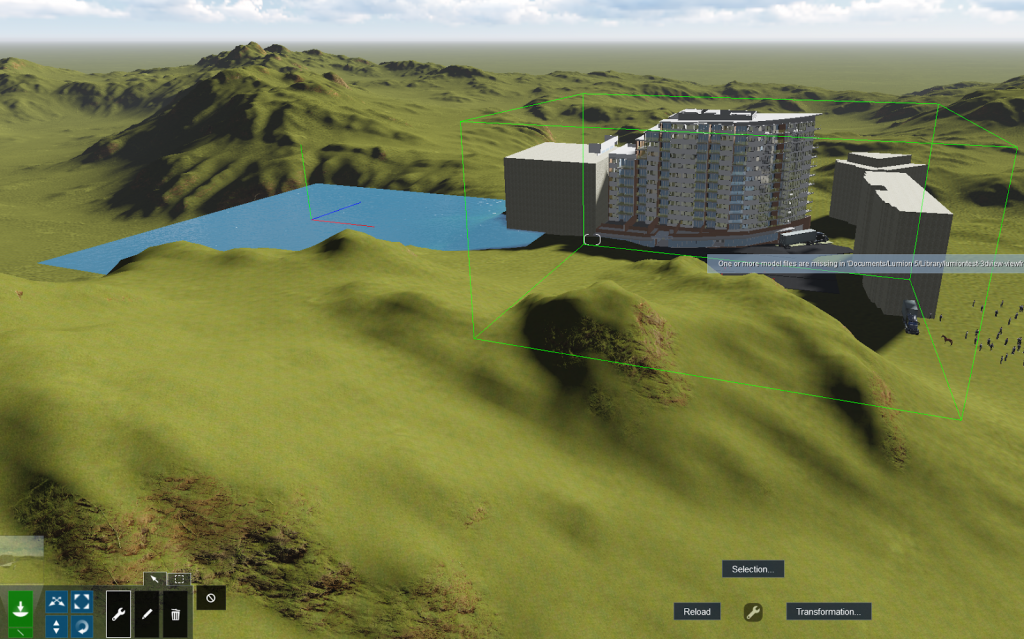
To update the model, just re-export the DAE file from Revit. You can reload by: going to Import mode, selecting the spanner for ‘context’ menu, selecting your Model and then clicking on the blue circle, which will open up the context menu with the reload option:
It is interesting to note that even new objects (ie. newly added to the Revit model) that have a Revit material name matching a currently overridden material in Lumion, will then adopt that Lumion material when the import is reloaded. Nice!
There is a brief tutorial video on the Lumion to Revit workflow here:
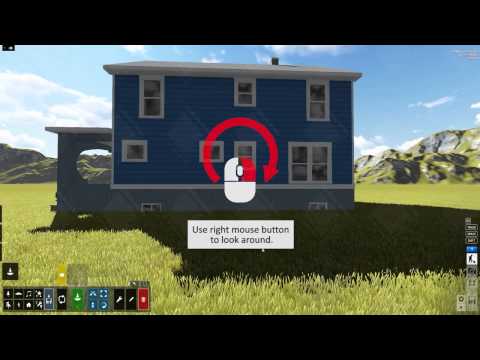
So, is Lumion able to do anything that Revit can’t do? In a word, yes. For example, it can handle things like sculpting large-scale terrain models very easily, as this demo shows:
Add to that: movie effects, ocean / water, the large model and material libraries, lighting effects, render quality, and the overall ability to transform a scene from a collection of polygons into something that more effectively represents the real world.
Performance
The Collada DAE export was very, very fast – under 1 minute for a 150mb Revit model. Accordingly, of all the file types that can be used to get data from Revit to Lumion, I would expect that the recommended and preferred method is via the DAE export in the free addin.
Quality of Output
Lumion is targeted at rapid, real-time, moving animations with models that may also be animated. So the result is usually something that looks very ‘alive’. Coming from an architectural background, you may initially be surprised at the overall ‘look’ of things and you might find it slightly cartoonish. However, I recommend that you give it a try and have a go at tweaking a few of the display settings.
It is very easy to create a flythrough or fly around animation. Just start the movie tool with the film icon, then create a number of keyframes as you would with other animation tools. Then, you can easily export to mp4.
Real-world applications and Case Studies
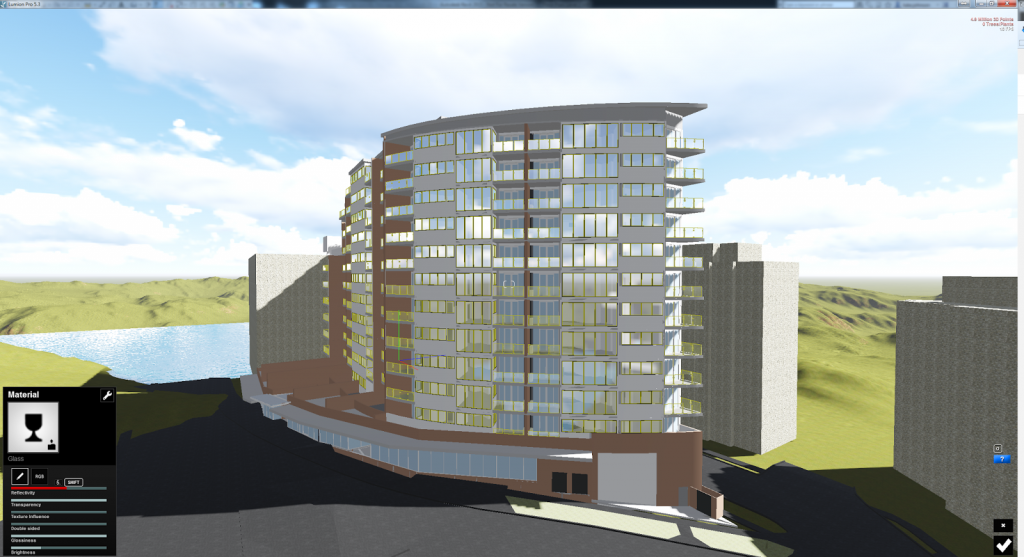
I tested using a medium rise model:
Once the model was imported, it was very easy to select entire materials and replace them with more appealing versions:
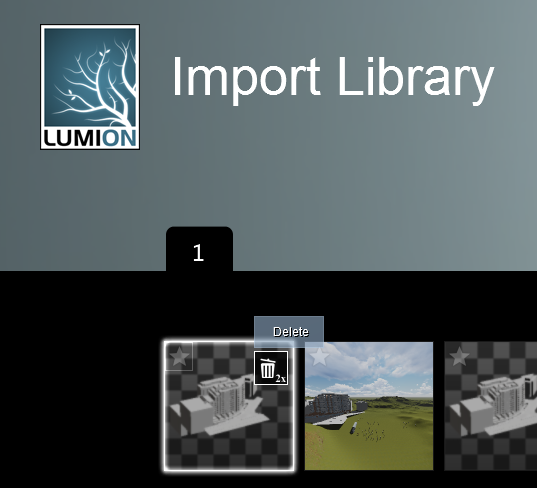
To delete models, you can remove them directly from the library and they will disappear from all scenes that they are currently placed in. However, you can also delete the model only in the scene you are currently working on, and it will remain available in the library for use in other scenes:
Children´s hospital with more than 15,000 plants and trees
Summary of Lumion 5.3
In review, let’s consider some of the questions raised at the beginning:
Q. Is using an additional presentation package, like Lumion, worth it? A. Yes, it would be very difficult for plain Revit to deliver the same speed, quality, and content
Q. Will it result in a better visual result? A. When it comes to real-time scene export, a Lumion visualization can be much more alive and animated than a Revit equivalent. You can also easily deliver your scene as a selection of high quality images, or as a rendered video.
Q. Will the performance be acceptable? A. Yes, provided you have a decent CPU and graphics card (refer to requirements above)
Summary of each section:
Download, Installation and Deployment – 7/10, necessary to manually install addin
Workflow (BIM friendliness) – 8/10, support for updating changed models
Performance – 8/10, much improved in more recent versions and fast export to DAE
Quality of Output – 9/10, smooth and appropriate for the visual style
Real-world applications and Case Studies – 9/10,
(see links above to see how companies are using Lumion)
My overall software score for Lumion 5.3 is 9/10.Its definitely worth a look if you do any kind of presentation work with 3D models!
In a future post, I want to look at the large-model workflow from Infraworks to Lumion via FBX. Other links, tips and resources
Important notice:
If you migrate your work from earlier Lumion versions take into account that the material system has been changed in Lumion 5. This requires you to re-apply the materials to your objects.
Tips
If you select option “Skip Interior Details” then these Revit Categories are skipped:
Casework
CommunicationDevices
DataDevices
DuctTerminal
ElectricalEquipment
ElectricalFixtures
FireAlarmDevices
Furniture
FurnitureSystems
GenericModel
LightingDevices
LightingFixtures
MechanicalEquipment
NurseCallDevices
PlumbingFixtures
SecurityDevices
SpecialityEquipment
TelephoneDevices
How to delete objects? You delete imported objects by using the Imported Objects Library. It cannot be deleted from the Library if you have a scene open and using that object, so first clear and start a new empty scene.
Then in Build Mode click on Import button –> Change Import Object –> locate your object to delete and doubleclick the Rubbish bin. That will permanently remove the object from the library and the files.
from here
Editorial note: “In the interests of editorial disclosure, I would like to note that this review was completed with some financial consideration from the developers of Lumion. Luke Johnson”
Information related to older versions
I have been familiar with Lumion for some time. A full scale Lumion review has been on my radar for a while, but like anything, it takes time to have a proper look at a piece of software.
My past experiences with Lumion had been hampered by less-than-stellar hardware. You really do need a decent workstation to have a fluid and productive time with Lumion. In my case, my new workstation at Virtual Built has 64gb of RAM, a 6 core (12 hyperthreaded) processor, and a Quadro K4000 video card.
I’ve had a chance to work with Lumion rendering software tonight and a Revit model. Lumion is very impressive. http://t.co/UiUJSIxUd6
— Brian Myers (@BIMfacts) August 10, 2013
I have previously posted about the future of real-time visualization tools. Lumion appears to be developing a bit of a following. Have you used it? How did you implement it?
If you want to see a project go from Revit to Lumion (also this thread):
A free version for non-commercial use is available from this page. The free version will apparently be updated to version 2 in January 2012 (only a few days of that month to go…)
The company line:
Lumion® is a real-time 3D visualization tool for architects, urban planners and designers.
It’s perfectly suited for creating videos, still renderings and live demonstrations with a quick turnaround.
Lumion offers excellent graphics in combination with a fast and efficient workflow, saving you time, effort and money.
It is in fact so easy to create awesome still renderings and videos with Lumion® that it almost feels like cheating.