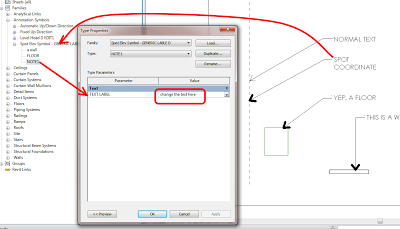
This workaround idea is quite simple – just use a Spot Coordinate or Spot Elevation with an applied Symbol family to use Symbols in locked 3D views.

You will need to start the symbol with a Spot Elevation Symbol family template…

You can also nest Generic Annotations into Tags, like a Wall or Keynote Tag. Unfortunately, all of the above will disappear if the hosting item is deleted. So, what about a View Reference Tag?

If we make a View Reference to a Drafting View called DO NOT DELETE, then nest our Symbol into the View Reference, it all works very nicely. The only thing that will break this is if someone deletes the ‘do not delete’ view 🙂

Here is a download with the whole thing already set up. And if you want to see me playing around in Revit figuring a few things out, here is a Screencast:
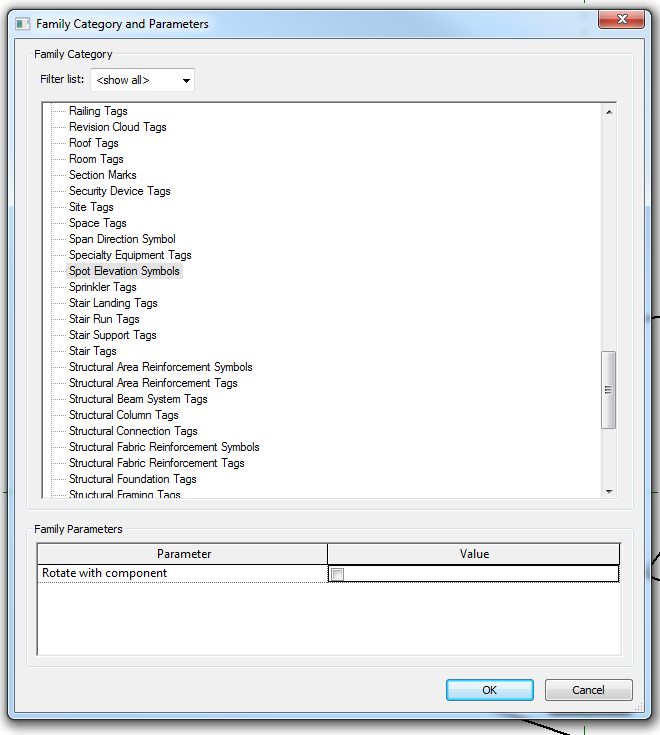
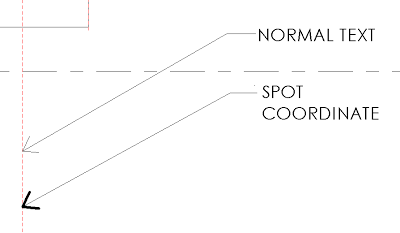
A recent post by Mark Cronin got me thinking… if you can control the arrowhead lineweight for Spot dimensions, can we hack one of these to make a piece of ‘text’ with adjustable arrowhead lineweights?  The answer is yes:

Some people want absolute visual control.  If you are one of those people, check out the example file and see if you can figure out how I did it:
Download

Thanks to:
Leader Arrowheads | betterREVIT

Mark also makes this comment:
So it appears as though the ability to control these parameters is indeed there (and has been for years)! But why can’t they be controlled for text annotation and keynotes, where they would be of most use? 

Personally, I wonder whether Spot dimensions are a ‘newer’ element in terms of Revit version, so perhaps the Factory was able to introduce this visual control here, while still being unable to easily add it to existing elements like text.

EDIT 
If you are wondering how to modify the text, you need to access the annotation symbol family that is referred to in the Spot Coordinate type definition:

After modifying this property, you need to drag or just “touch” the spot coordinate to force it to regenerate.

When in Edit Mode for a given Detail Group, the Spot Dimension tools are grayed out.

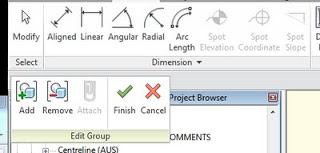
However, if you place the Spot Dimension OUTSIDE the Detail Group, and then ‘Add’ it to the Group – Revit is quite happy.  You can even place a Spot Coordinate in a Detail Group (in Plan View), copy the Group instance, and then drag the copied Group around with the Spot Coordinate continuously updating!

Here is a quick step-by-step:

  1. Exit the editing mode for the Detail Group
  2. Place the Spot Dimension (referencing an element inside the Detail Group)
  3. Edit the Group
  4. Use the ‘Add’ tool to add the Spot Dimension to the Detail Group
  5. Finish Group

 This works for Spot Coordinates in Plan View Detail Groups, and it works for Spot Elevations and Spot Slopes in Section / Elevation Detail Groups…