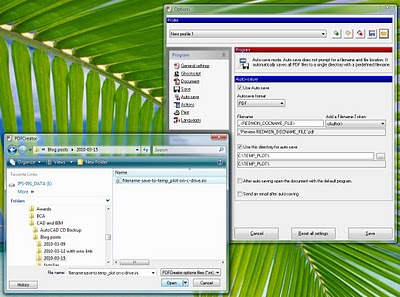
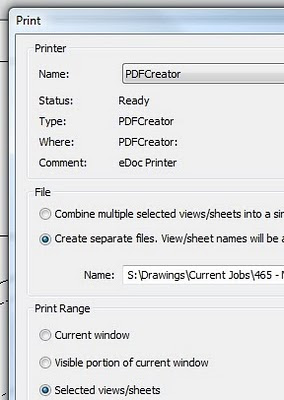
Let’s say you have printed a bunch of PDFs to a folder, hopefully using one of the techniques described in my previous two posts (links below), and now you want to rename them to match the data exported from a Revit schedule?
Part 1
Part 2
Here is one method:
- Create a Revit schedule with all the data you need.
- Export the schedule, such that you have a file like this one (view the sample)
- Now, open the cool excel spreadsheet that I’m providing here for download. This file works for 3 columns of data. Basically, it just joins the data from the 3 columns into one cell (and adds some hyphens and brackets).
- Open the exported Revit schedule in Excel. You will need to choose file type – ‘All files’ and go through the steps to convert to the schedule to a spreadsheet.
- Copy all the cells from the Revit schedule spreadsheet and paste into the cell in the Rename-files-using-schedule-data.xls file
- You will notice that the 3 columns have been joined into one in Column A.
- Copy the data from Column A and go to a new blank worksheet (can be in the same file).
- Paste the data using the ‘Paste Special’ command and choose ‘values’. This data is now ‘clean’ and can be used for renaming purposes.
- Copy this ‘clean’ data into a Notepad txt file and save as whatever you like. Sample file for download here.
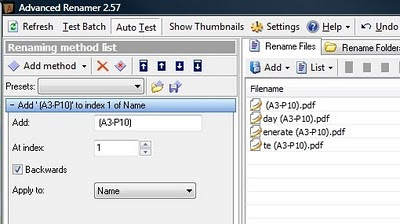
- This TXT file is now used in the Advanced Renamer program. Install it if you haven’t already.
- Open Advanced Renamer.
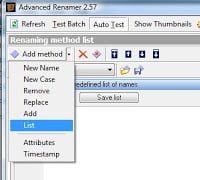
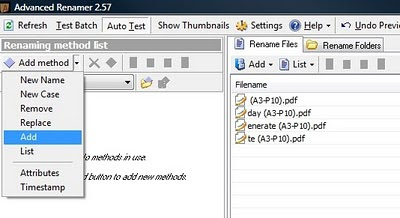
- Add – Method – List
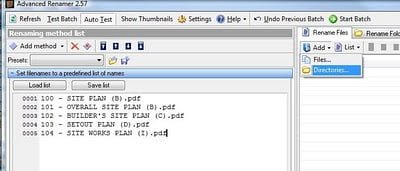
- Then click ‘Load List’ and select the TXT file that you made.
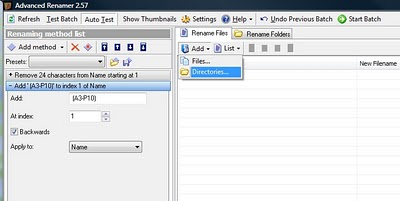
- Also, under the ‘Rename Files’ box, choose ‘Add – Directory’ and choose the location where your PDFs are located.
- You should now see the previous filenames along with the ‘proposed’ filenames.
- If you are happy, click ‘Start Batch’
As I said, this technique is really not for the fainthearted. But it sure has saved me a lot of time! I hope you find it useful.
