I’ve recently had the chance to put the new Lumion 9 through it’s paces.

Why Lumion

At Virtual Built Technology amongst the many BIM services we offer, we also create construction visualisations and animations.

Virtual Built Construction Animations

This video is a mashup of various Construction Animations we’ve done over time. Contact us for more information: virtualbuilt.com.au

A Demo Reel / Mashup of some recent work…

Over the years we’ve played with many software solutions to get the kind of results our clients are after. Each time we do this kind of work it’s slightly different, either a client will require something different, there’s all sorts of budgets, a client might want to focus on a specific area, and what we can get our hands on in terms of models etc, is always different. In the past we’d model in Revit and Sketchup, federate and visualise in Navisworks or 3DS Max, animate in Navisworks or 3DS Max and then post production in iMovie or Motion and Final Cut. A complex high end animation, might see us jump in and out of several different applications several times over before completion.

However, since Lumion has come along, we’ve been able to significantly increase our output by simplifying the often many different steps we’d need to take. And whilst it isn’t quite a one stop shop, it is definitely made life a lot easier.
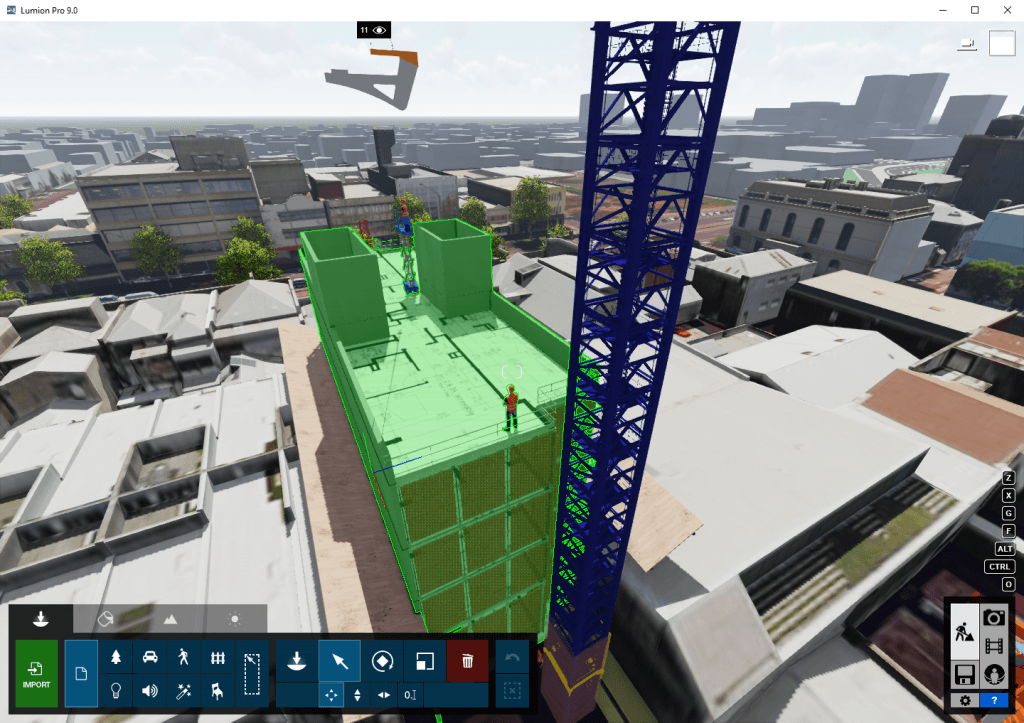
How we use Lumion

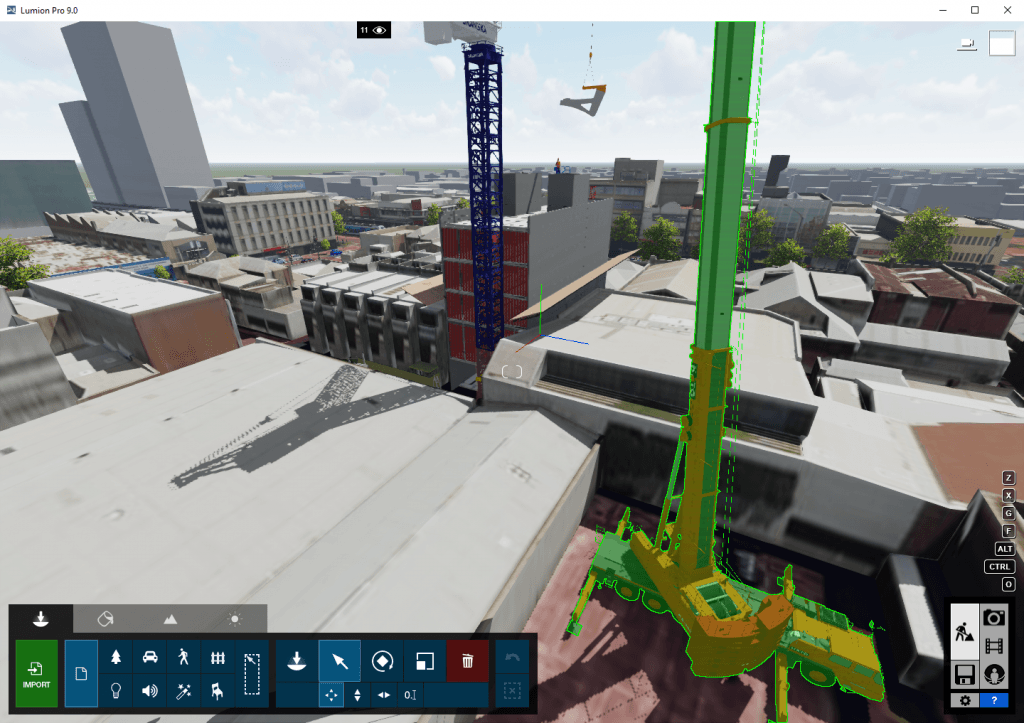
Firstly we define the clients requirements. Is it just images, or is it an animation? Then we define what are we trying to show in the images or the animation –  Is it the different stages of construction, the site setup, the greater site context (say a busy city street), the architectural finish? The animation might become more complex if there’s something specific that the client wants to demonstrate in detail (say safety, traffic, or a lifting sequence) In this case, we’re not just rigging up a camera, we might also be keying and animating objects.

Lumion is more then capable of all of the above, but more importantly it’s able to do it all with ease. The software is intuitive and simple. And since this type of work is very susceptible to ‘scope creep’, and client whims, this kind of simplicity and ease adds up to hours and hours of time saved.

Building a model (a typical example)

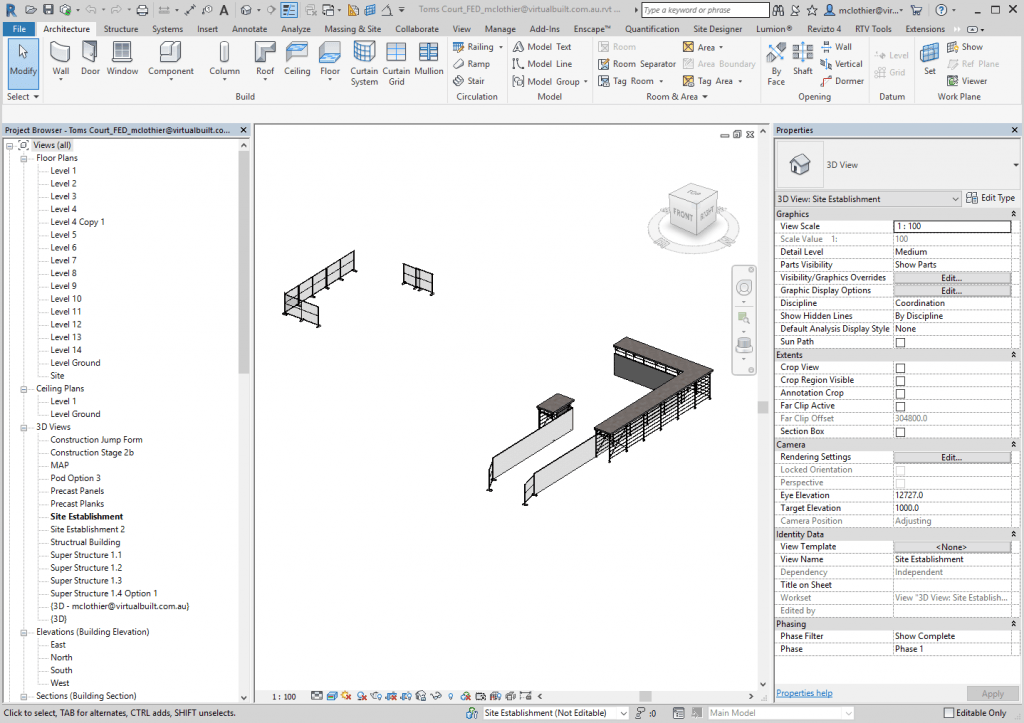
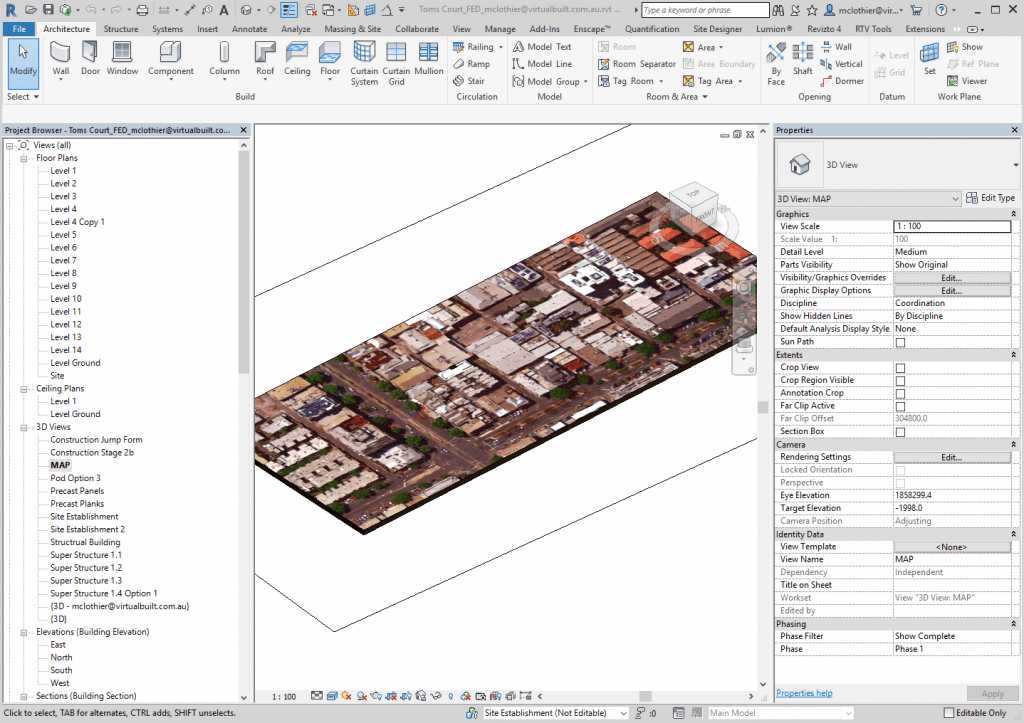
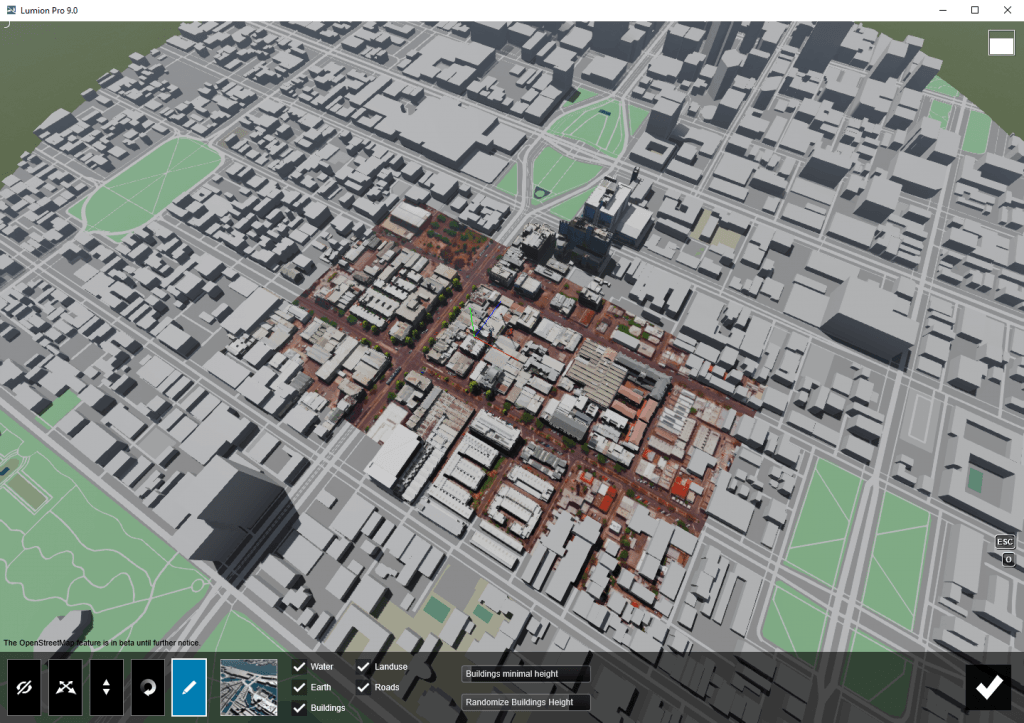
We primarily use Revit for developing a lot of our initial model content. Often we’re able to get our hands on the consultants models (or we build up our own), then we add some context like neighbouring buildings, streets, pathways etc. (Lumion can also do this with OpenStreetMap data) Then we add other content like cranes, concrete pumps, people, fences etc. This particular part requires some thought, because there’s a couple of ways we can arrive at the end result. Firstly Lumion provides a lot of really good content (People, cars, trees, cats, etc) and we can add this in Lumion (saving a few steps in the process), however, there isn’t a lot of “Construction” content or the right content, so we often need to get that elsewhere. Sketchup Warehouse is an example of a good source. Getting content from Sketchup Warehouse, we can either bring it directly into Lumion, or go via Revit into Lumion.

Back in Revit however, we can utilise the LiveSync option to quickly generate content and see it populating Lumion. I’ve created a tutorial of the LiveSync tool below.

Lumion Live Sync

This video is about Lumion Live Sync

In the more complex projects, we will use many 3D views to export different ‘scenes’ to Lumion. With each 3D view’s content being controlled by Worksets or Phases. Lumion has layer control (20 max) that can control the visibility of content. So, the different views in Revit might then correspond with different layers in Lumion.

The layer manager is pretty limited however, and one area Lumion could improve on.

Lumion Layer Manager

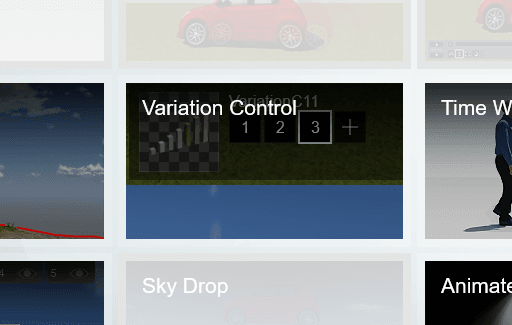
Lumion also has a feature called Variation Control that allows another layer of management to model variations

This particular feature is great for different phases of the same model. (ie construction phasing) You bring this feature into play particularly when you’re animating a sequence where you want a model to change over time. It is limited a little in its fine tune control, for example you cannot “fade” the different phases in, it’s just one at a time.

Images and Animations

Once my model is sufficiently built up and materials applied we can now begin composing images and animations. Lumion provides three different outputs. Photo, Movie, and feature called 360 Panorama.

Photo

In the Photo tool, you simply navigate your viewing window to a desired location and Store the camera. Then it’s simply a matter of adding a Style or adding various effects. Then hit Render and you’re done… It’s really that simple!
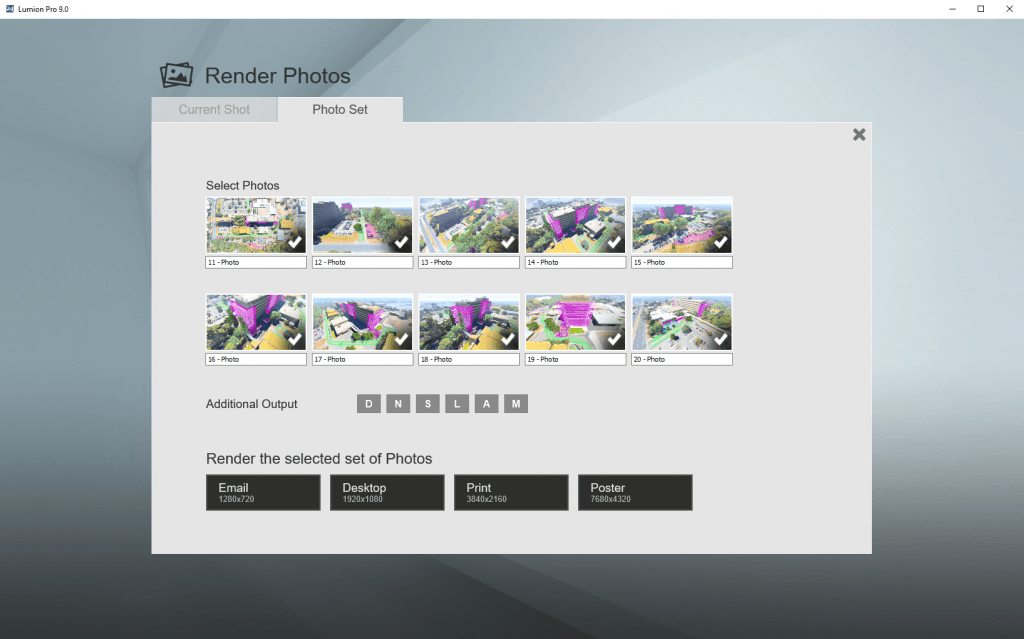
The camera location and Effect is stored, so, as you change your content (at your clients whims) you can very quickly fire off an updated rendering that reflects the changes.

Movie

I’ve created a tutorial on how to create an animation in Lumion.

Lumion Animation

This video is about Lumion Animation

360 Panorama

This tool is great and is something we’re doing more of. It provides something that is a more interactive.

Here’s an example of how it can be used

Lumion 9’s new features

There’s a number of improvements and updates Lumion has made over the previous release. You can see them here.

Lumion 9: New Feature Medley

Lumion 9 is available now! See what’s new here: https://lumion.com/what-s-new.html In this “New Feature Medley,” we’ll quickly walk you through a mix of new features, including: – Automatic file recovery (0:15) – Updated eye-level camera (0:22) – New materials (0:35) – Furry materials (0:46) – New objects (0:55) – Updated cluster mass placement (1:12) – Save groups (1:21) – Updated OpenStreetMap (1:33) – Updated import edges (1:45) Get involved with the Lumion community at https://forum.lumion.com/.

Summary

Lumion is a certainly a fixture in our animation and image rendering workflow. It’s a great tool that has significantly increased our speed and output.

Because the visualisation is so good even in the building/editing environment, we’ve been using it live in client presentations and meetings.

A great product.
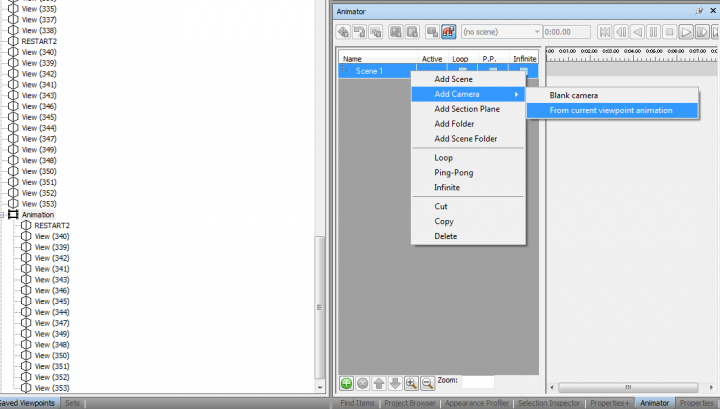
You probably know that you can import a Viewpoint animation into a Scene animation in Navisworks, like this:

  1. Animation Ribbon – Animator
  2. Add Scene
  3. Right click on the Scene, Add Camera, From Current Viewpoint Animation

Ok, that’s fine. But what if you do some work on the Scene Animation, add keyframes, adjust pacing, and then you want to convert it back into a Viewpoint Animation? Here’s how you do it:

  1. Open Animator and get a Scene animation ready to press “Play”
  2. Animation Ribbon – Click the Record button 
  3. Click the Scene name, and the Play button will activate in Animator
  4. Press Play in Animator, and wait for your animation to complete
  5. Press Stop in the Ribbon
  6. Press the Record button again to toggle it “off”. Navisworks will now save the Animation into your Saved Viewpoints
  7. Delete any unnecessary Cuts etc

With this tip, you can now convert to and from a Scene and Viewpoint animations as needed. Viewpoint animations are a bit easier to put together, but it might be easier to adjust the pacing in the Animator. Obviously, the Animator has more power and control if you intend to actually animate objects in your scene.

On a related note…
I’ve come across a bit of a bug in Navisworks 2015 with Viewpoint animations and huge models (like 2gb huge). If you have a Home view with Hide/Required and Materials set, and all your Animation views have those options unticked, then you should be able to flick to your animation without losing your colours, right? Well, in some cases it seems to work, but in others it seems to reset the appearance whenever I switch to the animation, meaning I lose colour overrides.

I tried working around the color issue like this:

  1. Open project
  2. Make a new folder
  3. In the folder make a new animation
  4. Drag all of the views from previous animation to the new one
  5. Collapse the Animation
  6. Switch to a view with Hide/Required and Color applied (ie. Home view)
  7. Click on the new animation name (OK, doesn’t seem to reset colours)
  8. Expand and click a view (sometimes works, maybe, but can also fail)

Another workaround is to switch to your coloured Home view, save a 2013 version NWD and work in Navisworks 2013. Sometimes the downgrade bakes the colours into the elements, meaning you don’t lose them when you switch to and from the Viewpoint Animation.

    Here is a brief how-to on creating a large, high resolution rendered Revit walkthrough (or sun study) and then subsequently compressing and uploading it to Youtube.

    1. Setup your walkthrough view.
    2. In Revit, Export – Walkthrough and divide the total frame count of the animation into parts that have a manageable number of frames (I recommend 100).
    3. Do this for each part of the Walkthrough (ie. create files with frames 1-100.avi, then 101-200.avi, 201-300.avi etc). Use ‘Full Frames (uncompressed)’ when creating these parts.
    4. Use VirtualDub to join the parts together. In VirtualDub, open the first part. Press Ctrl-Right arrow (this takes you to the end of the file), then go File – Append AVI Segment… and choose the next part. Do this however many times is need to append all parts to the original file.
    5. In VirtualDub, go to Video – Compression and I recommend using the ‘Cinepak Codec by Radius’ if you have it. Quality = 100.
    6. In VirtualDub, go to Audio and choose ‘No Audio’
    7. Choose Video – Full Processing Mode
    8. Now go File – Save as AVI and create your combined and partly compressed AVI file.
    9. Open Windows Movie Maker. Import the combined file into the collections.
    10. Drag the file into the storyboard at the bottom.
    11. Go to File – Publish Movie. Choose ‘This computer’ and click Next. Choose a filename and location and click Next.
    12. I recommend choosing ‘Best quality for playback on my computer’. This should reduce the file to a manageable size.
    13. Now, open your browser and login to your Youtube account. Choose ‘Upload’.
    14. Select the compressed video you have created, and upload it. This may take a while, so just wait patiently (or do some other work!)
    15. Once uploaded, you can now share the link code with Clients or others who may like to view the animation.

    Below is an example of a 1000 frame rendered animation we recently produced at Dimond Architects. It started out at about 1.2 gb, then VirtualDub compressed it to around 225 mb, then Movie Maker compressed it to about 20 mb.It took about a week for one workstation to produce this:

    Feel free to share links to any files you upload to Youtube by commenting on this blog post.

    Update: check out this page for the 64-bit Xvid codec

    I encountered a problem today related to walkthrough creation in Revit 2010 64 bit with Vista 64 bit. I was exporting a large walkthrough to uncompressed AVI format, and the file size would reach 4.00 GB (4,294,967,296 bytes), and then corruption of the AVI would result. It appears that a 4 GB limit was being imposed at some point in the walkthrough creation process.

    Therefore, I tried to use an encoding format. When using Revit 32 bit, I recall that I had a number of options in the Video Compression ‘codec’ dialog when exporting a walkthrough. However, in Revit 64 bit, I only had a couple of basic options (Microsoft Video 1, Intel IYUV Codec, Full Frames (uncompressed)).

    After some searching, and trialling a few different ideas, I found that I could access some decent codecs in this box after installing Shark007’s 64 bit components (link below).

    64 bit Encoding Components

    In addition to the above, it is recommended that you install Shark007’s 32 bit Codec Pack (link below):
    Vista Codec Package 5.5.3 Final

    After installing both of the above and restarting Revit (you may also need to restart Windows), I was intermittently able to access an additional filter in the dialog called ‘ffdshow’ – clicking ‘Configure’ opened up a whole range of encoding formats for use!However, there appear to be a few problems:

    1. The ‘ffdshow Video Codec’ encoder only appeared in the Video Compression dialog when a certain ‘Size Crop’ and resolution were selected. For me, the only settings that consistently seemed to work were: Size Crop width = 150 mm, and export resolution 886 x 500.
    2. The corruption still seemed to result if the uncompressed AVI format would have exceed 4 GB (even while using a compressed codec).
    3. Choosing H264 actually crashed Revit.
    4. WMV 8 using libavcodec simply did not proceed past the first frame.

    Given the above limitations, my solution at this point is:

    1. Split the walkthrough into parts that have a size less than 4 GB (ie. part 1 = frames 1 to 100, part 2 = frames 101 to 200 etc) and use FULL FRAMES (UNCOMPRESSED) AVI format.
    2. Use VirtualDubMod to ‘append’ these segments together, and
    3. Use VirtualDubMod to ‘Save As…’ a different format. I was able to choose ‘Cinepak’ compression in VirtualDubMod, which turned my approx 5.4 GB uncompressed AVI into a 167 MB file in only about 5 mins of processing time.

    After spending quite a few hours trying to make this work in a satisfactory and simple manner, I decided to contact our reseller and lodge a support call. I will let you know if I learn anything helpful.During this investigation, I tried a few things without success. They may be of interest to you (see links below).

    Windows Media Encoder 64 bit

    Xvid 64 bit

    x264 64 bit