Sometimes in Glue addin for Revit will fail with the message “One or more gluing errors occurred“.
You may be able to workaround this problem by following these steps:
- After receiving the error, immediately browse to your Temp directory. To do this, open Windows Explorer and type %TEMP% in the address bar.
- Sort by Date Modified
- Look for a DWF or NWC that matches the View Name that failed to Glue in Revit
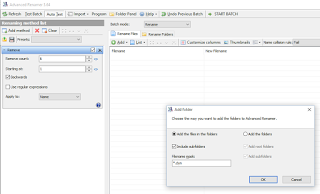
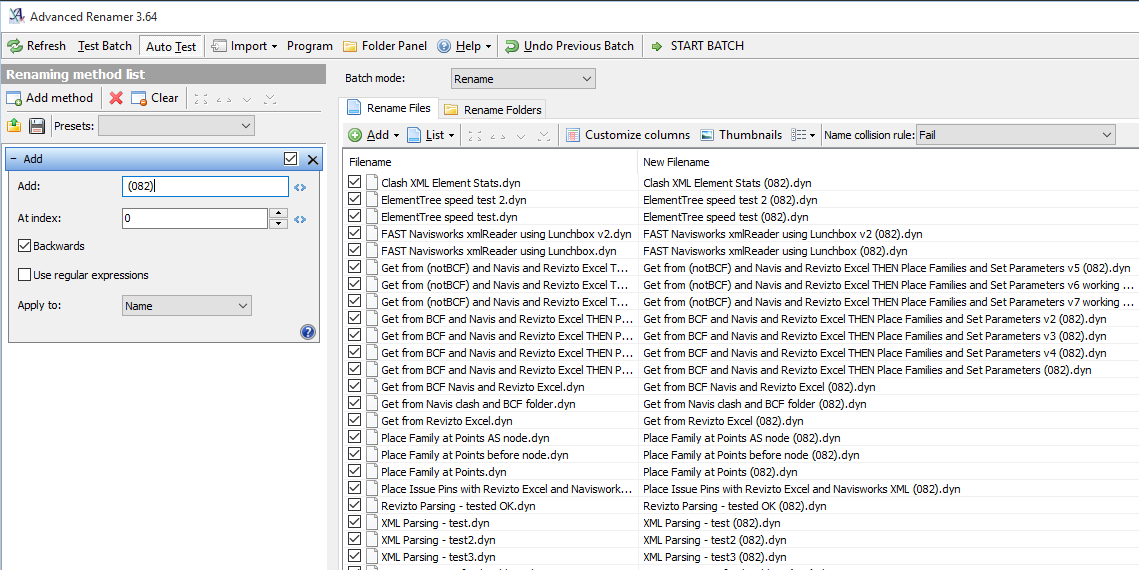
- Grab that file, and remove the suffix (usually a few digits) so that the DWF Filename = View Name = Glue Model name
- Using the Glue desktop app, upload that model manually
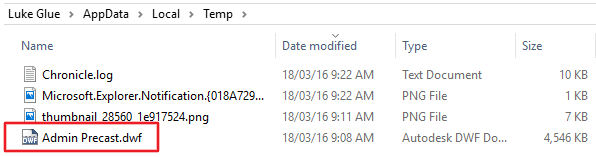 |
| Renamed model ready for upload |
This process opens up an interesting possibility… usually when exporting a DWF using plain Revit, it will always use Project Internal coordinates. However, the Glue addin can actually export DWFs with Shared Coordinates (if you choose that in the Glue export More Options dialog).
Using the above steps 1-5, you can ‘find’ this DWF with Shared Coordinates and use it wherever you please… such as in Navisworks.