The Revit API is actually something pretty special. People will go on and on about how Revit needs this feature or that feature, but the fact is that you can build almost any feature you like with the API. Recently, I have been running quite a few batch operations from the scope of a federated Revit model: so I will have one RVT file, with hundreds of Revit links, and I will process them from that main federated model.
On one recent project, we had to deliver to a Client a linked dataset, with Revit link file paths resolving correctly. As you know, people work in many different IT environments, and the pathing of Revit links may vary widely.
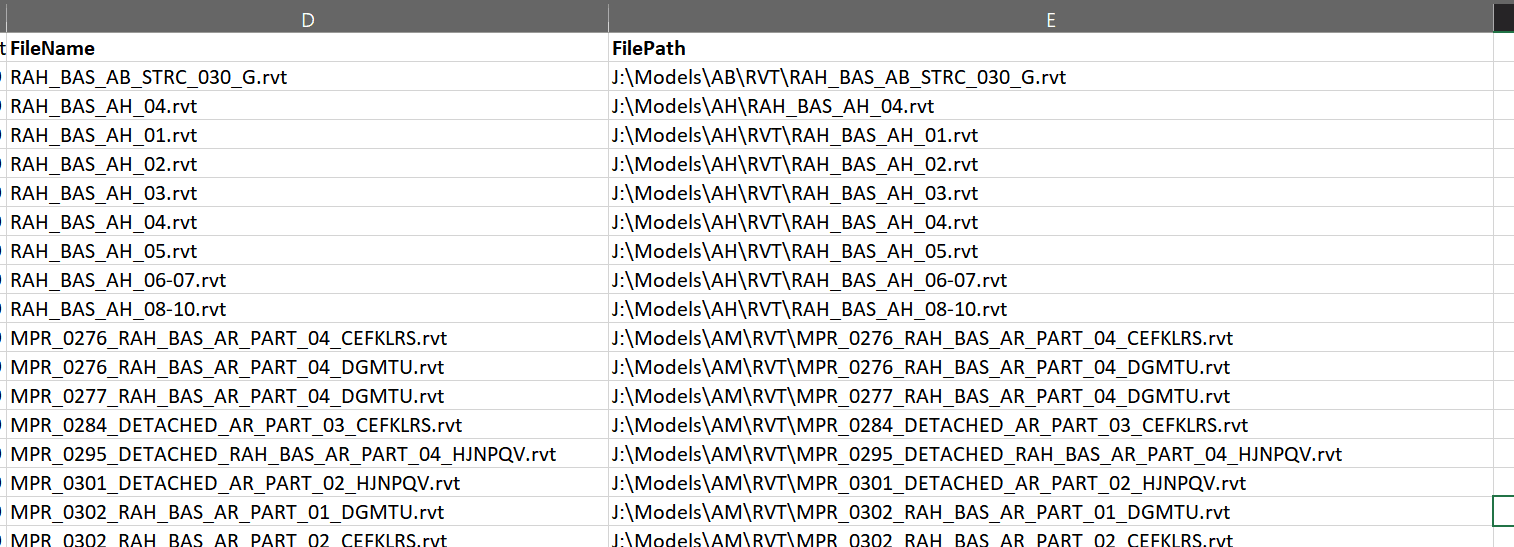
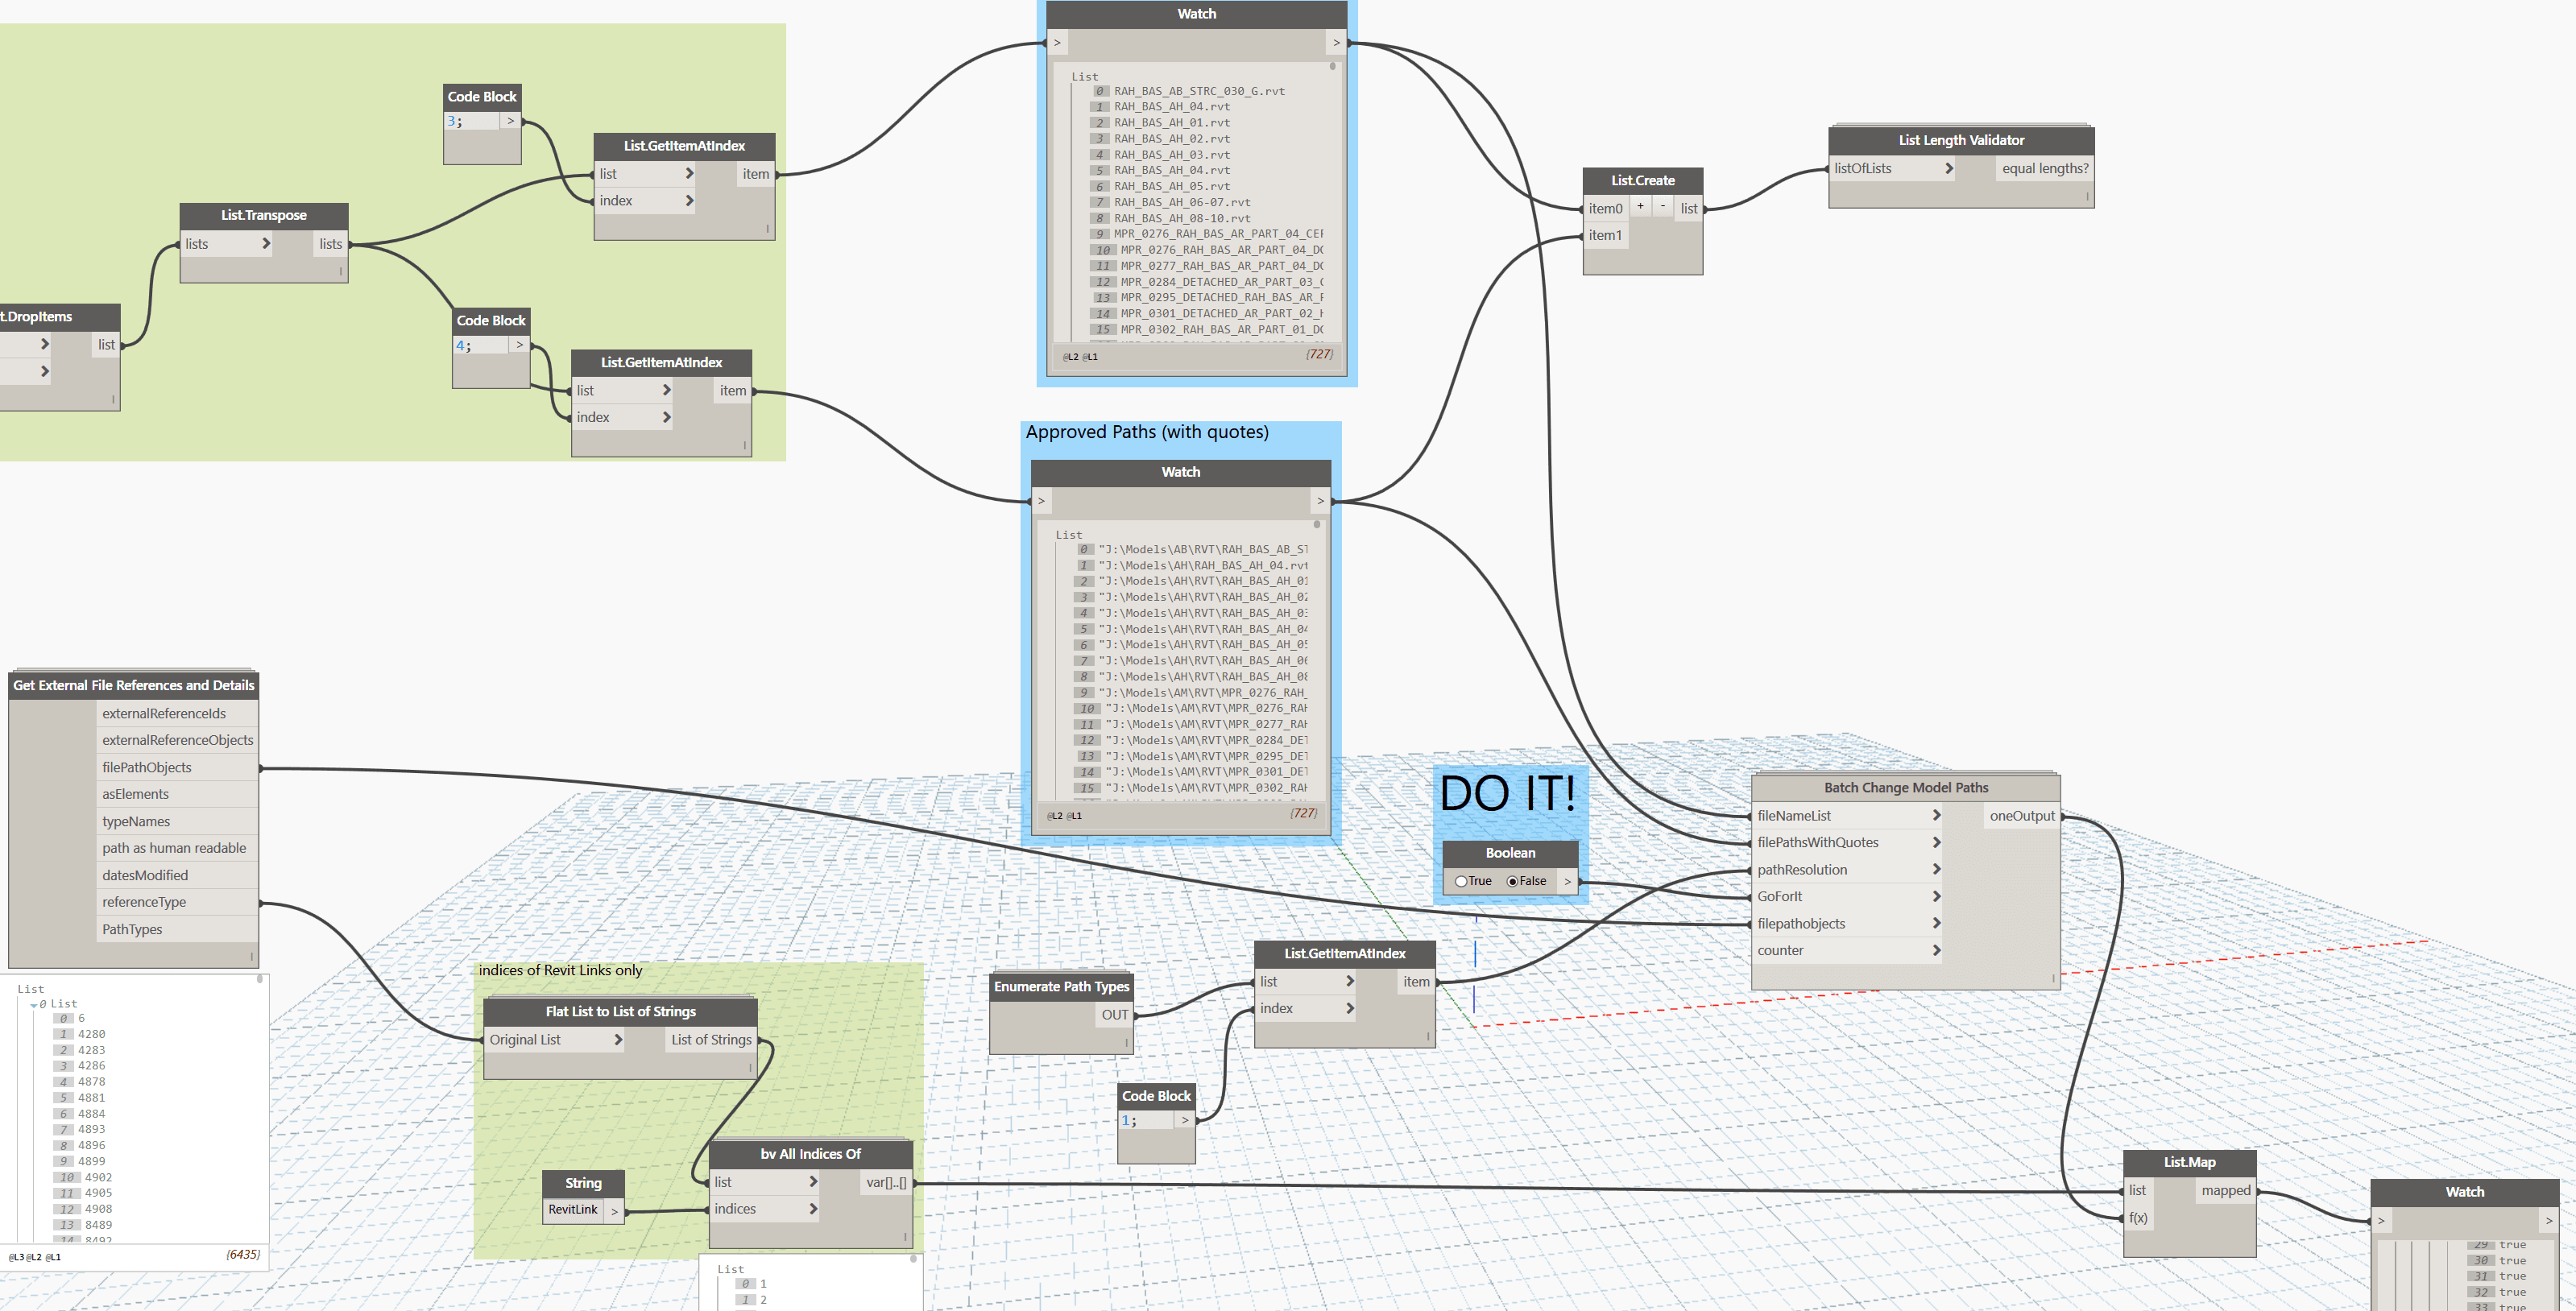
I set up an ‘approved’ list of Revit file paths, that looked something like this:
I knew that in Dynamo with Python I could get a lot of information about linked files using the ExternalFileReference class. What I discovered during this process is that there is a TransmissionData API class that let’s you do some pretty interesting things…
You see, I was thinking I would have to set up a batch method to open this files, change the file paths, and close them. But the TransmissionData class is basically what is implemented in eTransmit for Revit – it allows you to ‘lightly touch’ the Revit file and simply change the Revit link paths, and also set a switch saying ‘this file has been transmitted’. This puts the file in an appropriate state for re-opening in the new path environment. Pretty cool huh?
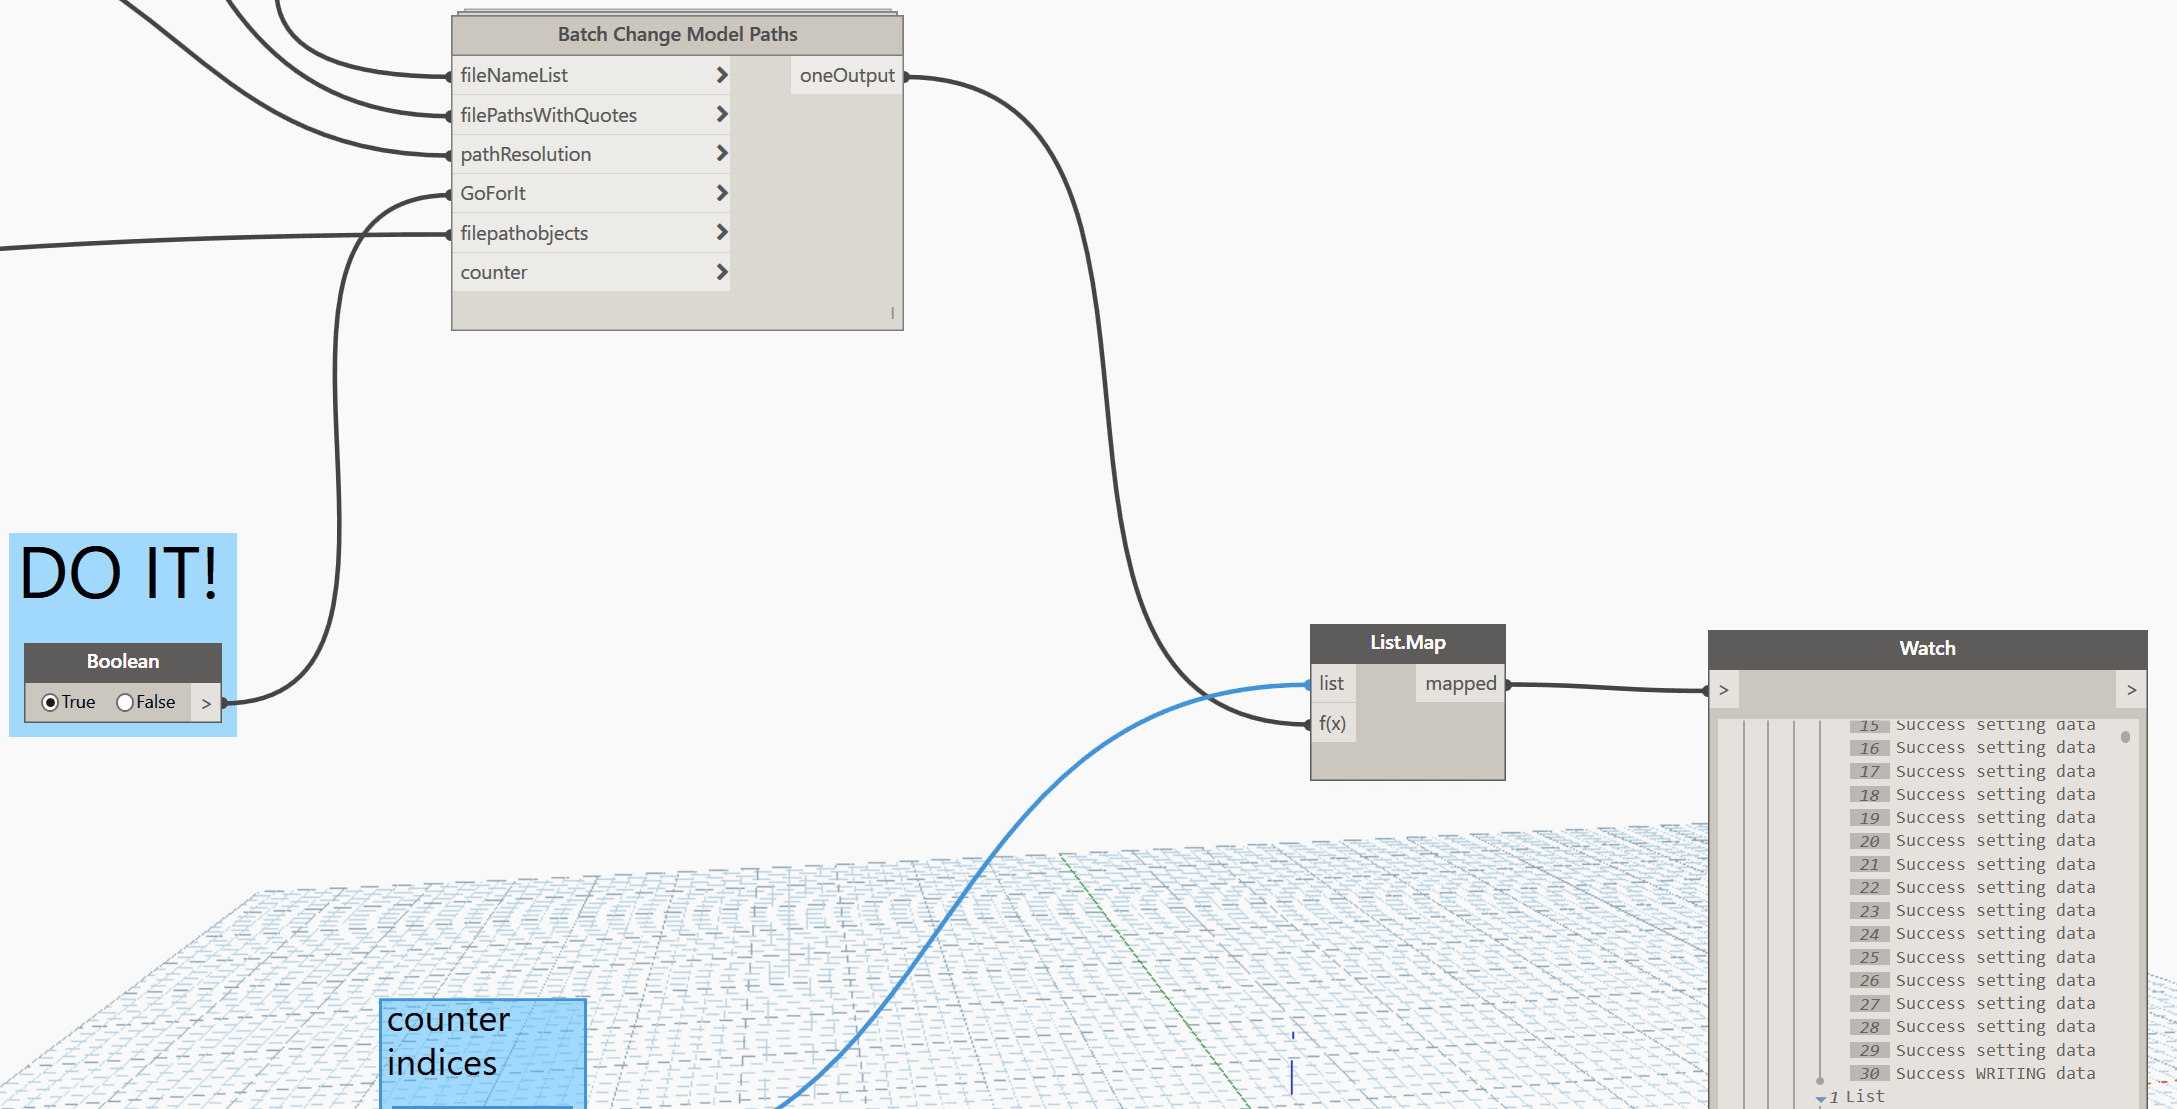
Once I figured out how to implement those TransmissionData actions in Python, I just had to build a node that, running from the federated model:
- examines each link for the links inside of it
- replaces erroneous paths with the correct file path
- sets the new paths to the file
I did this in the hacky way of a “counter with List.Map” in Dynamo. In the future I’ll probably fix it up to be a ‘proper’ Python script but this works for now. In about an hour it fixed the linked file paths of 600 Revit links, all with the click of a single button 🙂
You can download the main definition here:
You can get the supporting nodes from GitHub here:
https://github.com/LukeyJohnson/BakeryForDynamo/tree/master/nodes
As usual, please use with care. And it is probably worth backing up your files before running something like this.
It is kinda more Python than Dynamo but hey, you get the picture 🙂
In fact, here is the Python code:
import clr
clr.AddReference('ProtoGeometry')
from Autodesk.DesignScript.Geometry import *

# Import RevitAPI
clr.AddReference("RevitAPI")
import Autodesk
from Autodesk.Revit.DB import *

clr.AddReference("RevitServices")
import RevitServices
from RevitServices.Persistence import DocumentManager
from RevitServices.Transactions import TransactionManager

from System.Collections.Generic import *

clr.AddReference('RevitNodes')
import Revit
clr.ImportExtensions(Revit.Elements)
clr.ImportExtensions(Revit.GeometryConversion)

from System import Guid

import System

import sys
pyt_path = r'C:\Program Files (x86)\IronPython 2.7\Lib'
sys.path.append(pyt_path)

import os.path

doc = DocumentManager.Instance.CurrentDBDocument
uiapp = DocumentManager.Instance.CurrentUIApplication
app = uiapp.Application

tempvalue = IN[0]
approvedFilenames = IN[1]
approvedFilepaths = IN[2]
targetfilepath = IN[5]

def stripquotes(string):
	string = string[1:-1]
	return string

transData = TransmissionData.ReadTransmissionData(tempvalue)
erefids = transData.GetAllExternalFileReferenceIds()
refdata = []
for x in erefids:
	refdata.append(transData.GetDesiredReferenceData(x))

currentpaths, currenterefType, currenterefPath, pstr = [], [], [], []

for e in refdata:
	currentpaths.append(ExternalFileReference.GetAbsolutePath(e))
	currenterefType.append(e.ExternalFileReferenceType)
	currenterefPath.append(e.PathType)
for s in currentpaths:
	pstr.append(ModelPathUtils.ConvertModelPathToUserVisiblePath(s))

filenames = []
for p in pstr:
	templist = os.path.split(p)
	filenames.append(templist[1])

newpath = []
indices = []
failpath = []
origcounter = 0
matchrefs = []
newpathtypes, newbools = [], []
pathtypevar = IN[3]
for f in filenames:
	tempindex = approvedFilenames.index(f) if f in approvedFilenames else -1
	indices.append(tempindex)
	if tempindex == -1:
		failpath.append(origcounter)
		pass
	else:
		newpath.append(ModelPathUtils.ConvertUserVisiblePathToModelPath(stripquotes(approvedFilepaths[tempindex])))
		matchrefs.append(erefids[origcounter])
		newpathtypes.append(pathtypevar)
		newbools.append(True)
	origcounter = origcounter + 1

currentfilepathstring=ModelPathUtils.ConvertModelPathToUserVisiblePath(targetfilepath)
elementcount = len(erefids)
hostfile = currentfilepathstring * elementcount
currentdata = []
#currentdata.append(transData)
currentdata.append(hostfile)
currentdata.append(erefids)
currentdata.append(refdata)
currentdata.append(currentpaths)
currentdata.append(currenterefType)
currentdata.append(currenterefPath)
currentdata.append(pstr)
currentdata.append(filenames)

newdata = []
newdata.append(indices)
newdata.append(newpath)
newdata.append(matchrefs)
newdata.append(newpathtypes)
newdata.append(newbools)

setlength = len(newpath)
setcounter = range(setlength)
successreport = []
setdata = IN[4]
if setdata:
	for s in setcounter:
		try:
			transData.SetDesiredReferenceData(matchrefs[s], newpath[s], newpathtypes[s], newbools[s])
			successreport.append("Success setting data")
		except:
			successreport.append("Failure setting data")
else:
	successreport.append("You need to set the switch to True")

if setdata:
	try:
		transData.IsTransmitted = True
		transData.WriteTransmissionData(targetfilepath, transData)
		successreport.append("Success WRITING data")
	except:
		successreport.append("Failure WRITING data")

#Assign your output to the OUT variable.
OUT = successreport, currentdata, newdata
If you want to read more about the API methods used: