EDIT via MLD in the comments:
In a 3D view;
1 Ensure Section box covers all elements by,Unchecking then rechecking ‘Section Box’
2 Select some objects and the section box
3 Temporary isolate elements
4 Uncheck then recheck ‘Section Box’ again
5 Reset Temporary Hide/Isolate
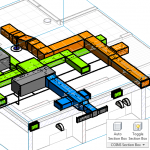
Another way – is the COINS Auto-Section Box add-in available on Autodesk Exchange. Install the add-in, restart Revit, select a few objects then click the button. It will create a section box around those objects in the selected 3D view – very easy!
Download at:
Autodesk Exchange Apps
A third way – is through a nice tip posted by Trey at Wikihelp. Here are the basic steps:
- In a plan or elevation view, create a Callout (View tab > Create panel > Callout).
- Open a default 3D view.
- Right-click on the View Cube.
- Select Orient to View > Floor Plans, and choose the Callout view you just made. Your 3D view will automatically have a Section Box that matches the Crop Region of the Callout!



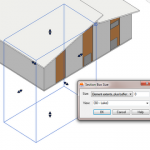
An alternative method that I have been using for years and is no doubt how the add-in works,
In a 3D view;
1 Ensure Section box covers all elements by,Unchecking then rechecking 'Section Box'
2 Select some objects and the section box
3 Temporary isolate elements
4 Uncheck then recheck 'Section Box' again
5 Reset Temporary Hide/Isolate