If you are interested in learning Blender from an API (Python) perspective, check out:
Nathan’s Blender Python Notebook – THE PROVING GROUND

At the moment, the content is primarily along the lines of ‘getting started’ and basic modelling.  I’m sure it will get more advanced very soon…

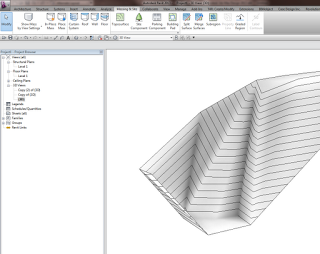
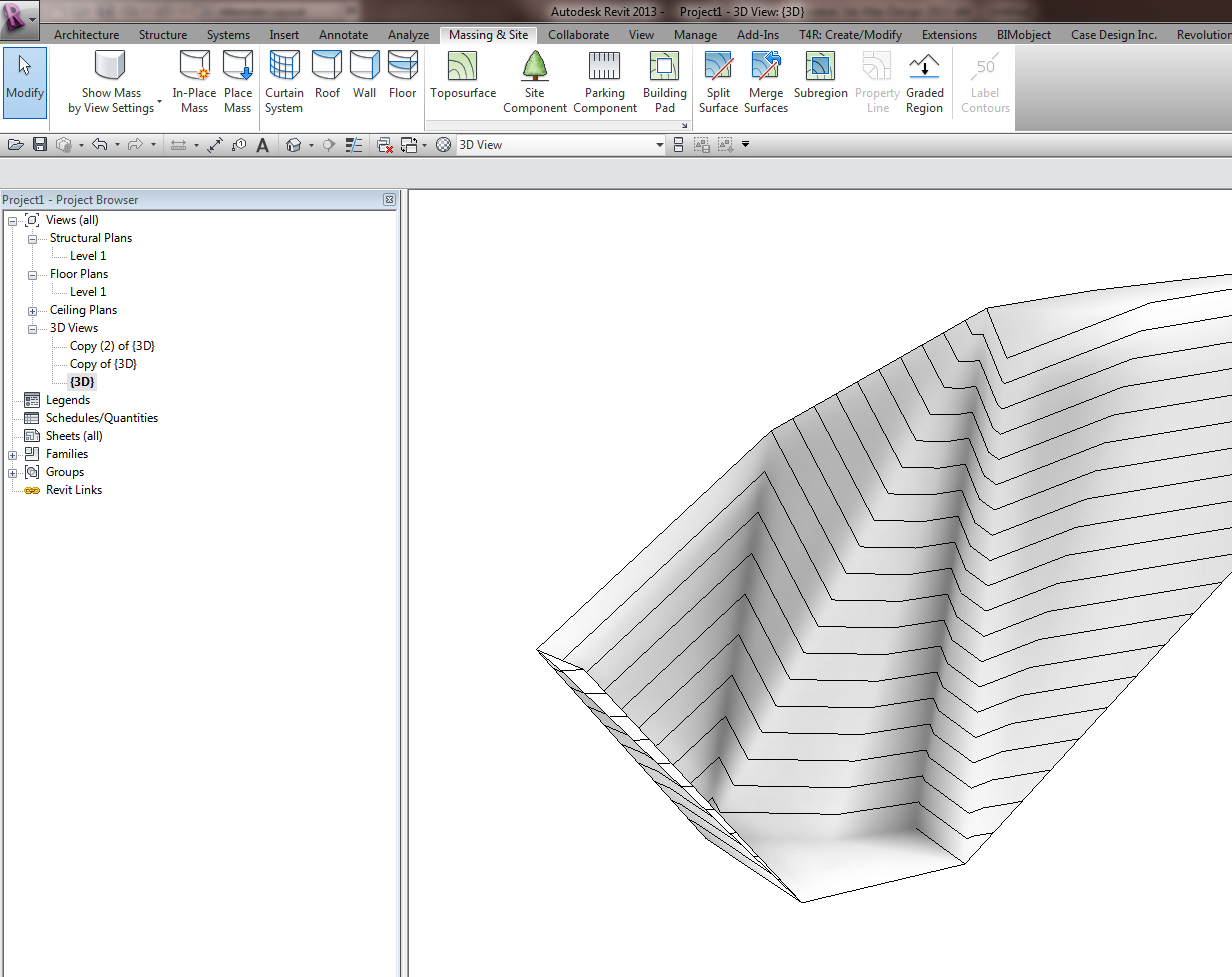
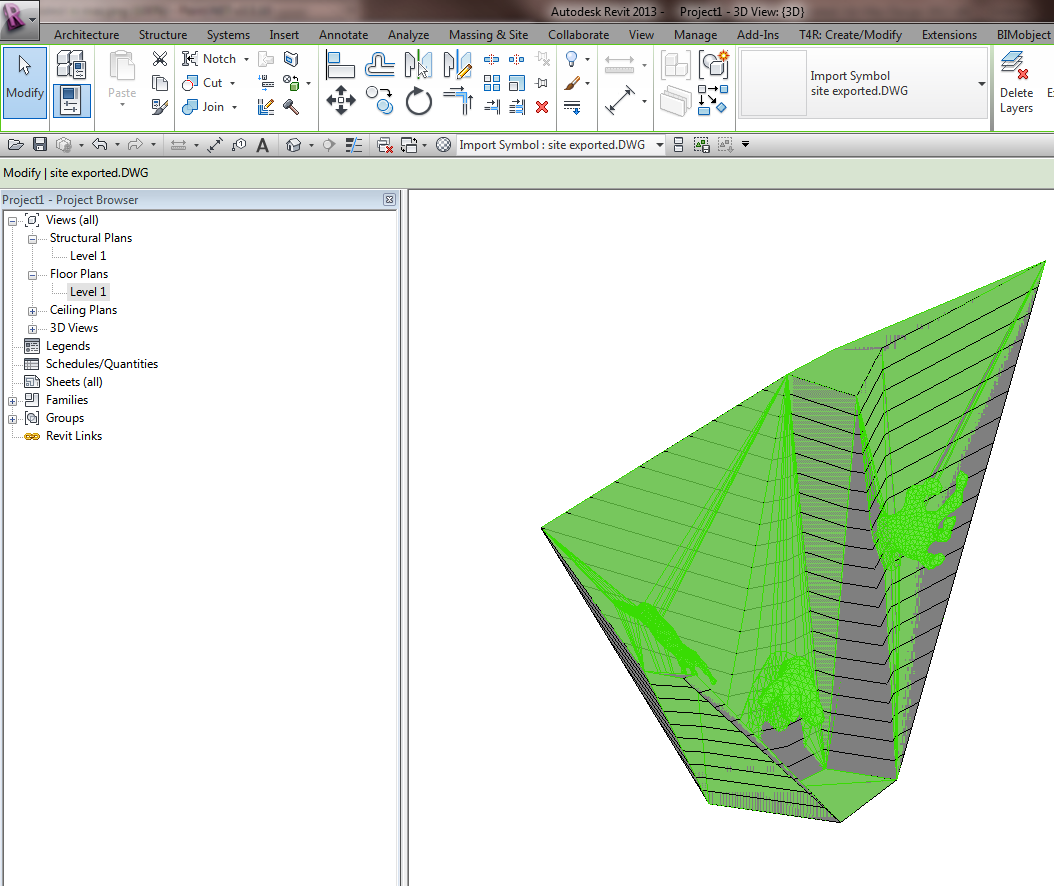
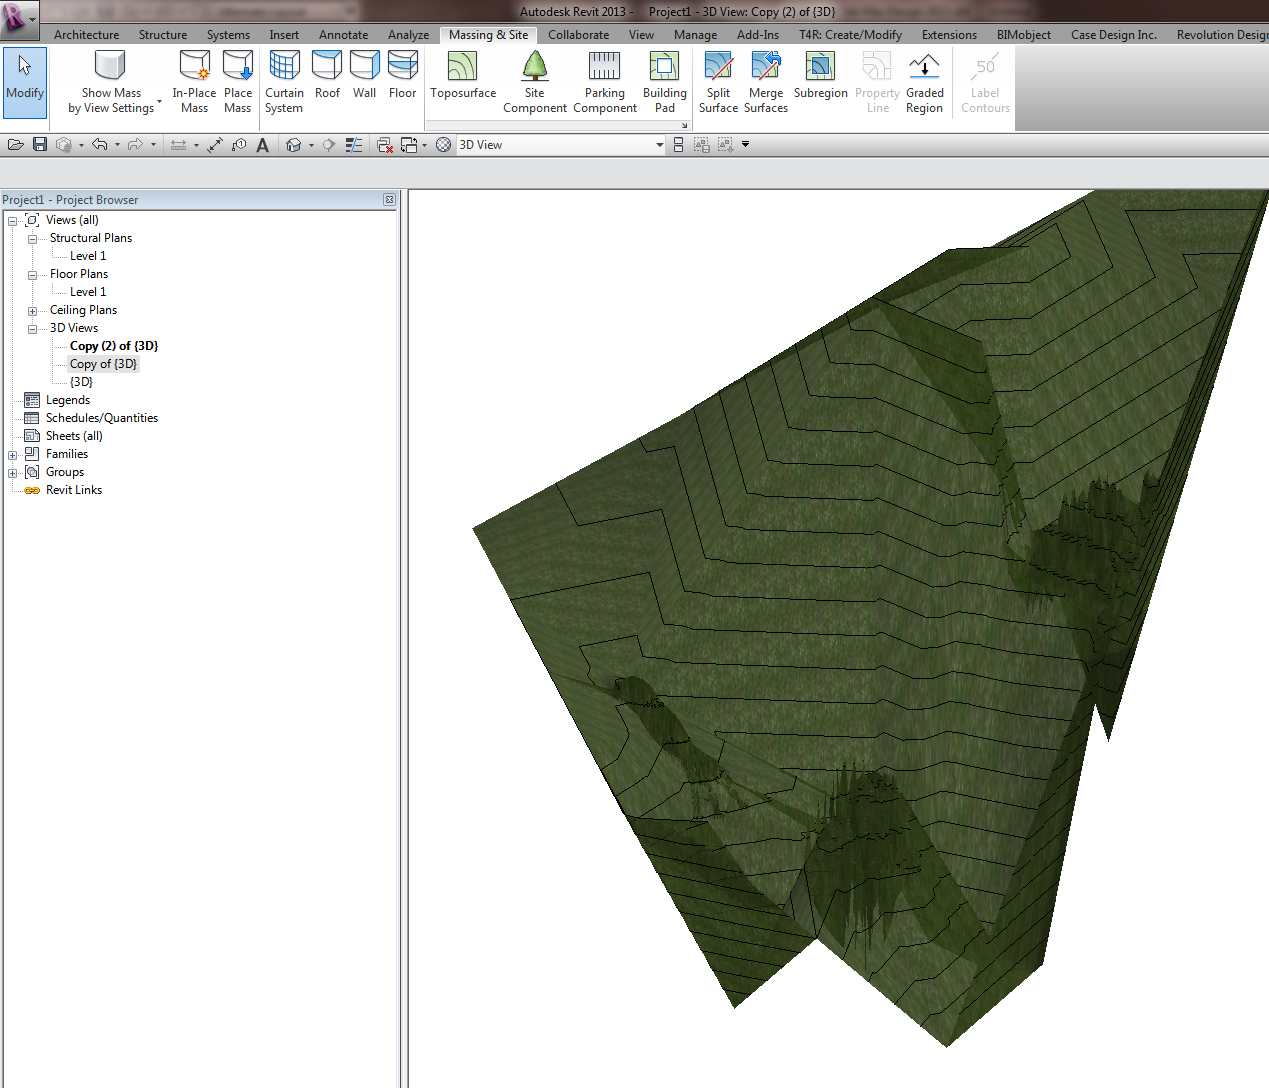
I played with Blender back in mid-2008.  At the time I was using some of the randomization capability to make some organic forms for ultimate use in Revit.  I used a plugin called Blender World Forge (ver 0.1.0).  I had some success, but it wasn’t total.  Here is an example:

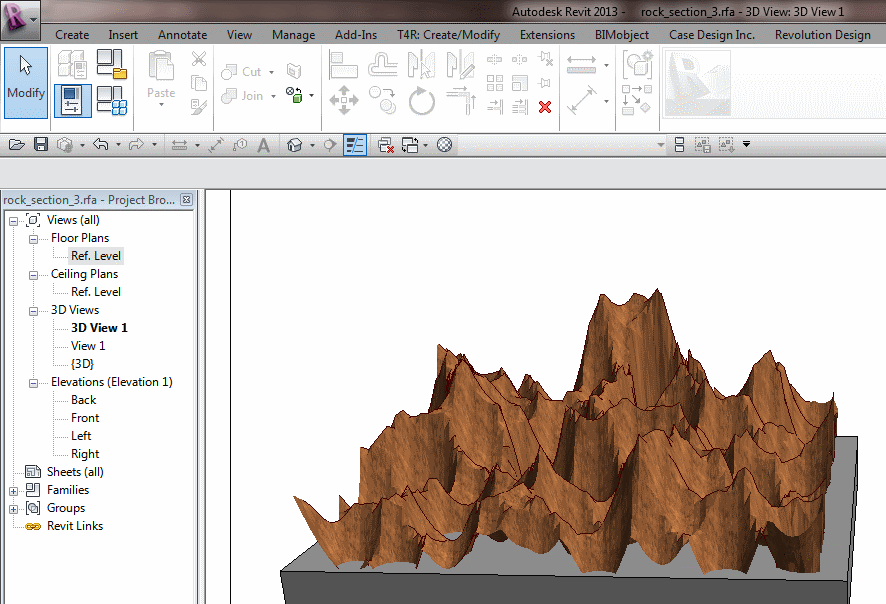
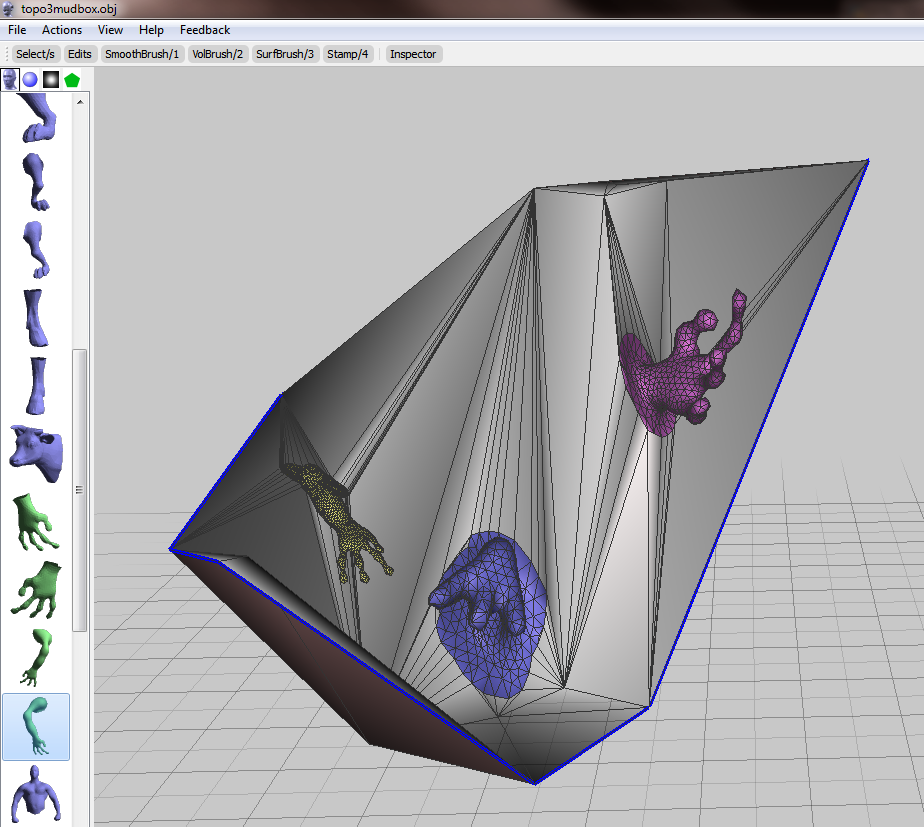
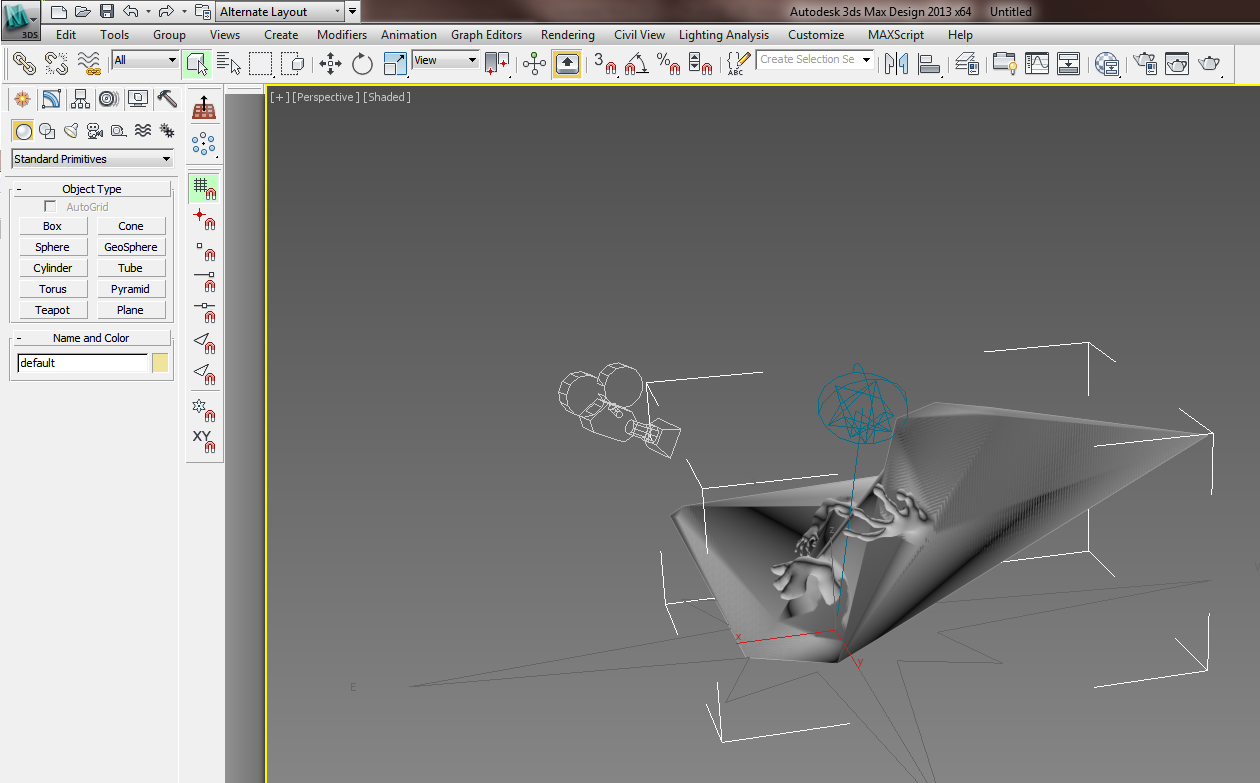
I have since had more success with organic forms in Revit using meshmixer:
Using meshmixer to morph your Revit Topography

Yeah, Revit topo tools aren’t that great.  Why don’t we try exporting to a sculpting tool like meshmixer, and see if we can make it work?

Let’s start with a simple Revit toposurface.

Export to Max by using Suite Workflows – 3ds Max Design Exterior Rendering

Once in Max, export selected (the toposurface) to OBJ using the Mudbox preset.

Open meshmixer (now at version 08).  File – Import the OBJ.  Start playing around with it, using the brush tools to smooth or warp the site.  You may need to ‘scale’ up your active tool by using the middle mouse button to see real results.

I added some body parts to the site:

Export to OBJ from meshmixer.

Back in Max, select the previous surface object.  Then Import, select the new OBJ you just made.

Now, export selected the new OBJ (with morphs) to a DWG file.

Import the DWG in Revit.  If you haven’t gone too wild, you should be able to use Auto – Center to Center option effectively.

Finally, Revit won’t like this import very much – it probably won’t find points to make a surface.  You will need to round-trip this DWG import by exporting out to DWG from Revit and then importing it back in again.

The ’round tripped’ import symbol can be used to generate the Toposurface, now morphed:

You may also be interested in:
Freeform and organic modelling from MeshMixer to 3ds Max to Revit