When a recent update to Autodesk Desktop Connector forced a migration to Autodesk Docs, file paths were generally change like this:
FROM – C:\Users\USERNAME\BIM 360\YOURFOLDERS
TO – C:\Users\USERNAME\ACCDocs\YOURFOLDERS
If you were doing some interesting tricks with BIM 360 Docs, and sharing and federating Revit models as non-initiated files on BIM 360, you may find that links were broken and “Not Found” in Manage Links after that latest Desktop Connector installation.
But don’t worry! You can just set a symbolic link to point from the old BIM 360 Docs location, to the new location. The Command Prompt script looks like this:
The moment after this script was run, I was able to hit Reload from Manage Links in Revit and the new location was detected and links were loaded successfully. Note that they still appear in Revit as if they are in the old location, but really it is reading the latest data from Autodesk Docs, and that new location is being updated by Autodesk Desktop Connector.
At this stage it appears those links are still working, as the Revit CollaborationCache is a different technology to the simple file sharing mechanism of Autodesk Docs.
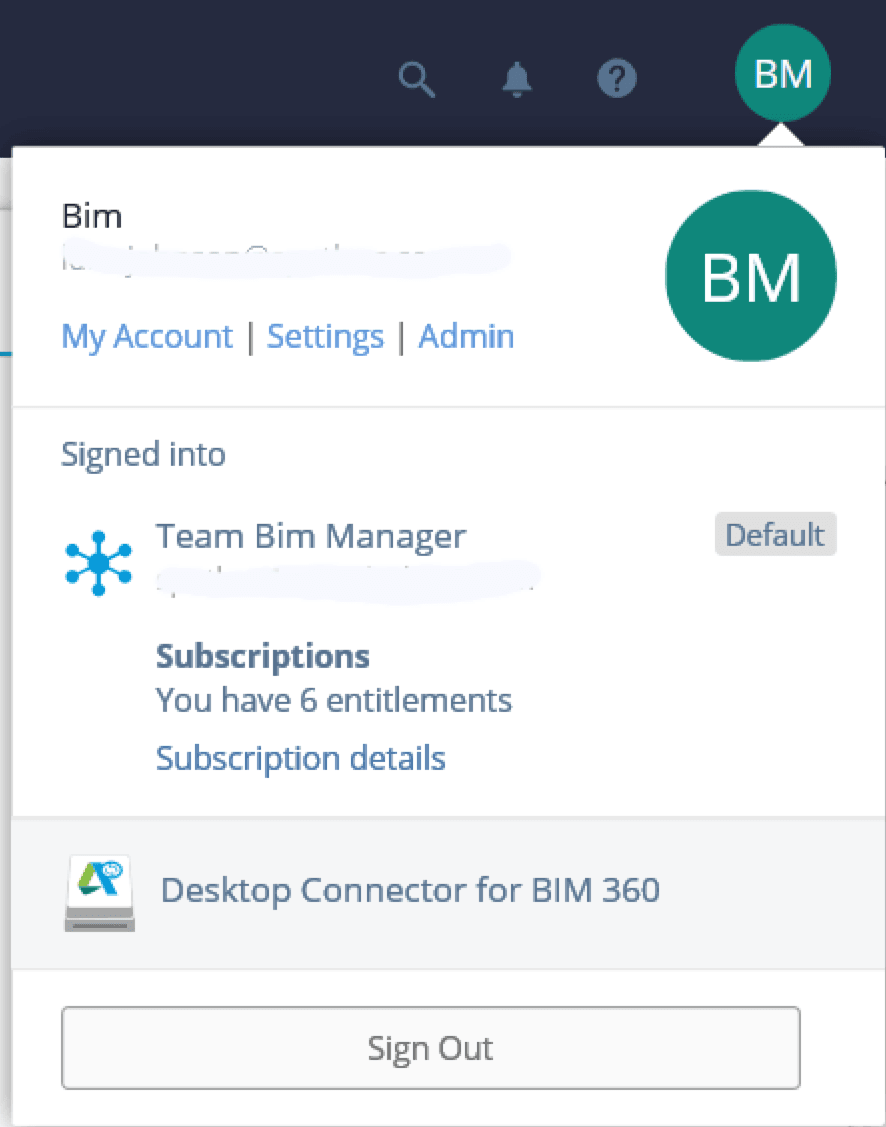
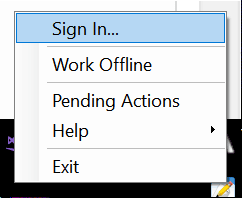
Logout from Autodesk services prior to starting Desktop Connector. You can do this easily with the sign out option at top-right of Autodesk Desktop App.
Through Task Manager – Details, attempt to “End Task” on these. Probably AdskLicensingService.exe won’t close.
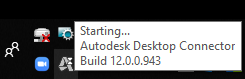
Then try to start Autodesk Desktop Connector again from the Start Menu.
You can monitor starting of Desktop Connector in the tray.
Previously, this was all working with the old Desktop Connector and b360provider.exe (I think?) but the new versions of Desktop Connector seem to have broken the ability to ‘browse’ C4R Revit models on BIM 360… and guess what? There is no Solution. This functionality is in fact ‘by design’. You can copy and paste a non-C4R Revit model to BIM 360 Docs via the connector, and that RVT will be visible in Windows Explorer. But if you have C4R initialised Revit models on BIM 360 Docs, they will not be visible under the BIM 360 (Preview) node in Windows Explorer. You can only view those C4R Revit files in their folder structure by navigating through Revit 2018.3 or newer.
This is the feedback from Autodesk:
Revit cloud models (C4R models) are not supported in Desktop connector. They won’t be showing up in Desktop Connector. Published C4R models are only available in Revit and Docs.
I went looking for another answer, but there really isn’t one. Below is a list of steps I took to play around with the Desktop Connector installation. In the end, the only way I can foresee being able to ‘automate’ onsite BIM 360 Docs backups will be to leverage the CollaborationCache folder. You will need some Revit API know-how to forcibly populate this through some BIM 360 Reload methods (refer here). Unfortunately this will be a flat list of files without descriptive names, so there will have to be some workarounds and cleanup scripts in place (we already have a system of BIM 360 file management in VirtualBuiltApp). I intend to post some more about these workarounds in future.
Keep reading for excessive detail on my Desktop Connector journey …
Uninstalled this old version. Interestingly, there were 3 different uninstall processors triggered? Like I had three different versions installed?
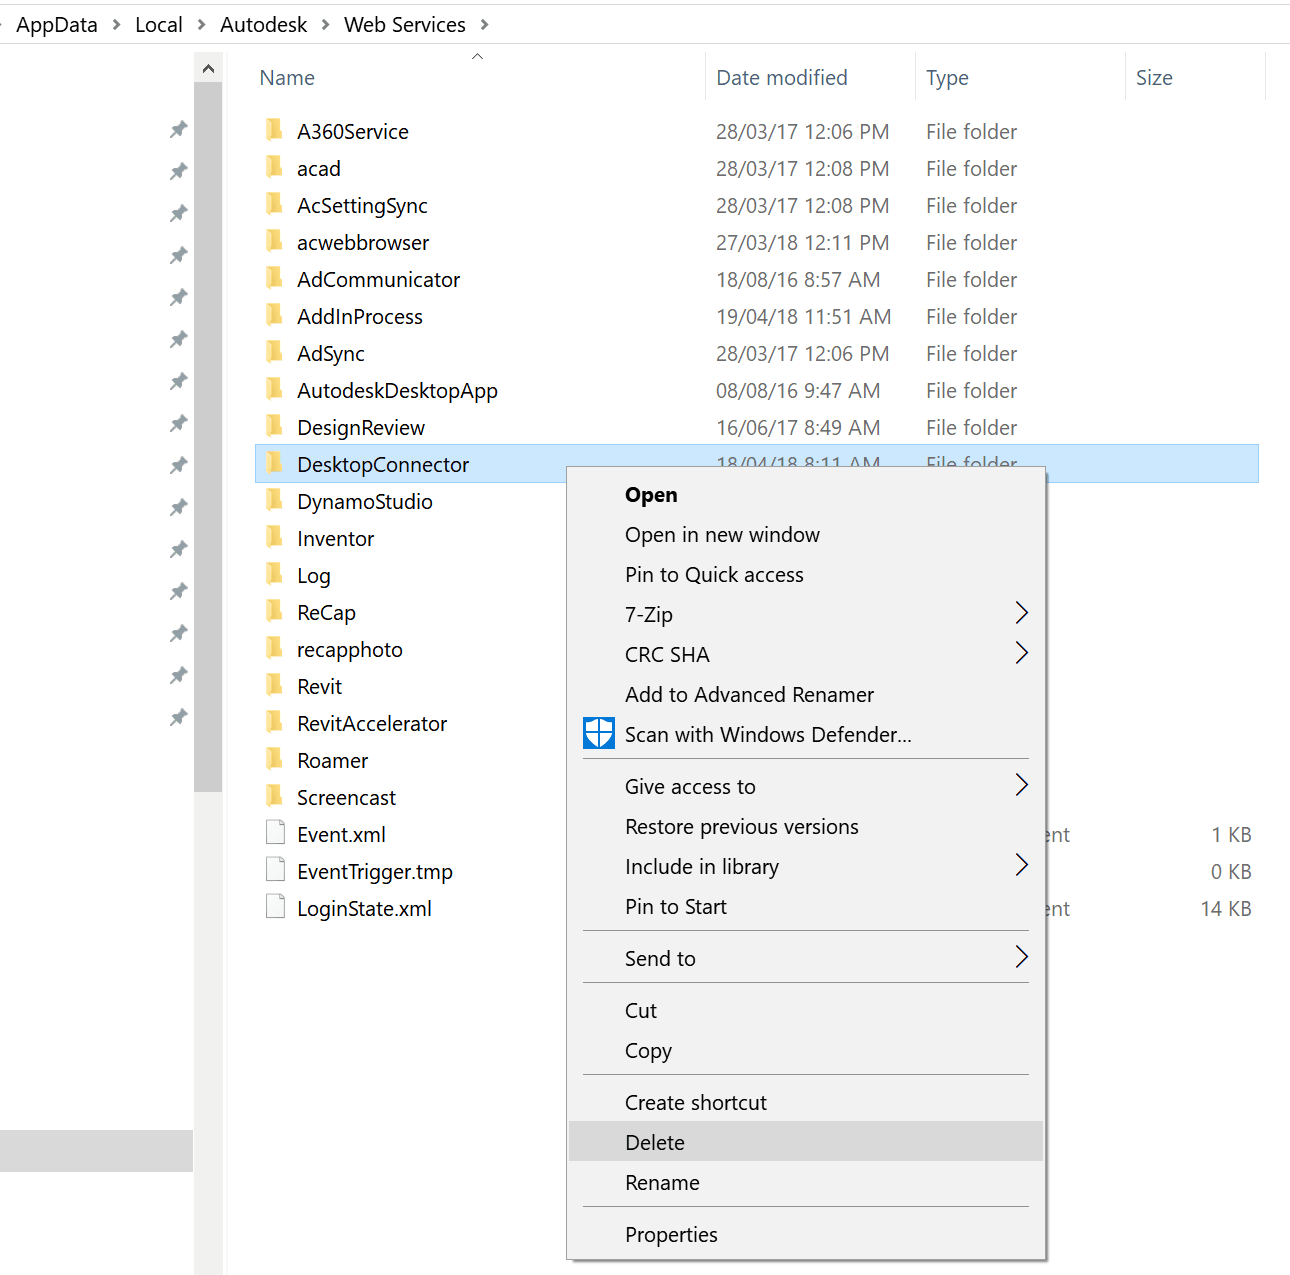
Also tried removing this folder and reinstalling:
I found a pile of errors in the diagnostic logs:
CDX pipleline builder output
Output=Warnings received from AddInStore.Rebuild
========================
Could not connect up a part in a pipeline to its neighbors: AddInAdapter Name: "ISecureSettingsProviderViewToContractAddInAdapter" Location: "AddInSideAdapters\Comet.AddInFramework.DataSourceProviders.ProviderAdapters.dll".
and a few of these
========================
Could not connect 2 valid add-in model parts.
========================

========================
While inspecting an assembly, caught a BadImageFormatException: The file is not a valid binary: C:\Program Files\Autodesk\Desktop Connector\AddIns\ADriveConnector\AdWebServices.dll This occurred while inspecting assembly C:\Program Files\Autodesk\Desktop Connector\AddIns\ADriveConnector\AdWebServices.dll.
========================

========================
While inspecting an assembly, caught a BadImageFormatException: The file is not a valid binary: C:\Program Files\Autodesk\Desktop Connector\AddIns\ADriveConnector\AdWebServicesUI.dll This occurred while inspecting assembly C:\Program Files\Autodesk\Desktop Connector\AddIns\ADriveConnector\AdWebServicesUI.dll.
========================
I scanned through the Registry and deleted old references to Desktop Connector.
Found this link with the command line switches: here
Tried an install from elevated command prompt:
C:\Temp>DesktopConnector-x64.exe /install /quiet
Note: you do not actually need the Desktop Connector to collaborate on BIM 360 Revit projects in the cloud. You only need Revit 2018.3 or newer, and the relevant license for Revit Cloud Collaboration (too hard to keep track of the names but I think ‘BIM 360 Design’ is the current terminology).
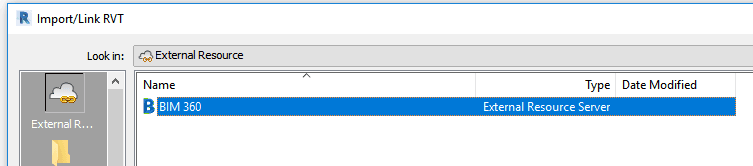
You will be able to see this link in Revit 2018.3 or newer:
When ‘linking’ Revit models, CAD files, and other resources, you will see this option when working in a cloud workshared model:
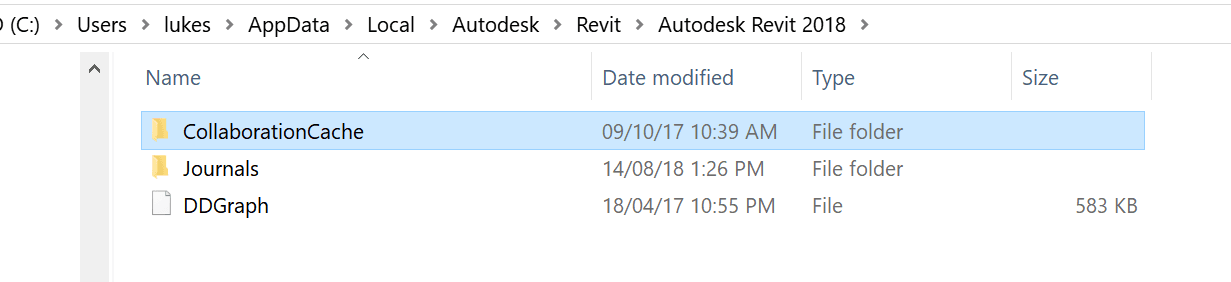
These models will be temporarily stored in the CollaborationCache folder:
Please download and install this new version to take advantage of these updates. NOTE: The new installer will remove any previous installations of the Desktop Connector automatically.
For additional details on the updates to the Desktop Connector and the latest BIM 360 releases, please visit the BIM 360 Release Notes.
I’m looking into ways to batch initialize Revit models onto the new BIM 360 Docs (Document Management) platform. It is a work in progress at the moment – in Revit 2018, I think that there is limited ability to use newer API features for creating a Cloud ModelPath for batch processing. But more on that later…
For now, I wanted to replicate a folder structure from a local network onto the BIM 360 Docs platform. To do this, you just need the Desktop Connector + Preview installed, and then you copy and paste the data.
Here are the steps:
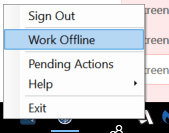
Clear Pending Actions on Desktop Connector for BIM 360 (recommended, use with care)
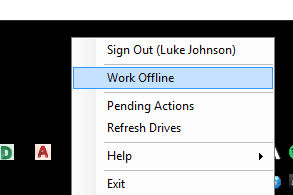
Work Offline(recommended). Folders will appear blue in Windows Explorer.
Set the folder path in the and create a CMD script using code below. It populates each subdirectory with a text file indicating the contents of the directory.
@echo off
chcp 65001 >nul
for /r "C:\Your\Folder\Path\Here" %%d in (.) do dir /a:-d "%%~fd" > "%%~dpnd\DirectoryFilePlaceholder.txt"
Run the script on your target directory (the local directory that you want to mirror into BIM 360 Document Management platform)
Run a FreeFileSync task with filters to include only the ‘DirectoryFilePlaceholder.txt‘ as a mechanism of building the file structure. This task copies those txt documents to the BIM 360 using the local Desktop Connector path, as shown here:
Then, disable ‘Work Offline’, so the sync to cloud should begin.
Wait for ‘Processing’ to complete
To force the sync you may have to toggle the ‘Offline’ status in the tray.
You can review sync state with the ‘Pending Actions’ link from the system tray:
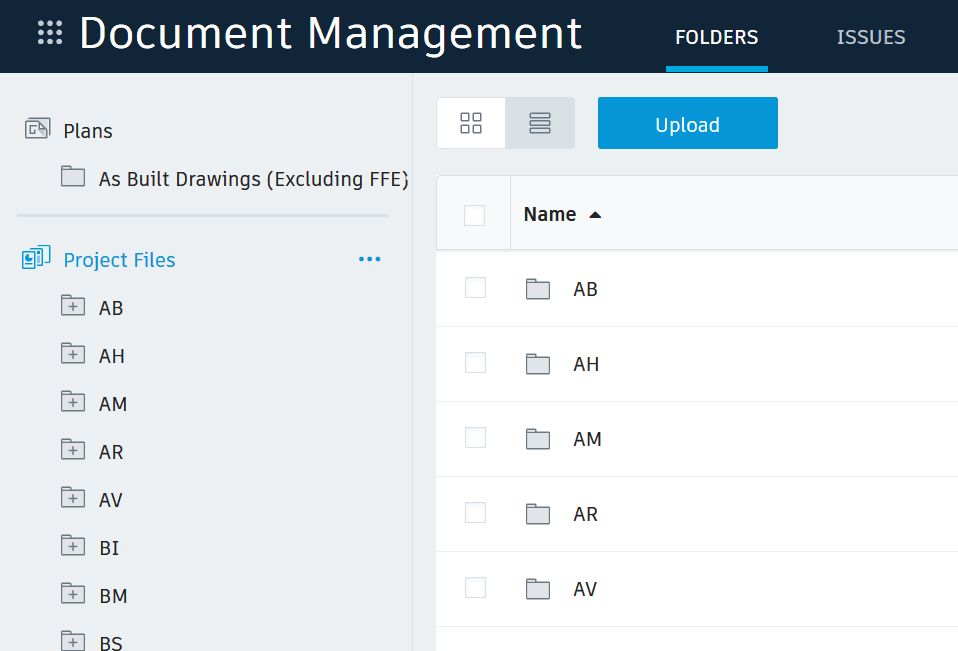
After the file structure is copied and synced, you will be able to see it in BIM360 Docs.
You can then proceed with adding Permissions or uploading other files.
Install beta version of a plugin for Desktop connector that allows access to BIM 360 Docs under a separate link
From the help:
This plugin is a connector that establishes BIM 360 Docs as a recognized data source for the Desktop Connector – making it available in your desktop folder and file structure for easy file management.
As with Desktop Connector, this means your BIM 360 Docs files are replicated in a connected drive. You can manage files in BIM 360 Docs through the connected drive, just as you would any other folder on your machine. Changes made on the desktop are automatically uploaded to BIM 360 Docs.
You need to update Desktop Connector prior to April 24, 2018, so that you do not lose access to your projects. You can read my previous posts if you want to learn more about Desktop Connector.
The whole C4R thing with link files is a bit of a challenge at the moment. It will get better, but for now, there are at least two things that don’t match typical desired project delivery:
We essentially have a ‘high trust’ environment, which applies to everyone who is invited to a C4R project. High trust in this context means anyone can edit anything, if they have Editor permissions for the project.
Also, we don’t have folder structures for Revit files that have been initiated on C4R – they are all in the root folder. However, we can store Revit files in subfolders as a kind of dumb link file (not a collaborative model).
So, until it does get better… how do we use the Desktop Connector to link files from a non-C4R folder structure, into a C4R initiated file?
Basically, you take these steps:
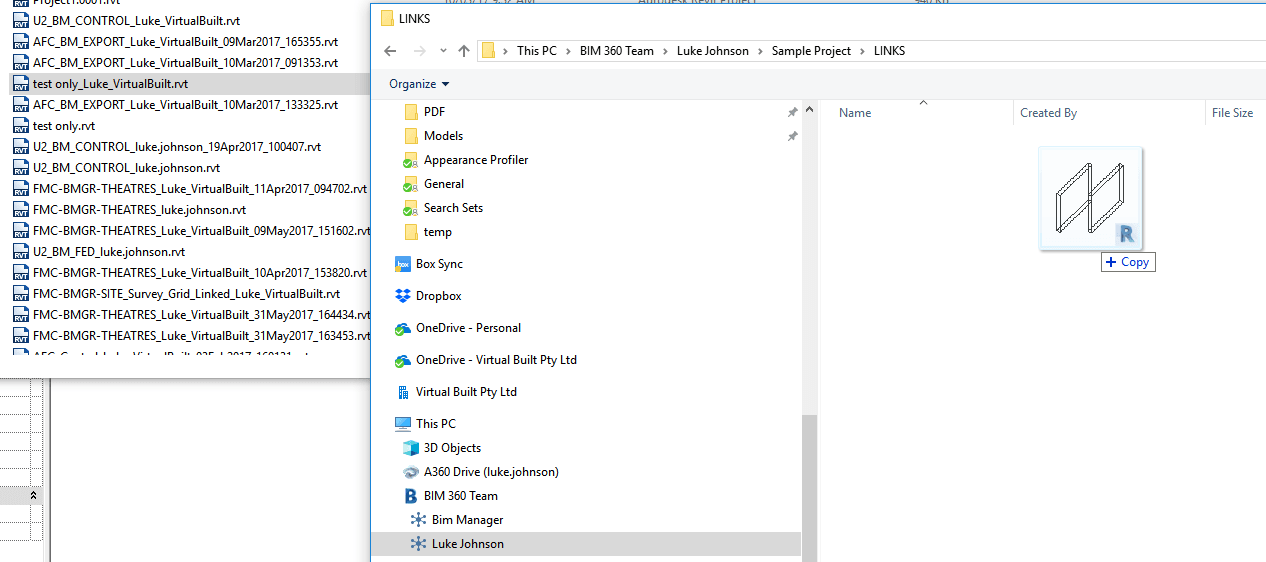
Use Windows Explorer and the Autodesk Desktop Connector to manage your files and folder structure. Navigate to your BIM 360 Team project, add folders, and drag and drop Revit files into those folders.
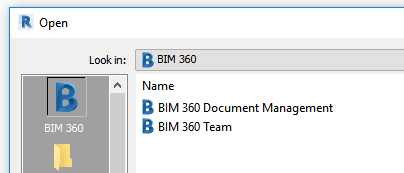
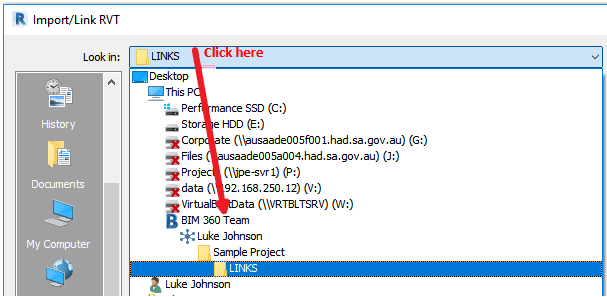
Then, in Revit, in the Import / Link dialog, you can select the ‘BIM 360 Team’ link from the drop down list. You will notice some special things happening after you link one of these files.
Finally, you can observe the new ‘cloud’ pathed Revit models in the Manage Links dialog box. The saved path should start with Autodesk Drive:// and the Path Type is Cloud.
What does this all mean? Really, it just means the workarounds are getting slightly better. We don’t need to maintain a separate cloud storage repository for Revit models (like Box) just for the link files. And we shouldn’t need to go through too much pain to update the link models. Just drag-and-drop the new Revit link model into the correct folder in the Desktop Connector to update the link for everyone in the team.
This feature also works with things other than Revit files. So you can use the same process to store DWG files on BIM 360 Team and link them into your Revit model.
And the same process can be used for things like:
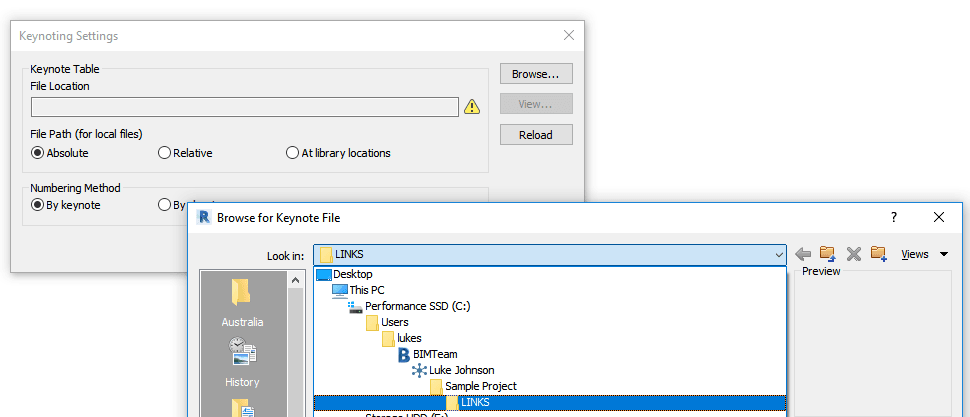
Keynoting Settings
Shared Parameter files
Assembly Code Settings
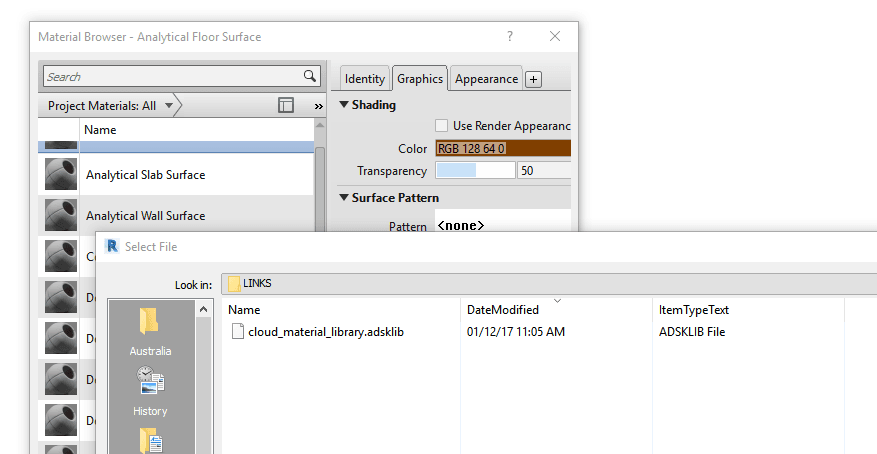
Material Libraries
Pretty much any project-linked resource can now be stored in the cloud, shared with a team, and linked into Revit.
Over the years, Autodesk has provided various means for us to access, sync, backup and share files. Most recently we used “A360 Desktop” (see end of this post) and more recently “A360 Drive“. Autodesk recently released the Autodesk Desktop Connector, which allows you to:
Manage remote files from your desktop
Connect to Team Hubs
Work offline or online
Desktop Connector gives you access to your production A360 data. Using Desktop Connector to modify files that reside in production A360 will automatically sync changes, updating your production file in A360.
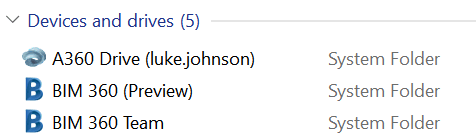
You will see a link on your BIM 360 Team hub like this: