Here’s how:
You would like to assign OmniClass numbers using the 2012 standards but are not able to because the default file shipped with Revit provides numbers from the previous standard.
Symptom: When trying to assign OmniClass 2012 numbers in the family editor the numbers supplied from the table are incorrect.
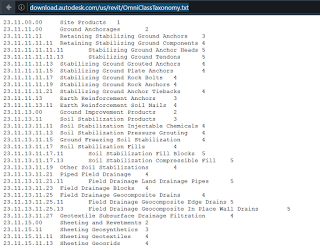
Issue: The OmniClassTaxonomy.txt file installed with Revit is an older version of the table. The file installed with Revit needs to be replaced with the updated OmniClassTaxonomy.txt file which can be downloaded here.
Solution: Download the attached file and follow the procedure to update the file in the Revit installation.
Note: The AppData folder is a hidden folder, so you need to first enable the viewing of the hidden folders on your system before performing the procedure.
- Navigate to C:Users\AppDataRoamingAutodeskREVIT Example: “C:Users\AppDataRoamingAutodeskREVITAutodesk Revit 2015”.
- Rename existing “OmniClassTaxonomy.txt” to “OmniClassTaxonomy_bak.txt”.
- Copy the downloaded file to this location. Repeat this processfor each user on this local machine.
- In addition, copy the file to the following location. This step ensures that any new future users of this computer will get the updated file. C:ProgramDataAutodesk\UserDataCache Example: “C:ProgramDataAutodeskRVT 2015UserDataCache.
- Repeat process for each Revit product installed (RAC, RME, RST….) as needed.
Note: When using the updated OmniClass file, category sorting is not available. You must manually navigate to the correct category to assign an OmniClass number.
via
Update OmniClass Taxonomy File | Revit Products | Autodesk Knowledge Network
Heads-up from Eric Koehne via email


")

