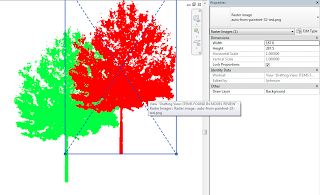
The Revit Kid demonstrated today that PNG files exported from a Revit render have no background.
In the spirit of one-up-man-ship, I recommend that you use TIF if you want to keep the background, but quickly separate it from the model elements. When you export as TIF, you get a bonus Alpha channel that you can use to create a selection area and move the background to a new layer.
In simple terms:
- Export Revit render as TIF
- Open in Photoshop
- Isolate the Alpha channel
- Use Magic Wand to pick everything that is ‘white’
- Turn the color channels back on
- Invert the Selection
- Convert the background to a true layer
- Edit – Cut
- New Layer
- Edit – Paste
- Done!
Now you can manipulate the model elements and the background separately.
Here is a video:
Of course, you can also do this easily by:
- Doing two separate renders,
- one of them with Model Elements turned off (which will just show the background) – Export this to any format except PNG
- and one of them with Model Elements on (export this to PNG)
- Copy and paste these two images to separate layers in Photoshop
The TIF method is probably quicker and easier in most instances.
Here is a link to the aforementioned PNG post:
The Revit Kid.com!: Revit Tip – Export Rendered Images Without a Background
