Many months ago I was sitting down having a coffee with one of the top sales reps for 3Dconnexion. He had a strictly confidential release to share with me… ‘a 3 button mouse!’ I was a little skeptical at first, but having received and tested a CadMouse, I can honestly say it is an incredibly high quality device that is smooth, powerful, and very pleasing to use.
Unboxing and Setup
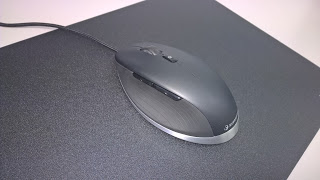
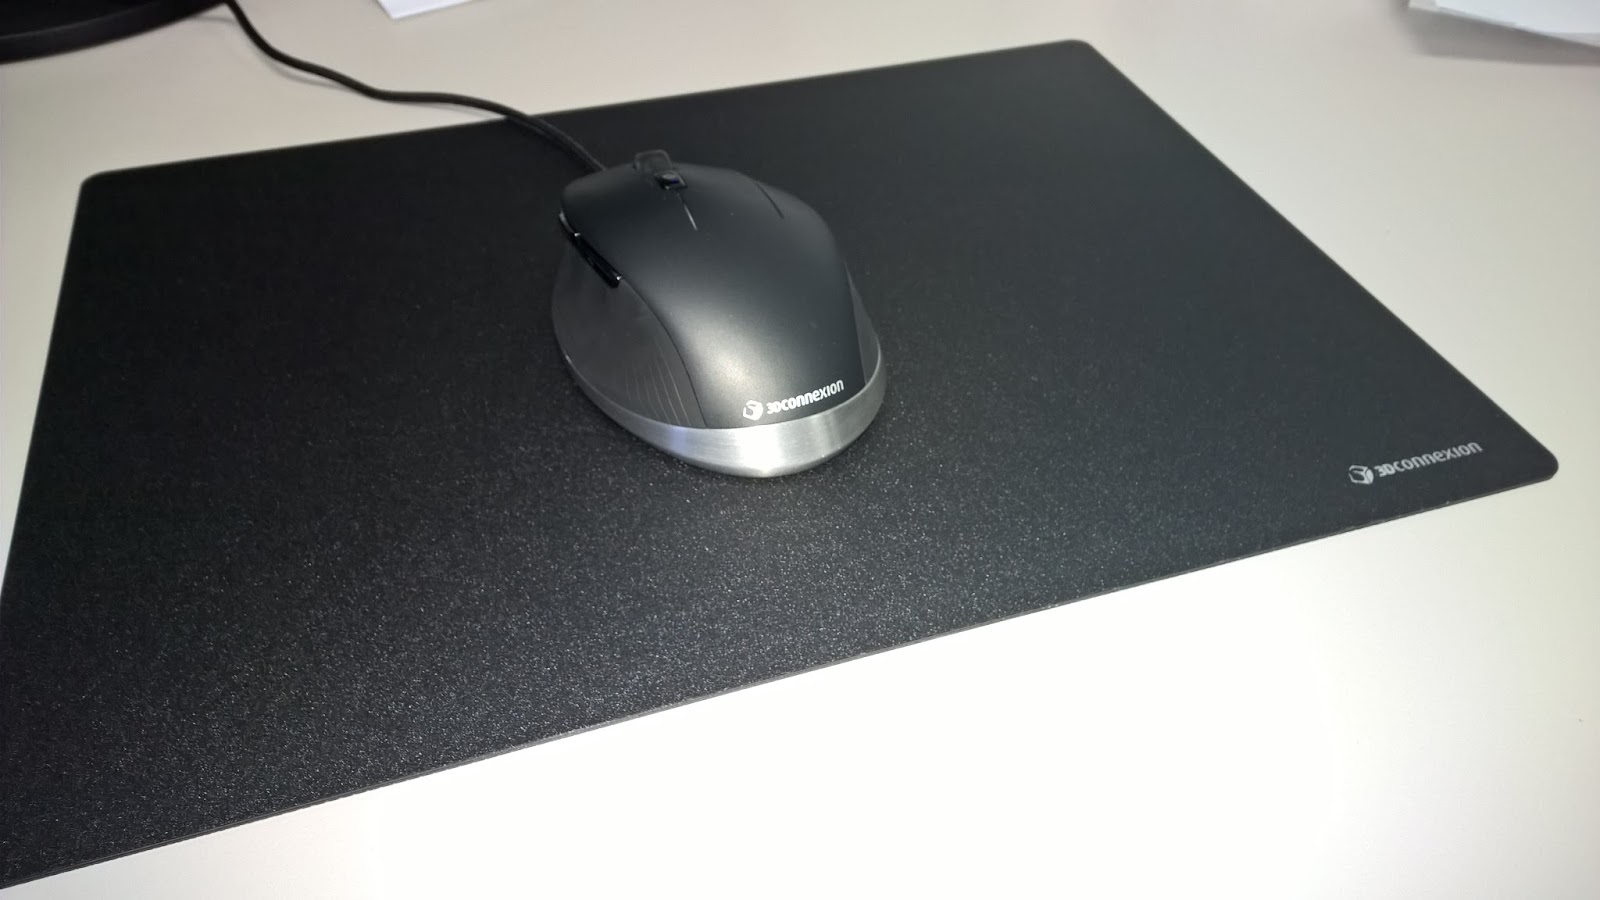
My initial impression on unboxing and viewing the device was that it looked amazing: smooth brushed aluminium base and generously sized.

When you pick up the CadMouse, it feels both sufficiently weighted and yet not overly heavy. I received mine with the CadMouse Pad: a very generously sized and high quality mouse pad that pairs perfectly with the CadMouse for precision work.
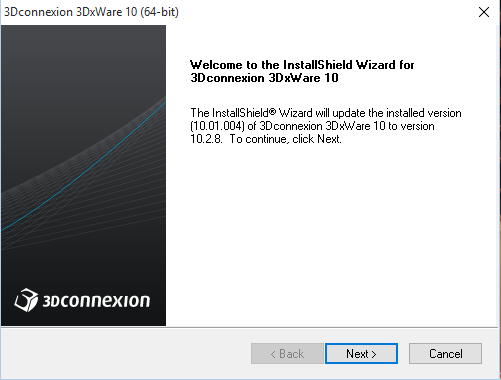
I expected that setup would be easy, and as it is a USB device it was simply plug-and-play to get started. As I was already a SpacePilot Pro user, I had 3dxWare installed, but I went ahead and downloaded 3dxWare 10 for Windows, version 10.2.8 from this page.**
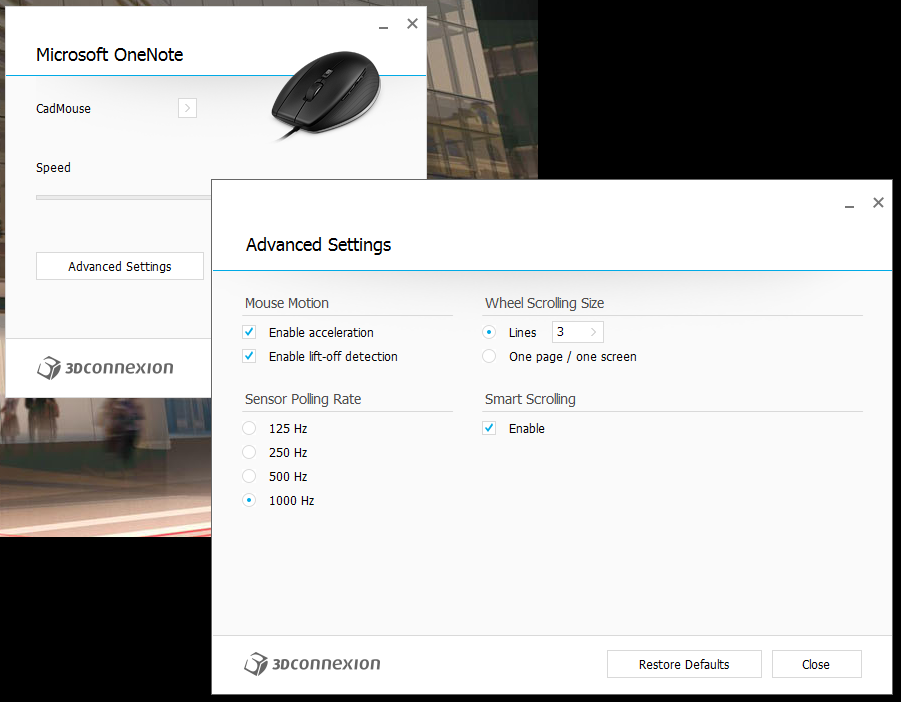
Then I checked out a few of the settings. The Advanced Settings allow a polling rate of 1000hz!
And the Buttons page reminds you just how many buttons and features the CadMouse has available:
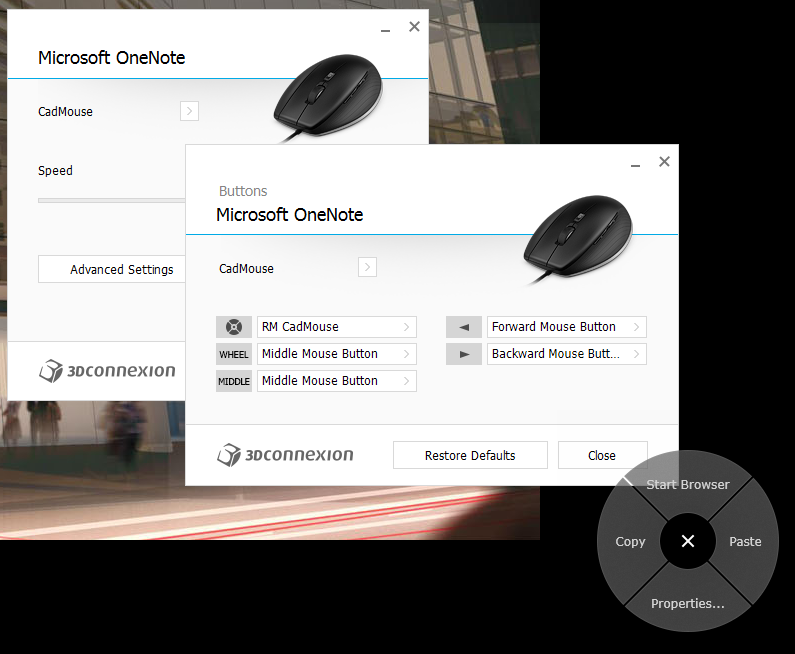
A few things to note here: the dedicated middle mouse button, and the wheel ‘click’, are actually separate buttons on the CadMouse, meaning you can apply different commands to these. Also, the small black circle is yet another button that (by default) calls up a Radial Menu: see bottom right of image above. I have written about Radial menus before, and I absolutely love them. Now, I can have Radial Menus on my left hand with the SpacePilot Pro, and on my right hand with the CadMouse. Custom BIM control scheme happiness!
A realisation…
How do you hold your mouse currently? I was a ‘fingertip user’, and I would use my middle finger to scroll the mouse wheel. However, I found it much more comfortable to do a palm-hold on the CadMouse, and rest my hand over the mouse. This allowed immediate access to the middle button and the right mouse button. My index finger would then use either the wheel or the left mouse button. It was definitely a significant ‘ergonomic shift’ for me, but in the end it is more comfortable, and ultimately I can click any feature on the mouse at any moment…
Also, this results in more movement being handled by your entire forearm, which puts less strain on your wrist. And it also starts to make sense why that mouse pad is so big 🙂
However, after speaking to a 3Dconnexion global rep, I decided to turn my mouse speed “UP” in the 3dxWare properties (but keep Windows mouse speed at the neutral position). This really helped me get on board with the ‘whole mouse in the hand’ idea.
Also, if you hold the whole mouse in your hand, you have easy access to the 3 main mouse buttons (left, middle and right). And, to use the Radial Menu button, just lift the tip of your middle finger and then the base of your middle finger can click that button. It sounds a little weird, but it does work.
Daily Use
The mouse is light and comfortable to use, and being wired it means that you never have to worry about running out of battery. There are plenty of buttons to customize, so you can really tweak the settings (including the Radial menu button) to maximize your productivity. Below I focus on BIM programs, but you can customize individual settings in Excel, your internet browser, Windows Explorer, whatever program you like. These settings are stored in an xml file that can be backed up, shared, and even directly edited if necessary.
In Revit
Using the CadMouse in Revit is a real pleasure. The high resolution makes navigation smooth (provided your system can keep up). However, the real benefit is that we can take Keyboard Shortcuts off the keyboard and put them into your hand.
Many of us are probably zooming around in our mouse on the right hand, and possibly smashing Revit keyboard shortcuts with the left. But with Radial Menus, you can map any keyboard command in Revit directly to the mouse. As we know, Revit has a pretty powerful shortcut mapping dialog, so we can map almost any Revit command to the CadMouse with this workflow 🙂
With the Radial Menu and Gestures, it simply takes one click to allow access to 4 different commands, and you just swipe in the direction that you want to trigger that command.
Some other Revit-related possibilities include mapping your basic UI toggle commands like the Properties Palette and Project Browser to the CadMouse. Then you can basically trigger a ‘clean screen’ mode in Revit that hides these panes, all thanks to the customization potential of the CadMouse.
In Navisworks
There are two main features that give the 3Dconnexion CadMouse a real edge in Navisworks:
- The Quick Zoom buttons
If you have set up Navisworks with a pretty fast frame rate, and Guarantee Frame Set in your Display options, the CadMouse Quick Zoom buttons are a really nice way to get in close on a feature in your model, and then step back out quickly. You literally just need to point your mouse at something, and then press Quick Zoom In once or twice to get in real close. Then click the Quick Zoom Out to step back to see the model in context.This Screencast is a quick demo of the feature:
- The Radial Menu button/s
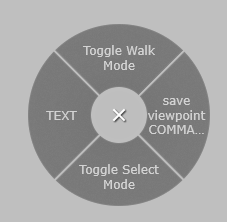
There are certain things in Navisworks that are not immediately easy to map to a single keyboard shortcut. However, you can record a multiple key press macro in the powerful 3dxWare software, and then map these macros straight onto your Radial Menu button on top of your mouse.Added to this is the fact that you can map multiple radial menus to various buttons on the CadMouse. For example, you can have one Radial Menu on the top button, one on the middle mouse button, and more if you want. I set up these two custom menus with custom commands for Navisworks:

For markups For navigation And here is a Screencast. Notice how I have enabled gestures and I don’t even need to click, I can just move the mouse in one of the cardinal directions and that command is activated:

Summary
3Dconnexion already had a powerful suite of 3D modelling hardware products. By adding the CadMouse to their lineup, and integrating all of these devices with the 3dxWare software suite, you can have absolute control over your navigation and mouse control schemes, and it is individually customizable to each program you work with!
The 3Dconnexion CadMouse itself is a high quality device, and it is a real pleasure to use. It reminds us why mice used to have 3 buttons, but it adds so much more. If you are someone who loves customizing your working environment to maximize your productivity, the CadMouse will enable a level of control you may not have had before. Overall, the CadMouse would make a great addition to anyone’s BIM hardware kit.
**Note: If you have any problems installing LCD software on Windows 10, you may need to uninstall Logitech Gaming Software to get the 3dxWare LCD driver to install (at least I did). You can also try Microsoft Fixit.
Some general notes and tips are included below:
The SpacePilot Pro and CadMouse in Revit
Invert your top 3 axis, and drag the CadMouse to drop the orbit point when navigating with the SPP.
Troubleshooting steps
To clean up and refresh your profile, you can:
…stop the driver (START>>3Dconnexion>>DRIVER>>STOP DRIVER), then browse to:
C:Users%username%AppDataLocal3Dconnexion3DxSmartUI.exe_****
This folder contains folder(s) which in turn contain files named: USER.CONFIG
…delete these folders while the driver is stopped, start the driver again, and then reconfigure your preferences.
Reinstall Steps
If you have any issues with the 3dxWare software, like if it doesn’t remember changes you make to specific profiles, you can reinstall using the steps in the FAQ here. I backed up my xml files first from:
C:UsersLuke JohnsonAppDataRoaming3Dconnexion3DxWareCfg
to a backup folder.
Profile Sharing
While we are talking about 3Dconnexion, I’d like to refer you to the forum where you can share custom XML mapping files for various programs, such as my Navisworks profile for the SpacePilot Pro here:
http://www.3dconnexion.com/forum/viewtopic.php?f=37&t=12120