Revizto is known for listening to its clients and responding rapidly. We received lots of feedback from Revizto customers who wanted to manage the Company, Department and Location of users. In the past, you had to manage users in Revizto with only one piece of metadata – User Tags. But now we have released an update to user management that adds these fields:
Company,
Department, and
Location
How do you use these features?
First, you should enable the new metadata fields. Here’s how:
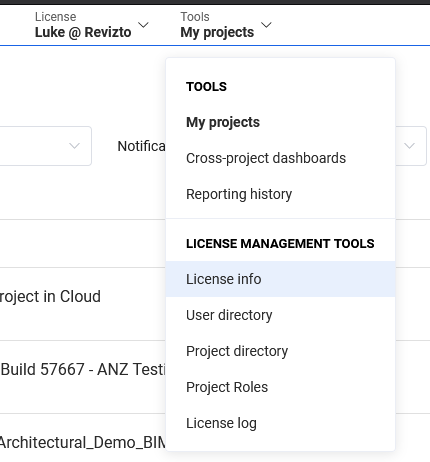
Select your License, then select ‘License info’ from the “Tools” drop down list
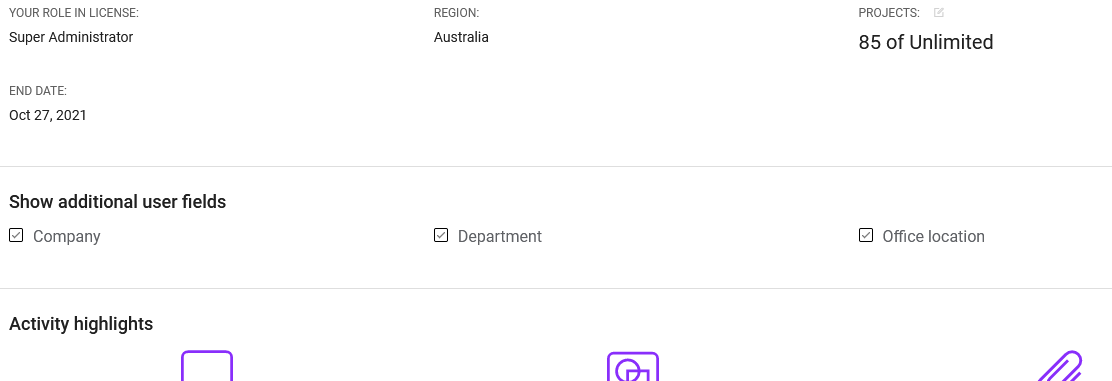
Then, tick ‘Company‘, ‘Department‘ and ‘Office location‘ in the “Show additional user fields” area:
Congratulations! You have enabled the additional fields.
Second, how do you set those fields? Here’s how:
Login to Revizto web workspace, and choose ‘User directory‘ from the “Tools” drop down list
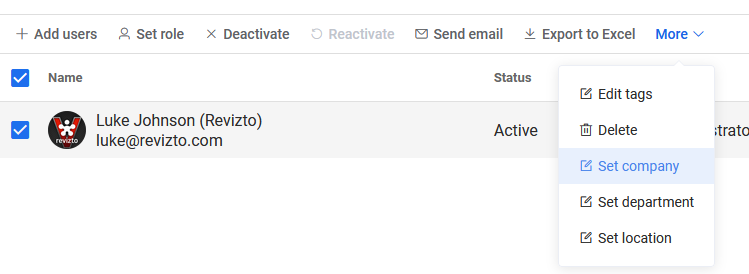
To set 1 field – tick the box on the left, then to Set Company, choose ‘Set company’ from the drop down list under “More”
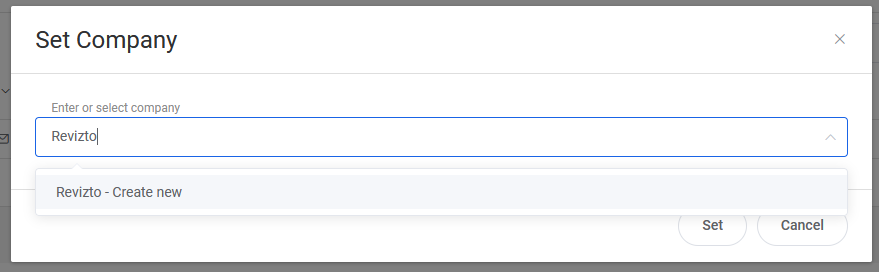
Type the Company name, click ‘Create new’ and then Set
To set fields in Batch or Multiple– filter the users first (you could use existing User Tags for this)
Use the top tick box to select all, then immediately use the Set company fields as described above:
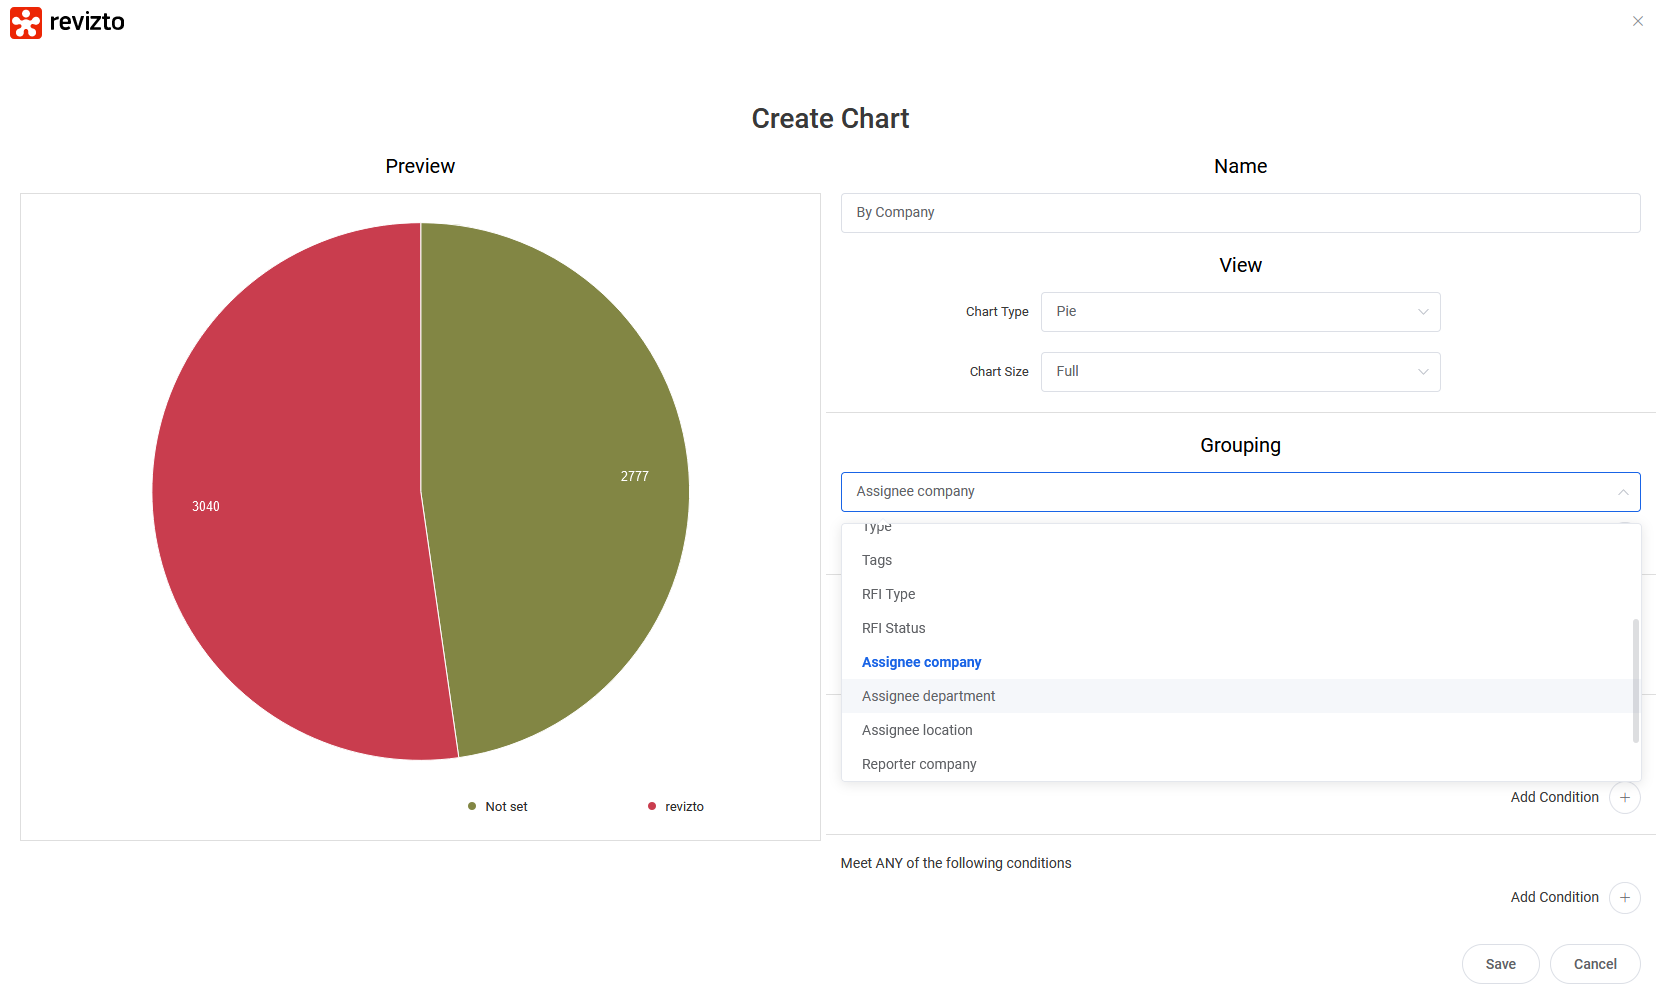
Third, how do you use those fields in Dashboards? Here’s how:
Login to the web workspace, then go to Tools – ‘Cross Project Dashboards‘
Make a new Dashboard and Chart
Within the new Chart, you can use the new Grouping fields – “Assignee company”, “Assignee department”, “Assignee location”. Those fields are also available for Reporters of issues.
Congratulations! You have now added fields, set data, and you can use that data in Dashboards
Fourth– when you export the User directory with “Export to Excel“, you will now see those additional fields as shown below:
Along with the above, you can now also batch import users from an Excel file. How?
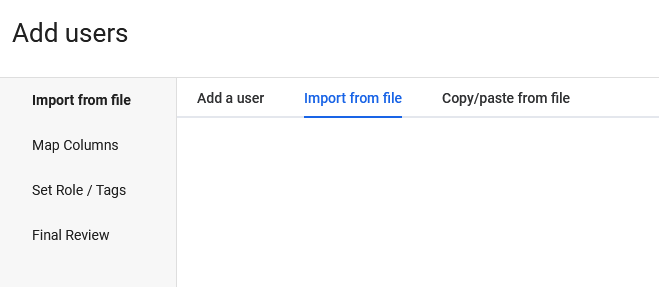
From the User directory, click + Add users
Then choose ‘Import from file‘ and follow the steps to import and map data to Revizto user fields
Here is a list of all the new features released this week in the web workspace in Revizto:
Additional fields for users with the ability to filter and group by them (company, department, location)
Ability to add users from excel files
Displaying action logs in a license for client admins (you can understand who added a specific person to a license or project, who changed rights, who removed a person from a license or project)
Adding the ability for a cumulative graph in statistics
Fix the creation of RFI
Translation of workspace into other languages
Full credit to the awesome web development team at Revizto for these useful enhancements and new features!
Also, we are currently running a closed beta of Revizto v5.0 with some of our Revizto power users – you might start to see some of the version 5 features coming out now on social media, so keep your eyes open for that 🙂


You can also use these fields to Filter Reports at the Project Level 🙂