Are your renders taking ages? Trying to output a big rendered walkthrough? No matter how fast your PC is, these things can take time. Why not enlist a few of the other computers in your office to help produce that high-resolution animation?
In pure Revit (without using 3D Studio), the solution is a little bit more crude. However, it does work.
Here are the basic steps:
Set up your walkthrough.
Save the Project or Save to Central.
Get your other computers running and open the same walkthrough on all of these PCs.
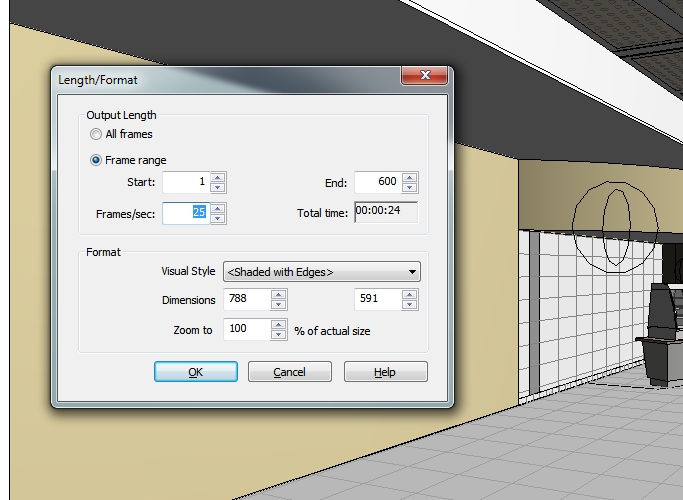
On PC#1 in Revit, go to Export – Animation – Walkthrough, and pick a set number of frames for that PC to output. For example, frames 1 to 600 out of 1800.
Make sure you choose BMP for the output, and when naming the file, just put in 1- (this will make sense later.
On PC#2, export frames 601 to 1200 to BMP. Name it 601-.
On PC#3, export frames 1201 to 1800 to BMP. Name it 1201-.
Using Advanced Renamer, rename all the files to suit the appropriate frames. (see associated post)
Put all the BMPs in one folder on the server or on one of the PCs.
Using Avisynth and VirtualDub, join the BMPs into an AVI. (see associated post)
Then, either use some video compression software, or do some post-processing.
There you go, you have successfully done some distributed or parallel rendering in Revit!


Nice one!
Nice one!u are a guru men!