Revit 2015 has brilliant IFC Link capability – it is fast and accurate, and it even brings in colours for most IFC elements. We can leverage this to quickly create RVT files from IFCs, and then downgrade to other Revit versions if necessary. Here’s how:
- Select or create an appropriate Revit IFC template (RTE file) that is clean and has only two phases
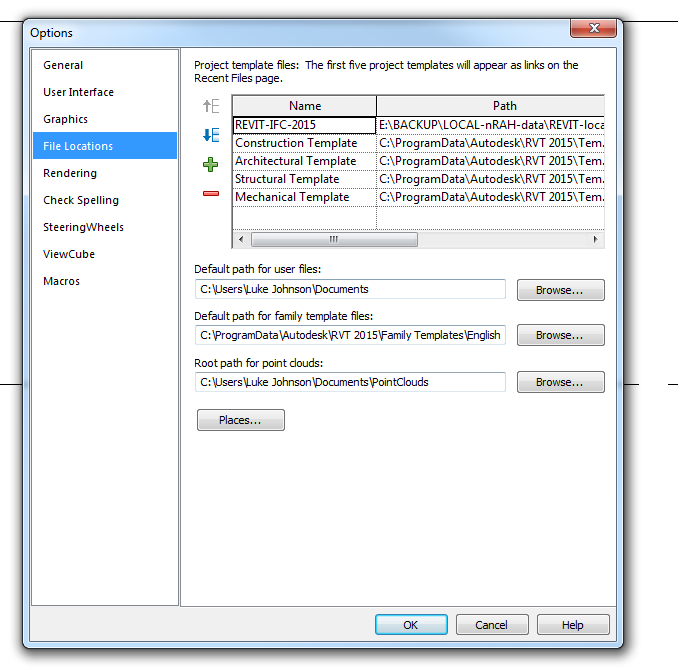
- Set it at the top of the Template list in Revit 2015 Options – this is the template that will be used when Linking an IFC file. Interestingly, Revit will ignore the IFC Import template dialog setting when Linking.
- Link an IFC file into an open project.
- Locate the cache version RVT file that Revit created in the same folder as the linked IFC
- Copy that RVT somewhere else so you can modify it freely
- Open the RVT that Revit created while linking the IFC
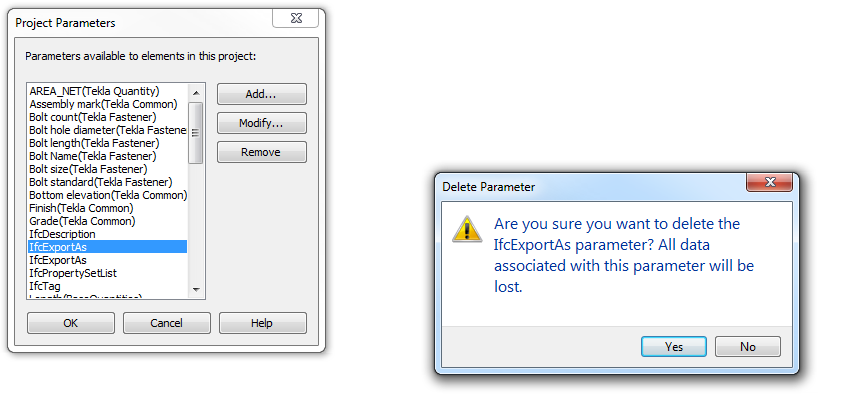
- Important: Delete the IfcExportAs Project Parameters (there might be more than one). If you don’t, it can cause headaches when exporting.
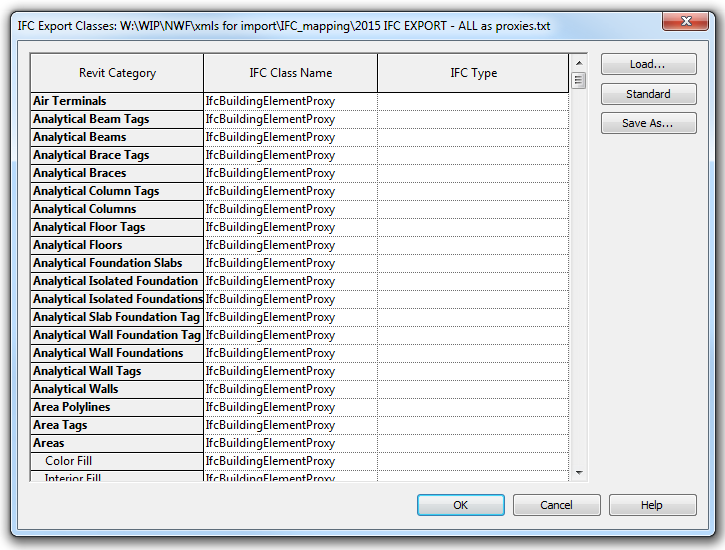
- Use this IFC Export Classes text file for Revit 2015 which pushes everything into IfcBuildingElementProxy. The reason for this is that we want 100% geometry fidelity, but we are not concerned with editability.
- When exporting from Revit 2015, choose IFC 2×3 Coordination View 2.0
- Import back into a previous version of Revit (keep in mind points above about IFC import templates). The resulting elements will all be in-place Generic Models, with an Import Symbol inside. The file size will likely be pretty big, like 6 times the size of the original IFC.
This method should result in 100% item count fidelity. For my test IFC file:
Tekla BIMsight
2772 model items
Revit 2015
2772 model items
Navisworks 2015
2772 model items
Revit 2013
2772 model items
It is obviously not the way to go if you want maximum editability. But if you want maximum fidelity of geometry and reasonable import of IFC colours, this could be an option.
Update:
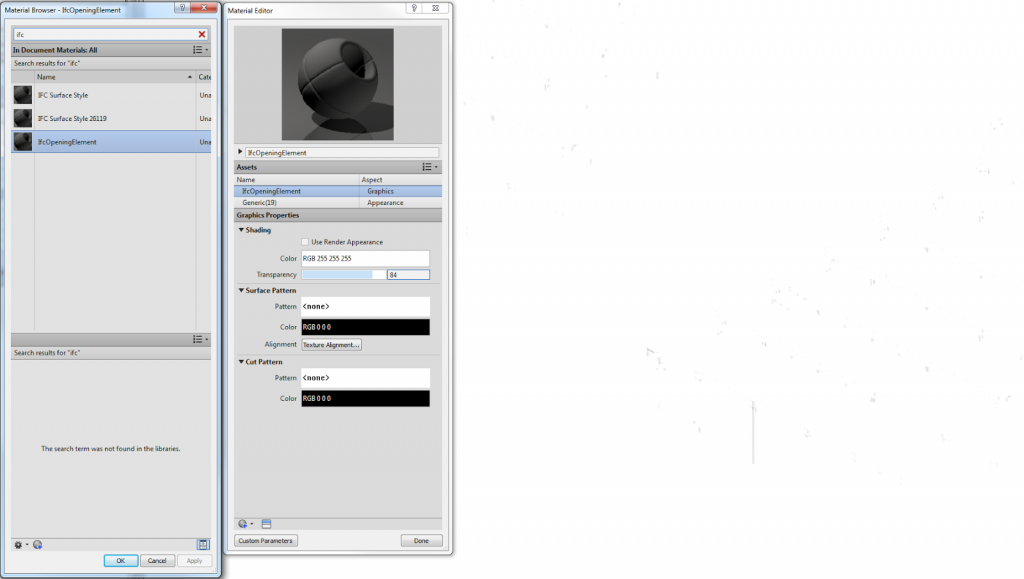
Use this IFC import mapping to get most objects onto Structural Framing category when importing to Revit 2013. Also, when trying to delete orange voids in Revit 2013, you can use a View Filter based on the Reference parameter to hide everything that is not a void. Additionally, the IfcOpeningElement material transparency can be modified to “check” that no other objects are going to be deleted that are actual real model geometry. Screenshots below:
Update 2:
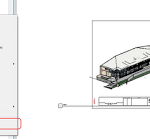
Be very wary of purging. It seems in later updates of Revit 2015 that purging these IFC cache files can be destructive and result in deleted geometry – something that purge should never really do. Here is a demonstration of the issue:




Can you explane steps number 1,3 & 4 ?
What do you mean two phases ? cache version RVT file that Revit ?
No, two phases as in only Existing and New Construction.
After you link an IFC, Revit creates an .ifc.rvt file – that is the 'cache version'.