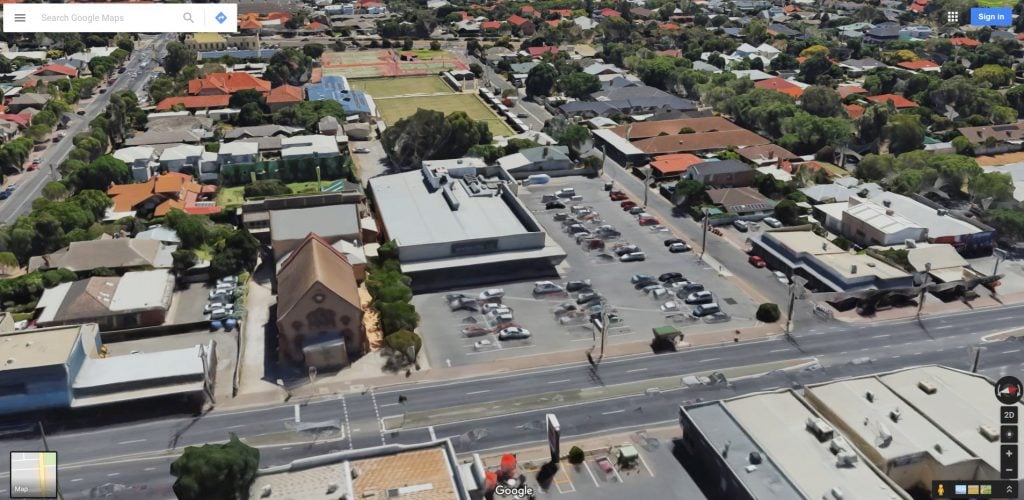
Aerial imagery and 3D models are extremely powerful visual tools. Often, these are used primarily in early design and master planning. Some software tools connect directly to aerial imagery and 3D data providers. Unfortunately, Google has not really opened up the connection to their base 3D data. But we can capture imagery from it, and then rebuild in another photo-to-mesh tool, like Recap Photo. Keep in mind that you will be creating a 3D mesh, from an isometric 3D world view, which was created only from aerial images. Basically, your output will vary, and will probably not be high quality. But for the intended use in early design and master planning, the below workflow may be useful…
Note: Please investigate the license and copyright of this data for such use.
Here’s how:
- Open your desired 3D isometric aerial imagery in desired application (such as Google Earth, Google Maps or similar)

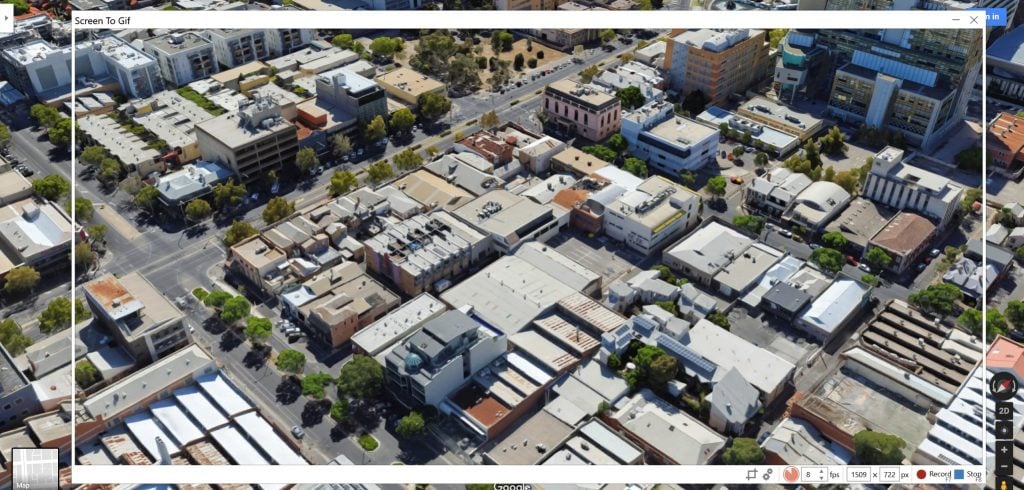
*Note: User to be aware of relevant copyright restrictions - Open ScreenToGif (downloads here). This is used to create snapshot images of the screen very quickly.
- Setup the scene, so that you have the ScreenToGif window appropriately overlaid onto your actual imagery

- Start recording, and slowly orbit at least 360 degrees as shown
here
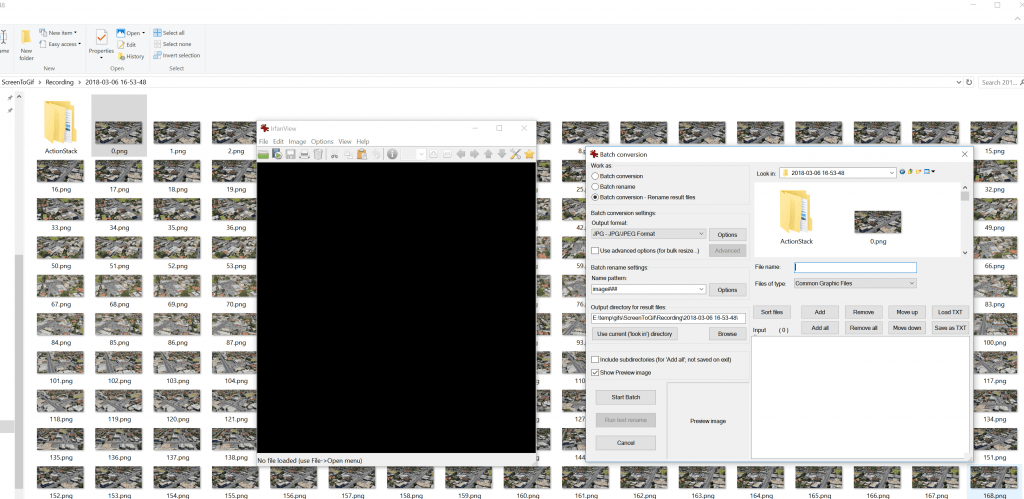
- In ScreenToGif, open the image folder

- Convert the images from PNG to JPG (I used Irfanview Batch Convert)
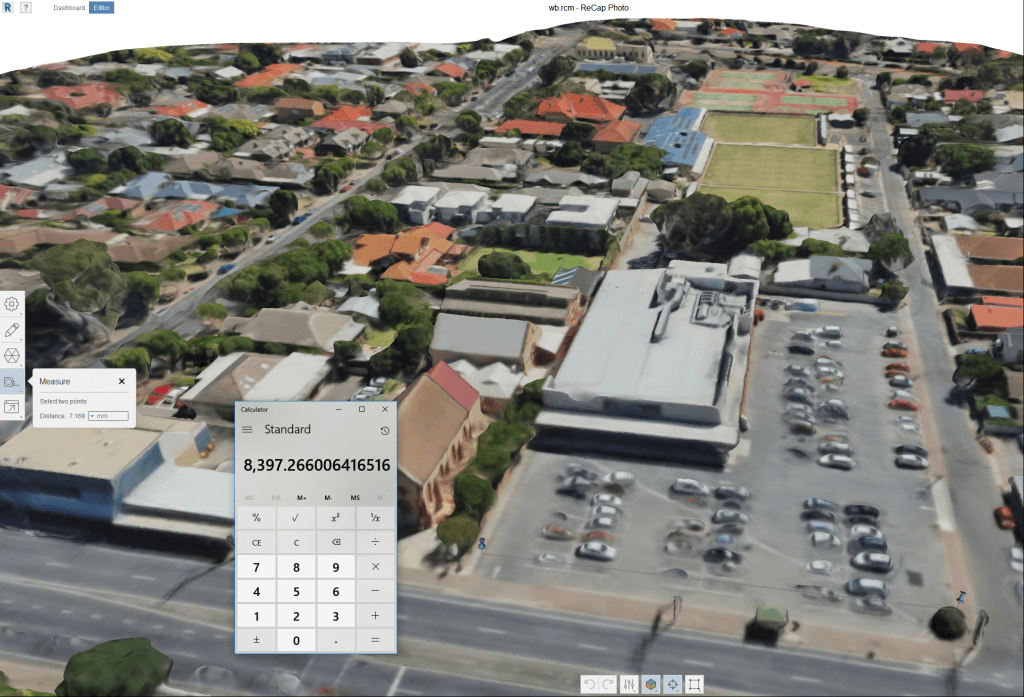
- Load into Recap Photo, make new Object project, spend 12 cloud credits and start the mesh creation
- After meshing, in Recap use the measurement scale tool to scale the model based on the distance between two known points
- Export the 3D Model from Recap. Various formats are available. In this case, I exported directly to FBX with Y-Up and imported straight to Revizto. You could also import FBX to AutoCAD and then to Revit, or you could bring it into Meshmixer first to delete some parts of the model via OBJ.
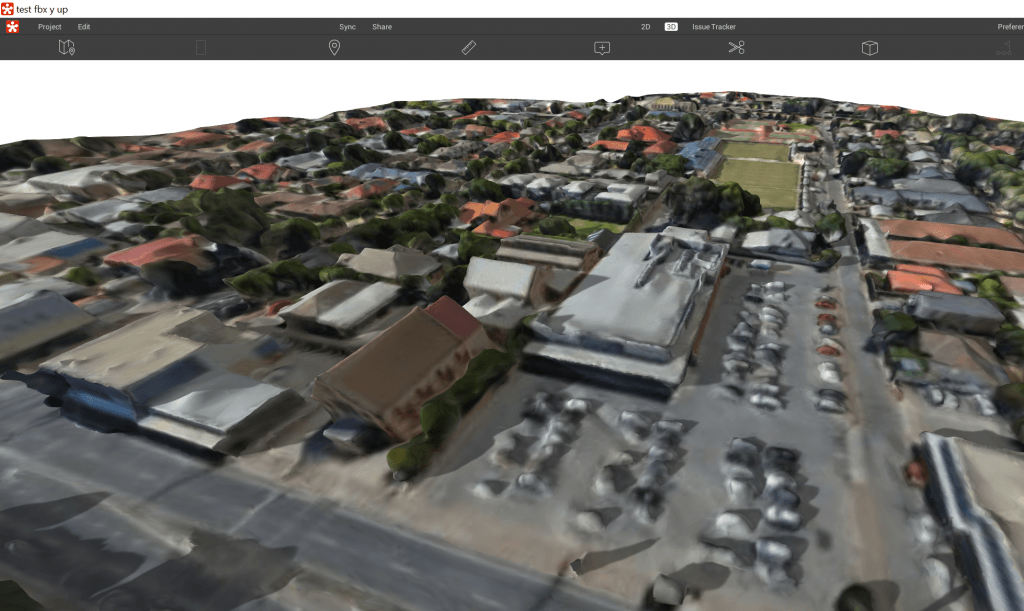
In Revizto, the direct FBX import looks like this:
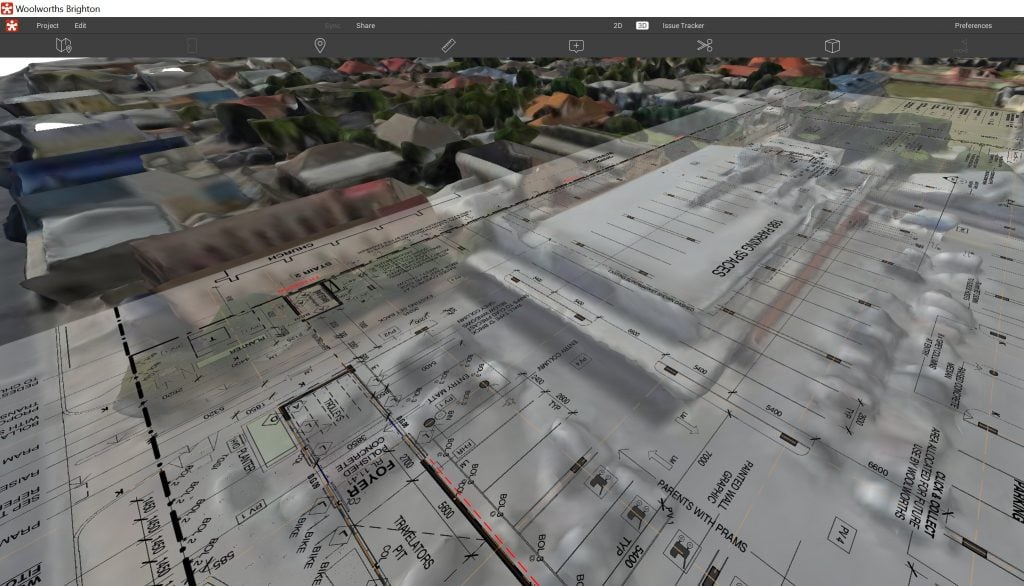
Sheet overlay in Revizto. Simply with a PDF and some freely available aerial imagery, we now have a 3D collaboration workspace ready to go:
