I have previously discussed going from Navisworks to Revit using FBX – 3dsMax – SAT. However, maybe we can do this without 3dsMax. Did you know that vanilla AutoCAD has a FBXIMPORT command?
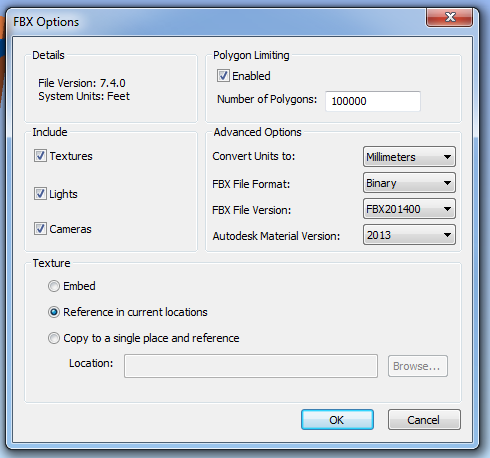
1) Export FBX from Navisworks – it will ignore Section clipping planes, but it will respect the Hide/Required setting of the view. You can limit polygons (advised for big models)
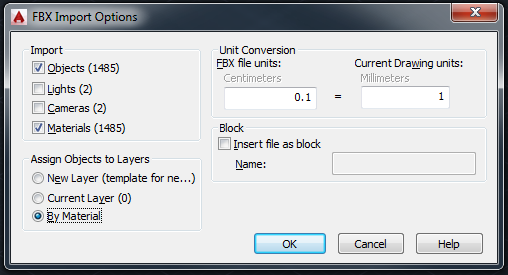
2) FBXIMPORT in AutoCAD – untick Cameras and Block options as they can be problematic.
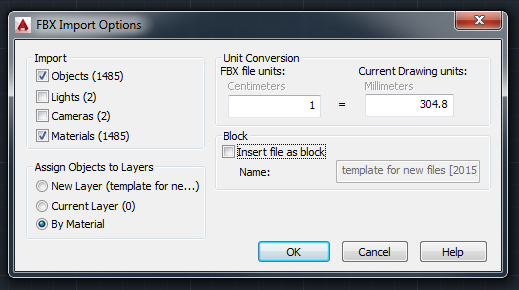
Then save DWG. (Note – see below for correct 1:304.8 import scale)
EDIT: If using Navisworks 2015 FBX export to version 2014, with Advanced Options units set to millimeters, you can import to AutoCAD 2015 with 1:1 scale factor (using latest service packs)
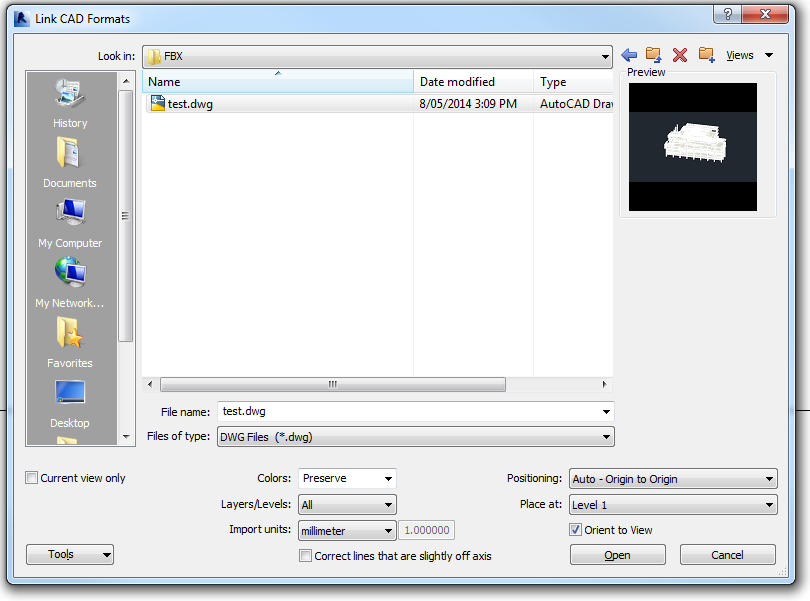
3) Open Revit and Link in the DWG.
For this example, I used Origin to Origin as I wanted to try round-tripping back to Navisworks.
Once I exported the NWC and put it back into Revit, I noticed the file was out of scale. Now, I experimented with a few different scale settings, but everytime it was a scale of about 30 or 300 wrong. 1 foot = exactly 304.8 mm. Evidently, the “internal” units of an FBX are feet. So, when we import to AutoCAD we need to use this setting to translate to mm:
This time, when I exported the Revit view to a NWC, and then appended it back to Navisworks – it can came back in exactly the right place. This workflow relies on using the internal Revit Zero point and Origin to Origin linking.
There you go – now you can roundtrip any mesh geometry from Navisworks to AutoCAD to Revit and back to Navisworks 🙂


