How to use:
- Install the update to AutoCAD 2016
- Open a DWG file
- CMATTACH
- Choose NWC or NWD to Attach (this lets you view the Navisworks file in your AutoCAD drawing).
- Untick Insertion point (so it uses 0,0,0) and tick Show current drawing geometry…
- Switch your VISUALSTYLE to Realistic
- Confirm CMOSNAP is set to 1
- Try using measure or make a dimension
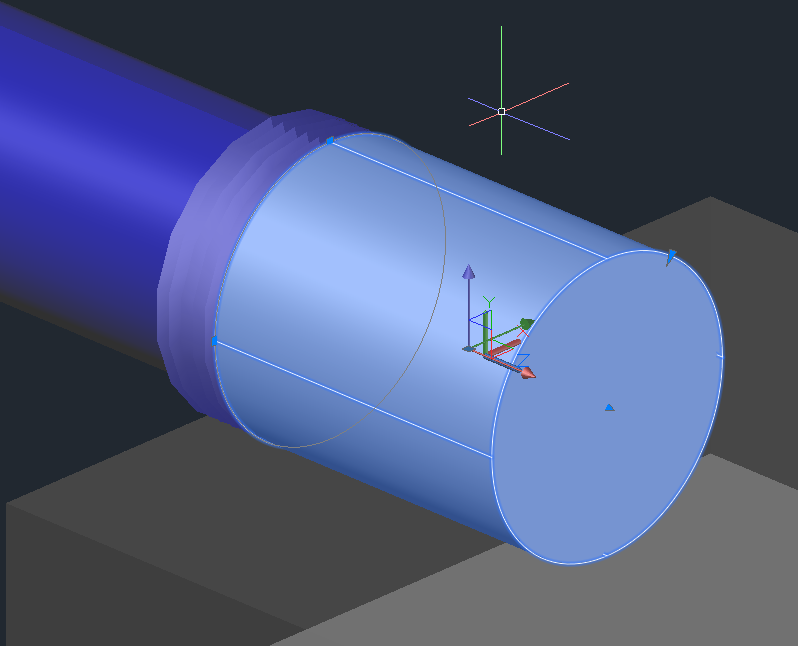
- Try modelling – you can snap to geometry in the attached NWD / NWC file. One of the easiest things to draw is a 3DPOLY (3d polyline). It will snap freely to vertexes in your model.
- You may have to do a ‘refresher’ course on UCS in AutoCAD, but one easy way to quickly start modelling is switch to a view using ViewCube (such as Right), then type UCS, then type V for View. You can now model on the plane of these view to make new AutoCAD geometry.

Info:
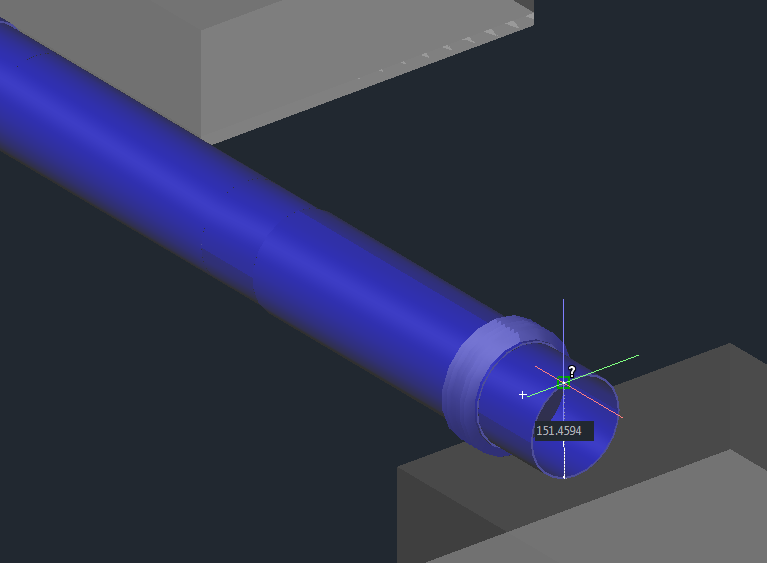
This Feature Update provides a way to specify precise locations on an attached coordination model using the standard 2D endpoint and center object snaps. If Endpoint or Center are set as running object snaps, a marker and a tooltip display when you move the cursor over these locations on an attached coordination model.
You can also use these object snaps any time you are prompted for a location and you want to specify a precise location on an attached coordination model. Hold down Shift and right-click in the drawing area to display the Object Snap shortcut menu. Select Endpoint or Center to snap to precise locations on the attached coordination model.
The following system variable has been added.
CMOSNAP (System Variable)
Controls object snapping for coordination models.
Type: Integer
Saved in: Registry
Initial value: 1
0 – Object snapping is disabled for geometry in all coordination model attachments in the drawing.
1 – Object snapping is enabled for geometry in all coordination model attachments in the drawing.
Direct link:
http://download.autodesk.com/SWDLDDLM/Updates/AutoCAD/2016/AutoCAD_2016_CM_Osnap_Support_x64.exe