First, let’s manage some expectations – Aconex is generally viewed as a closed platform. They seem to deliberately resist platform-level integration with other tools like BIM 360 and Revizto. However, you can achieve the promise in the title of this post – with a bit of work!
The basic steps are:
- Setup a sync between the Aconex Doc Register and Autodesk Docs (BIM 360 Document Management), using the Aconex PIF and Autodesk APIs
- Connect the BIM 360 project to the Revizto project and connect your BIM 360 ‘official Aconex’ PDFs to Revizto 2D Sheets.
Step 1 – Aconex Document Register sync with BIM 360 Document Management
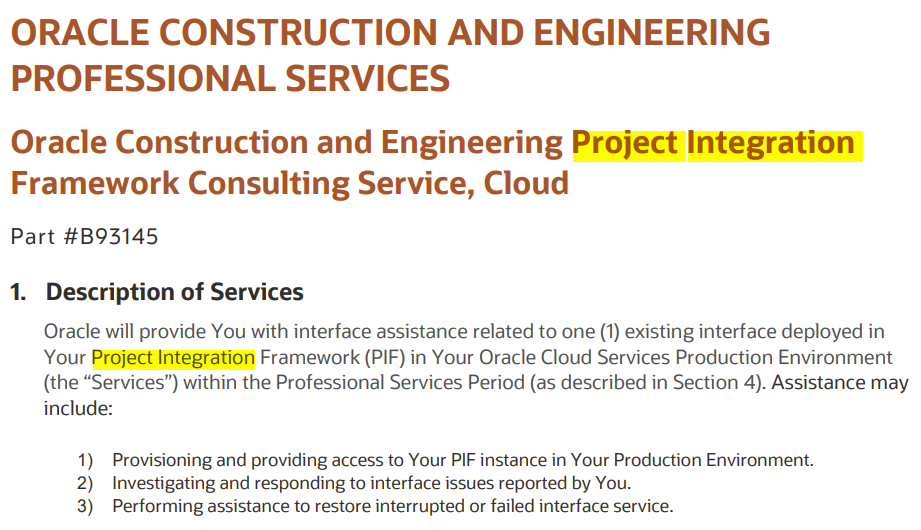
Aconex provides a PIF (Project Integration Framework). This essentially acts as an API, and clients are able to build integrations between Aconex and other tools using their own budget.
As part of my strategic consultancy work as a Director at Virtual Built Technology, I have assisted clients in setting up the Aconex to BIM 360 sync. This will require considerable time, effort, $$ and planning. Although the scope is basically the same for every Aconex client that wants this, it seems individual Aconex clients will be charged significantly for this development to occur and operate on their ‘own’ PIF.
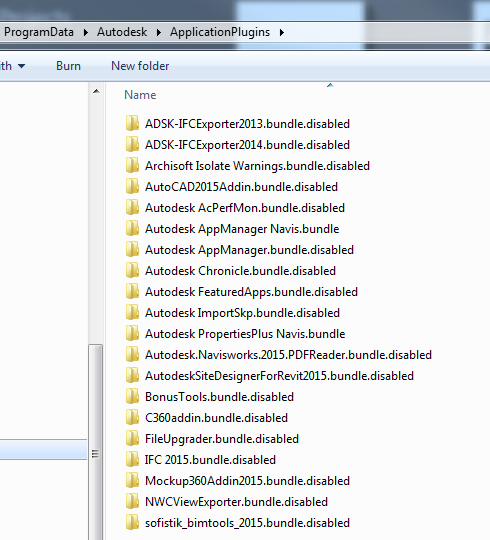
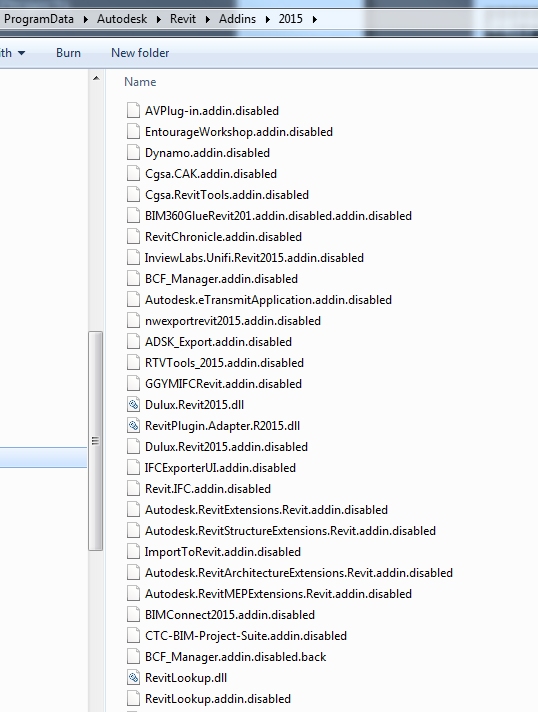
Once complete, you will begin to see PDFs arriving in Autodesk Docs from Aconex on a daily / nightly basis. Depending on how you have briefed the Aconex development consultants, you may end up with some interesting PDF file naming in the BIM 360 environment – so how can we deal with that?
Step 2a – BIM 360 Preparation Script for Merging Filenames to a single Folder
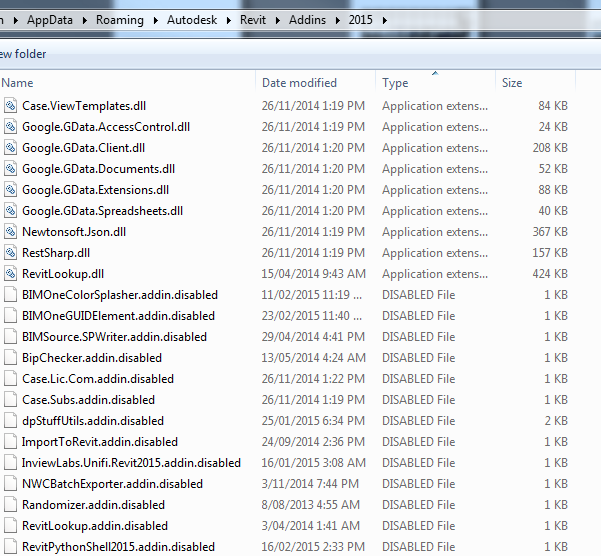
Let’s say you have your Aconex-to-BIM360 sync running, and you have PDFs arriving in 360 into “Discipline” folders like Architectural, Structural and so on. Not bad! But what if your PDFs are named like this:
-
SheetNumberX_Rev_1.pdf
-
SheetNumberX_Rev_2.pdf
-
SheetNumberY_Rev_1.pdf
-
etc
When thinking about downstream applications like Revizto, this is really sub-optimal. Why? Because a Revizto 2D sheet will want to connect directly to a SINGLE BIM 360 PDF document with Versions – not to a mangled set of ‘revision suffixed’ pdfs like the above. So we need to clean this up! And it needs to be repeatable and automated…
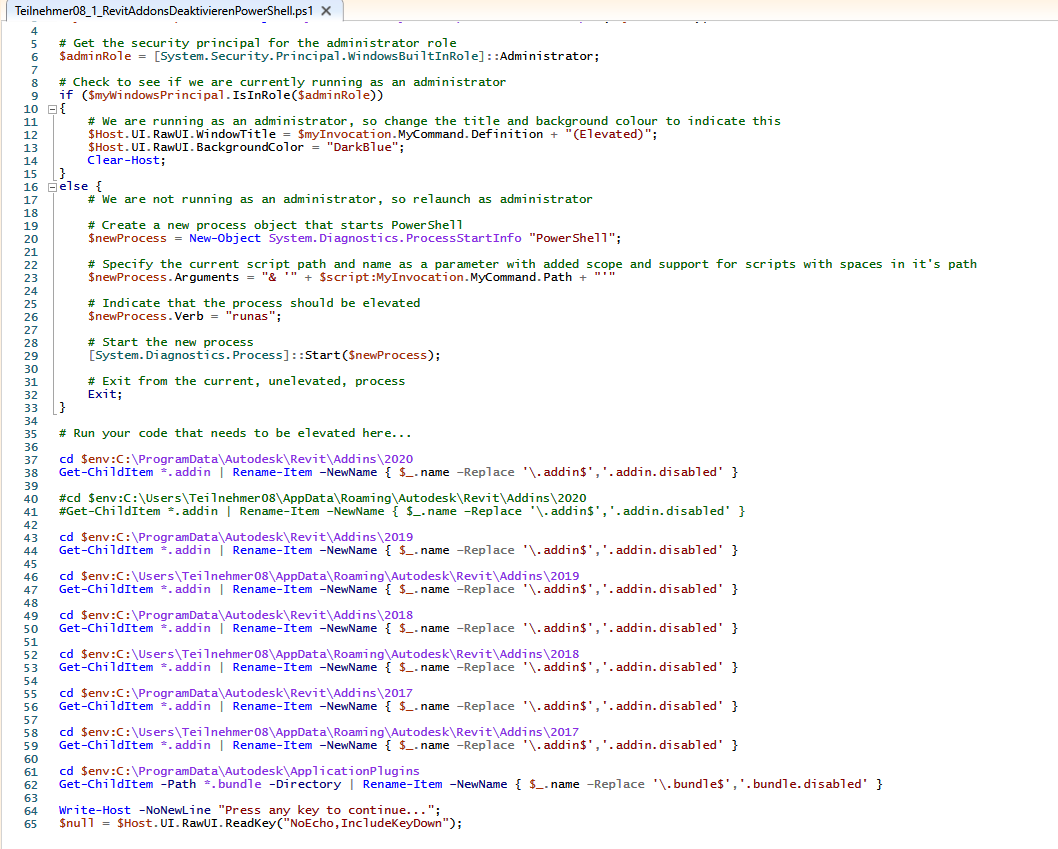
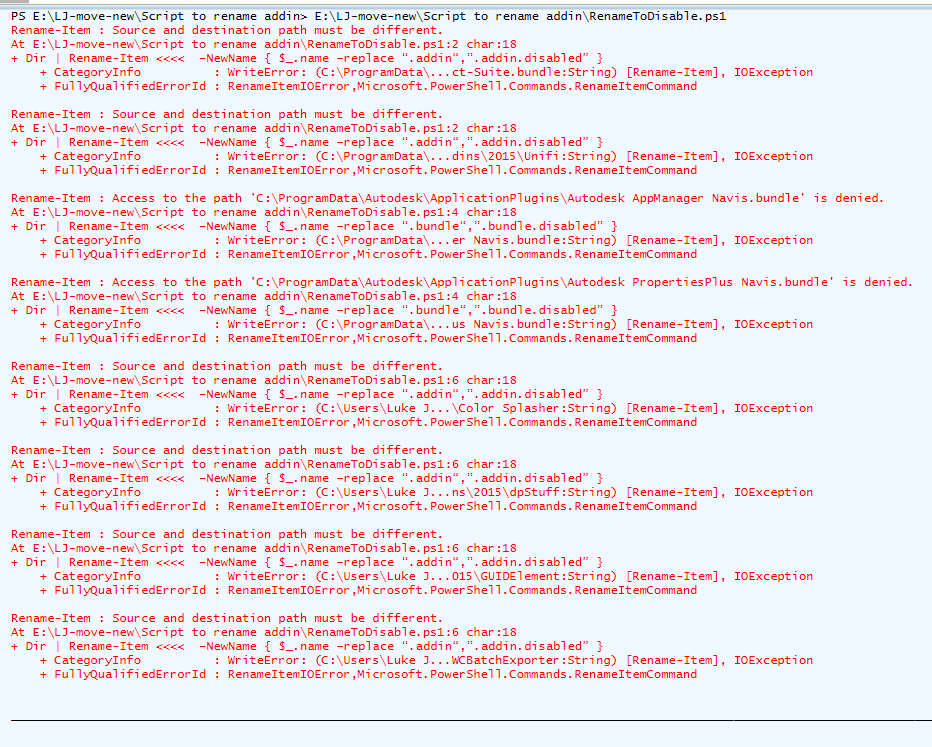
For this, I have created a PowerShell script. Here is a description of the logic in the script:
- it takes a list of BIM 360 Docs folder paths (the local folder path from Windows Explorer address bar), these are ‘monitored folders’
- those folders need to be ‘synced’ prior to the script running (I’m still looking for a way to call the Autodesk Desktop Connector sync from a Powershell script, for now you have to right-click in Windows Explorer first)
- it will process the folder list and:
- create a subdirectory called “Current”
- create a logfile in that subdirectory called deepSpaceSync.log
- split the filenames at the _REV_ part
- process each available Revision number individually in a loop (to ensure Aconex revisions are stored sequentially into BIM 360 versions)
- check if the file was already copied – and skip it (using existence of that filename in the log folder)
- or, copy the file to the “Current” subfolder
- Sleep 5 minutes between each loop to allow Autodesk Desktop Connector sync to catch up.
So this script essentially merges the messy “REV” filenames into a nice clean SheetNumber.pdf filename structure AND actually creates BIM 360 file versions in the cloud (due to the sleep functionality).
We have released this script as a publicly available Deep Space Automation at this link.

Step 2b – Revizto 2D Sheet to BIM 360 PDF Connection
Now that we have a nicely named, version-rich PDF on BIM 360 Docs, its time to connect that up to Revizto.
Firstly – you should always publish 2D sheets from Revit BEFORE setting up the Docs connection if possible, as this is the only way to get the automated viewport overlays (Note – you can export with “Sheet coordinates only” option in Revizto Sheet Exporter from Revit).
Secondly – you then
- open Revizto
- ensure you have connected Docs to the right BIM 360 hub in Revizto
- browse to the “Current” folder for a specific disciplines PDFs
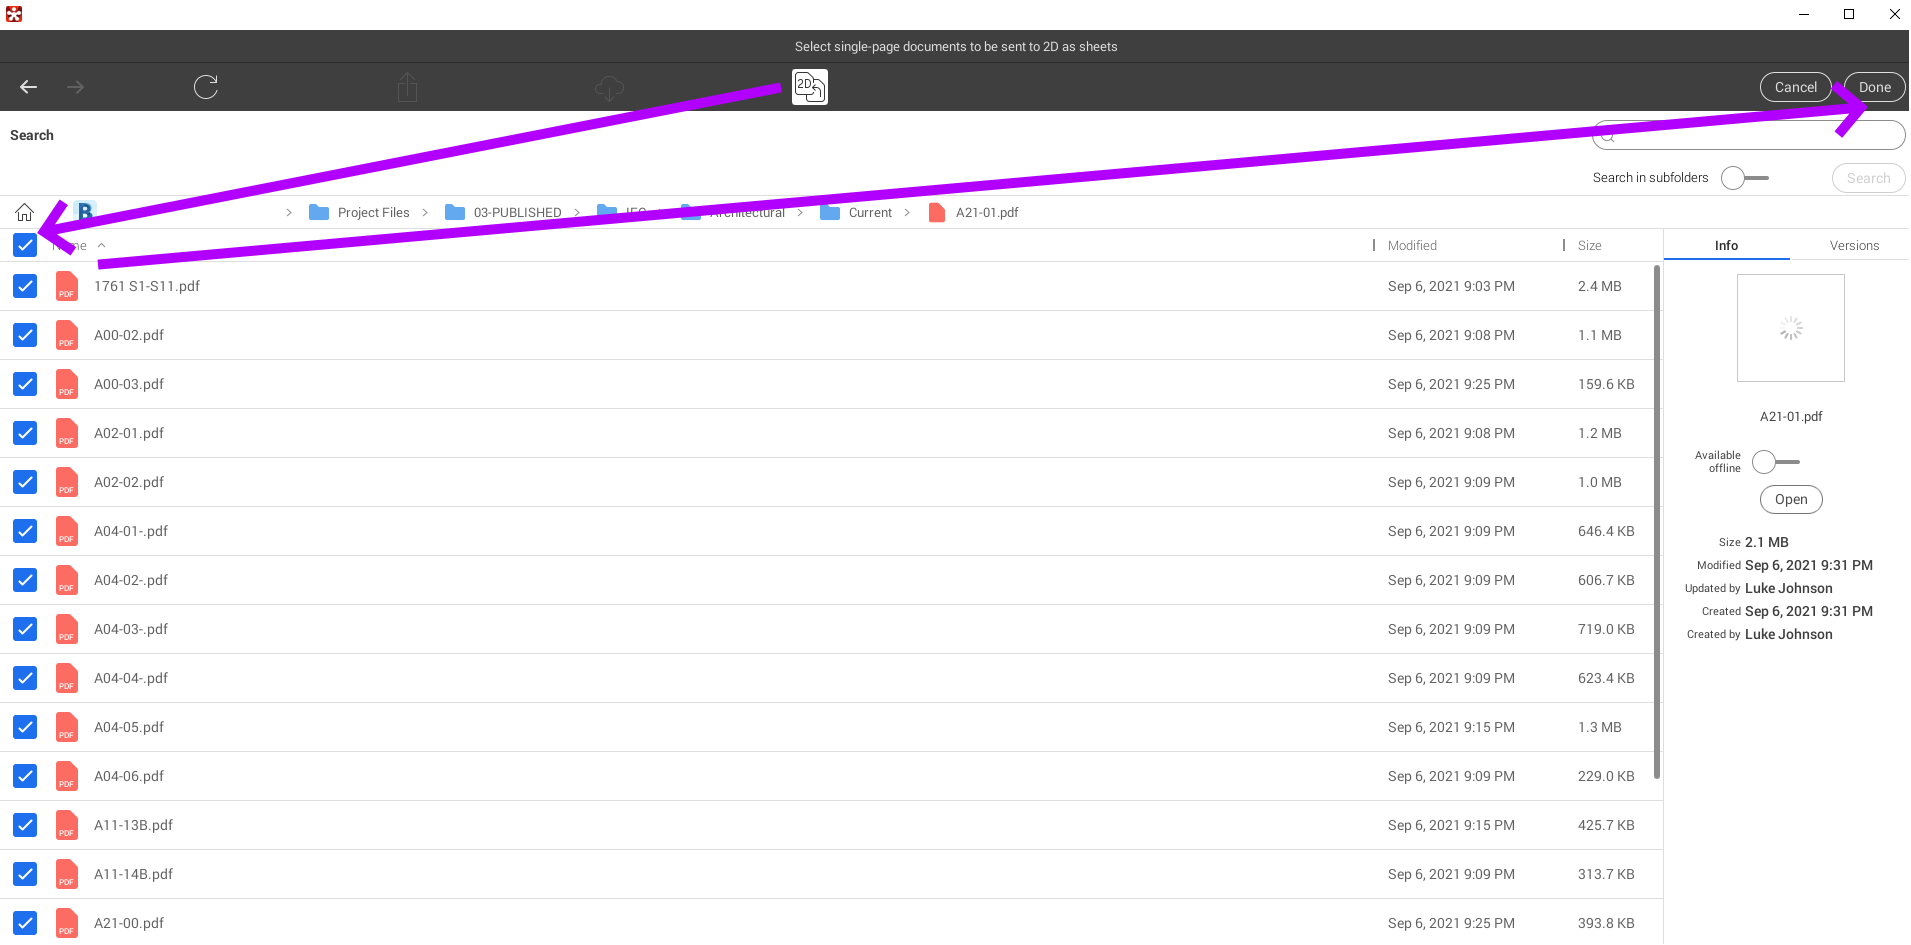
- click “Send to 2D”
- select all and Done

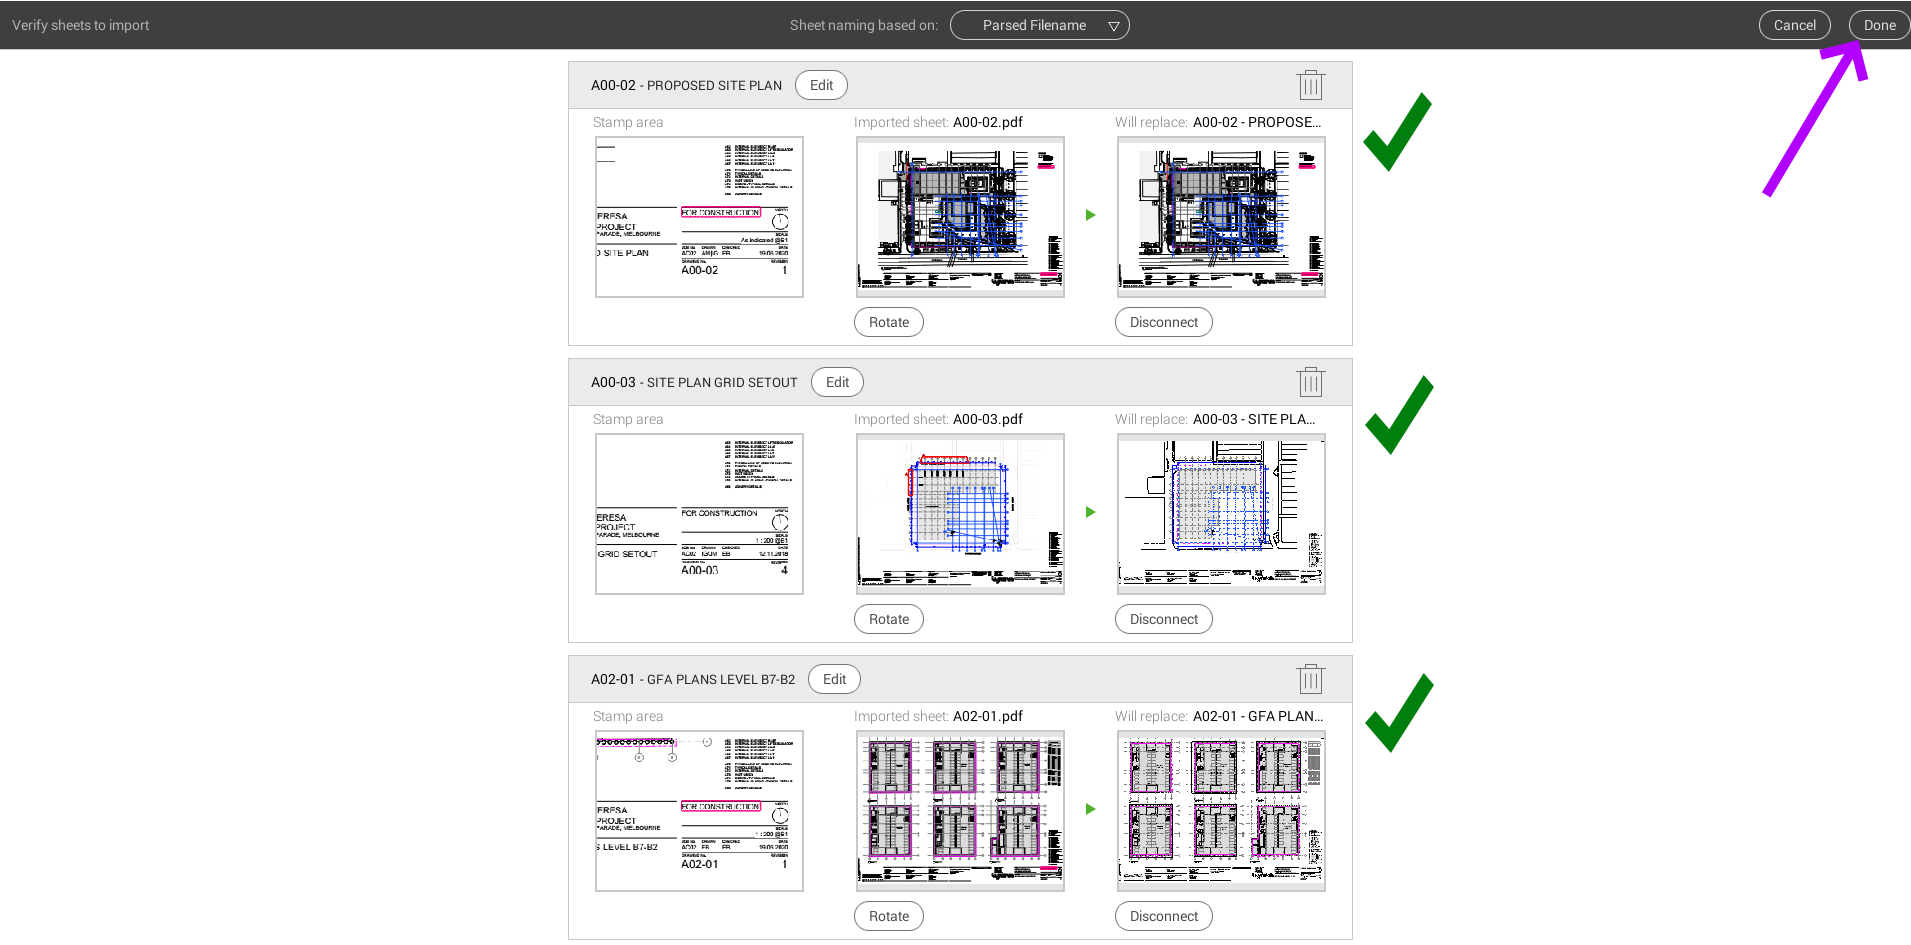
Connecting Docs to Revizto 2D Sheets - then review that the correct sheets are going to be replaced and connected to the BIM360 PDF
Final steps
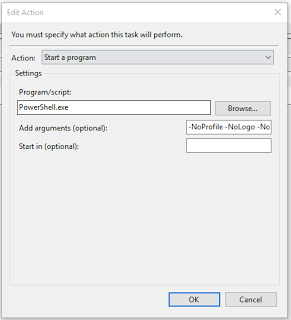
Once your PDFs are flowing well between platforms, you may want to automate further. For example, the PowerShell script provided above could be set to run as a Windows Task. You would want it to run as soon as possible after the Aconex scheduled sync to BIM 360. As always, you should monitor your inputs and outputs for any problems or gremlins.
Done! You now have official documents from Aconex flowing regularly into Revizto via BIM 360. This means your site teams using Revizto on the iPad can now be accessing the official For Construction PDF Drawings (synced from Aconex Doc Register) while in the Field!