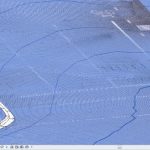
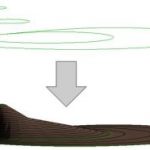
You have a scanned image of a Contour Plan, and you want to convert that raster image into useful vector data. How do you go about it?
In the past, I would have used vanilla AutoCAD to trace the contours to polylines, then I might ‘spline’ them, then convert back to polylines (using a LISP tool), set all the elevations properly, and then import to Revit, then Create from Import to make the Topography. Fun!
However, this week I have fallen in love with a new tool. Its called AutoCAD Raster Design. I’ll admit – it’s not perfect. But it is smart, and it makes the process much more bearable. Just follow these steps:
- Download the AutoCAD Raster Design trial from here
- You need vanilla AutoCAD installed already…
- Install AutoCAD Raster Design
- Scan your image using scanning software. Save as pretty much any format, such as a JPG.
- Open Raster Design.
- Click ‘Insert Image…’
- Just do Quick Insert to get your image in quickly.
- Now use the Histogram tool from the Raster – Image Processing menu. Try and get a lot of ‘contrast’ into your image.
- Use the ‘Change Color Depth’ tool from the Raster – Image Processing menu. Reduce to Grayscale and then Bitonal. You really need to get the image into a ‘Bitonal’ form to make use of the vectorization tools.
- Use the Despeckle tool from the Raster – Cleanup menu to get rid of little dots…
- Now that you have a nice clean Bitonal Image, go to the Raster – Vectorization tools menu and choose ‘Contour Follower’. This tool is pretty self explanatory – just follow the command prompts and experiment with the options on the command line.
- You may need to tweak the ‘Options’ under the Raster menu – Options. On the Raster Entity Detection tab, tweak these settings to suit your image. Also under the VTools Follower tab, tweak these settings to suit your Elevation Interval…
- Finally, you will want to turn on Raster Snap under the Raster menu. This will snap to the Bitonal image elements quite nicely.
Once you have traced all your contours and set proper elevations, save the DWG. You will be prompted to also save the image…
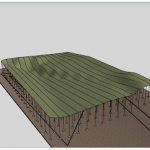
Now import your DWG into Revit and use it to make your Topography.
Obviously, what Revit wants is for you to use accurate data at all times – so if you can get access to a proper DWG of the Contour Plan, do that! In the meantime, you can use the abovementioned process to get the project under way…
