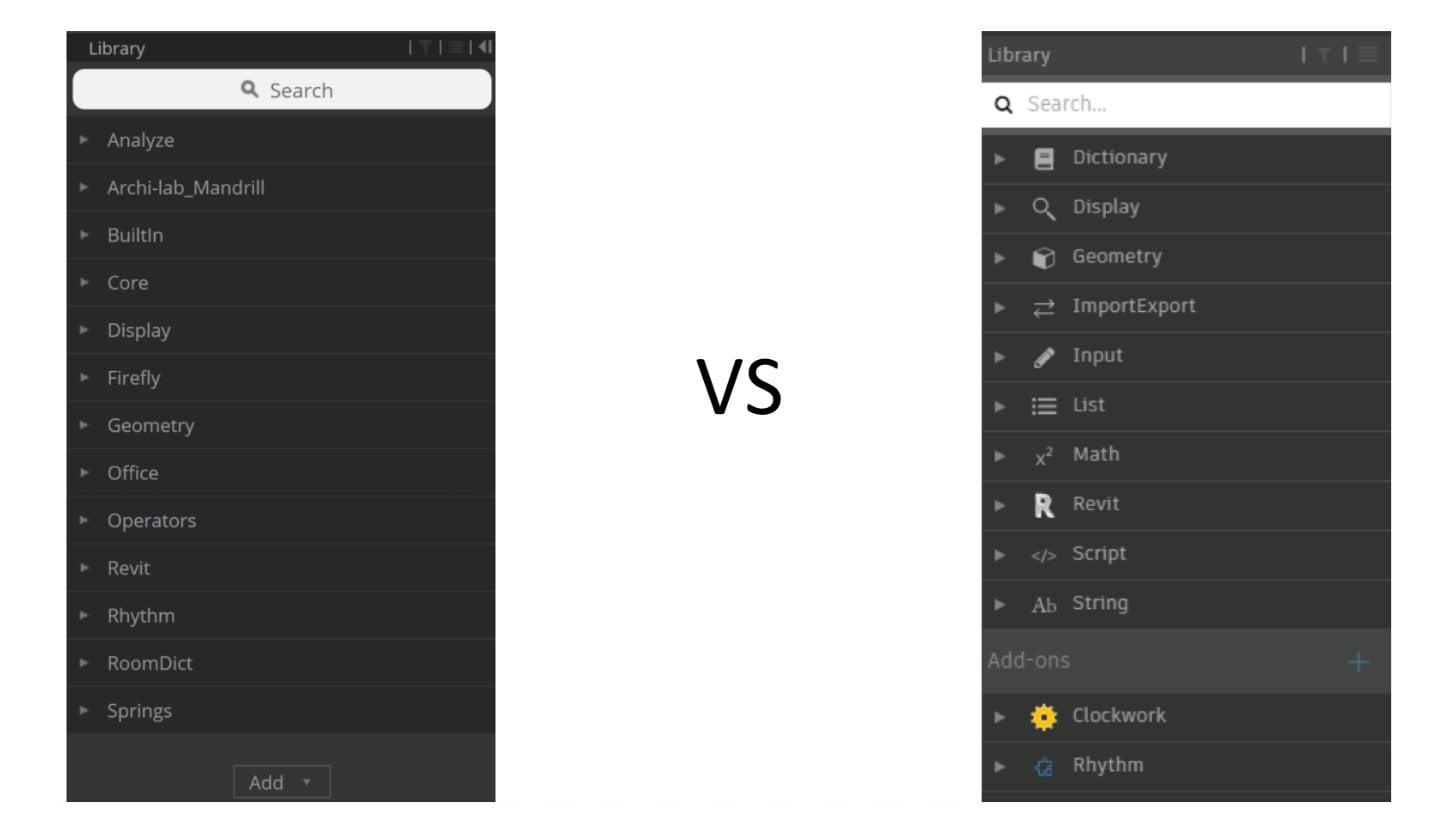
I came across this link to a Dynamo seminar by Sol Amour delivered in Wellington about a month ago. I have had a bit of contact with Sol over the years and he is a Dynamo pro. Cool to see that Dynamo Nodes got mentioned too.
Install beta version of a plugin for Desktop connector that allows access to BIM 360 Docs under a separate link
From the help:
This plugin is a connector that establishes BIM 360 Docs as a recognized data source for the Desktop Connector – making it available in your desktop folder and file structure for easy file management.
As with Desktop Connector, this means your BIM 360 Docs files are replicated in a connected drive. You can manage files in BIM 360 Docs through the connected drive, just as you would any other folder on your machine. Changes made on the desktop are automatically uploaded to BIM 360 Docs.
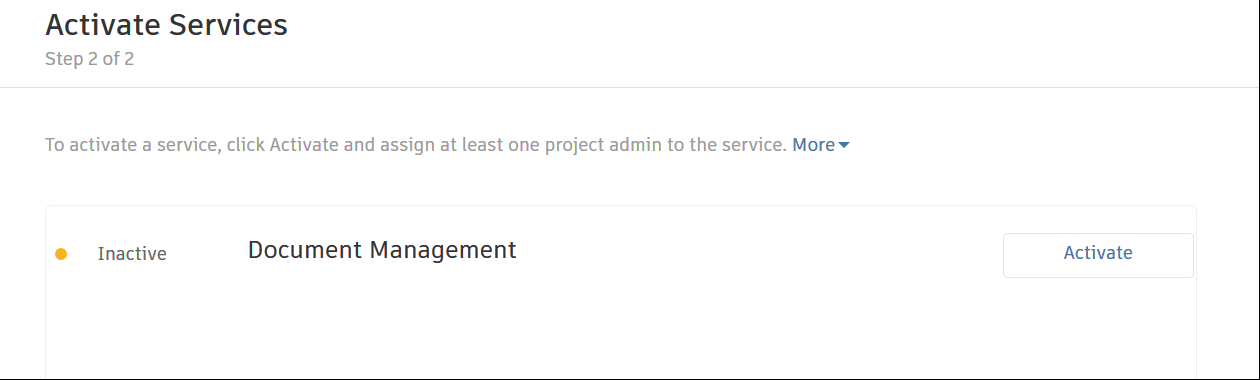
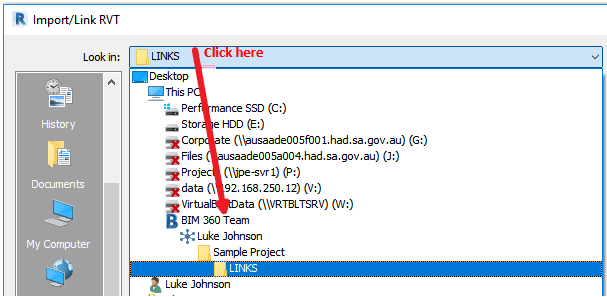
If you are already a C4R user, for a while you can keep working as you are. But the entire platform is shifting from C4R to B3D (BIM 360 Docs), and you will eventually have to make the leap. In the long run, it will allow for more control, like folder-level permissions, so for big projects it is going to make a lot of sense. For now, there is some confusion out there (like in this Twitter thread), so here are some basic steps to activate a new BIM 360 Docs account, setup a Project, and then invite some collaborators into the project.
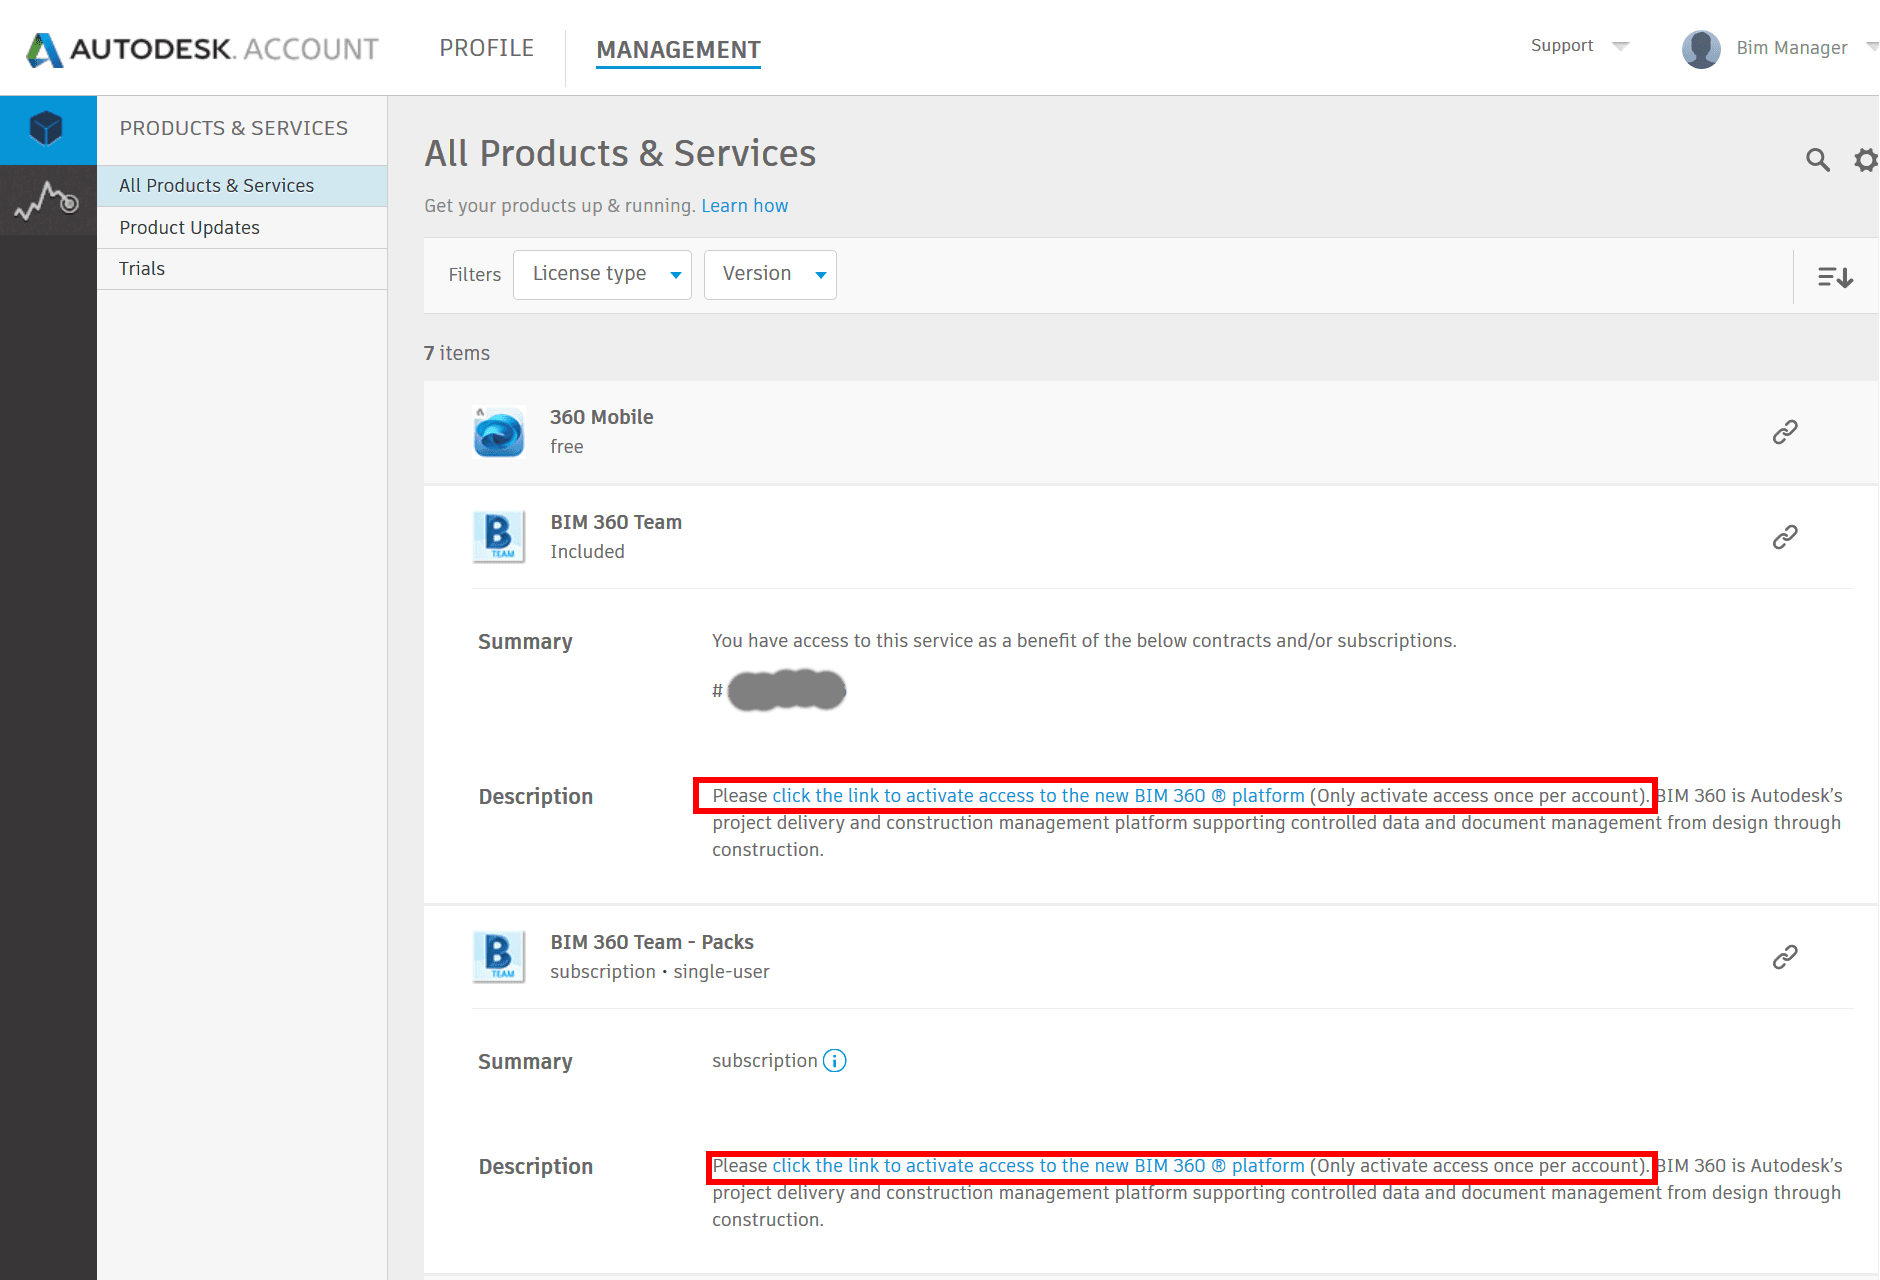
First, you can go to your account and use the special link to create a new BIM 360 Docs workspace. That is, if you are starting fresh in the new platform.
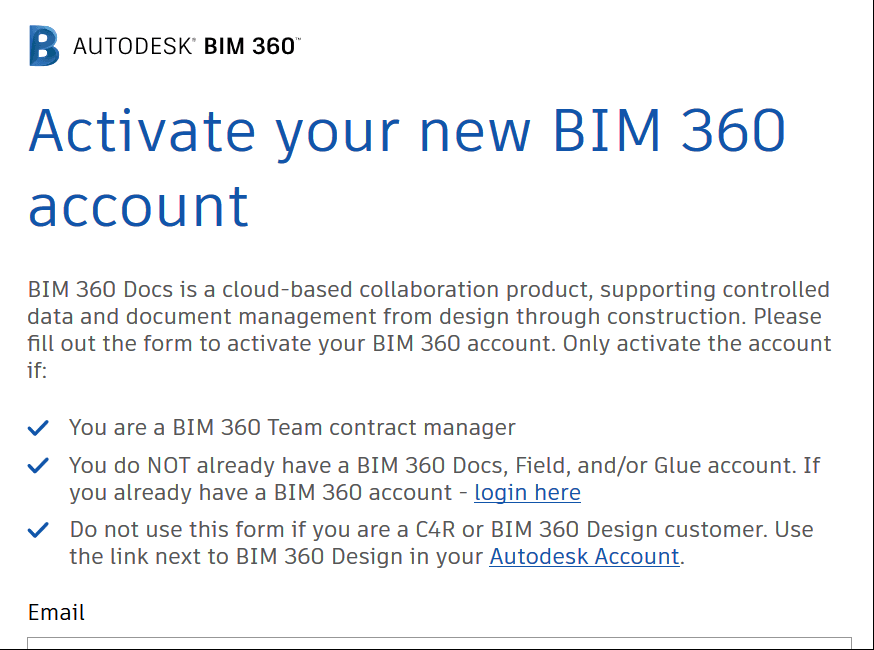
Here is the activation form notes (read carefully). Note: the links are different depending on how you activate it. For example, if you have an existing C4R account and you want to ‘transition’, you would use the relevant activation link for existing C4R customers :
New BIM 360 workspace
Transitioning from C4R
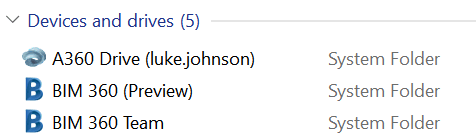
Once done, you should have a new BIM 360 account:
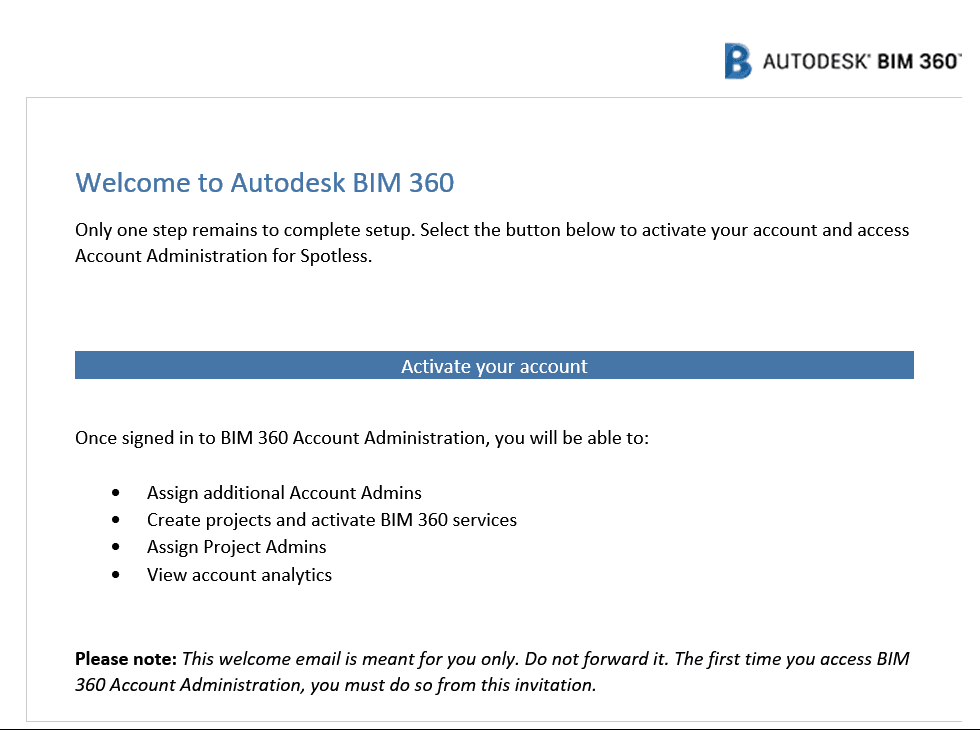
And you just have to click the activate link in your email:
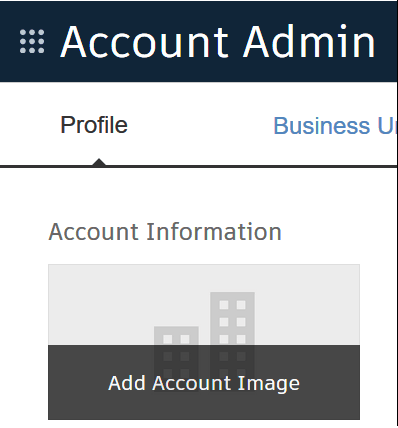
After that, you should be able to login to your BIM 360 workspace and start setting up some company settings, like adding a Logo and Business Units:
You need to update Desktop Connector prior to April 24, 2018, so that you do not lose access to your projects. You can read my previous posts if you want to learn more about Desktop Connector.
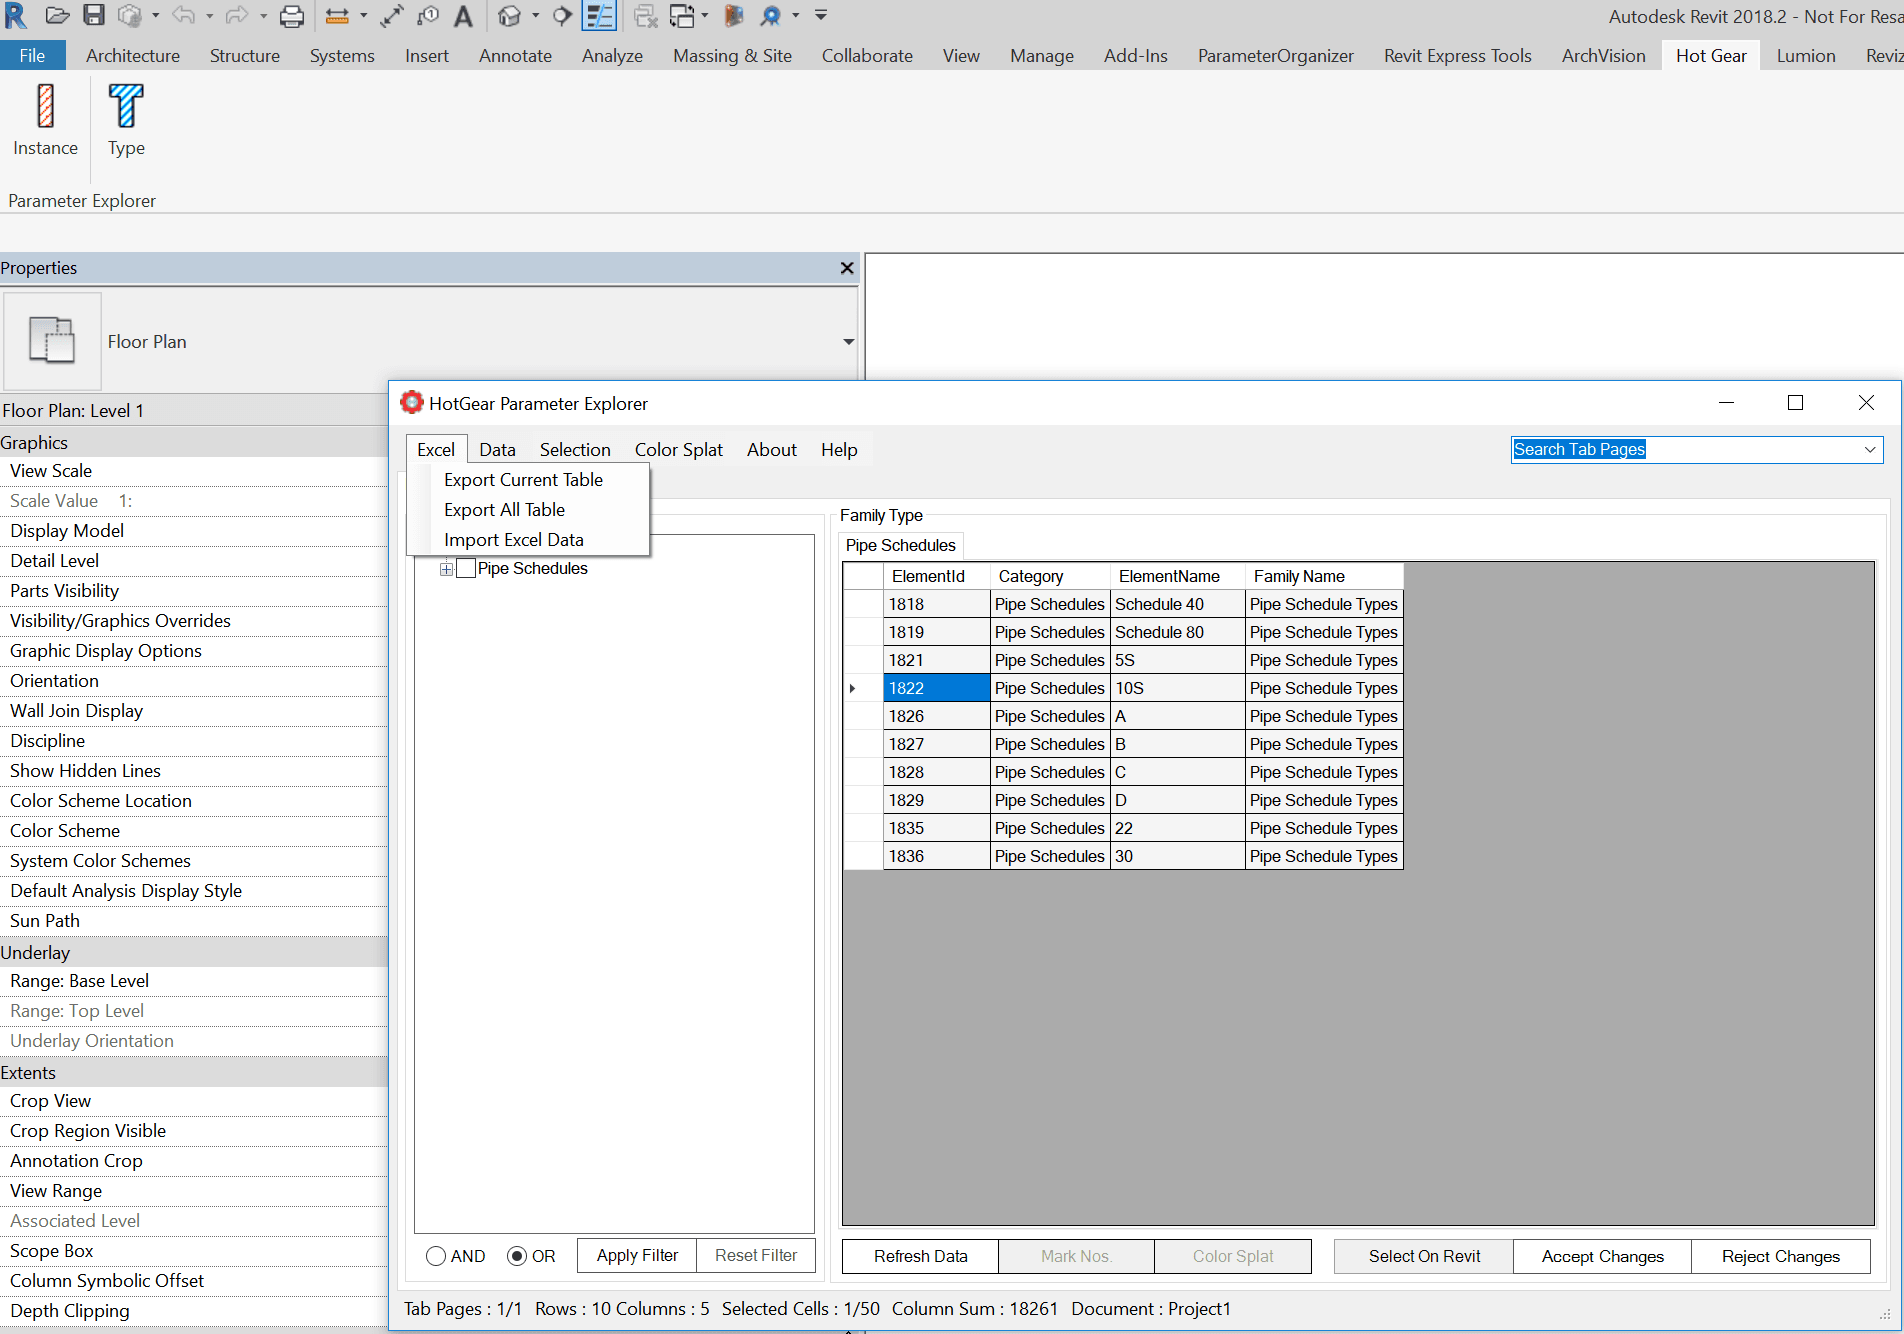
This includes quite a bit of functionality for a free addin, including the ability to collect elements from the current Revit project, override them, edit data, and Excel import and export:
Parameter Explorer can be used for filtering, modifying and checking Elements parameters, including synchronizing data with Excel, override colors and temporary isolate specific elements.
Access all Elements that have a Category within a Document
Quick Select Elements in Revit By Parameters & Category Filter
Read all Elements Data Instantly in a Table
Edit Data more efficiency
Excel Export and Import (Easy Charts Creation with Excel)
Visualization Elements Data on View by color override
On install of Revit 2019, you will have the following install choices:
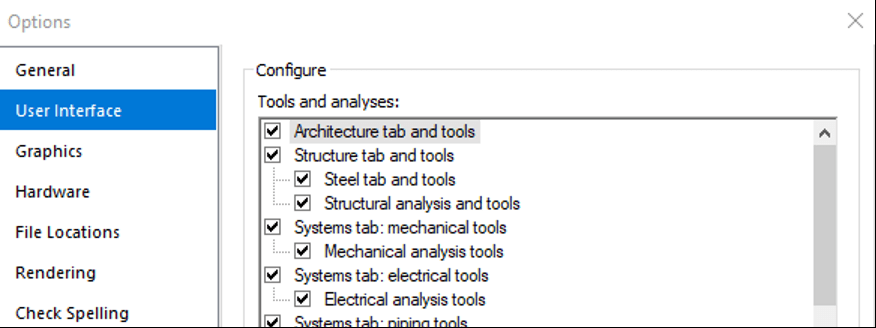
There are no changes in the Options dialog from Revit 2018 to 2019, except for the new Steel tab and tools ribbon option (under Structure tab and tools):
This is what the Steel ribbon looks like:
Clicking Help will take you to Help content pages that don’t exist yet (oops). I’m sure this will be rectified soon.
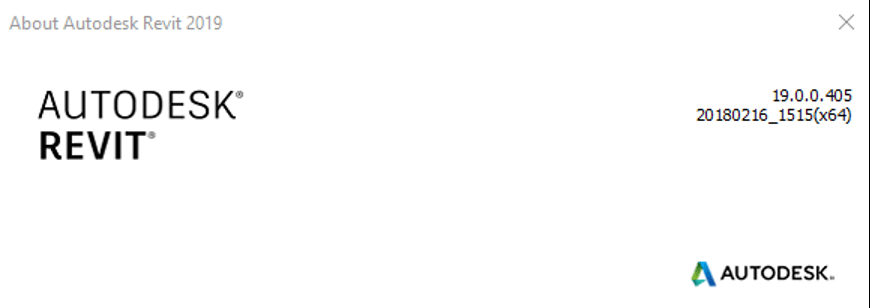
Build numbers are 19.0.0.405 and 20180216_1515(x64)
Launching Dynamo from Revit 2019 will reveal that the Dynamo version has been upgraded to 1.3.3.4111. As some have mentioned, this version does not run on Revit 2016. So you will have to run multiple Dynamo versions and be aware of any file incompatibility if you want to use Dynamo on Revit 2016 and Revit 2019 simultaneously. The installation process should pick up your custom package paths and any Recent Files too.
Add-ins tab reveals that the following items previously considered Subscription Enhancements are included and installed out of the box:
Batch Print
eTransmit
Model Review
Worksharing Monitor
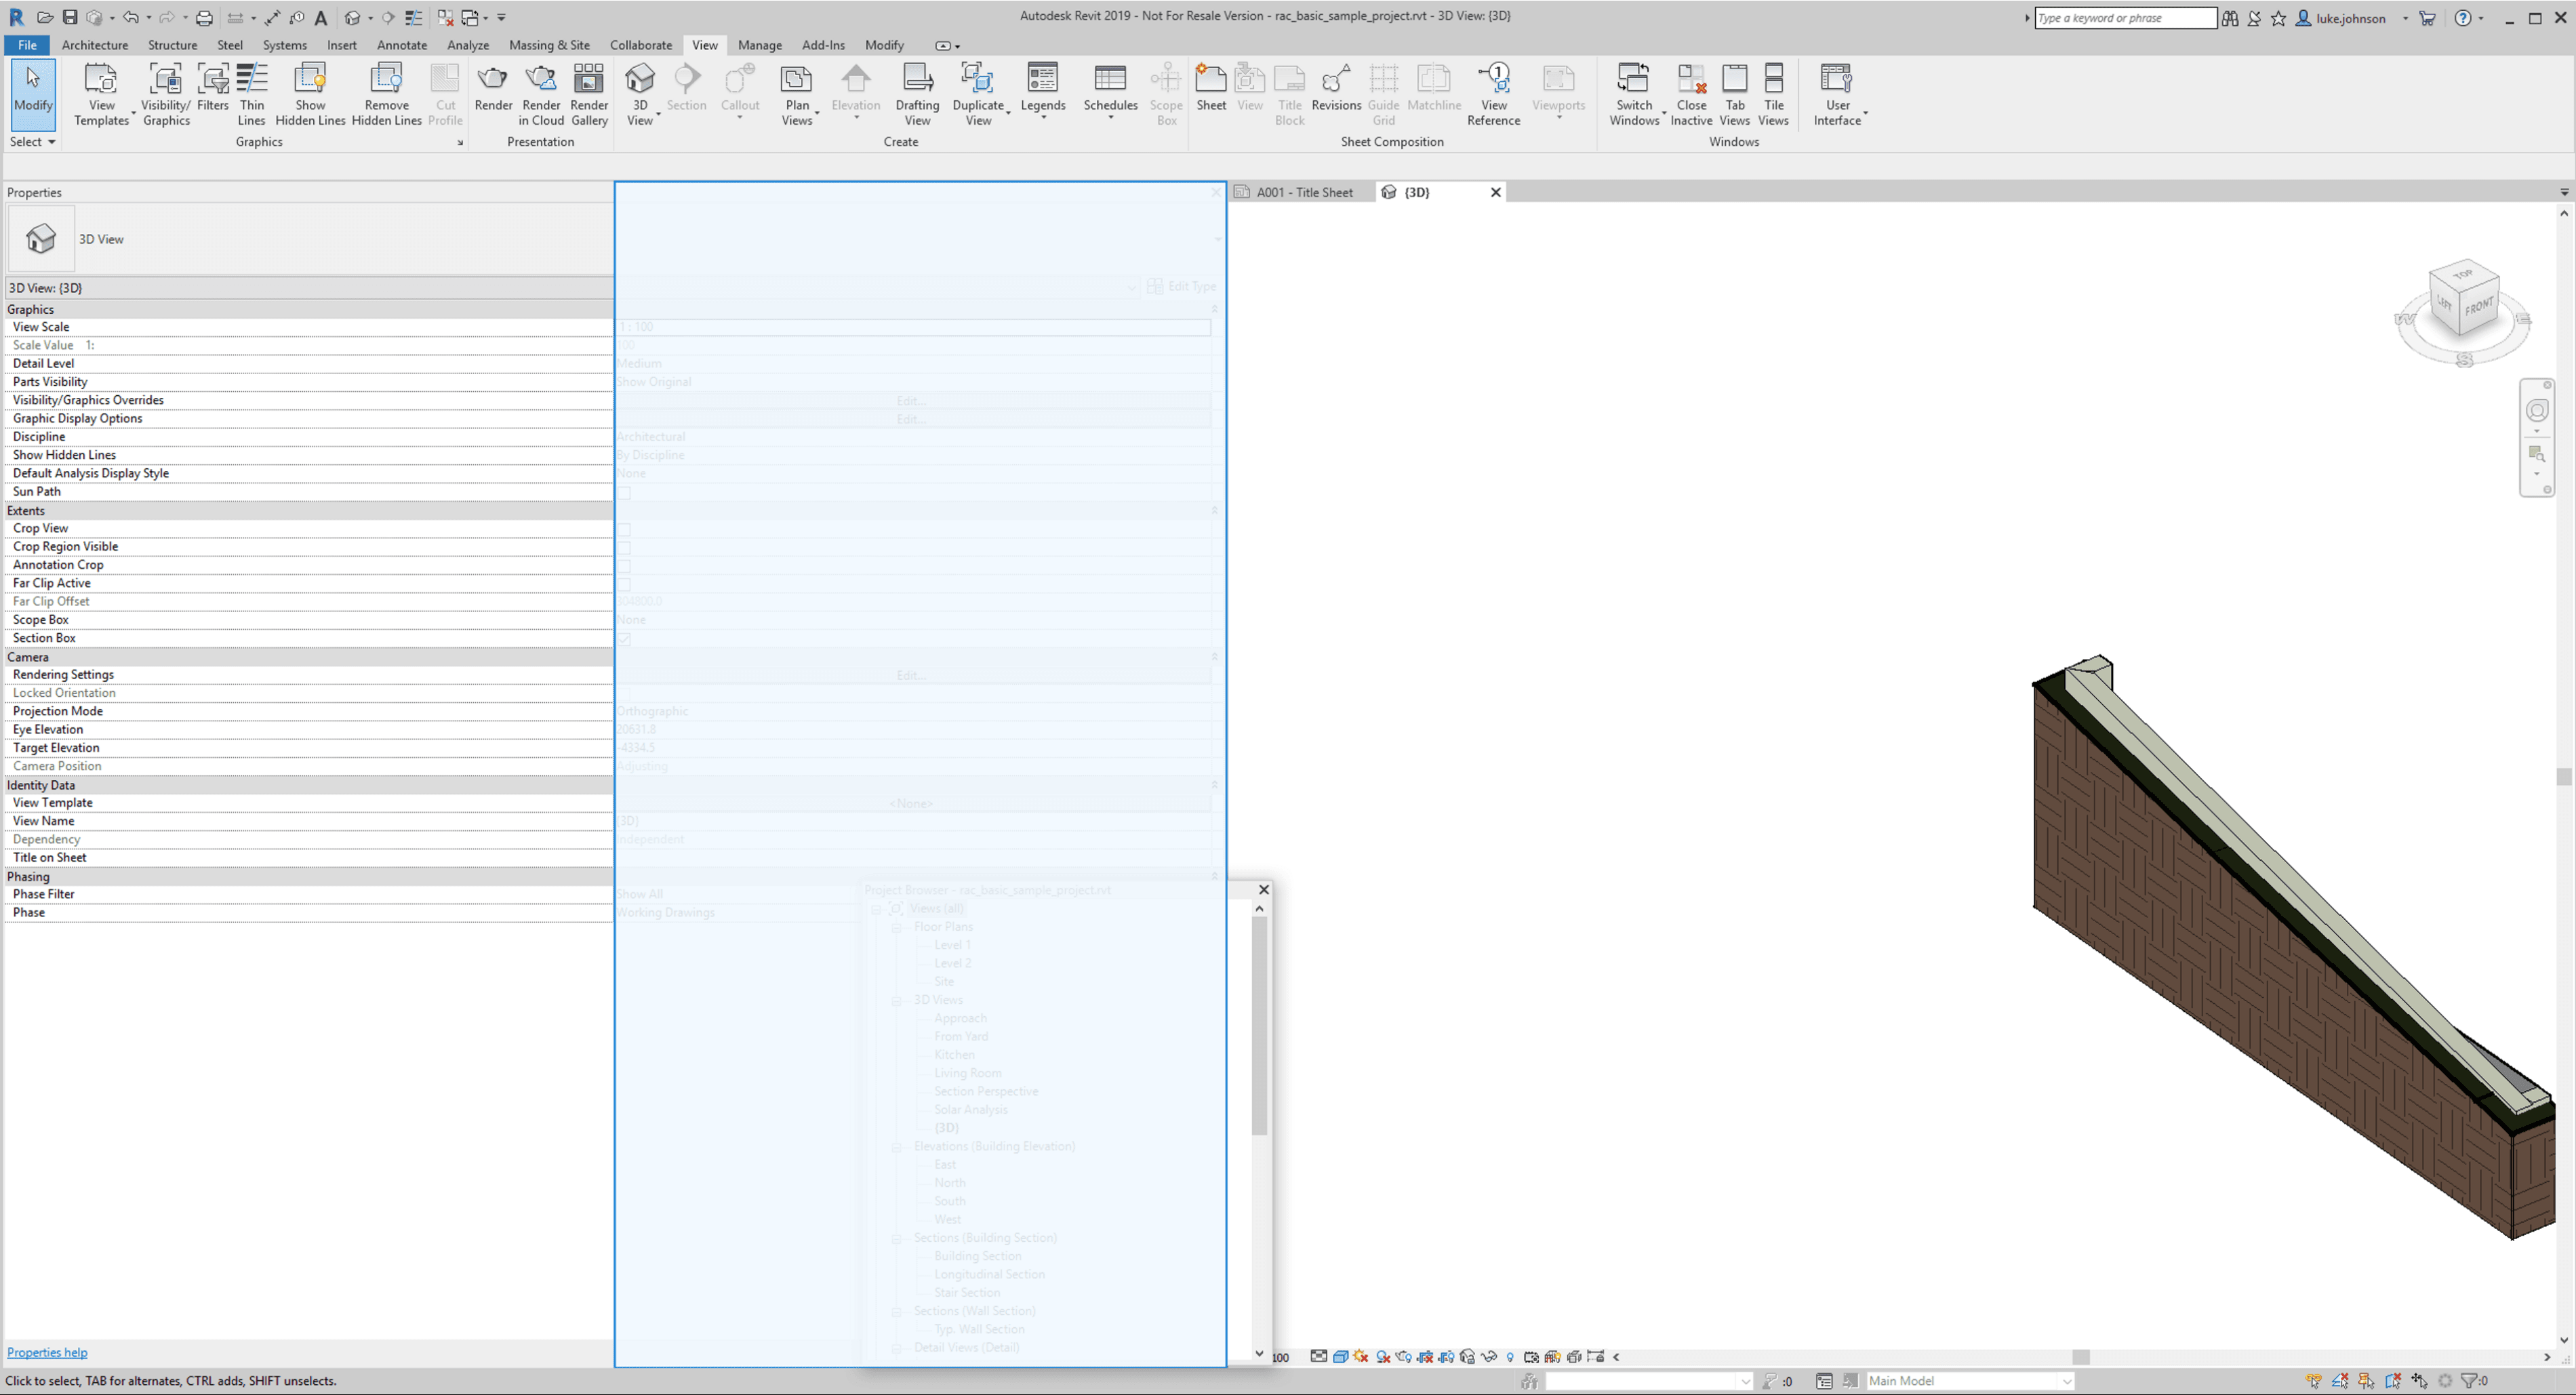
The biggest change you are likely to notice is that you now have Tabbed Views, and an updated interface for controlling docked panels.
I compared the built in category list from Revit 2018 and Revit 2019, and these are the new Categories in Revit 2019:
API Name
Visible Name
OST_StructConnectionHoleTags
Hole Tags
OST_StructConnectionShearStudTags
Shear Stud Tags
OST_StructConnectionProfilesTags
Profile Tags
OST_StructConnectionBoltTags
Bolt Tags
OST_MechanicalEquipmentSetTags
Mechanical Equipment Set Tags
OST_StructConnectionAnchorTags
Anchor Tags
OST_MechanicalEquipmentSetBoundaryLines
Mechanical Equipment Set Boundary Lines
OST_StructConnectionWeldTags
Weld Tags
OST_StructConnectionPlateTags
Plate Tags
OST_MechanicalEquipmentSet
Mechanical Equipment Sets
On a final note… the Revit icon hasn’t changed for the last couple of years, so I made this Revit 2019 icon for you 🙂 Just download it and set as the icon for Revit 2019. Also, I’m sure you can do better than my attempt if you spend more than 30 seconds in Windows Paint: