Ok, Parts are pretty cool, particularly when working with Linked Files. But there is a strange behaviour in Revit that exists between the Parts Visibility setting of a View, and the Parts category Visibility / Graphics.

Here’s what I’m talking about:

  1. In a 3D view, with a Linked Revit file, make some Parts from the linked elements. You could use something like this in Dynamo.
  2. Now, switch the Parts Visibility of the view to Show Parts. Revit is now hiding the linked elements you made the parts from originally, and showing you the parts in the host model.
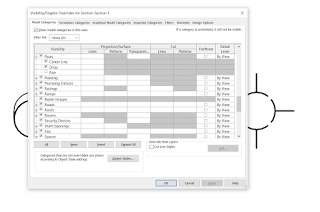
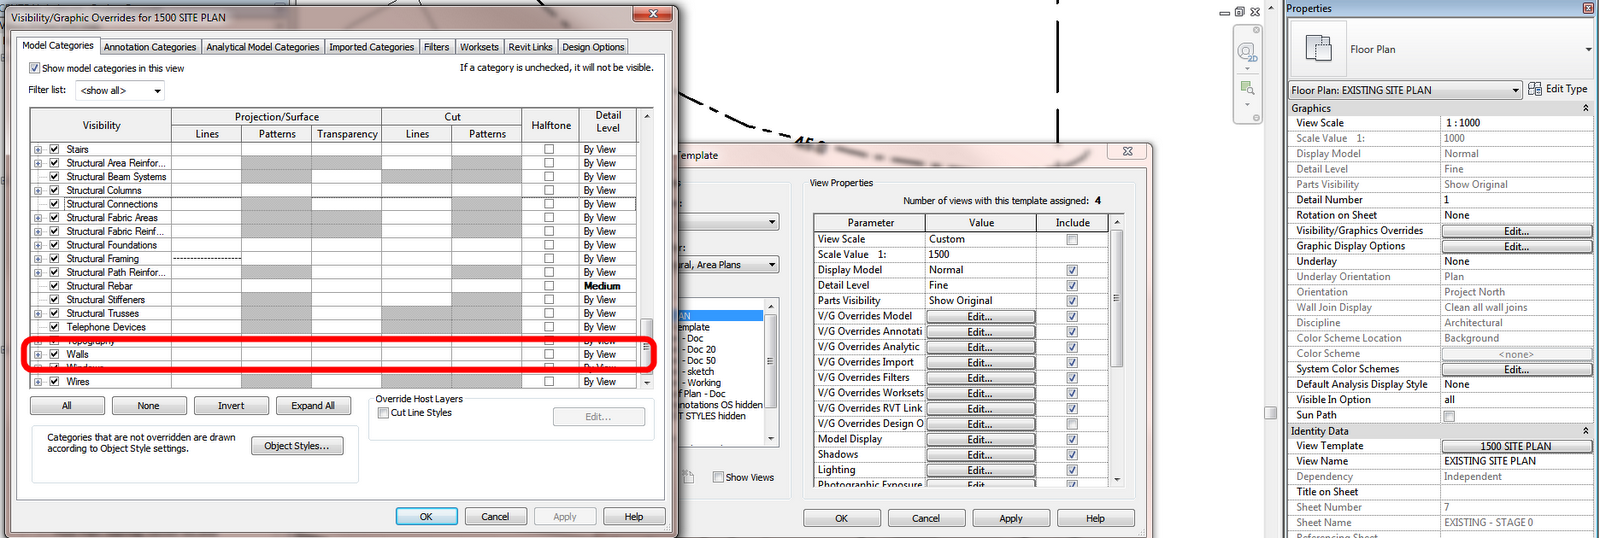
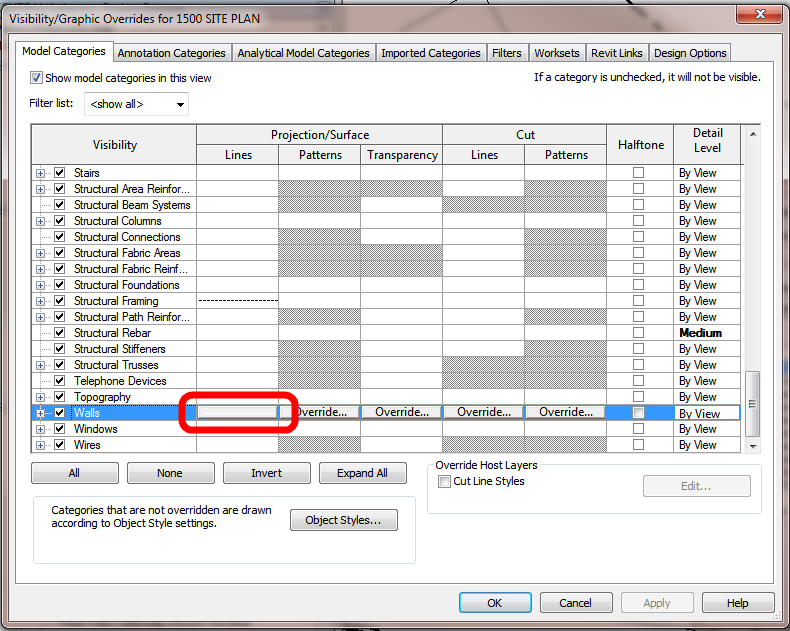
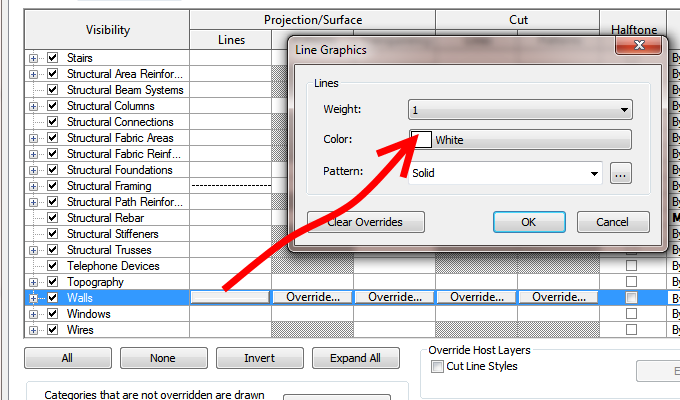
  3. Let’s say you want to verify that the linked elements are really hidden… ok, let’s go into V/G and turn off Parts… drumroll please…
  4. Revit decides that this means you want the Parts Visibility setting of the view to be turned back to Show Original, and so it goes ahead and does that. Um, thanks, I guess? In essence, the Parts V/G is linked to the Parts Visibility switch for the view.

So, what is the workaround?

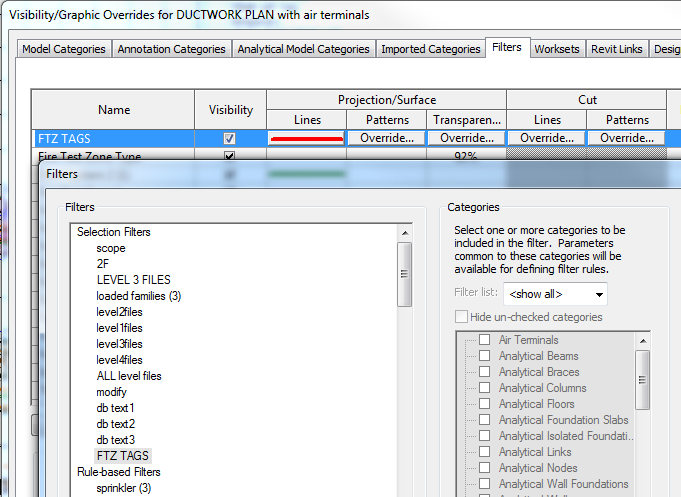
Just make a filter for the Parts category, and turn that off:

parts.png

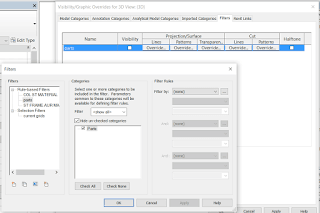
Using this Filter, Revit does not switch the autopilot on, meaning you can have Show Parts turned on for the view, with the actual Part elements switched off.

If you cut a sloping pipe in Revit, you can override the lineweight using Linework tool (or Visibility / Graphics) easily, because you are dealing with a model element. However, if you cut a ‘flat’ or horizontal pipe in a Section or Elevation, Revit assumes you want the nice system-related cut symbol for that Pipe and you can’t easily override the Cut Lineweight with a Linework tool.

What you need to do is turn off that default Symbol in Visibility / Graphics, and then you can successfully override the Cut representation.You may find that by turning off the Drop or Rise option, the symbol isn’t shown and the Linework tool will be active for the cut lines of flat pipes:

linework.png


rise.png

Did you know you can override the lineweights and colors of a Generic Annotation or Tag and its Leaders in Revit? You can use Visibility / Graphics annotation tab like this:

But what if you have two Tags that are of the same category, say Detail Item Tags, but you want to override them differently? You can’t use a normal model-based filter, as these generally do not act on annotations. However, you can use a selection-based filter…

Just:

  1. Ensure you are using a unique Type of Tag, then right-click, Select All Instances, In Entire Project
  2. Save Selection, and choose an obvious name
  3. Go to your view filters (in the relevant View Template if necessary) and add the Filter you named in step 2
  4. You can now freely override those Tag elements separately to any existing overrides

Now, keep in mind that you need to manually update this selection-based filter. You might make it part of your printing workflow to do steps 1 and 2 above immediately prior to printing, thus updating the saved selection set to be in line with the current status of your model.

Have you ever exploded a SAT or DWG in the Family Environment, and then gone looking for the Visibility Settings ribbon button for one of the resulting freeform elements? Its not there:

But, as you can see from the image above, you can still access these settings by using the Properties Palette – Visibility/Graphics button.

While you can use Highlight in Model from a Schedule, there is no similar command relating to a ‘current selection’.  If you have somehow selected an object and want to “find” it so you can actually see it, what can you do?

This:

  1. Select the object
  2. Manage – IDs of Selection
  3. Ctrl+C (copies the ID)
  4. Manage – Select by ID
  5. Ctrl+V (pastes the ID)
  6. Don’t press OK, instead
  7. Click Show.  You can cycle through various views by pressing Show multiple times.
To speed this process up, map some keyboard shortcuts to IDs of Selection and Select by ID.

Have you noticed that (typically) Revit 2014 will only show Import Categories for those imports that actually exist in a view?

I think this is a great feature that makes things a bit cleaner when navigating Visibility / Graphics and looking for Imports etc.

Short post, but you know, there is always more to come 🙂  Over 250 draft posts, and about 100 more in my ‘to blog’ email folder…

Generic Model families can be a bit overbearing when it comes to visibility.  Unfortunately, you can’t usually change the Show only if Instance is cut property for Generic Models… unless you switch them to a Category that allows this to happen, like Windows.

Andy Milburn describes it thus:
“With a window family this is easily solved by checking the “only show when cut” box. In a generic model family this feature is greyed out.


You will have already guessed my solution. Swap the type to window, check the box, swap back again to GM. It stays checked even though it’s greyed out.”

Ever wanted to “hide” a void, or stop it from cutting?  There are at least two ways:

1) parametrically moving the void outside of the solid form when you dont want it to cut (this is the “old way”)

or this interesting solution via Twitter:
2)

Nice idea from bim42:
Each trade model contain a limited amount of worksets, each draftsman working on his own linked model, so I was able to create the same worksets in my compiled model.
Worksets in the Coordination Model
These worksets can now be used to create filters containing every element of the specified trade.

via
Revit linked models visibility | BIM 42

In ye olde AutoCAD days, there were a plethora of ways to mess with your fellow users.  The sheer amount of obscure yet powerful system variables gave endless opportunities for frivolity.

In Revit, not so much.  The system works.  It seems Revit does not want you to prank your coworkers, right?  Here is a little story …

We were having trouble finding a particular Revit link, or more specifically, the walls in a particular Revit link.  So we drew a roof, and the view looked like this:

Ok, so the answer seems easy.  Walls are overriden, right?  Let’s have a look in the View Template:

According to the Visibility / Graphics of Model in the View Template, everything seems cool.  Walls aren’t overridden.  All of the cells look the same, in their default state.

Or are they?

Let’s select the Walls row:

A tiny, almost invisible sliver of white appears under the Project Lines column, while all of the other columns show Override (indicating they are not overridden).

So what exactly is happening?  Let’s click on the Projection Lines override for Walls:

We get very little feedback from Revit as to what is happening until we select the actual row.  Why?  Because the override is set to white!

This is certainly a trap for new, or old, Revit players.  If you read this blog, you are prepared.

If you don’t, you may be pranked by some White Line overrides in the very near future 🙂  Let the shenanigans begin…