Enscape is continuing to develop new and amazing ways to quickly visualise and present your Revit model… and now, your Sketchup models too. I will cover both of these below…

1) A quick look at the Enscape Sketchup Extension
Sketchup is still a solid workhorse in a lot of firms, as it is almost too easy to use. Some architects immediately feel comfortable using Sketchup, where Revit has a bit of a steeper learning curve. Personally, I hope to see more designers moving into Revit for early concept design with massing or adaptive components or Dynamo, but in the meantime there are plenty of people out there building really nice models in Sketchup. Which is why Enscape is releasing this Extension, I suppose!

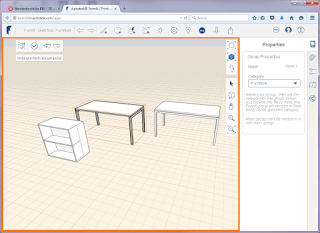
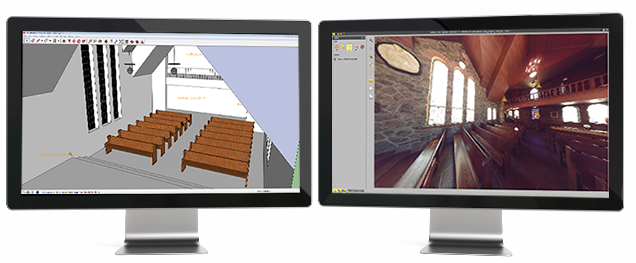
After installing the Enscape extension for Sketchup (you can see some tips on how to do this at the end of the post), you will probably want to immediately start tweaking settings. As with Revit, you can have the Sketchup window, Enscape window, and Enscape settings all open and ‘live’ at the same time. For some reason, Enscape started with maximum bloom and extremely warm colour temperature, but after tweaking that a bit it started to look really nice as usual:

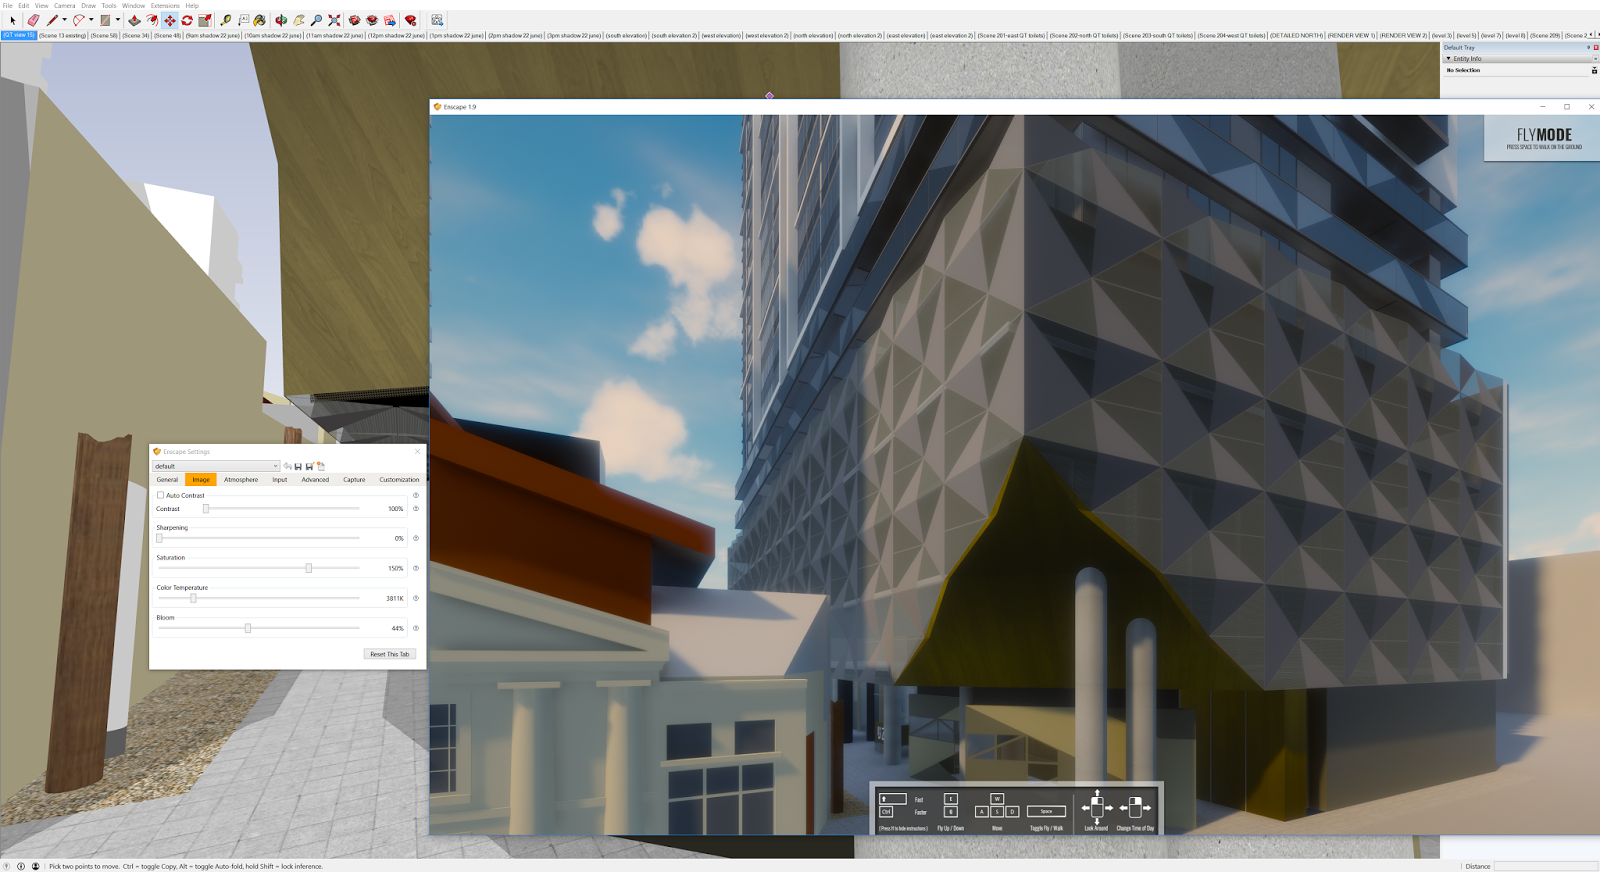
As Sketchup models are quite light compared to Revit, I was able to run on Ultra settings and the experience was smooth (helps to have a Metabox in this situation of course). Overall, the Experience of using the Extension for Sketchup is almost identical to the Revit plugin implementation, which is great.

You can achieve a really interesting result just by playing with the time of day and the sky orb brightness:

Which leads me to the new features..

2) Enscape 1.9 Platform Updates and Updates for Revit
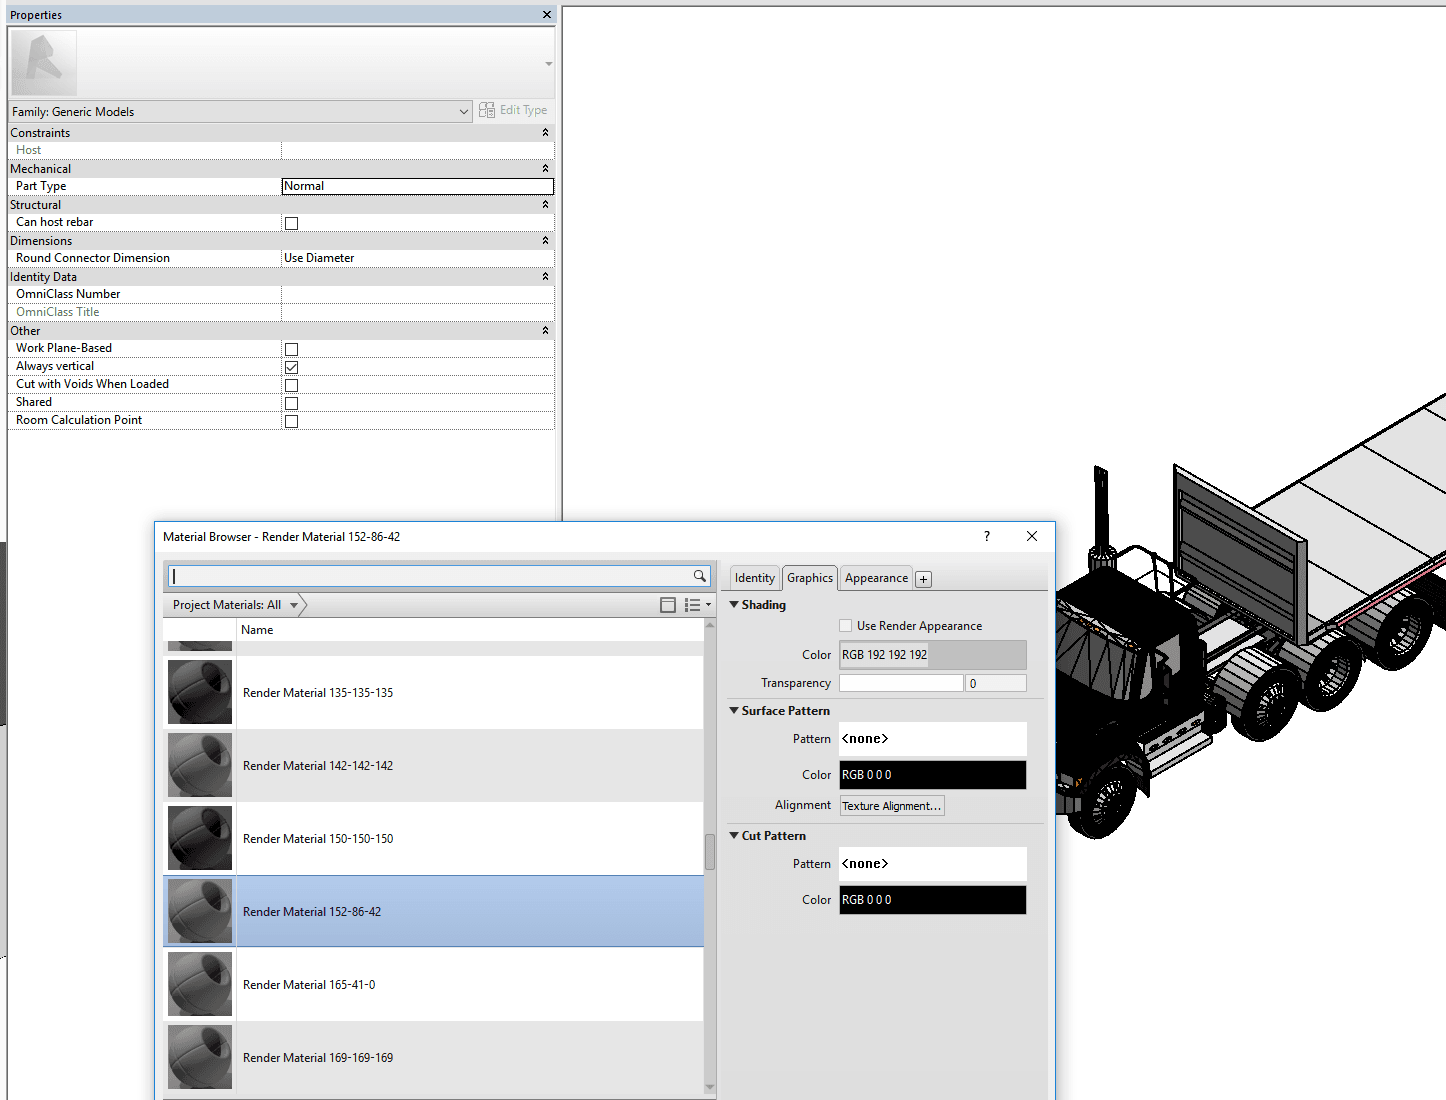
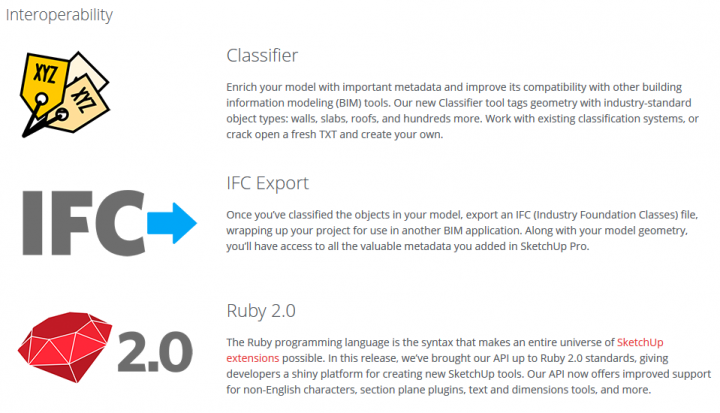
One of the biggest updates in this latest version is that now Revit Decals are supported. As you probably know, a Revit Decal is basically a flat item that gets stuck onto a flat surface like a Wall. From there, you can pick an image and set the size. Now that Enscape supports this, it is much easier to do things like customised signage, and it can be done very quickly and photorealistically. Previously, I had a challenging workaround through custom RPC, but the support of Decals should make this process much easier for flat elements.

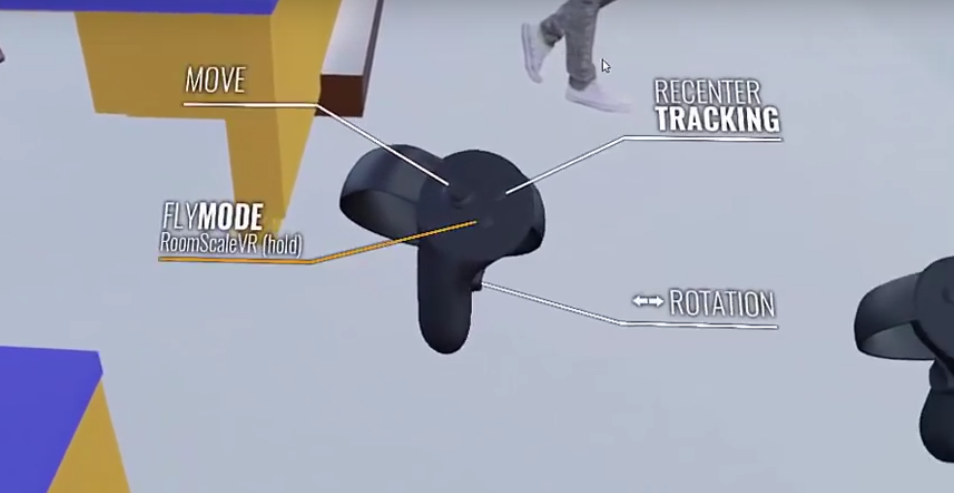
Enscape now also has Oculus Touch support, along with a handy heads-up display when you look at the controls in VR:

Further, more support for Glass and Glazing materials has been added. Essentially, Enscape is working to support every applicable material property from Revit, which is great.

A couple of other things:

  • you can set the frames per second on exported video
  • you can ‘move’ the clouds to really get your scene looking just right
  • you can modify the brightness of Sun, Moon and Stars. It is seriously impressive to set the time to night, and then boost the stars right up. It is quite beautiful 🙂

More details on the 1.9 release:
https://enscape3d.com/version-1-9/

Releases for Revit and Sketchup addins are available at:
https://enscape3d.com/sketchup-rendering/

You can download Enscape at:
https://enscape3d.com/downloads/

The extensions page is at:
https://extensions.sketchup.com/en/content/enscape-rendering-sketchup

Here is a video that summarises the updates in 1.9:

Check out this video of the Sketchup plugin in action:

Sketchup Installation 
Here is how you can manually the install Enscape Plugin for Sketchup:
1) Download the .rbz file (currently from the Preview / Alpha page). I’m currently using
enscape-1.9.0.403-g355786d.rbz

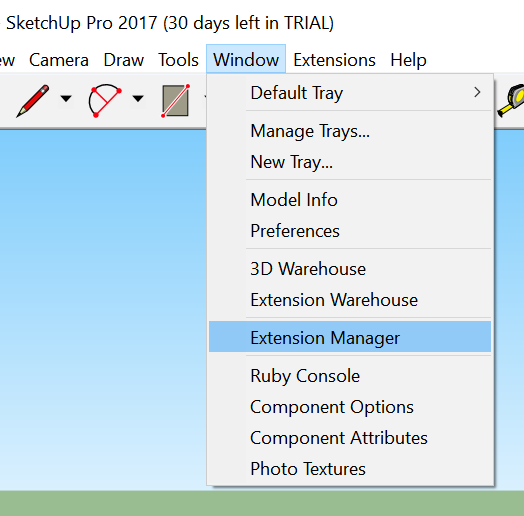
2) Go to the Extension Manager in Sketchup

3) Choose Install Extension and pick the rbz file


4) Accept the prompts


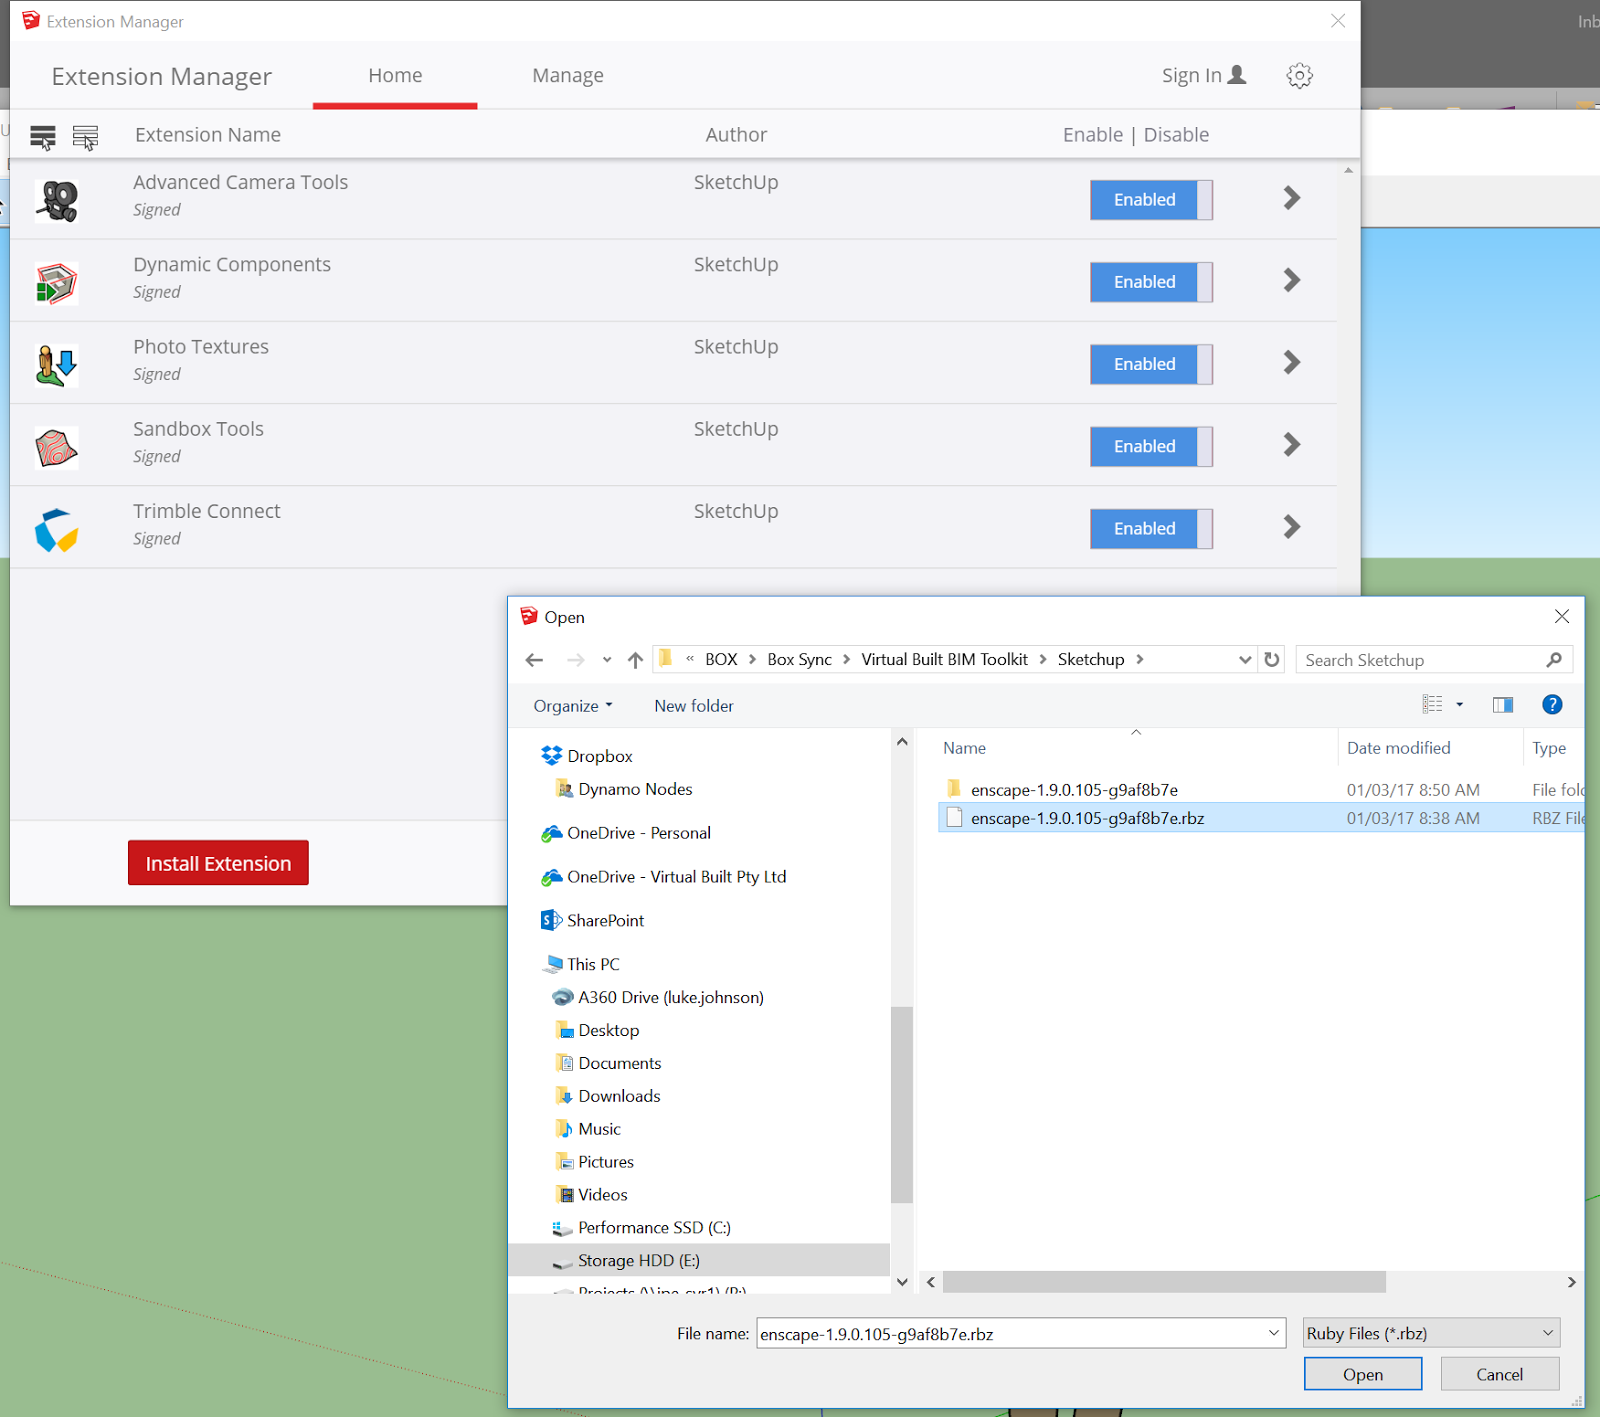
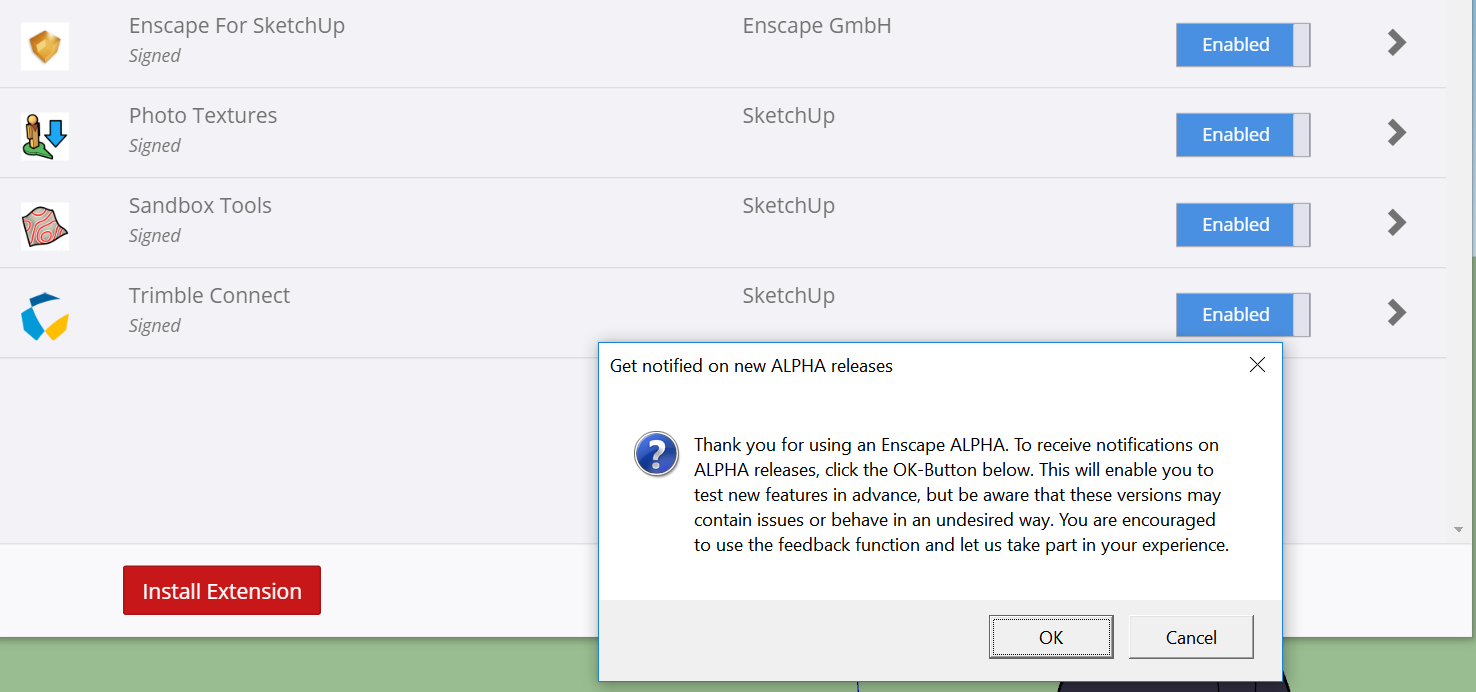
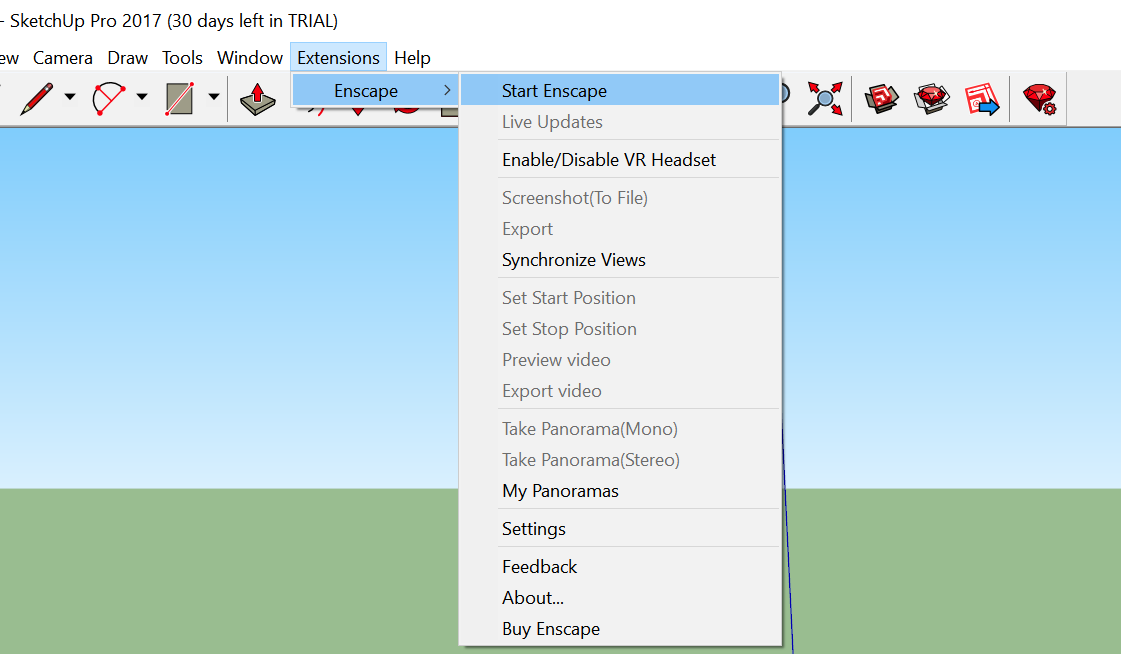
5) You might have to restart Sketchup. Then you should be able to start Enscape from the Extensions menu:

You can read my previous detailed review of Enscape here:
Learn How To Completely Revolutionize Your Revit Presentation Capability In This Enscape Review

Revit natively supports importing Sketchup up to version 8. If you want to import ‘new’ Trimble Sketchup files, like some nice content you have download from 3D Warehouse, you have at least 2 different options:

  1. Open the file in a new version of Sketchup and save down to version 8, then import to Revit

  2. Import to AutoCAD first (IMPORTSKP), then save as DWG, and then bring it into Revit. You may need to install the Sketchup Import addin for AutoCAD to import 2016 and newer versions of Sketchup.

Based on some preliminary testing, I think option 1 is probably the better / easier way to go at the current time.

https://wrw.is/wp-content/uploads/2017/03/materials.png

Check out this excellent forum post by Tobias Hathorn, in which he describes the best workflow for Sketchup to Revit conversion via FormIt 360. Interestingly, the major steps are:

  1. Install Revit addin
  2. Use addin to convert SKP to format for Formit
  3. Import to FormIt Web
  4. Export Locally
  5. Use the same Revit addin to convert the FormIt 360 Sketch to RVT

Some more detail here, reproduced from the post:

The one ‘gotcha’ (which should be kind of obvious)… if the model is poorly constructed geometrically in SketchUp, then that same geometry will come down the pipe into FormIt and eventually into Revit… 

Another comment about size – you’ll get better results componentizing your SketchUp import – doing a blanket conversion of your entire existing SketchUp model will take longer and be a MUCH bigger memory footprint.

Here are the steps for SketchUp conversion…

  • Go to the SketchUp Warehouse – browse to a great looking catalog – LINK
  • Download the files you want locally onto the hard drive
  • Get the free FormIt Converter Plugin for Revit 2015 – LINK
  • Install the Plugin and restart Revit 2015
  • Go to the Add-Ins tab, FormIt 360 Conversion panel and choose Convert SketchUp Files from the drop down menu
  • Navigate to the folder with the SKP files in them
  • Then navigate to where I want the FormIt 360 files to be (can also go to A360

Here are the steps for FormIt categorization…

  • Start FormIt Web – LINK
  • Import (or Link through the Content Library) the converted SKP’s – place the content in your FormIt scene…
  • Double click to edit the furniture group – you can push and pull the geometry as if you were in SketchUp!
  • While in Edit Group mode – set the name and category (Furniture) in the properties panel. Finish editing the group.
  • Save the FormIt file and download it locally (to your downloads folder) by clicking ‘Export Locally as FormIt 360 Sketch’

Here are the steps for FormIt to Revit conversion…

  • Open Revit 2015 – Click New file – choose the template you’d like to use for the design model
  • Go to the Add-ins tab and choose “Convert FormIt 360 Sketch to RVT
  • Navigate to the downloads folder and choose the FormIt sketch you exported locally
  • Click through any warnings and now you have Revit versions of SketchUp files!
  • The FormIt elements have the same categorization you set in FormIt
  • and you can double click to edit the families as you would normal Revit geometry

Thanks Tobias!

Original post:
http://forums.autodesk.com/t5/formit-360-general-discussion/sketchup-conversion/m-p/5670578#M235

The Trimble Scan Explorer Extension dramatically reduces the time required to generate a SketchUp Pro 3D model from scan data. Streamlined tools and one-touch features allow users to quickly extract construction points and lines that are used as a guide to simplify and expedite the modeling process. Automated plane extraction tools further increase modeling efficiency, particularly when modeling building interiors and facades.

Video:

Read the news release:
Trimble News Release

via
https://twitter.com/TrimbleBuilding/status/455775711937060865

As we all expected, with its 2014 version Sketchup is increasing its BIM capability, including object classification and IFC export.

Get it at:
Download SketchUp | SketchUp

Heads-up:
http://www.formfollowsperformance.com/2014/03/sketchup-goes-bim-with-ifc/

“Check out these post on the new version of SketchUp 2014:
http://www.bim-me-up.com/sketchup-goes-bim/
http://bimadvisor.wordpress.com/2014/03/04/sketchup-2014/”

HyunWoo Kim has been posting some very interesting stuff over the last couple to his English-language blog, Enjoy Revit.  The content of his blog is quite interesting to me – including adaptive component rigs, solving documentation problems, and dealing with family and content creation issues.

2 point and 3 point Circle Adaptive rigs
with formulas, and this arch family for download

Symbol Annotation as 3pt Adaptive for sections
download

A very curved automatic Adaptive Stair
download

Workaround to enable the “Show Only if Instance is Cut” option for Symbolic lines
(ie. switch to Structural Framing and back again)

Curved Insulation Family
download (quite a lot of work in this)

The hidden edge trick in 3dsMax for Sketchup import to Revit
I posted about this here

His Korean site is at Enjoy Revit : 네이버 블로그 .  He also has a Google Site at:
Enjoy Revit.

He is quite prolific on Youtube too – his channel (in English) is:
HyunWoo Kim – YouTube

This is a great post / video from pedroeron on RFO.  It essentially shows you how to hide the edges of imported geometry (such as from Sketchup), so that when it imports into Revit, you only see the shaded surfaces – not the ugly triangulated surface edges.  Nice!

Also, this video shows that it is possible to Link a DWG into an inplace Component family – some interesting possibilities arise from that.


via
From 3ds max to revit without viewing triangles edges

EDIT – the steps are basically:

  1. In 3dsMax, Use ProOptimizer Modifier to get your model to less than 32000 faces (so that it can be exported to DXF)
  2. Convert to Editable Mesh
  3. Use Mesh Selection – Edge tool
  4. Select all Edges and change to invisible
  5. Make one or two triangles visible (so that you can select the model in Revit)
  6. Export to DXF 2007 version
  7. Import into Revit

Note – you can also go Export to 3DS, then import to AutoCAD (using 3DSIN command) and divide object by Material (creating a new layer for each material), then go to Revit from there.  You may experience some geometry issues through this multi-handling of the data.

Check out the list of companies in the following quote:

Trimble Buildings and the Trimble DBO platform will initially combine technology from Trimble’s former Building Construction Division with SketchUp, Tekla, Meridian Systems, WinEst, Plancal and Vico Software. These solutions combine together to provide the broadest and most sophisticated capabilities available within the AEC industry today.

via
Trimble� Buildings

Also more at:
Trimble News Release