Let’s say you have 50 sheets with one viewport on each, and you want to nudge all those viewports around the sheet a little bit. Difficult?

  1. Use a couple of nodes from Bakery to grab the Viewport elements based on a name search (also thanks to Rhythm package creator John Pierson)
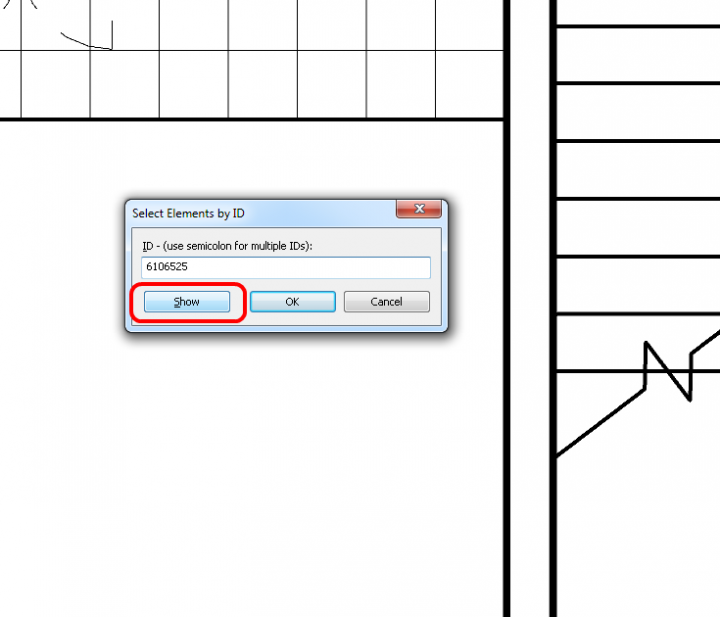
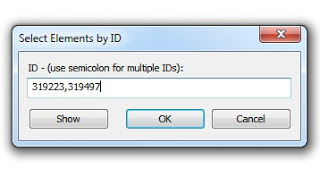
  2. Now you have the element IDs in the clipboard, go back to Revit and Select by ID. Paste.
  3. You now have all of those viewports selected, and can move them all at once!

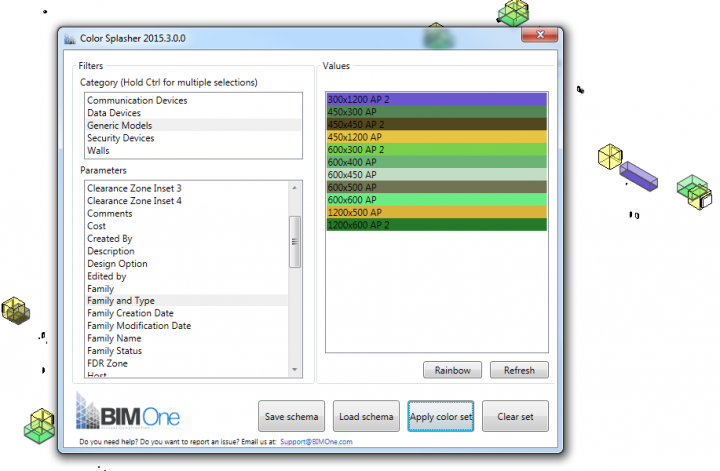
BIM One have released a new automatic color filter addin for Revit. It is very simple to use, and its free:

  1. Install the addin using the install tool (refer here for steps on using the addin manager)
  2. Open a Revit project
  3. Go to BIM One ribbon
  4. Click on Color Splasher
  5. Click on a Category
  6. Click on a Parameter
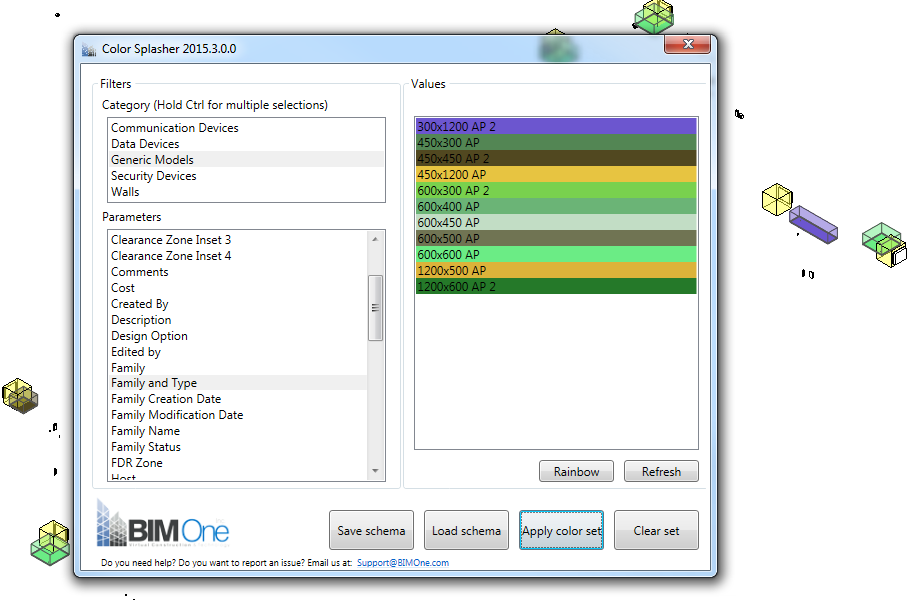
  7. A color set is automatically generated
  8. Click on Apply color set

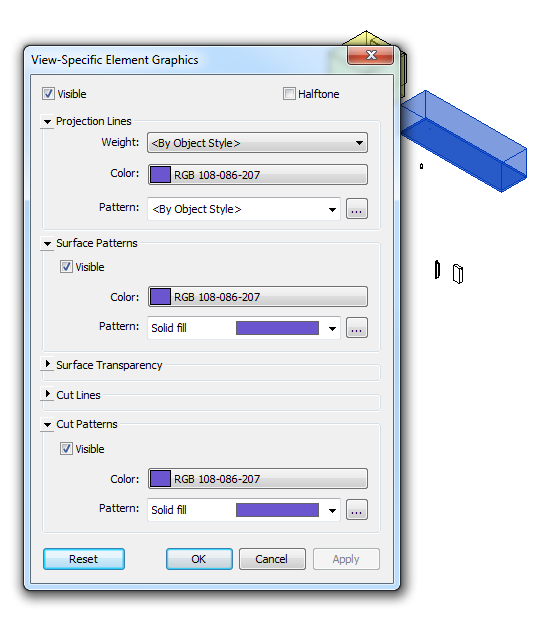
If we check the element VG, we can see that this addin basically runs through and applies a By Element override to each element in the view:

Note: a nice added bonus to the above functionality is that if you open Color Splasher and click “Clear Set”, every Element visibility override in the current view will be removed. Might be handy for QA and model management?

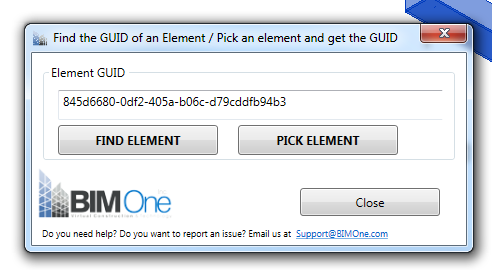
They have also provided a Element GUID tool. It works like the Select by ID tool in Revit, but instead of using the Element ID, it works on the GUID parameter inherent in all Revit elements:

I previously posted about the BIM One NWC Batch Exporter here:
NWC Batch Export from Revit – multiple Revit views to multiple NWCs with one click

via
http://us8.campaign-archive2.com/?u=f58c55b9516e3ecd984b6ff84&id=95df102b3a&e=3729ed9af6

While you can use Highlight in Model from a Schedule, there is no similar command relating to a ‘current selection’.  If you have somehow selected an object and want to “find” it so you can actually see it, what can you do?

This:

  1. Select the object
  2. Manage – IDs of Selection
  3. Ctrl+C (copies the ID)
  4. Manage – Select by ID
  5. Ctrl+V (pastes the ID)
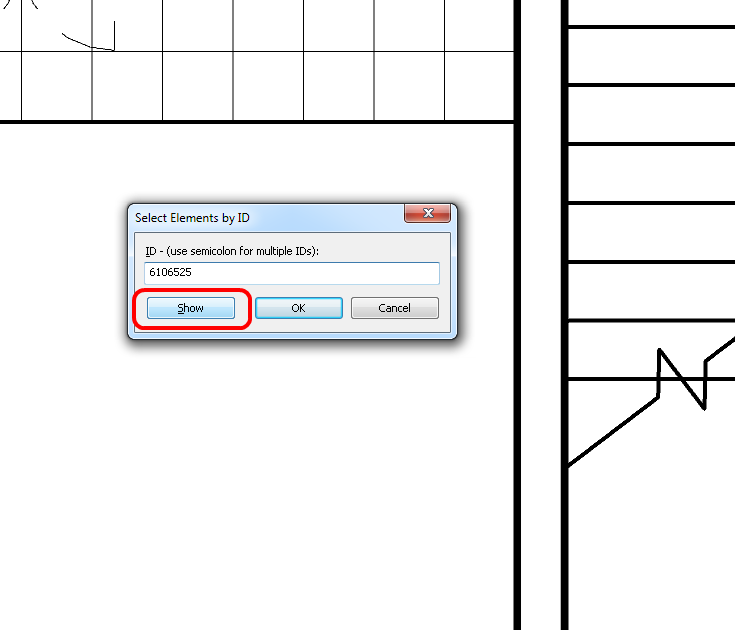
  6. Don’t press OK, instead
  7. Click Show.  You can cycle through various views by pressing Show multiple times.
To speed this process up, map some keyboard shortcuts to IDs of Selection and Select by ID.

Sometimes you just need to hear an idea and you innately know “this is going to be useful…”

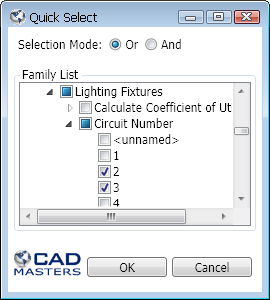
Quick Select command for Autodesk® Revit® to select by element type and its properties. Expand the element or family type and select the properties that you wish to filter by. Click OK and all those elements will be selected. 

  • When in “Or” mode, the command will select all elements that match any of the properties. 
  • When in “And” mode, the command will only select elements that match all the selected properties. 

Example of potential uses:

  • select all Casework on a particular Level – done
  • select all Filled Regions with a given area – done
  • select all Walls whose Top is Attached – done

As with most addins I post about – its free.  Download on Exchange at:
this link

Heads-up via:

I love it when an idea just works 🙂  Let’s say you have 100 view templates in a project, and you make a new one.  You want to transfer only that new template to another project (not the other 100 View Templates).  If you use Transfer Project Standards (on View Templates and Filters), you will get the lot.  How can we transfer just one of them?

Well, you need to think through the problem.  Everything in Revit has an Element ID.  View Templates are a special kind of view… So we need to get the Element ID of the View Template.  Then we should be able to Copy / Paste it.

Here’s how I did it:

  1. Using Whitefeet Tools, (Utility Tools — Schedule Tools), Write Category to Excel, and select Views.  (Make sure you press the ‘All Elements in Model’ radio button)
  2. Excel will open with all Views listed, including their Element IDs
  3. If you Sort Data in Excel by the ‘Dependency’ column, all of the View Templates will be grouped together as they do not have any data in this column
  4. Select the Cell containing the Element ID of the View Template you want to transfer
  5. In the source project — Select by ID, Paste that Element ID.  Once selected, Copy to Clipboard (Ctrl+C)
  6. In the target project — Modify ribbon, Paste, Aligned to Selected Levels, just pick a level at random
  7. The new View Template is now available in the target project.  Apply it to any view you like…
Note:  At step 6, a simple Ctrl+V would not work
You could also adapt this to copy a selected set of View Templates – just grab their element IDs at step 4, and create a list of them separated by commas.  Use this in the Copy / Paste operations at step 5 and 6.
This is a classic What Revit Wants scenario – if you know how the program works, you can think through the problem and devise a solution that is not readily apparent to the casual user.
PS – it would be nice to figure out a way to get the Element ID of a View Template without using any addins … does anyone have a good way of doing this?

EDIT2 For the add-in free method, use the macro provided by Harry Mattison at:
Transferring view templates, not in 2014 | Boost Your BIM – making Revit even better

EDIT1 I also posted a method using the free RevitLookup add-in at https://wrw.is/2013/07/compiling-and-using-revitlookup-for.html

You have a project with heaps of Warnings / Errors, but you are struggling to find the associated elements.  Here is a quick way:

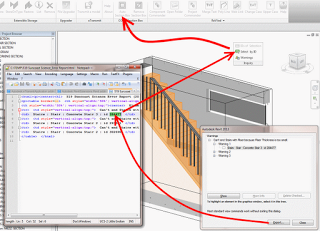
  1. The first problem is that not all of us can remember 6 random digits easily, but we also can’t copy the element ID direct from the Warnings box (yet).  So… I use Notepad++ (you could easily use Firefox or IE – all of these programs all you to Reload the source error report HTML file when you re-export it).  
  2. Export your Error Report to some neutral location like C:TEMP  
  3. Open the Error Report in Notepad++ / Firefox / IE (you could also use this method if you prefer)
  4. Now you can simply copy the element ID to the Clipboard (Ctrl+C)
  5. Go to a 3D view in which the element will be visible (use the 33 reasons if you need to)
  6. Use Select by ID (tear it off the Ribbon if you like by holding Ctrl)
  7. Paste the Element ID (Ctrl+V)
  8. Use COINS Auto Section Box
  9. Your Warning / Error element will be visible and highlighted

RFO user revittotd has come across an interesting anomaly:

view full screen version

via thread at
The Trouble with Tribbles…

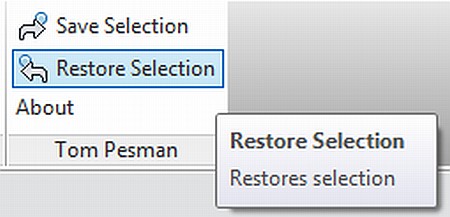
In response to my post yesterday about using Selection IDs to save selections, Tom Pesman of tnux.net has created a free Revit add-in to automate the process.

At this stage, it only allows the you to save and restore one selection set.  However, it is very easy, very fast, and I’m sure some of you will find it useful:

DOWNLOAD PAGE for Revit Save Selection – Tom Pesman

Interestingly, his About box for this add-in states:
This is a very tiny add-in to demonstrate how usefull small add-ins can be. For more information visit my website (tnux.net).

I agree – I wish certain things were built-in to the program, but at times, these little add-ins can quickly and successfully satiate the common needs of users.

Here is Tom’s blog post on the subject:
Save Selection Add-in – Tom Pesman

Thanks Tom!

I was going to title this “Even Better Save Selection Workaround for Revit Architecture users”, but that wouldn’t really be accurate.

I am posting about a work method that will allow you to select a group of objects and quickly re-select those same objects.  It will not allow you to use the View Filters like the true Save Selection feature would.

Here’s how:

  1. Select the group of objects
  2. Manage – IDs of Selection
  3. Copy these IDs somewhere (for example, to Notepad or Excel)
  4. When you want to re-select those objects, go:
  5. Manage – Select by ID
  6. Paste the text from step 3 (including commas) and click OK
  7. Your ‘set’ has been selected!

Tip – you could make a spreadsheet for each project that contained these ID selection sets.  One column could have a descriptive name for the selection set.

Here is a quick video:

Thanks to http://www.nazdi.cz/2011/11/pitvame-projekt.html for this heads-up (translated as):
If you enter a list of numbers (separated by commas or semicolons), select the corresponding Revit several objects at once. 

I previously posted about Save Selection here:
What Revit Wants: Save Selection Workaround for Revit Architecture users

And here:
What Revit Wants: RAC Users – lets get the Save Selection feature now!