Typically when editing Revit families, if you want to deal with arrays and stop them breaking when the count is 1, you set up some IF() formulas in Revit. However, a recent comment by David over on Revit Beginners describes another possible method:
Thank you Luke. Another possible solution is to nest the element into an adaptive component family, then nest the adaptive onto a conceptual mass family surface and use the repeater tool which can have an array count of 1. 

I posted about this method a while back:

Download the example file here

I have posted about Profiles and Adaptive components before, but more recently Tim Waldock put together a nice, detailed post on the subject over at this link.

In the post, he states:
You can host it on a divided path node; but don’t bother to convert it to a repeater because it cannot then be used to create a solid form.

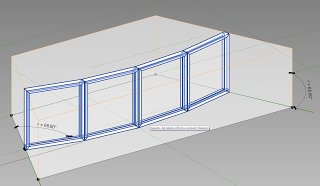
Technically, this is true.  If the element is not a Repeater – just a set of Profiles in an Adaptive, you can then Tab-select until you get the “closed” loop of lines, and use these to generate forms.  In other words, you aren’t selecting the Component – just the lines inside the component.  It can be a little fiddly, but it does work.  This is only really necessary if the normal workflow of selecting the Components and using Create Form does not work or is not available.

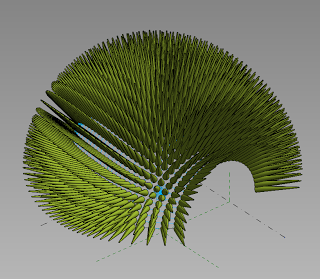
However, when it comes to Repeaters, even the above idea does not work.

Neither does “doubly nesting” another shared Component inside the Repeated Component.

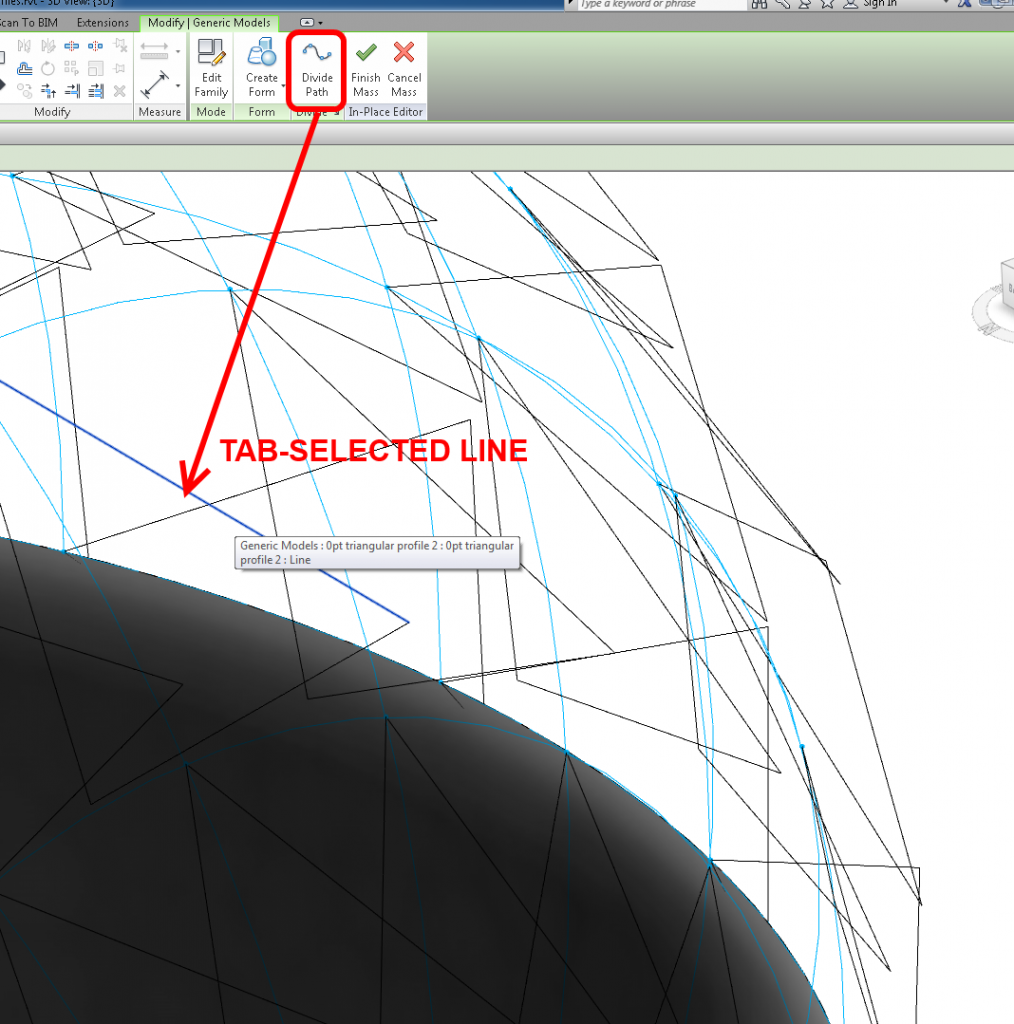
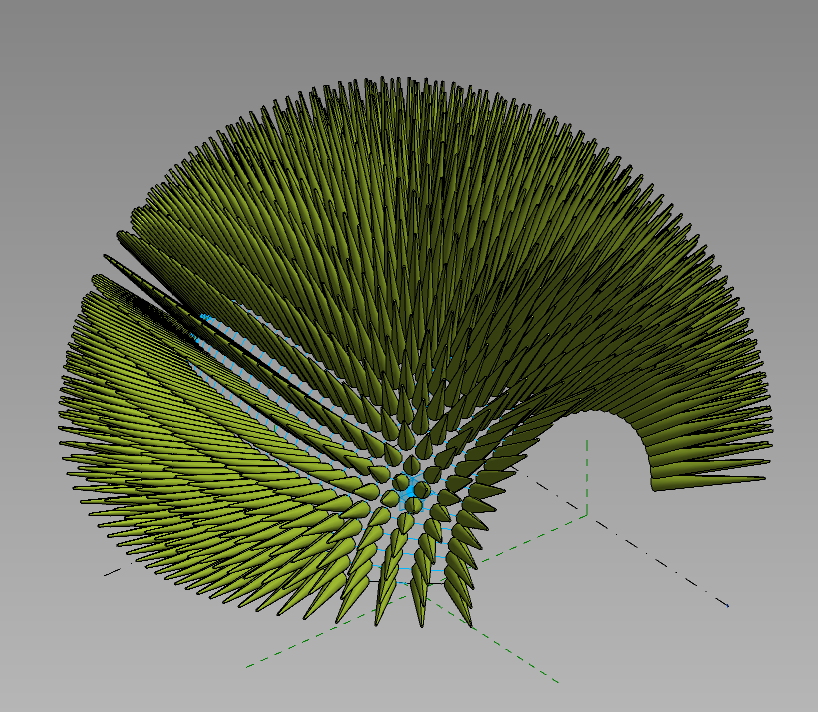
One of the few things you can do is to select a Line in the Repeated Component and use the Divide tool.

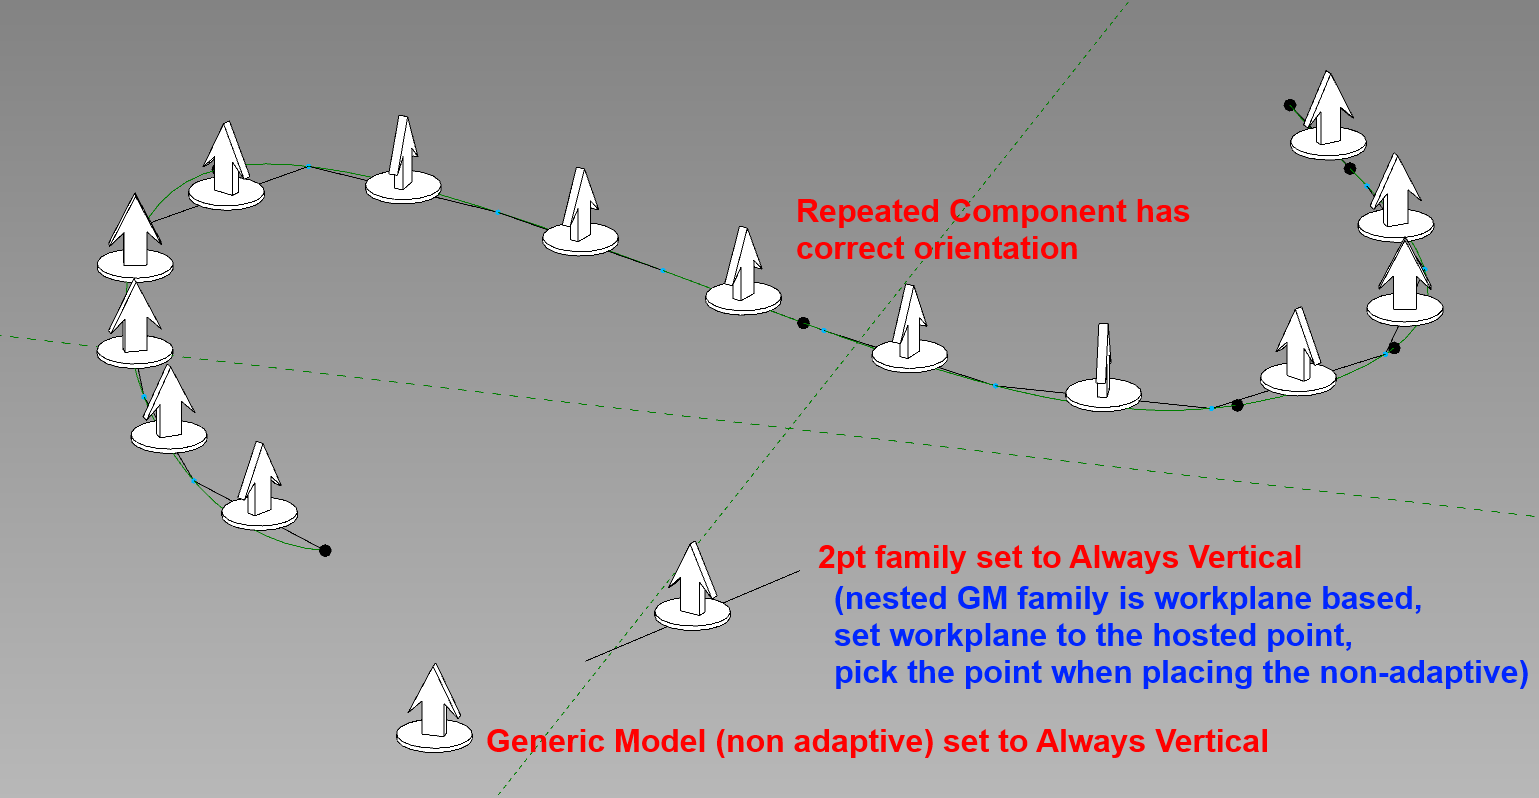
You are then left with using the Repeater to set up a “rig” to place multi-point line families on or between, and using this skeleton to generate forms.  In some ways, it depends how parametric and adjustable you need the resulting form to be…

In the past, whenever you built a parametric array in a family, you needed to handle the “break” condition – that is, if the array value drops to 1, you need an IF formula to actually keep it as 2, hide the array and show the single element.  It works, but it is clumsy and needs some parameter obfuscation.

That is why a Divided Path,

  •  with a Repeated 2 point Adaptive family with Reference Line connecting the points,
  •  hosting “whatever” you want,
  •  on a non-driving point that lives on the Reference Line,

 is better – because when the number of divisions of the Divided Path is set to 2, there is still only one repeated element.  No formulas or duplicated parameters needed… Also, Revit error checking usually kicks in when you try to set the Divided Path to “1” and it will prompt you before the thing breaks.

Very useful in situations like this curved adaptive Window family – it can have any number of panels, from 1 to 200 (thanks Aaron).

EDIT  Following Aaron’s comment, here is some more “proof of concept”:

Download the example file here

After spending some time trying to make a workable, geometrically driven random reactor, I decided that it was far easier to use dp Stuff Randomizer (get 2014 version for free from here or older 2013 one on Exchange here).  This is a great little addin that just drives random instance number parameters into family instances.  You pick the parameter to drive, give it a max and min “bracket”, click Add and then Randomize.

I set up an Adaptive tree family that used the scaling method, linked through some parameters, Repeated it on a Divided Surface, and then used Randomizer – this random forest is so easy 🙂  With the scaling method working, we can even just drop some imported Sketchup trees into the most deeply nested family (the one that gets scaled), reload it through the hosts back to the project, and even these imported CAD files will scale correctly.

This is the simple tree randomizer (height only):

Next, I added an X and Y offset so I could randomize the position from the grid slightly, resulting in this…

Tree randomizer with move parameter:

Here are the sample files for download.  Enjoy!

(this is the Sketchup tree that I used for the example above)

After reviewing Andy’s and Tim’s recent posts surrounding trees and reaction, I would like to contribute this little idea.

Its a very simple setup – just a 2pt Adaptive with an “extension” (created by controlling the host reference planes of a couple of points), that has been loaded in and repeated across a treetop form.  As you move the centre adaptive point up and down, the surrounding spines react to maintain a perpendicular relationship to the main form.

I have added parameters for the extension length, and top and base radius of the spines.  You can adjust these in the Project Browser by modifying the Type Properties of the 2pt family.

Here’s the family for download.