Aerial imagery and 3D models are extremely powerful visual tools. Often, these are used primarily in early design and master planning. Some software tools connect directly to aerial imagery and 3D data providers. Unfortunately, Google has not really opened up the connection to their base 3D data. But we can capture imagery from it, and then rebuild in another photo-to-mesh tool, like Recap Photo. Keep in mind that you will be creating a 3D mesh, from an isometric 3D world view, which was created only from aerial images. Basically, your output will vary, and will probably not be high quality. But for the intended use in early design and master planning, the below workflow may be useful…

Note: Please investigate the license and copyright of this data for such use.

Here’s how:

  1. Open your desired 3D isometric aerial imagery in desired application (such as Google Earth, Google Maps or similar)

    *Note: User to be aware of relevant copyright restrictions
  2. Open ScreenToGif (downloads here). This is used to create snapshot images of the screen very quickly.
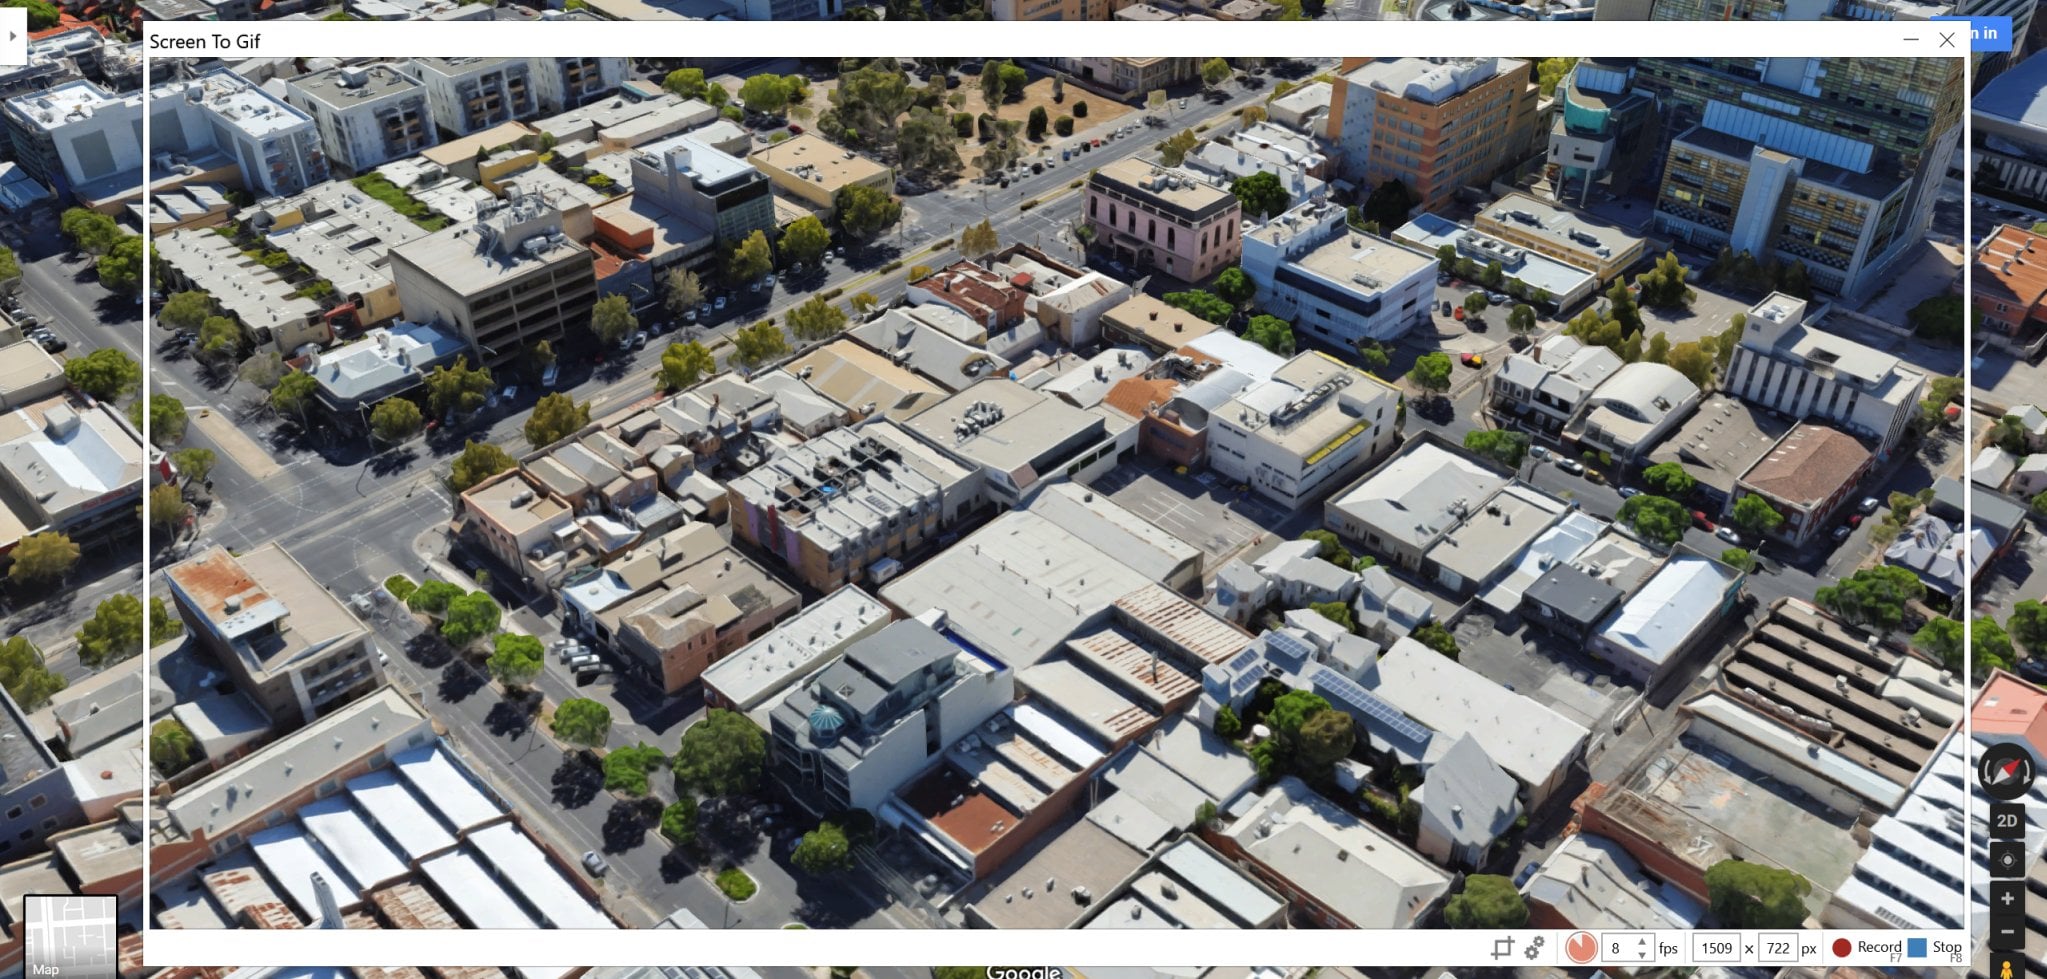
  3. Setup the scene, so that you have the ScreenToGif window appropriately overlaid onto your actual imagery
  4. Start recording, and slowly orbit at least 360 degrees as shown
    here
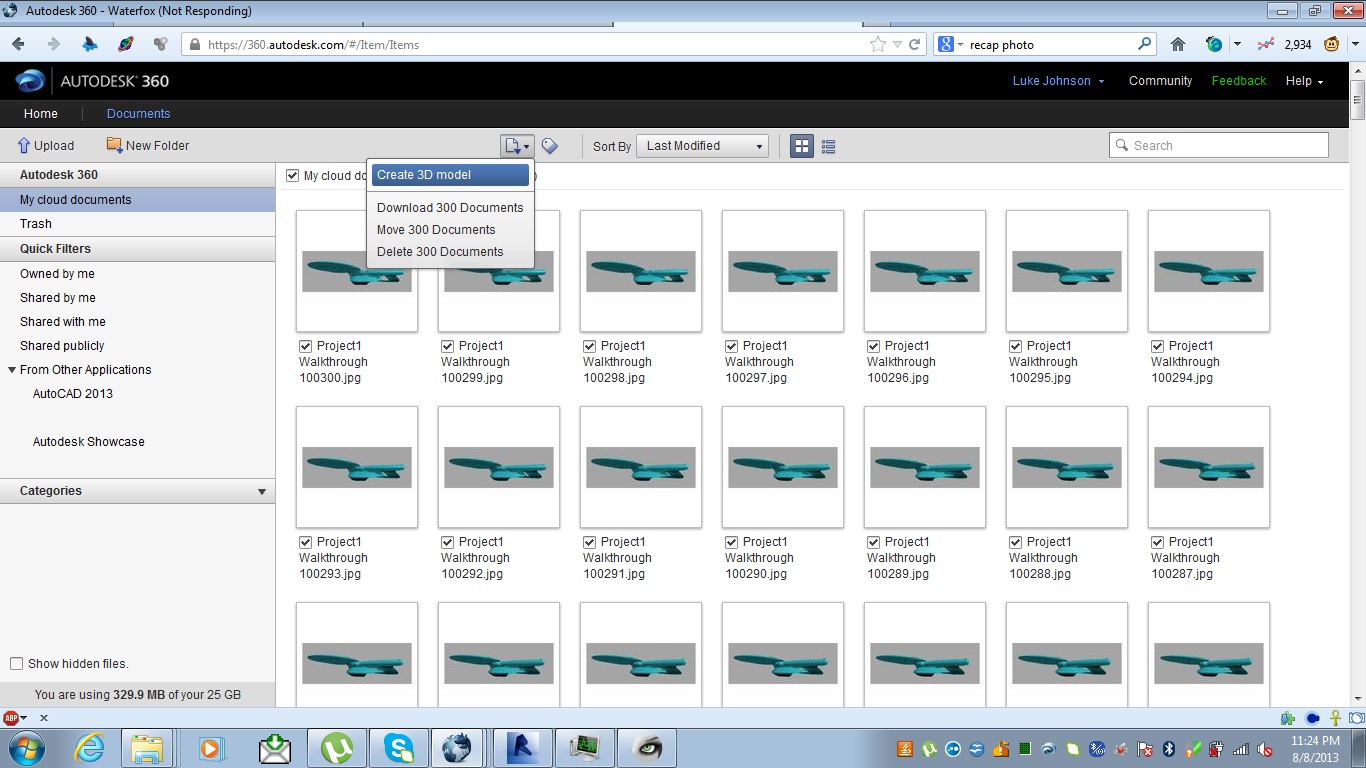
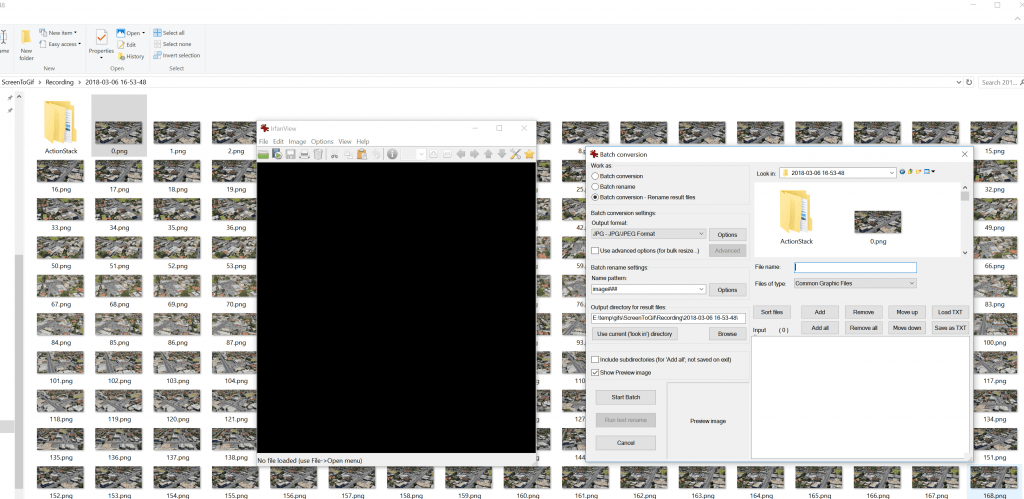
  5. In ScreenToGif, open the image folder
  6. Convert the images from PNG to JPG (I used Irfanview Batch Convert)
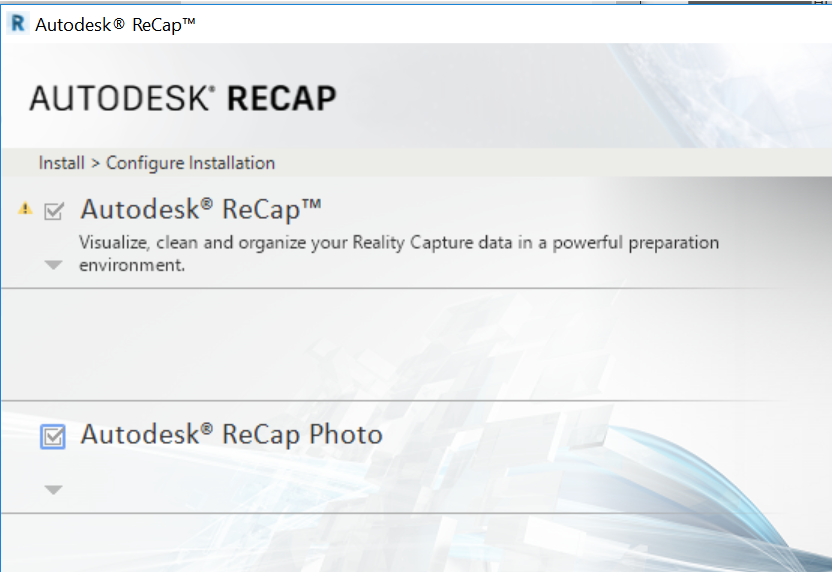
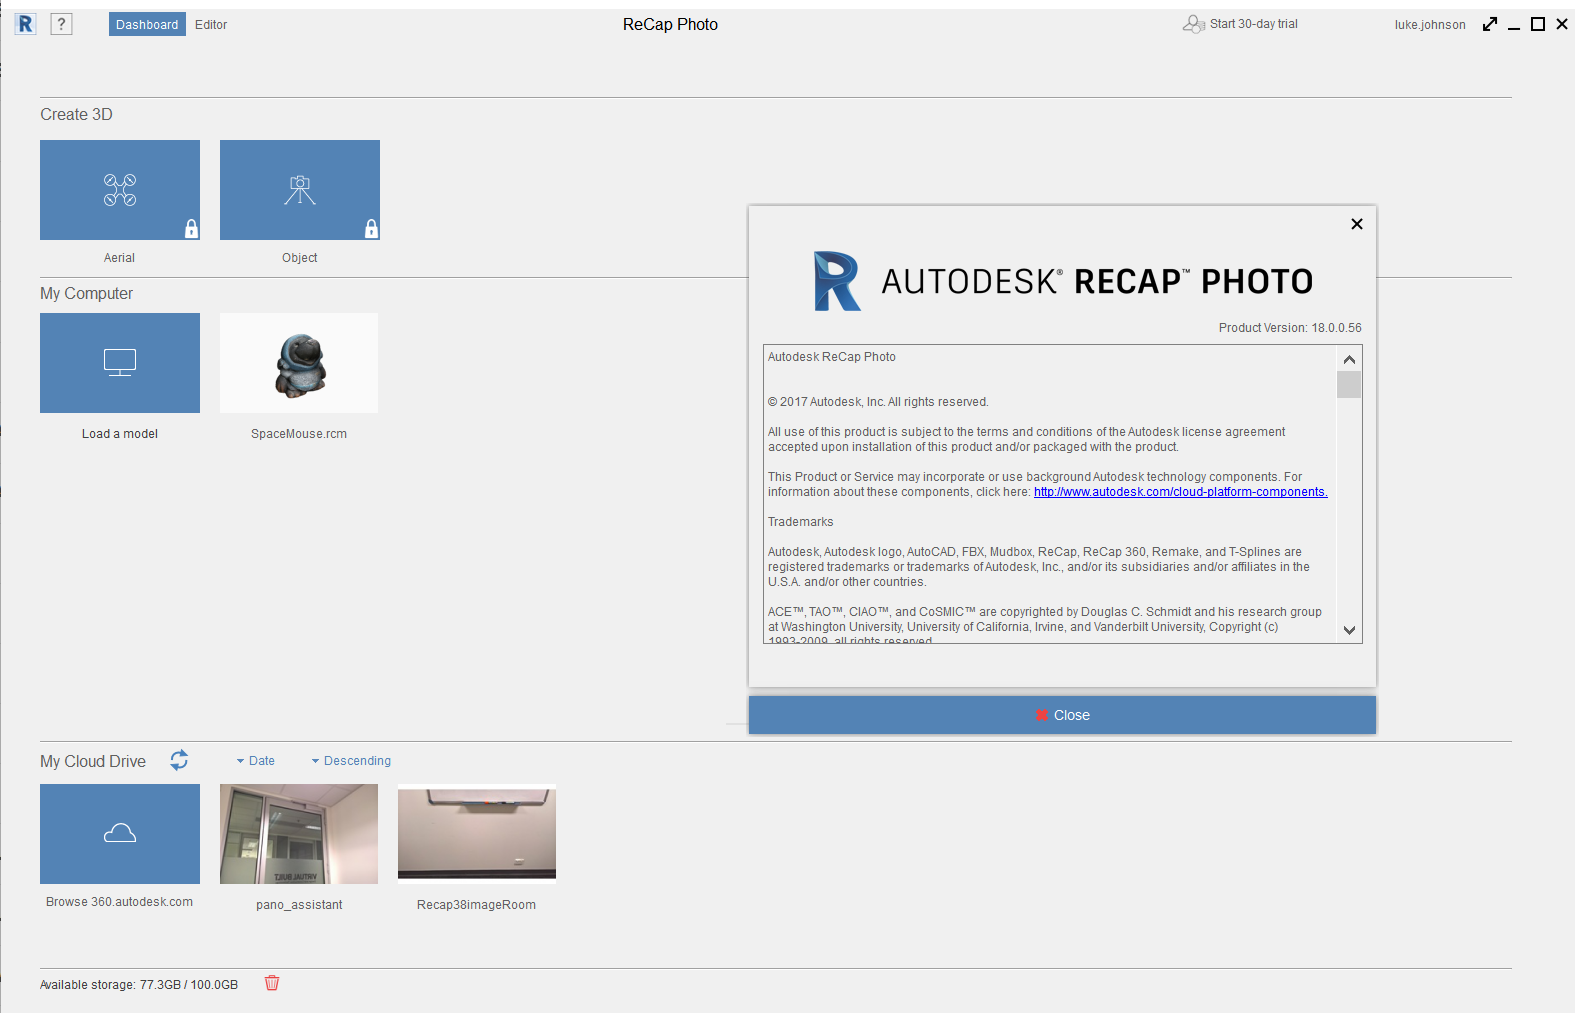
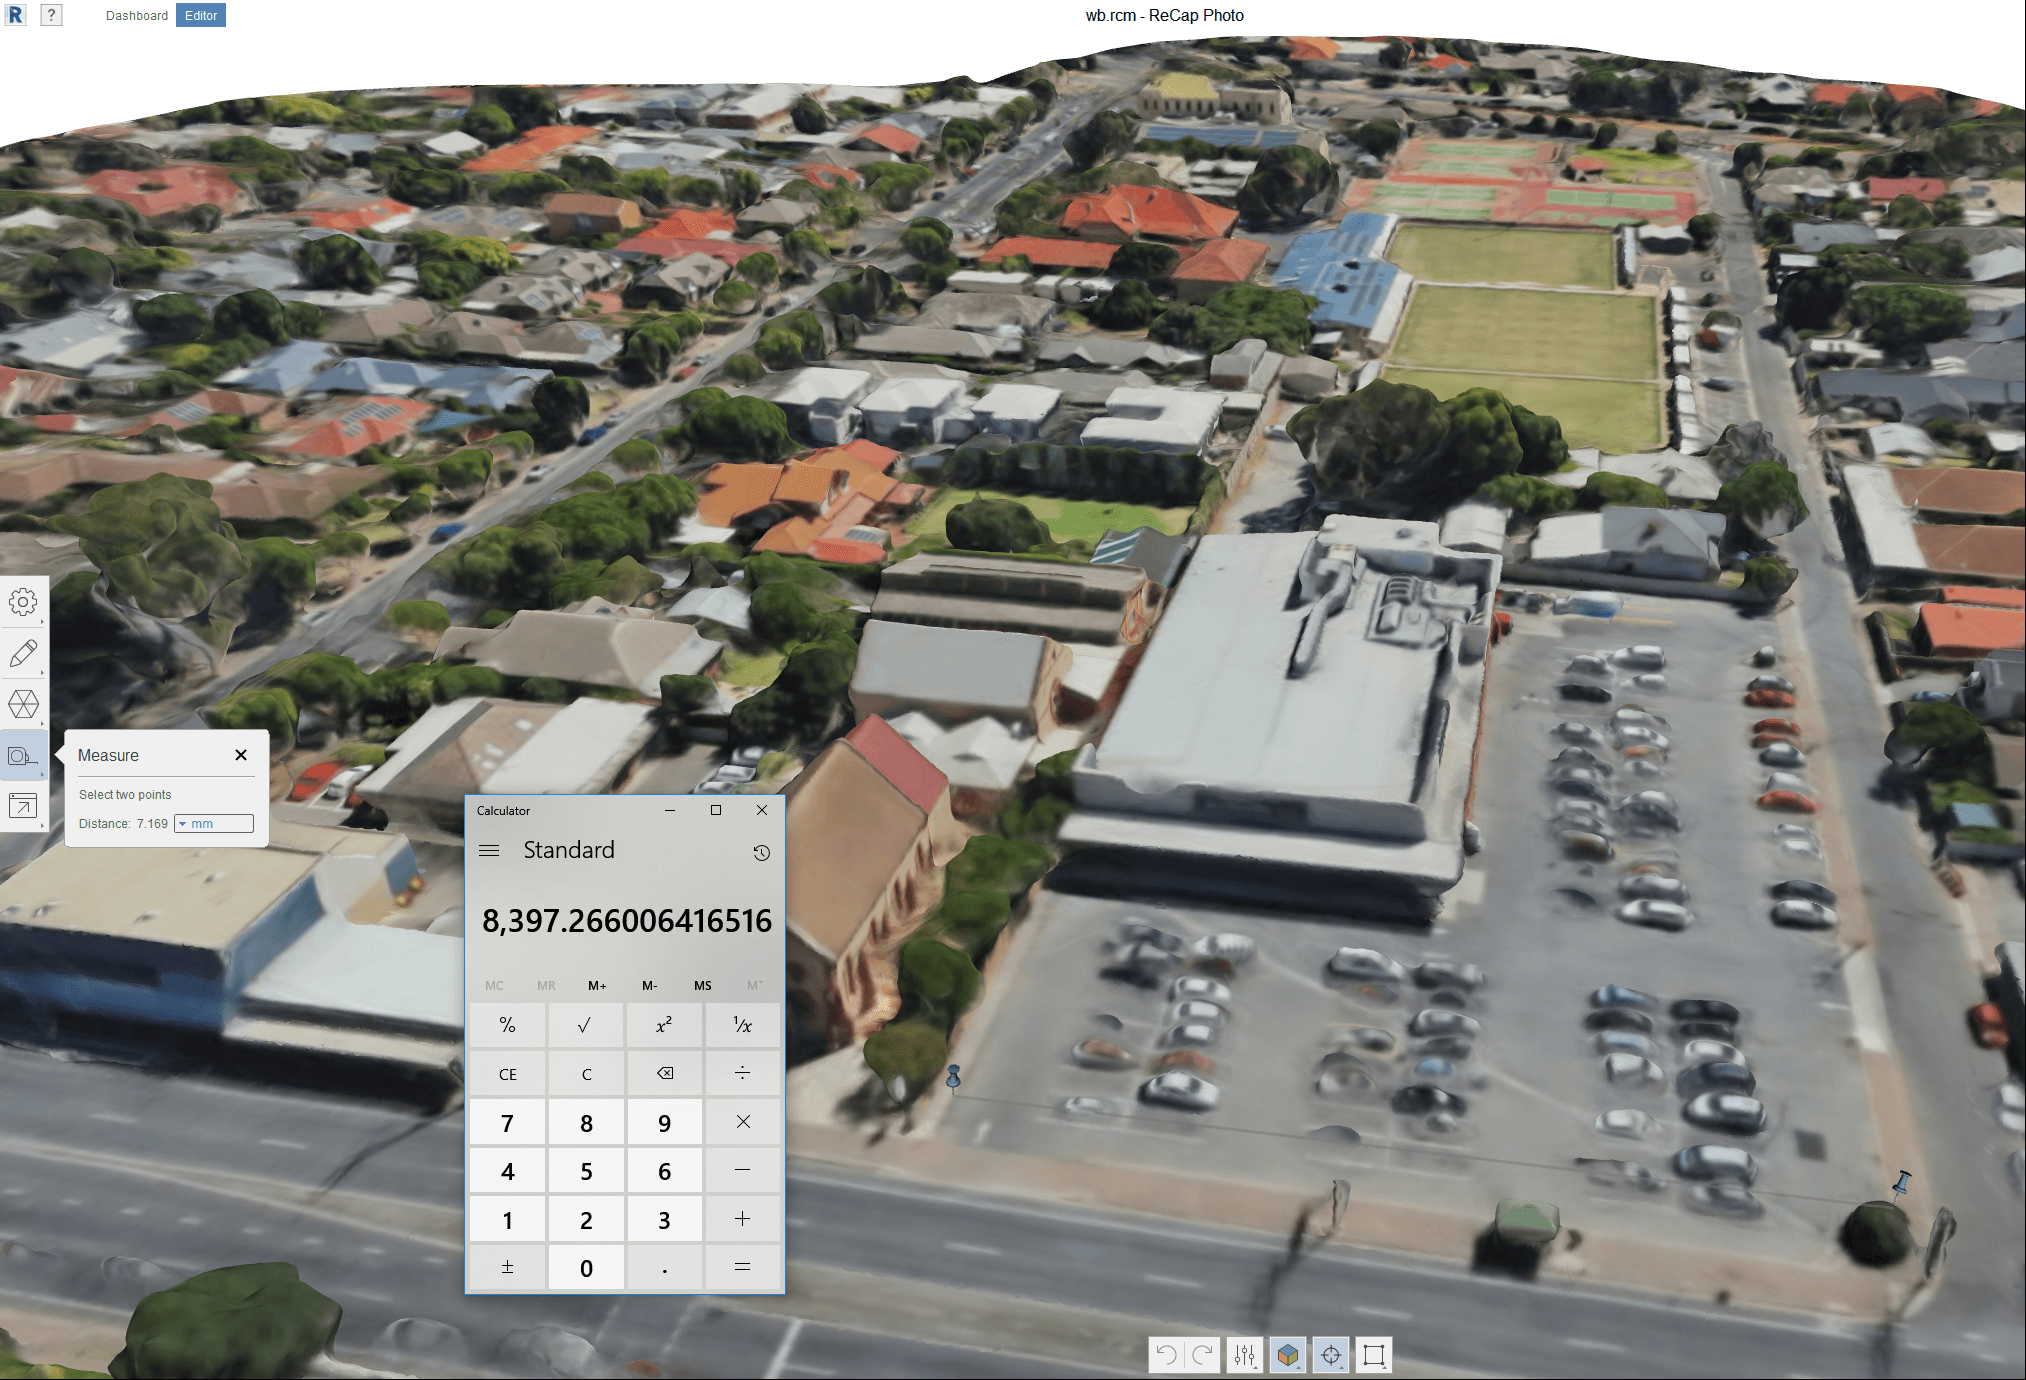
  7. Load into Recap Photo, make new Object project, spend 12 cloud credits and start the mesh creation
  8. After meshing, in Recap use the measurement scale tool to scale the model based on the distance between two known points

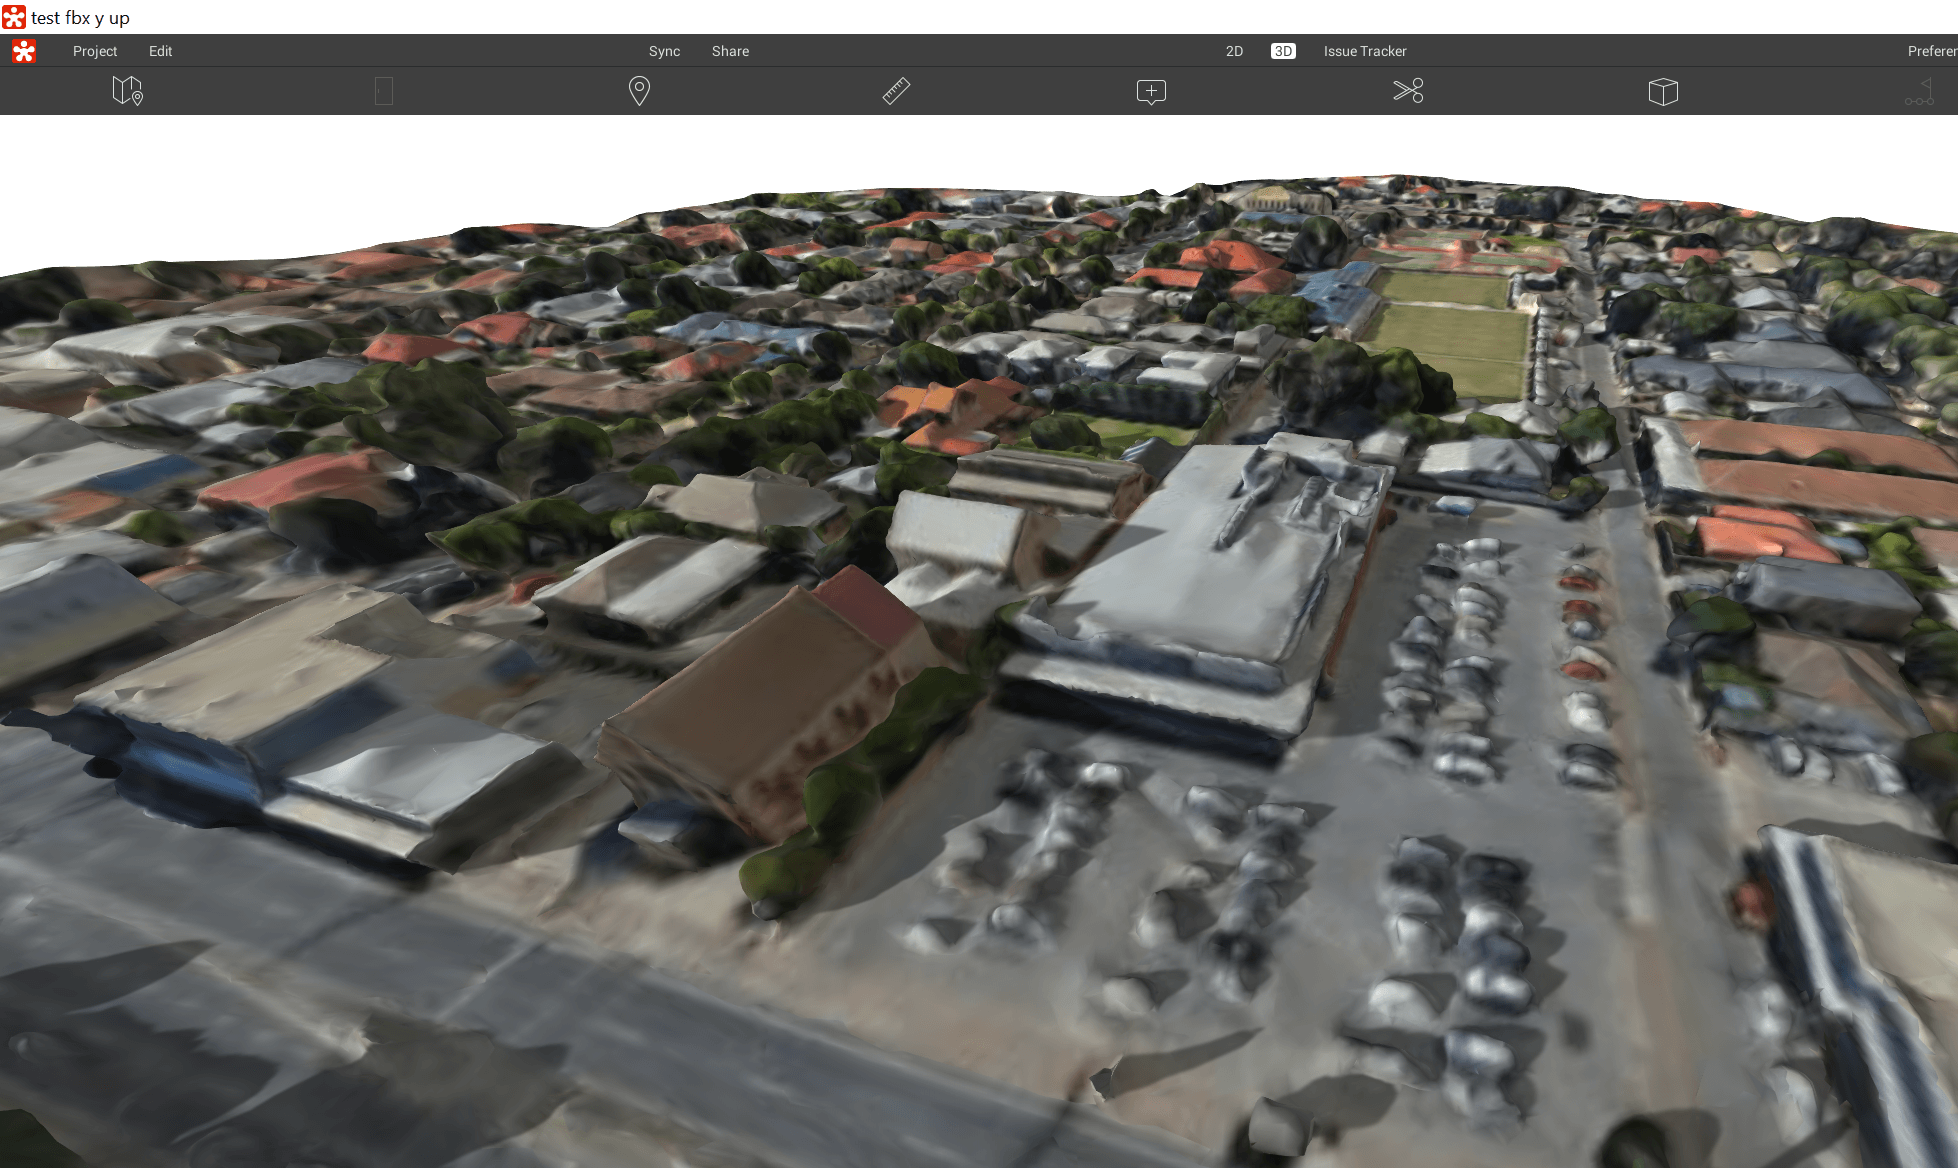
  9. Export the 3D Model from Recap. Various formats are available. In this case, I exported directly to FBX with Y-Up and imported straight to Revizto. You could also import FBX to AutoCAD and then to Revit, or you could bring it into Meshmixer first to delete some parts of the model via OBJ.

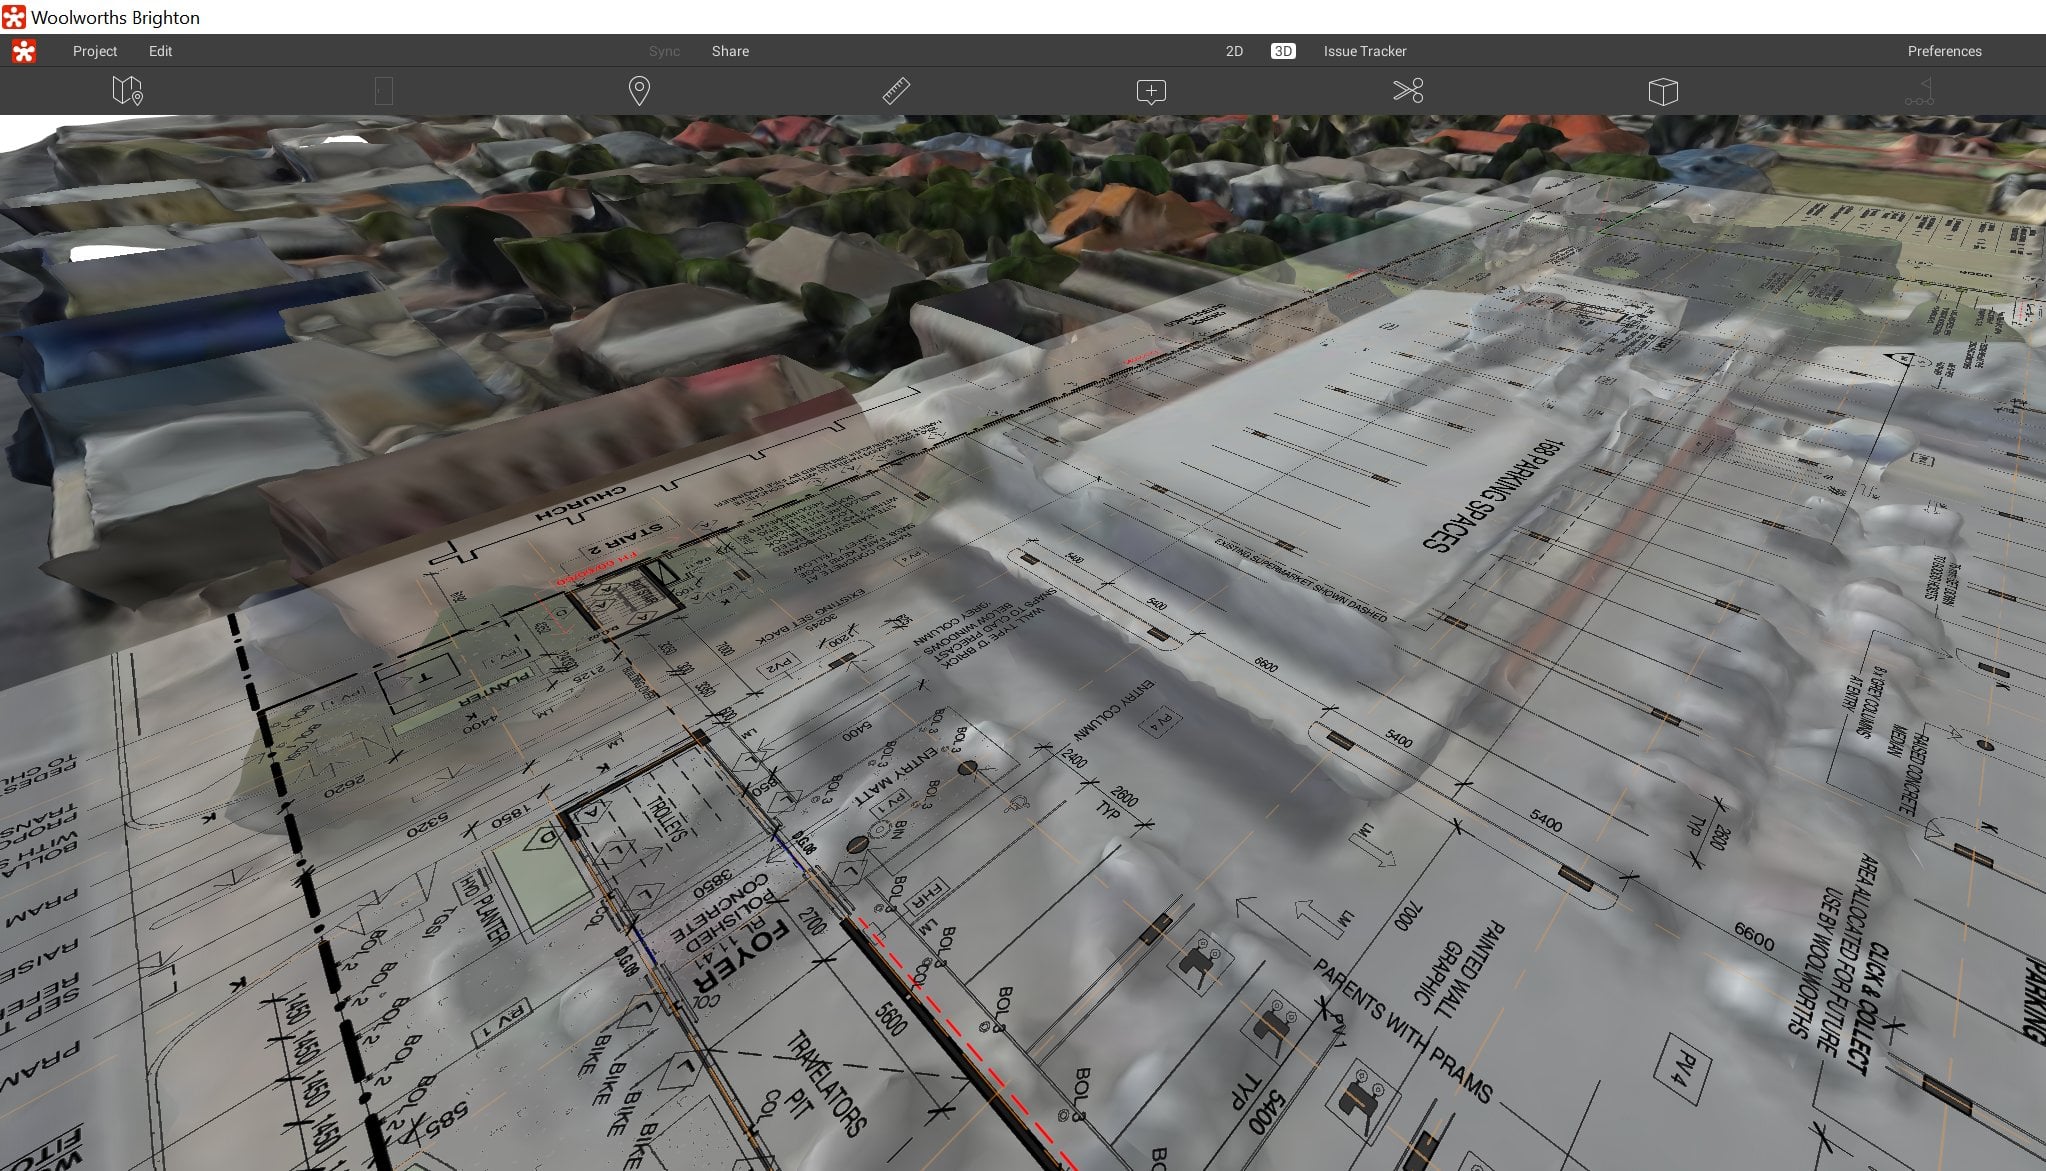
In Revizto, the direct FBX import looks like this:

Sheet overlay in Revizto. Simply with a PDF and some freely available aerial imagery, we now have a 3D collaboration workspace ready to go:

Going back in time, there was 123D Catch and related processing engines. Basically, it was a tool that took photos and turned them into something real in 3D. There was also something called Remake.

Now, we have Recap Photo, which basically does the same things. Over time, the processing engines have improved. Recap Photo is part of your Recap Pro licence, and now integrated into your Recap Pro install. It looks something like this when you install the latest version of Recap (I downloaded the web installer from manage.autodesk.com):

Once installed, you can start the standalone ReCap Photo app:


Features of ReCap Photo include:

  • A new photogrammetry engine that can process up to 1,000 photos, a 4x improvement from the previous maximum of 250 photos (note: using the cloud service consumes Autodesk Cloud Credits)
  • The ability to set GPCs (Ground Control Points, survey points) in any coordinate system.
  • New functionality to support vertical and nadir photos (photos taken by drones and UAVs at 90 degrees above the site)
  • View your 3D photo-textured mesh
  • View the geolocated orthographic view, zoom in and out, and add measurements, tags, and annotations.
  • Share the project, including its additional metadata (measurements, tags, annotations), with anyone.
  • Merge laser scan point clouds with UAV-based point clouds.

From this post http://blogs.autodesk.com/recap/introducing-recap-photo/

Autodesk offers several different browser-based user interfaces for different reality capture scenarios.

They all use the same underlying ReCap REST API.

You need a special developer key to make use of the API. To obtain one, please contact ADN and ask to become a pilot partner.

ReCap is built on Amazon web services, using queues to manage jobs.

current pilot partners and their work, some of which was also being shown in the AU exhibition:
  • SoundFit custom fit ear gear, creating a precise model of the inner space within the ear for prosthetics, a fully automated complete custom application.
  • Kubit, dealing with AutoCAD applications for real-world as-built capturing.
  • Skycatch, providing a low cost, highly flexible, intelligent & scalable aerial robotics platform.
Tilo Pfliegner of Kubit demonstrated easy integration of calibrated photos, point clouds and ReCap models into AutoCAD.
Point clouds are sometimes too imprecise for modelling needs. Using photos directly instead is better, because they are often more precise, and the photo quality is often better than the generated point cloud.
Read more / via:

The current version of Recap Pro runs on Windows 7 and 8 (download link).

However, for the time being you can still download Recap version 1.0 from this link:
http://labs-download.autodesk.com/us/labs/trials/worldwide/ReCap1.0.exe
and the service pack for x64 at:
http://updatesdl.autodesk.com/updates/files/autodeskrecap_sp1_for1.0.43.27_x64.msp

If you ever need to run Recap on XP, it might be handy to have this installer in your toolkit…

For some time, I have been looking for a way to get 3D geometry from any format, make it into a nice, Revit-friendly SAT and then use it in massing or visualizations.  Can Memento help me with this?  Answer – not really.

What it can do:

  • Import and Export formats: OBJ and RCM (Recap)
  • allows users to easily (?) fix meshes for digital use or fabrication
  • fix topology or texture issues (holes, spikes, tunnels, particles, etc.) prior to downstream use

First, download and install it:
Direct Download Link

Read more at:
Autodesk Labs Project Memento

Ok, now that you have installed it… I previously explored point cloud geometry workflows at:
https://wrw.is/2013/06/using-point-cloud-tools-to-convert-any.html

Upon opening an OBJ file, Memento will create an associated RCM (Recap mesh) in the same folder.  Here’s what I did (this is a failed workflow):

  1. Downloaded an SKP of something interesting
  2. Imported to 3dsMax, cleaned it up a bit, exported to OBJ using Deep Creator preset
  3. Imported OBJ to MeshMixer, exported to XYZ as per this guide
  4. Imported the XYZ to Recap, and used decimation at 50mm (note, there is a Recap update at http://updatesdl.autodesk.com/updates/files/autodeskrecap_sp1_for43.24_x64.msp)

I realised at this point that you can’t make an RCM file from Recap… What a pain!  So, looks like we need to make one using Recap Photo.  To use Recap Photo, upload some images to Autodesk 360.

This time, I sort of succeeded by:

  1. Importing an interesting model into Revit
  2. Making a Walkthrough that circled the object, and exported to a set of JPGs
  3. Uploaded them to Autodesk 360
  4. Selected them and clicked on the little Create 3D button (only 250 images will be accepted for processing)
  5. Waited overnight for the model to process…
  6. Opened Autodesk 360 and downloaded the file .obj.zip
  7. Now, use Memento to open and edit the OBJ – and try to fix the holes in it.

My first experience with Memento wasn’t great … I was expecting a Fix All button 🙁

  1. Opened the OBJ in Memento
  2. Click find defects (middle of top of the screen)
  3. After they are found, click next or previous, then click Fix
  4. Rinse and repeat thousands of times

Note: Memento will not run on Windows XP.


Heads-up via