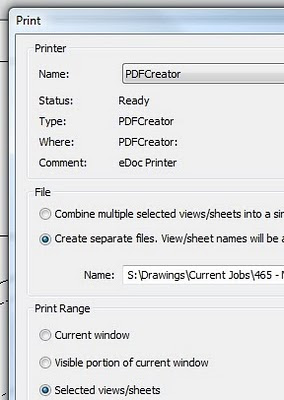
Have you experienced a blank and somewhat non-responsive Print dialog in Revit? Pressing Setup does nothing in this situation:

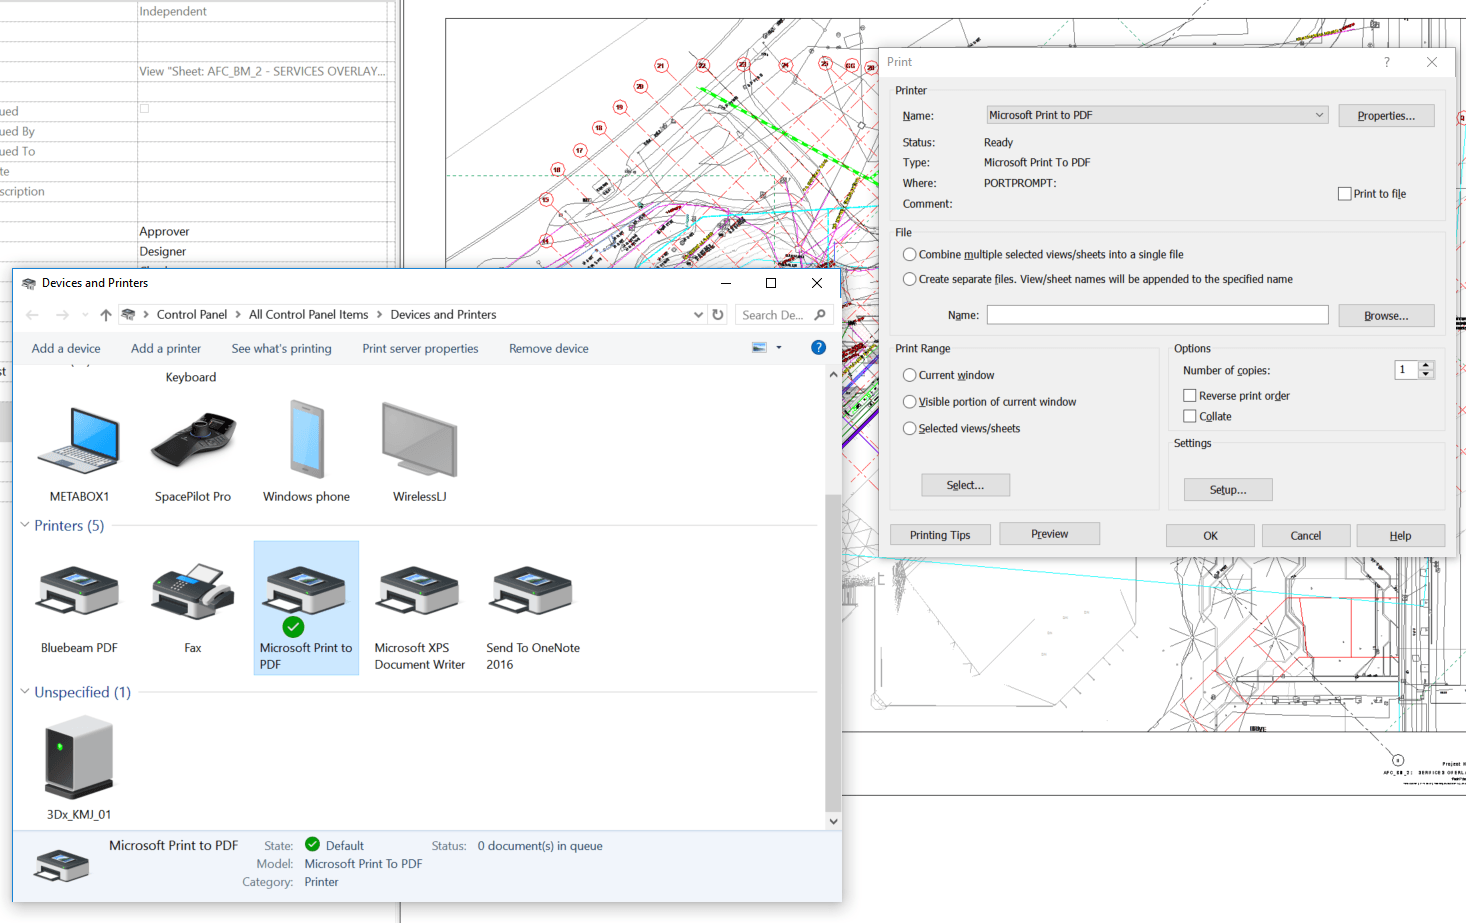
What’s going on here? Well, there is something in the Microsoft Print to PDF driver that Revit doesn’t like, possibly to do with paper sizes or something. How do we fix it?

Just set your default printer to something else, like Bluebeam or CutePDF. Then, Close and re-open the Print dialog in Revit:

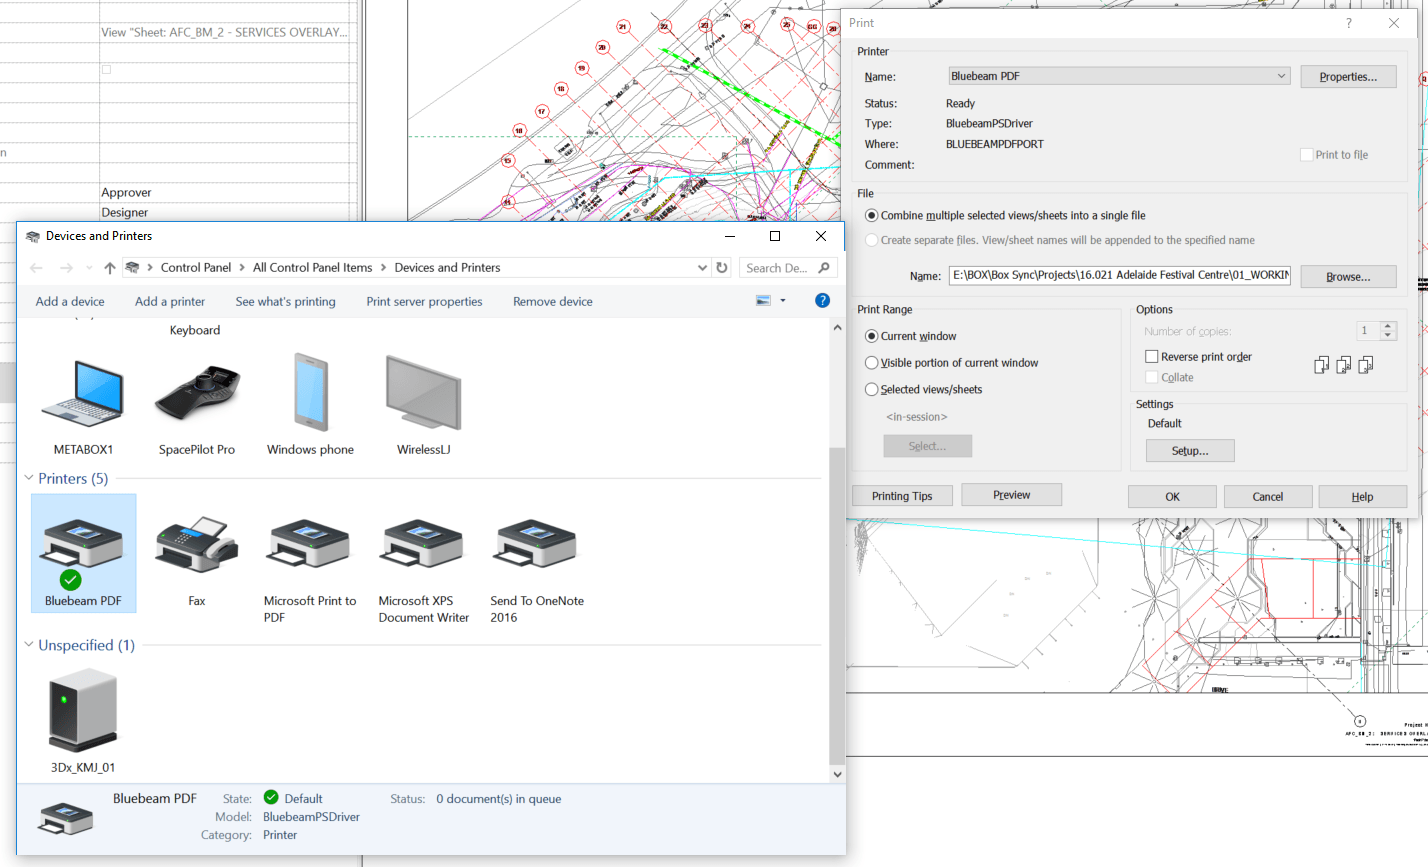
As you can see, now the dialog is happier and you can proceed to setup your sheet print settings.

To do this in Windows 7, open up the printer from the Devices and Printers option on the Start menu (or search for your printer by name). Drag the relevant files onto the printer window, and you’ll see a dialog box asking if you want to print multiple files. Click ‘Yes’ and they’ll all be opened and printed in their entirety, with the default settings.

from
Print Multiple Files At Once With Drag And Drop | Lifehacker Australia:

You can make certain layers export as non printable layers when exporting from Revit 2012 to AutoCAD DWG or DXF files.

First, you need to set the following checkbox in the Modify DWG/DXF Export Setup dialog box:

Make layers containing the following text non plottable NPLT

Then, make a line style and map its layer to a layer name containing the text ‘NPLT’:

After the file has been exported, you will see that the layer has been set to non printable in the AutoCAD Layer Manager:

Sometimes you will want to produce a large set of PDFs where each drawing sheet is in its own PDF file. You also want the PDFs to be automatically named and created. There are a number of ways to accomplish this – here is the simple way that I use.

  1. Download and install PDFCreator ( if you don’t have it already)
  2. Download the following ini file: pdfcreator settings
  3. Open the PDFCreator application
  4. Go to Printer – Options, and then ‘load’ the settings from the ini file you downloaded (use the little folder at the top of the window to load settings), then hit ‘Save’ at the bottom of the window.
  5. Now, when you print from Revit, be sure to choose the options to ‘Create separate files…’
  6. When you click ‘Print’ in Revit, each sheet will be sent individually to PDFCreator. PDFCreator will then use the View or Sheet name (as per the REDMON_DOCNAME_FILE setting) to Autosave the PDFs to a specified folder – the above ini file uses C:TEMP_PLOT by default.

You can tweak these settings to your own individual taste – you may want to change the Autosave folder, for example.
Revit wants you to work efficiently, and it wants you to maximise the value of the data inherent to the BIM model. In this case, we leverage the View/Sheet name to automatically name the PDF files.
But what if you want to modify the filenames – perhaps adding a prefix or suffix to all PDF filenames? Well, you will just have to subscribe and wait for the next post…

Go to Part 2

After trying many free PDF Writers over the years, I have found CutePDF Writer to be the best.

In order to ensure you are producing the best PDF files you can (high quality while still keeping file size relatively small), please follow the steps below (when you have a chance, no hurry 🙂

Install the updated CutePDF Writer from here

Change the setting in the printer properties (Preferences and Printing Defaults) for ‘PostScript Output Option’ to ‘Optimize for Portability’ as a default.

Change the setting in the printer properties (Preferences and Printing Defaults) for ‘TrueType Font’ to ‘Download as Softfont’ as a default.

Navigate to C:Program FilesAcro SoftwareCutePDF Writer and open the file PDFWrite.rsp in Notepad. Change the line FROM
-dPDFSETTINGS=/prepress TO
-dPDFSETTINGS=/printer

(The path is C:Program Files (x86)Acro SoftwareCutePDF Writer for 64 bit machines)

Enjoy producing high quality PDF’s for free everyone!

I find it quite funny that one of the ‘solutions’ to this problem is…don’t lock your computer (“you can prevent this behavior by not locking the computer when printing or exporting”). Thanks a lot! Revit is now telling us what we can and can’t do people! (Or, more correctly, the Revit support staff are telling us.)

This shows that you must give Revit What Revit Wants – or it will make your computer unresponsive!

Issue
You print or export your project in Revit and lock the computer during the progress to find Revit is unresponsive when later unlocked.

  1. Solution
    This occurs when Direct3D® Hardware Acceleration is enabled and the computer is locked > Ctrl + Alt + Delete > Lock Computer. There are two options to prevent Revit from becoming unresponsive when printing or exporting:
    Disable Hardware Acceleration through Options > Graphics > Graphics Mode. Un-check Use Hardware Acceleration (Direct3D). This will prevent Revit from going unresponsive when the computer is unlocked.
  2. If disabling Hardware Acceleration is not an option, you can prevent this behavior by not locking the computer when printing or exporting.

From http://usa.autodesk.com/adsk/servlet/ps/dl/item?siteID=123112&id=13855078&linkID=9243099&CMP=OTC-RSSSUP01

So, you try and print a view with an image in it, and Revit 2010 just decides to crash…and you can’t figure it out!

Well, Revit wants you to choose ‘Raster’ instead of ‘Vector’ under the ‘Print’ dialog – ‘Setup’ button…

There you go, no more crashing!

I have reported this to Autodesk (see below 😉

Summary: Printing ‘linked view’ with image – crashes
Description: When printing a host view with a linked RVT view that contains a high res image.

The same problem occurs if printing the drawing from the linked file (the image seems to crash revit).

However, changing the print type to ‘raster’ solves the problem. Revit should realise that ‘vector’ is going to crash, and switch to ‘raster’ automatically.

Please correct this problem as it is irritating.