Once you start to run more than 4 monitors, most computers start to struggle. So, then you need more computers to have more monitors 🙂 And then, you need to share one keyboard and mouse across multiple computers… so you need a mouse and keyboard sharing utility, that preferably also shares your clipboard.
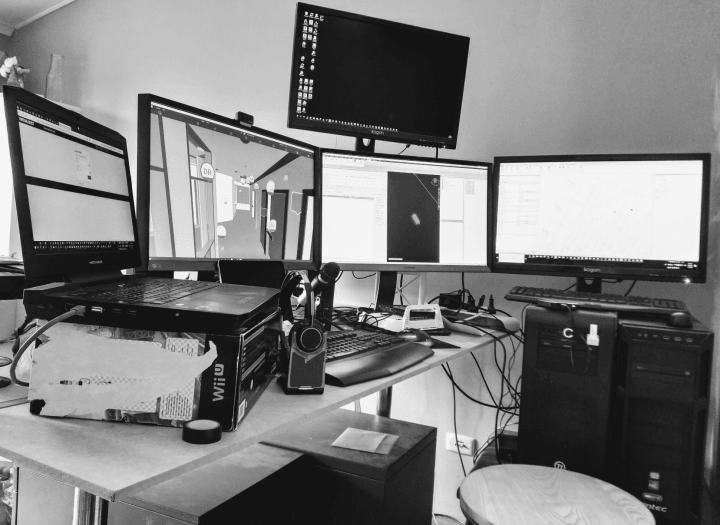
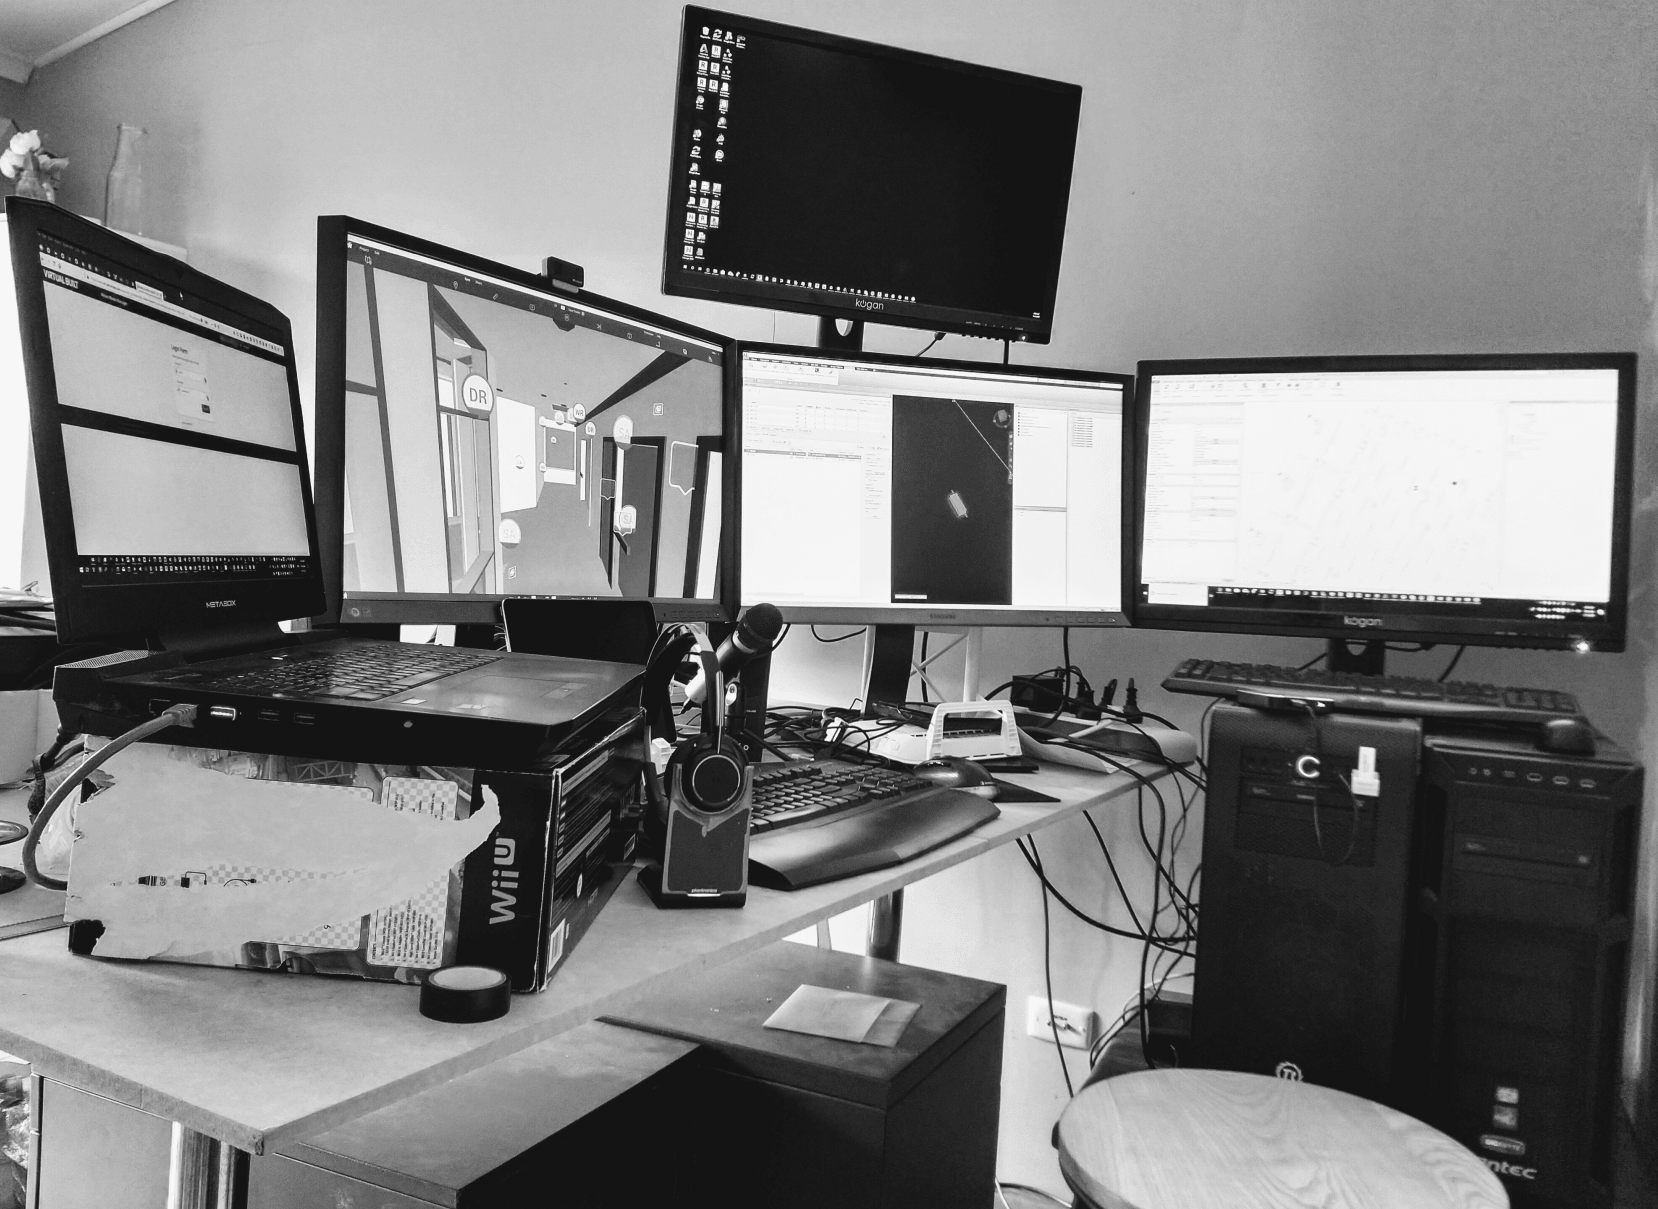
I just added the 5th monitor to my office setup:
All you need is to install Mouse without Borders on both machines. The utility allows you to use keyboard, mouse and clipboard from one computer on another one.
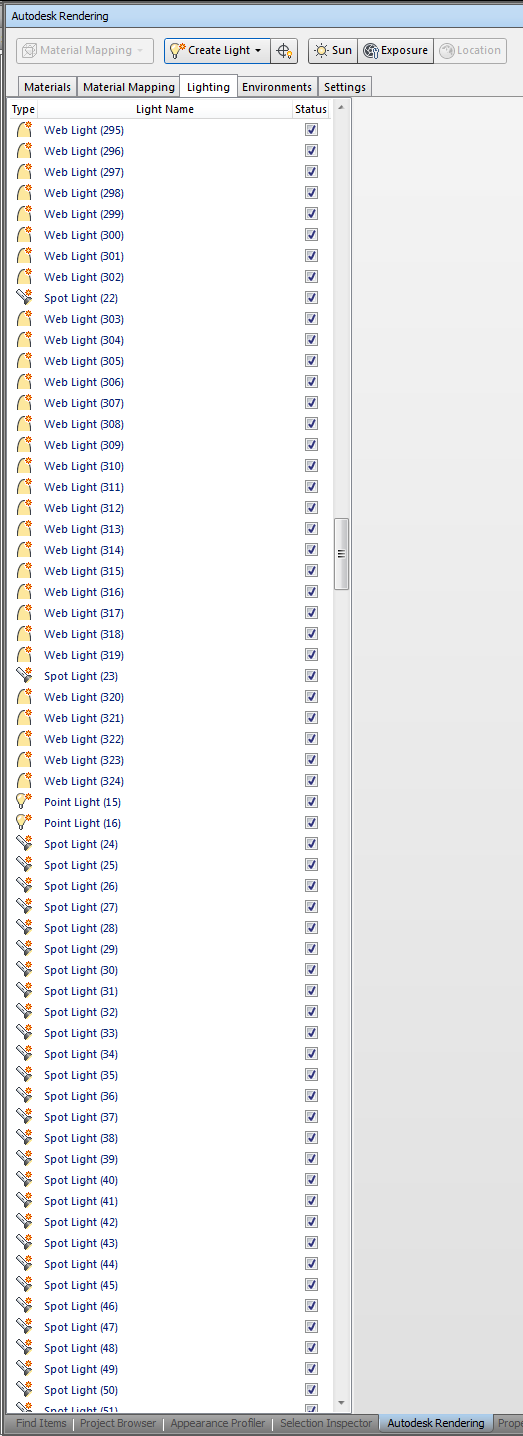
The problem – Appending a given NWC creates hundreds of lights in your NWF, as they were exported with light sources from Revit:
Update: scroll to the bottom of the Autodesk Rendering, Lights pane and select the last entry. Press and hold the Delete key on the keyboard – it will rapidly delete lights out of the Navisworks model.
One way to get rid of all these light sources is to use a macro recorder to delete them all. This is because Navisworks 2015 does not allow you to delete multiple light sources at once (sadface), and it doesn’t allow you to “Clear Palette” like Presenter did.
The immediate workaround is to use Shaded mode with Headlight only, as this ignores Light sources. Not pretty.
You could also down-save to 2013, delete the lights in Presenter, then save-up to 2015, but that seems a little too hacky, even for me.
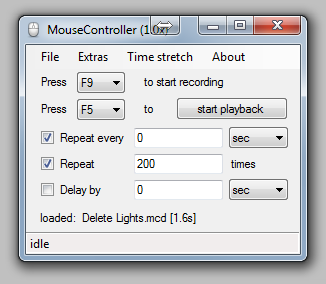
Here’s the clicky mouse macro method:
Install MouseController (I used choco install mousecontroller)
Open the problem NWF
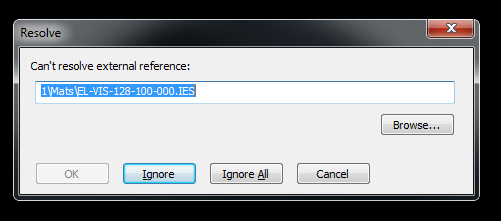
When it “Can’t resolve external references” for each .ies file, just click Ignore All
Set up a macro to delete lights (see the Screencast below)
My best result was using Time Stretch 3.0x and Repeat every 0.8 seconds
Set it and walk away from your PC for a bit
Some other things to try:
Look for a light source subcategory in your NWC export view
Turn it off
Re-export
Append to a brand new NWF and see if the lights show up in Autodesk Rendering
Another thing to try:
Navisworks Exporter settings/File Reader/Revit
Untick “try and find missing materials”. Make sure that box is NOT checked.
Also turn off light source as in step 1 above.
Re-export
Append to a brand new NWF and see if the lights show up in Autodesk Rendering
Some of the bugs that might show up:
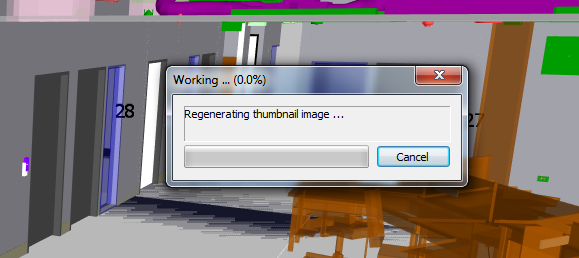
Missing IES file references
Regenerating thumbnail image …
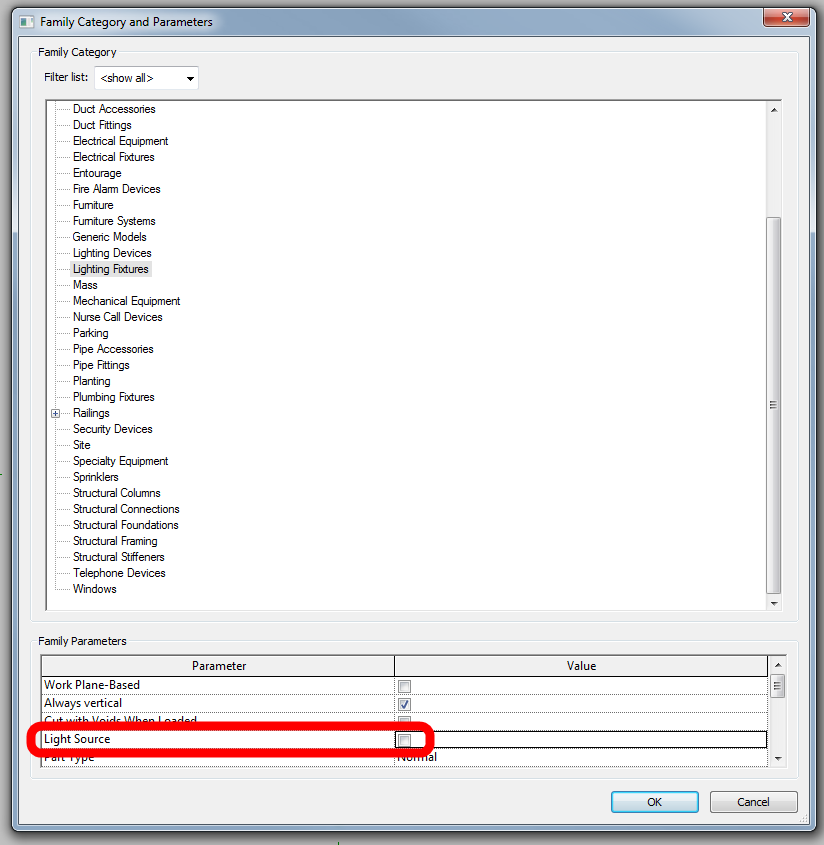
The only real fix (at this stage) is to open each Lighting Family and untick Light Source. Obviously, this is not really an option if you are doing lighting analysis or using the lights for rendering in Revit or 3dsMax etc:
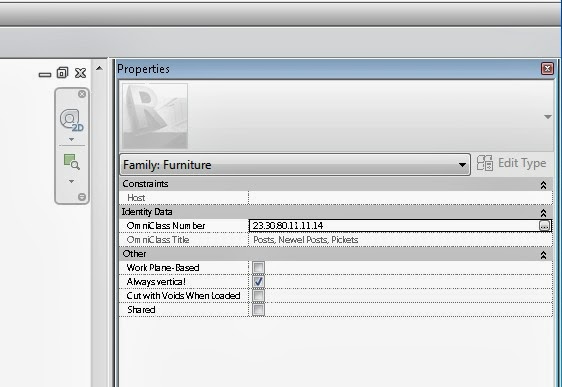
Just hold down Ctrl button while scrolling with mouse wheel… I have tested this (non exhaustively) on Revit 2013 and Windows 7, and it works fine on the following dialogs:
the Properties Palette (wow!)
the data section of the Type Properties (Edit Type) dialog
Family Types
the Family Parameters part (lower section) of the Family Category and Parameters dialog
IFC Export and Import Options dialogs
Fill Patterns settings
Sheet Issues/Revisions
Thanks to this tweet for the heads-up:
@paulfaubin discovering #revit tricks! Ctrl+scroll on family type window to zoom in and out. — Matias Cena (@onbeesknees) September 18, 2013


